From finding the wood, to preparing it and even mounting it on your wall, here’s everything you need to know to make your own live edge wood shelves.
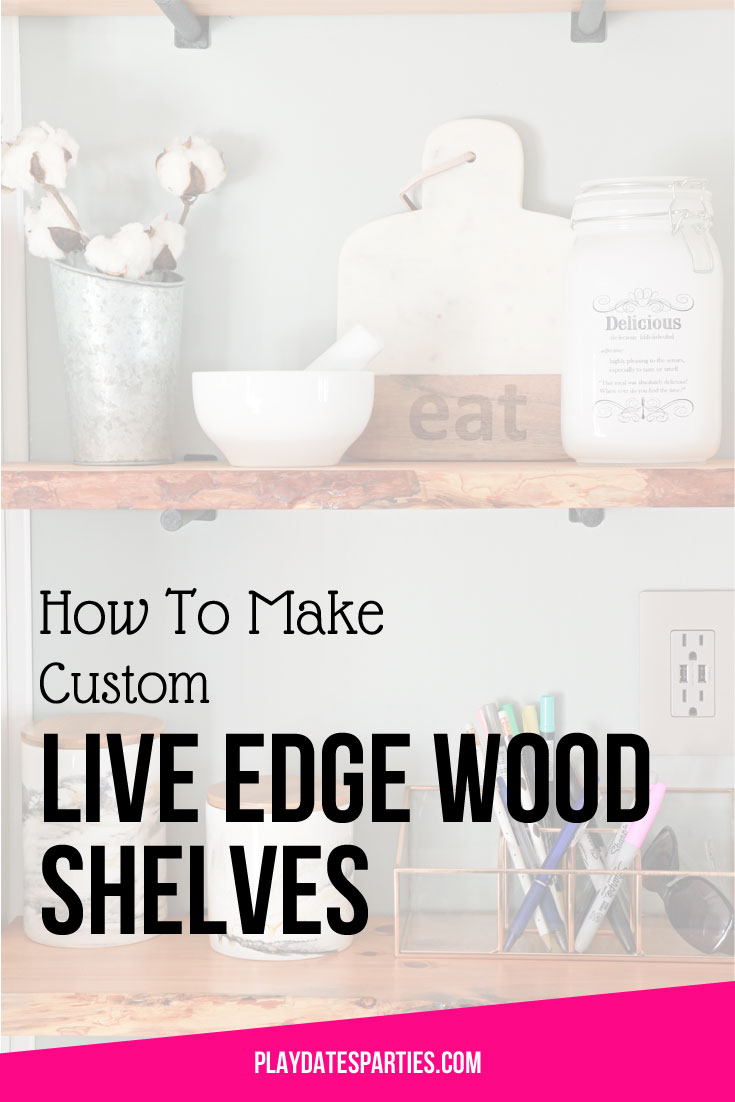
If you’re at all familiar with the modern farmhouse trend for home decor, you’ve probably seen more than one version of reclaimed and/or live edge wood shelves.
They’re a far cry from the mass-produced melamine shelves you probably installed in your first apartment.
Reclaimed and live-edge shelves fit beautifully into modern design. They add warmth and character to a room, and the shelves themselves become a form of artwork.
So, when we decided to use open shelving in our kitchen, I knew right away that I wanted live edge wood shelves.
What is Live Edge Wood?
Unlike building lumber, live edge wood isn’t cut down into straight lines. Instead, the natural outline of the tree trunk is left intact. This natural edge is then incorporated into the final design.
Live edge wood can be cut one of two ways: from cross-sections of trees or from vertical slices of the tree trunk. Vertical slices are more common, as cross-sections will typically be too small to be usable for furniture design.
Live edge wood is most commonly used for flat, horizontal projects such as shelves, benches, bars, and tables.
Challenge #1: Where to Find Live Edge Wood
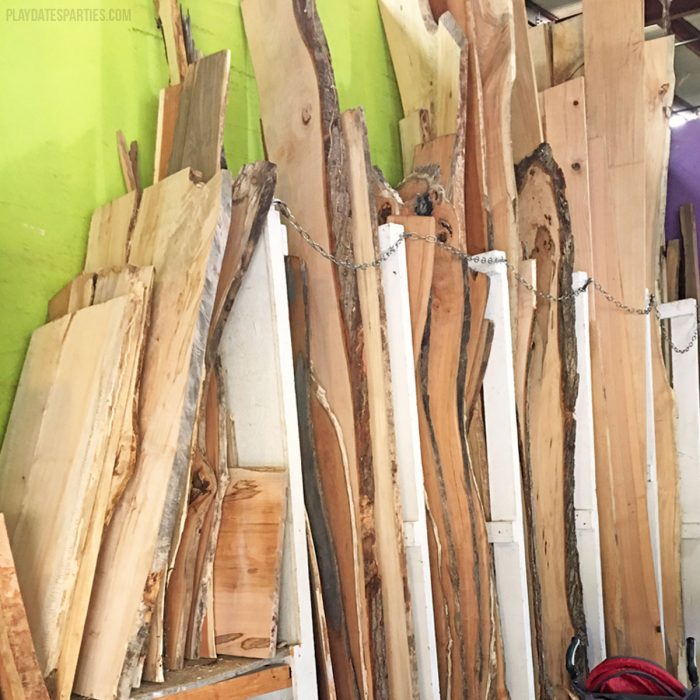
It’s not like you can go into Lowe’s or Home Depot and ask for live edge wood. And because it is expensive to ship, it will be easiest to find and purchase from a local source.
There are three ways to find live edge wood slabs for your projects:
- Do a targeted internet search. I used Google to search “live edge wood slabs Maryland” and found a company that cuts live edge wood. From there I was able to find the closest location to our home that sells their inventory.
- Search on Craigslist. Craigslist will always be hit-or-miss, but give it some time and you may find an incredible piece of wood for your project.
- Purchase from an online retailer. Many lumber yards are starting to sell live edge slabs online. A simple search for “purchase live edge wood online” returned 27 million results, so you have your pick of options. However, be aware that shipping can quickly add up for oversized items.
Thankfully, I was able to purchase our slab at a salvage yard located within an hour of our home, right outside of Washington, DC. Plus, for $2, I was able to get the slab cut down just enough to fit inside our SUV.
Challenge #2: How to Mount Live Edge Wood Shelves
Once I purchased the wood and showed it to my contractor, we identified two challenges for getting the shelves hung:
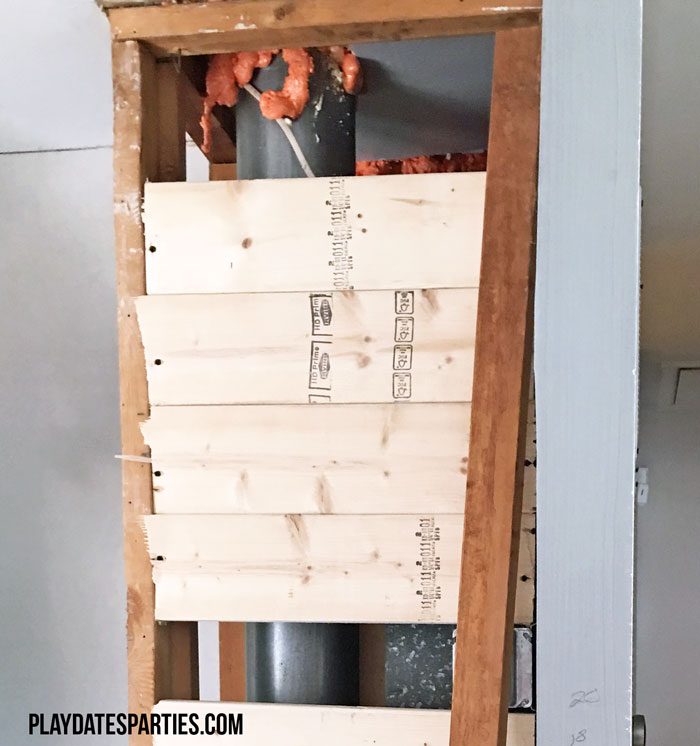
First, the wall where I wanted to place the shelves didn’t have any studs to support the weight of the wood or whatever I would put on it.
Thankfully, the drywall wasn’t yet up, so we were able to reinforce the space between the studs with 2×4 cross braces. Here’s a look at the cross braces in place before they were stabilized (that single nail won’t support your shelves!):
Second, it turned out that the slab I purchased isn’t thick enough to be used for the floating shelf brackets I wanted. Floating shelves need to be at least 1.25 inches thick (1.5 inches is best) to have room for the brackets to go inside the wood without splitting. Unfortunately, our slab is only 1 inch thick.
I was determined to find brackets that would look good and would be low profile. Large traditional brackets just aren’t our style. Thank goodness for Amazon, because I was quickly able to find some great options. These were my top three favorites:
 |
 |  Floating/Top Mount Shelf Brackets |

Side note: I wish I could legally share the other pictures of those forged metal brackets, because they’re gorgeous. We didn’t get them this time, but I’m seriously considering them for when we do our bathroom renovation. (Click here to see the pictures that show off their beautiful industrial/farmhouse style)
Challenge #3: How to Cut Live Edge Wood Shelves
Now, it sounds so easy to say cut a straight edge on the back of the shelf and then cut the shelves to x length. But the reality is it’s far more difficult than that. With only one slab, we didn’t have any room for error on these cuts. Thank goodness my contractor was there with his carpenter square to make the right cuts to our shelves.
[clickToTweet tweet=”Ever wanted to make live edge shelves? ?Here’s how! via @PlayDatesParty” quote=”Ever wanted to make live edge shelves? ?Here’s how!”]
Challenge #4: Removing the Bark
Both the husband and my contractor wanted to leave the bark on the shelves for a more rustic look.
I insisted otherwise.
The best way I could explain it is that I don’t want to cook in a kitchen that makes me feel like I’m in a lodge. A natural look is fine, but the bark just took the shelves over the top.
Plus, all my research indicated that the bark will likely fall off as the wood dries out anyway. In fact, much of the bark was already peeling apart from the shelves. So the decision was a no-brainer.
Of course, there were still some stubborn spots that needed to be attacked with a chisel (or in my case, an old flat-head screwdriver) and a mallet.
Here’s a quick video of my experience removing some of the more stubborn bark from one of our shelves:
Tips for removing bark from live edge wood:
- Remove all the peeling parts first.
- Loosen other areas by gently tapping a chisel against the cut edge. Hopefully this will loosen more large areas of bark.
- Go with the grain of the wood. Gently tap your chisel along the grain line of your wood slab to avoid unnatural looking gashes.
- Take your time. Rushing will result in imperfections that will be difficult to sand down. It took between 10 and 15 minutes to remove the bark from each of my 22-inch shelves.
- Don’t force it. You will likely end up with some pieces of bark still attached. Embrace it as a part of the natural beauty of live edge shelves.
How to make Live Edge Wood Shelves
Materials:
- One slab live edge wood
- Carpenter square
- Power saw
- Level
- Measuring tape
- Pencil
- Mounting brackets (links to the brackets we used)
- Power Sander (we use an old Black & Decker Mouse sander)
- Sandpaper 120 grit, 180 grit, 200 grit
- Pre-Stain Wood Conditioner
- Wood stain (we used used Pecan stain from Minwax, but you can also try to make your own stain, too).
- Polycrylic top coat (if not using a two-in-one)
- Steel Wool
Directions:
Cutting the shelves:
- Asses your walls. Find the studs in your walls and mark them with a pencil.
- Carefully measure the width of your space and mark a level line where you want your shelves to go.
- Identify the depth you want your shelves to be. Using a carpenter square, mark your straight line for the back and sides of your shelf. Verify your cut lines are square and the measurements are correct before moving on.
- Carefully cut along your marks with a table saw or hand saw.
Remove the bark from the front of the shelves:
- If your wood slab has been drying for long enough, you may find that much of the bark is already separating from the wood. Start by peeling off as much as possible.
- For more stubborn bark, you may want to use a chisel (or an old flat head screwdriver) and mallet to force the bark off.
- Some sections will likely remain, but that’s part of the beauty of live edge wood. You might as well embrace it.
Finishing the shelves.
- Sand the shelves on all sides using a power sander or sanding block. Start with coarse sandpaper, such as 120 grit.
- Repeat with 180 and then 200 grit sandpaper.
- Wipe down the shelves with tack cloth to remove dust and debris
- If you are using a soft wood, such as pine, apply a wood conditioner to ensure that your stain is absorbed evenly.
- Apply stain according to manufacturer directions. Use light even strokes, and don’t allow stain to pool on your shelves as they dry.
- Re-apply stain until desired color is achieved.
- Apply a coat of polyacrilic or polyeurethane to protect the stain from rubbing off.
- Rub the shelves with steel wool to soften and smooth the finish.
- Mount your shelves according to the directions on your brackets.
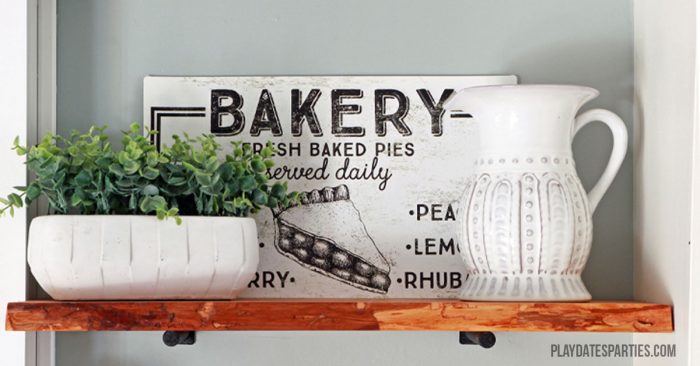
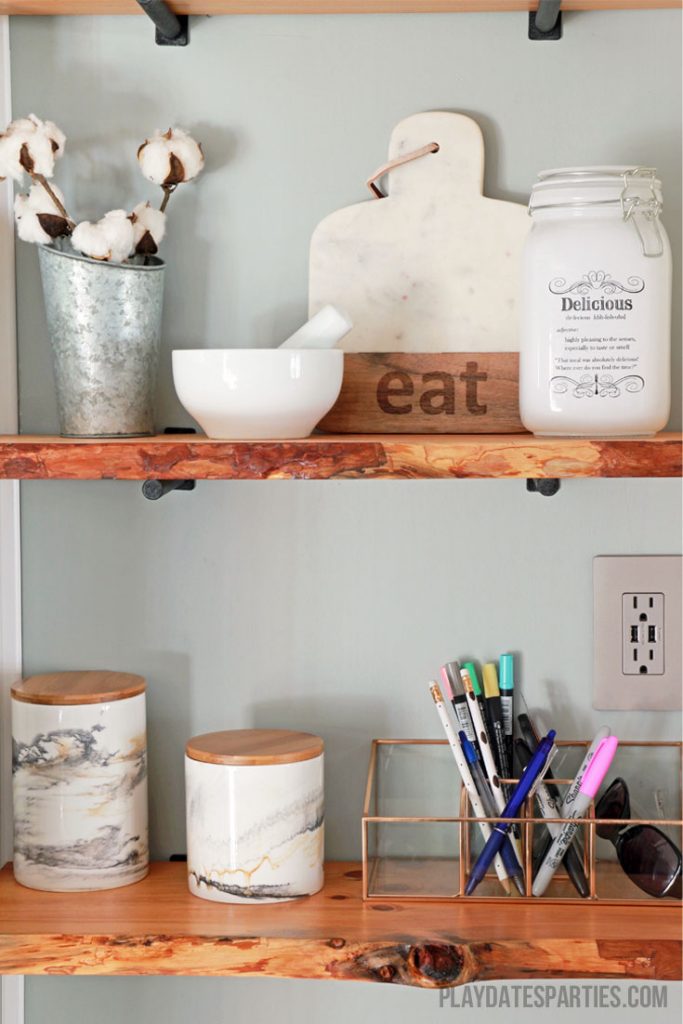
When it’s all over, hopefully you’ll end up with something like this:
See the Rest of the Renovation:
The Kitchen Reveal How to make Live Edge Wood Shelves Designing a Kitchen for Entertaining Pros and Cons of Open Shelving in the Kitchen 7 Common Hardware Finishes for Cabinetry 4 Tips to Find the Right Shade of Gray Paint Renovation Design Changges Kitchen Demo & 1 Week Progress Why We’re Taking on a 6-Week Kitchen Renovation
Now, it’s Your Turn
Next time you want to add a bit of shelving to your home, forget about grabbing those old melamine shelves and give live-edge shelves a try! You’ll end up with gorgeous shelving that doubles as one-of-a-kind artwork!
I want to extend many thanks to the readers who have enjoyed renovation and home DIY posts over the years. Unfortunately, in January 2018 I was diagnosed with Stage II breast cancer and had to stop doing home renovation posts due to treatment.
Since that time, my focus has been on making this website an amazing resource for the everyday mom’s parties. Due to their popularity, the DIY posts and tutorials will remain on the website, but comments are now closed. Thank you again and I wish you the best in your DIY endeavors!


dannyelle says
Wow your shelves turned out great. Love the live edge and the pretty brackets you used. I did shelve this week too. 😉 We’re getting there!
Jen @ Noting Grace says
Wow! This is stunning! I have never thought to use live edge wood before, but now I want to try it out. Can’t wait to see the full reveal this week!
The Rhyming Mum says
This looks amazing. You’ve done a fab job. Not sure I’d get the same results #dreamteam
Emma: Ettie and Me says
What a great idea! These shelves are gorgeous and exactly what I was looking for in my kitchen! we’ll be having a go at these! #twinkletuesday
Jess says
These look amazing! 🙂
I would love for you to share this with my Facebook Group for recipes, crafts, tips, and tricks: https://www.facebook.com/groups/pluckyrecipescraftstips/
Thanks for joining Cooking and Crafting with J & J!
Nikki Gwin says
I love your shelves! I have a live edge bench and I think its gorgeous!
🙂 gwingal
B. Blue diy says
Beautiful shelves and amazing tutorial and blog!! Nice to meet you!
Teresa says
I love them, they are so pretty. Thank you for sharing the instructions at The Really Crafty Link Party. Pinned!
angie says
love all the great wood signs out there and thank you for sharing your tips. I believe I have a new idea I will be getting done around the home
come see us at https://shopannies.blogspot.com
Jelica says
Hi Leslie! Great tutorial – you really made it look like something we could do at home. I have a couple of live edge pieces that I’ve been hanging onto for while now, so this has given me some ideas. Thanks!
Marly @ A Brick Home says
Leslie,
I just found you on the linkup, and I love this post. These shelves are EVERYTHING! So rustic and perfect. I also noticed you’re a fellow Maryland blogger. So cool!
Can’t read to read more posts.
Best,
Marly
Shanice Bannis says
This looks amazing. Love it!
Kim Six says
These are beautiful. I’m featuring you in this week’s Creativity Unleashed party as my weekly rockstar. Thanks so much for sharing!
Amanda Drew says
That’s really interesting that lumber yards have been selling live edge slabs online. I want to build a nice bookshelf that looks rather rustic. I’ll have to follow your advice and find somewhere to get wood slabs from.
Rashida says
Hi There! Your Shelves turned out beautiful! I was wondering if you would share where you bought the live edge shelves? I currently live in DC. Thanks