I’m so sick of painting, and I’ve barely even gotten started.
Just in case you missed the post last week, I’m joining with Linda from Calling it Home for my third round of the One Room Challenge. Last spring, I made over my two-story backyard, in the fall I cleaned out and reorganized our teeny tiny linen closet. And this time, I’m finally getting a master bedroom worth sleeping in.
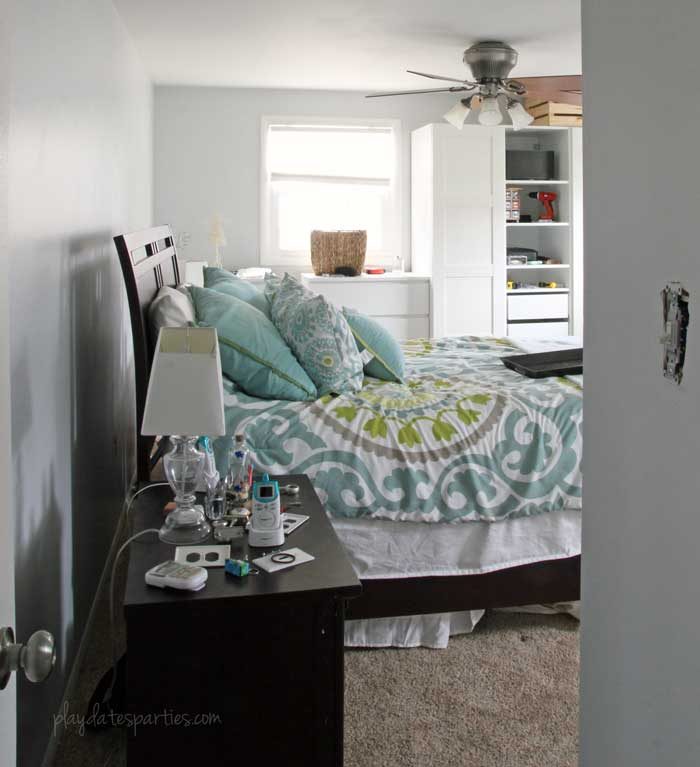
In week 1, I shared our design plan and before pictures. And after one short week, the room already looks totally different:

I know our room looks smaller in the progress picture. That’s in part because of the angle, and also because the bed is pulled away from the wall. Since the Husband was busy most nights last week with work, I prepped and painted the room by myself over the course of three days. There is no way I am letting our freshly painted walls get dented and scratched by the dark brown headboard.
It’s funny, actually. I remember when we first got this house before we had kids. It was so easy to come home after a day of work and paint for a good 3 or 4 straight hours before going to bed. Almost ten years and three kids later, I’m now limited to about an hour of painting during naptime and another 1 to 2 hours after the kids go to bed.
Thankfully, the husband and I both have plenty experience painting rooms all on our own and we’ve learned a few small, but important painting tips that help the process go much smoother when you only have short bursts of time available.
9 Simple Painting Tips for People with No Time
Get Everything Prepped in Advance
Go to the store and get all your supplies a day or so before you start painting. Don’t forget the small things, like 4-inch or 6-inch rollers, drop cloths, sanding blocks, spackle, and any brushes you may need.
If You Miss a Spot when Spackling, Hairdryers are Fantastic
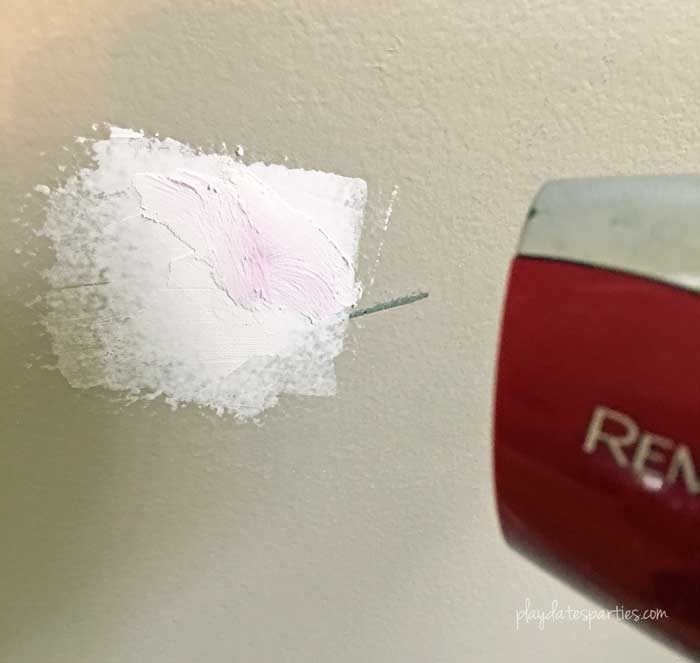
Don’t rely on this trick for every hole, but in a pinch, hairdryers can quickly dry small patches of spackle. I was able to get this spot dry in about 15 minutes, which is far faster than the 1-hour minimum air drying would take.
Take Advantage of Disposable Items.
Disposable drop cloths and plastic pan liners were my best friends on nights when painting wasn’t finished until nearly 11 pm. And wearing plastic gloves while cleaning brushes and rollers meant that I spent less time scrubbing paint off my hands afterward.
Don’t Bother Taping.
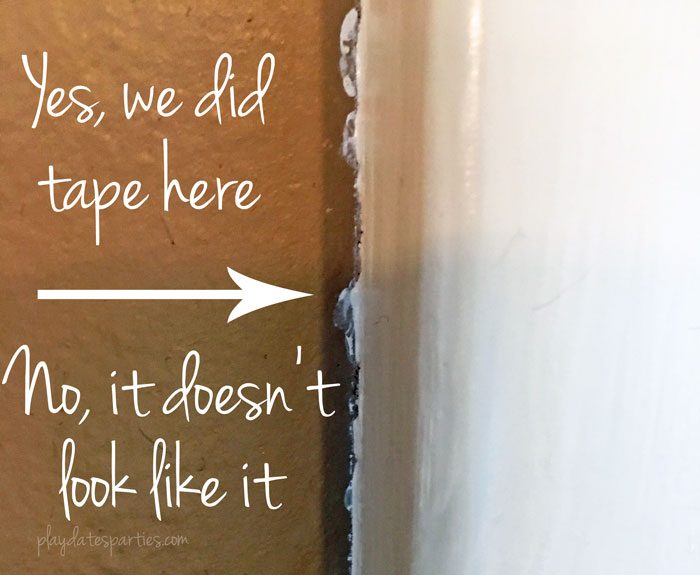
I know some people will disagree, but every professional we’ve ever hired has relied on a careful hand instead of painter’s tape. Over the years, the husband and I have found that taping the room is generally more work than necessary.
Paint can still leak underneath the tape (we’ve tried several brands), it’s hard to get separate pieces of tape aligned properly along the same wall, and when you remove tape, it’s very easy for latex paint to peel off with it. (Fair Warning: There are times you definitely want to tape, such as painting trim next to carpet.)
Move the Furniture Just Far Enough.
When you’re doing it all yourself, moving everything out of the room, or even all the way to the center of the room takes too much extra time. Instead, use furniture moving pads to push dressers and heavy items 2 to 3 feet away from walls. That way you have plenty of room to get behind the furniture while you’re painting. Don’t forget to cover any furniture you want to keep with lightweight drop cloths.
Wear Designated ‘Painting Clothes’.
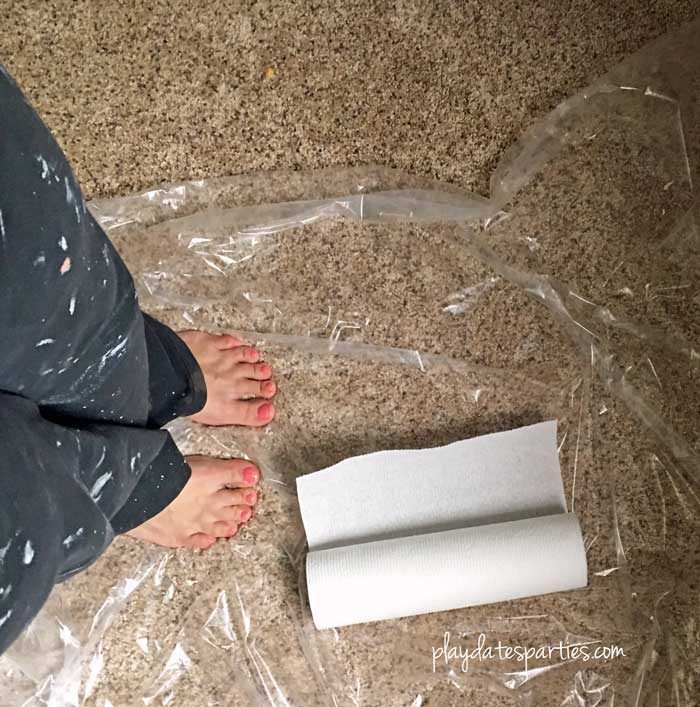
Years ago, I accidentally got paint on my favorite pair of black yoga pants. From that moment on, those are the only pants I wear when painting or doing dirty projects. They are now completely covered in paint splotches, and I love it. If a bit of dust gets caught on the wall while painting, I’m able to pick it off with my hands, wipe in on my pants, roll right back over the spot and keep moving.
Work Barefoot.
Drips and spills are inevitable. If you paint without socks or shoes, you will feel wet spots on your feet before you can track them throughout the rest of the room or the house. Yes, we’ve learned this the hard way.
Keep a Roll of Paper Towels and a Cup of Water Handy
Speaking of drips, spatter and spills, you never know when you’ll need to quickly clean something up. I can’t tell you how many times I used a damp paper towel to wipe drips and spatter off of my surroundings.
Take Your Time.
Break up your paint job into manageable steps that can be completed in the time you have available. Being limited to nap and nighttime, I focused on painting only one coat at a time, and (at first) only one wall at a time.
I regret trying to rush through two walls of painting on my third day. I was constantly worried that the baby would wake up before I was done. As a result, I was more prone to overloading my brushes and rollers. That’s a perfect recipe for drips and other mistakes.
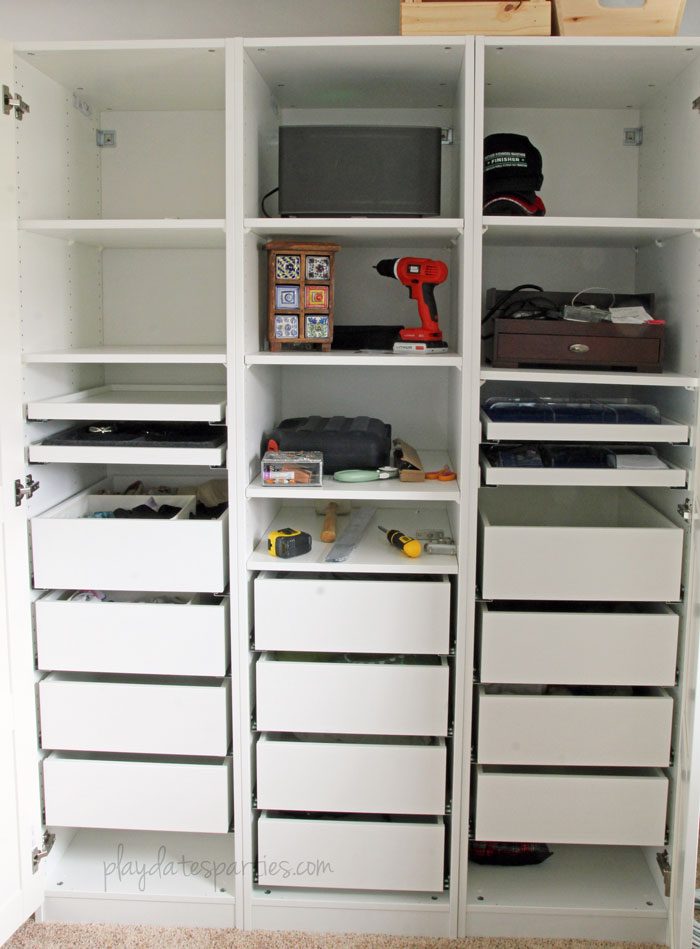
After the room was painted, the Husband and I spent a couple days putting together the three Ikea Pax cabinets. We are pairing them with the Malm dressers that were in the girls’ shared room. Don’t worry, the girls aren’t dresser-less. I painted my old dresser white, and it’s now sitting in their bedroom looking super girly and pretty.
So, that’s a whole room and a dresser. I told you I’m already sick of painting.
Here’s a recap of our to-do list:
Paint Room- Install new closet wall (halfway done!)
- Paint trim
- New bed & linens
- Make curtains & update curtain hardware
- Install accent wall
- Paint closet
- Install shoe shelves in closet
- Install pocket mirror
- Make or purchase covers for chairs
- Frame accent above bed
- Find or make nightstands
- Figure out space for laundry
What did you get done last week?
What are your best painting tips for painting a room?
See the Entire Renovation Process:
Modern Boho Master Bedroom Reveal How to Make a Hidden Jewelry Holder How to Make Tassel Trim Pillows The Easy way 5 Easy Ways to Make Stunning Throw Pillows How to Make a Vertical Shiplap Headboard Master Bedroom Renovation: Week 5 Update Master Bedroom Renovation: Week 4 Update Master Bedroom Renovation: Week 3 Update 7 Practical and Pretty Storage Beds Painting Tips for People with No Time Modern Boho Master Bedroom Design Plan
I want to extend many thanks to the readers who have enjoyed renovation and home DIY posts over the years. Unfortunately, in January 2018 I was diagnosed with Stage II breast cancer and had to stop doing home renovation posts due to treatment.
Since that time, my focus has been on making this website an amazing resource for the everyday mom’s parties. Due to their popularity, the DIY posts and tutorials will remain on the website, but comments are now closed. Thank you again and I wish you the best in your DIY endeavors!




Lizzie Ravn says
Woah, that’s a lot of progress for week 2! So far, I’ve shopped and, um, that’s it! Haha. It’s already looking so much freaher and brighter in there.
Deborah says
Such great tips. So on my FB page there is a tip on getting paint off clothes and shoes. Worth a try for those who accidently start painting when they have decent clothes on and bump into wet paint. Not that I know anyone like that. 🙂
Laura - The No Pressure Life says
The room looks so much brighter! Great tips – the hairdryer for spackle idea is genius! My husband and I also detest painting and I abandoned most taping the last time I painted a room. Definitely saved time and sanity!
Janine Huldie says
Passing this along to my husband who wants to re-paint our kids’ bedroom soon and could totally use this list. Thanks Leslie!! 🙂
Barrie Bismark says
Wow! Great tips. I love painting so I’ll try some for sure!
#happynowlinkup
Sandra Garth says
Congrats you’ve made lots of progress! Painting is one of my least favorite things to do but with these tips it should be easier. Thank you!
Caryn says
LOVE the progress. Looks great. I wish I would have seen these tips when I painted my closets a year ago. I wore flip flops (that I really liked) and then ruined them…so now I know to paint barefoot.
Jenny @ Unremarkable Files says
I hate taping, it looks crappy half the time anyway. We got a handy little tool called a paint edger and I LOVE IT. It’s seriously the best.
And this doesn’t work with a baby, but if your kids are 2 or older, I just paint while they’re awake and tell them they can play in the room but CAN NOT GO ON THE PLASTIC. They mostly listen.
#happynowlinkup
Gentle Joy Photography says
It is so nice to get painting done… and I agree w/ the careful painting vs painter’s tape… I have had the same experience and rarely use painter’s tape. Good to see your project. 🙂
Angie ~ ambient wares says
Wonderful tips and I love the idea of going barefoot. Makes so much sense 🙂 Thanks for sharing with us at Funtastic Friday! Pinning & sharing
kristin mccarthy says
I have painted every single room in this house…like twice. Great tips. I always move stuff the bare minimum. Who has time and strength to get it out of the room?
shelley says
I have always had a horrible time with taping and it never – ever – looked smooth and straight when I was done! So many great tips here that I need to put to work because we’ve put off painting out own master bedroom for nearly 2 years now. Pinning this to refer to.
Beverly says
Your room is looking great! The painting tips are practical. Thanks for sharing at Snickerdoodle. This was the Most Clicked from last week’s party and all of the party co-hosts will be featuring it at today’s party. Hope to see you there.
Victoria @DazzleWhileFrazzled says
Ugh, I’ve painted too many rooms myself over the years! I’ve been putting off painting our rose colored master bath for 2+ years now even though the color makes me nuts. This summer, I promise! I have very similar paint speckled paints (and shorts and shirts)!! Visiting from Snickerdoodle Sundays party.
Steele Honda says
I totally agree that if you want to save time painting your house, you should prepare all the tools, clothes, and other necessary things in advance no to lose time searching for them afterward. I usually did painting with my husband, but now he is in another country, and I will not be able to paint everything myself. I guess it is time to find a professional painting service!
Ken Hwan says
My wife and I are painting a nursery in our home for our new baby, and I wanted to find some tips to help us and make sure we are doing it right. I liked the advice to focus on one coat on one wall if you are short on time, my wife and I both have very busy schedules and I want to make sure that we aren’t messing up the paint job by sparingly painting! I will be sure to show this to my wife and together we should be able to paint the nursery quickly!