Getting small storage spaces organized can feel like an exercise in frustration. But it is possible to have an organized linen closet.
Take a look at our freshly cleared out and reorganized built-in storage nook and linen closet, and learn the 7 steps it takes to turn your small storage spaces into areas you love.

It’s finally done.
Who knew that cleaning out a linen closet and small built-in storage nook would take so much time and effort? But I’m in love with the final results of this fall’s One Room Challenge.
And apparently, so is my 7-year-old. She’s been caught staring at the storage nook, saying how much she likes it. That’s probably the best endorsement I could get.
Quick Links
- Built-in Storage Nook: Before and After
- Our Awesome New Linen Closet
- 7 Simple Steps to an Organized Linen Closet
- Get Your Free Printable Labels Here
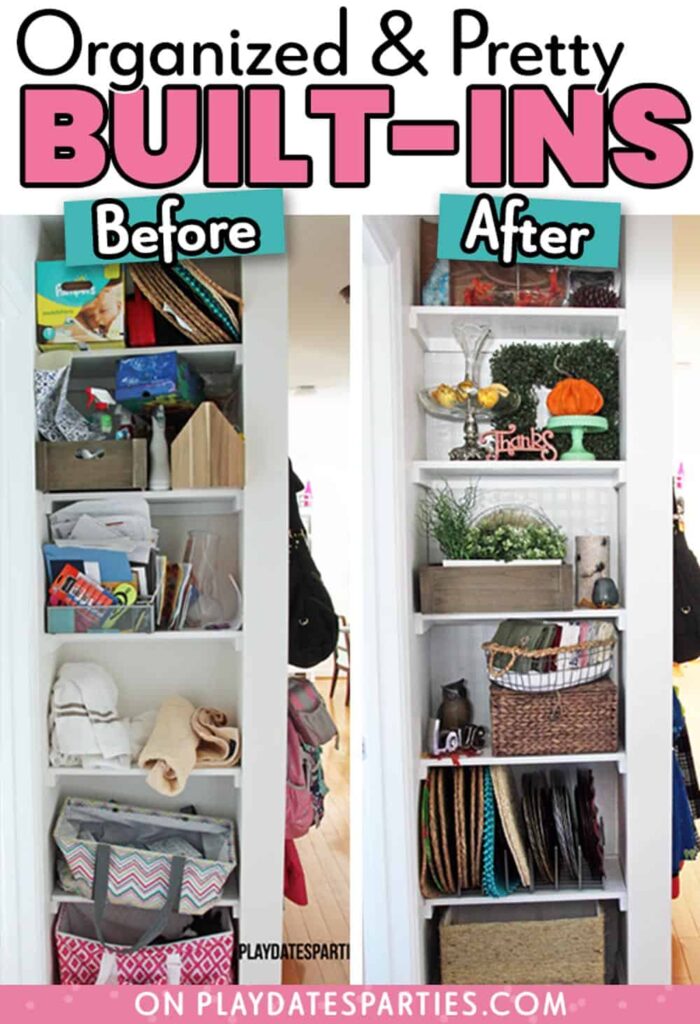
Built-in Storage Nook: Before and After
It may look like a glorified bookcase, but it’s so much more.
I love that this nook provides plenty of storage with a few little spots to decorate for each season. And with Thanksgiving in a couple weeks, we’ve got it filled with pumpkins, gourds, fall leaves, and more.
Most importantly, though, it acts as open storage for many of my party supplies and food photography props. Since I do most of my photography right down the hall in the kitchen, this is much more functional than going downstairs and searching through the storage room for props.
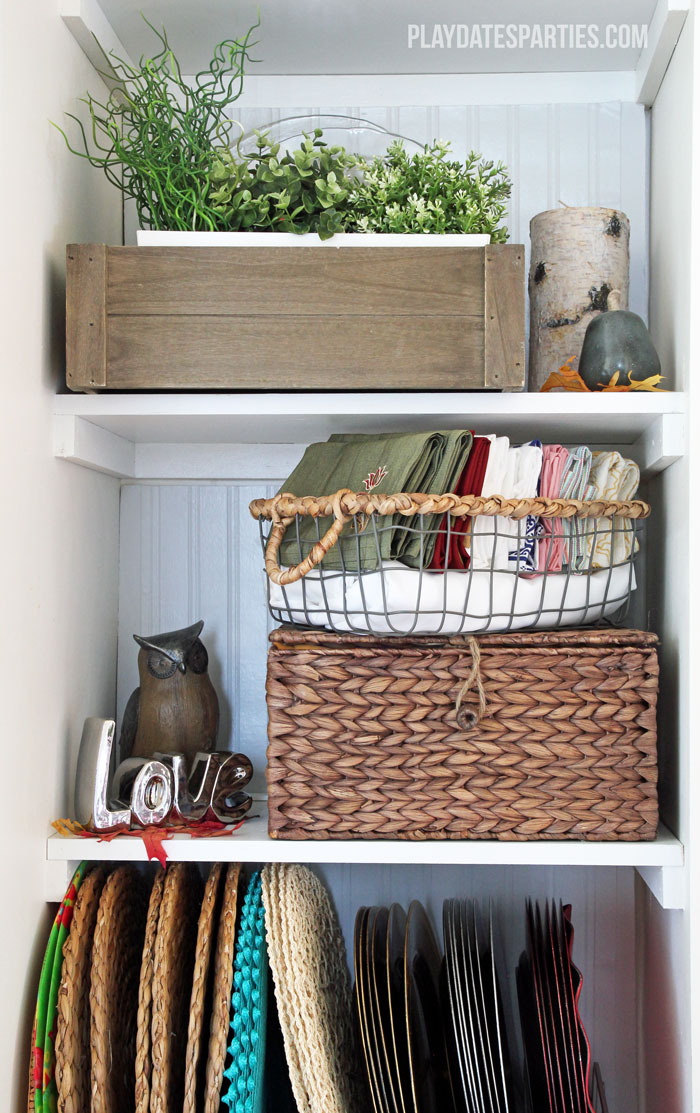
The new DIY twine-wrapped box on the floor is also super functional.
In the before and after pictures above, you can kind of see the coat hooks in the hallway just to the right. This box is where we’ll keep everyone’s hats, mittens, and scarves during the winter.
Having all of those warm items right around the corner will make them easy to grab. And that’s so important on busy school mornings!
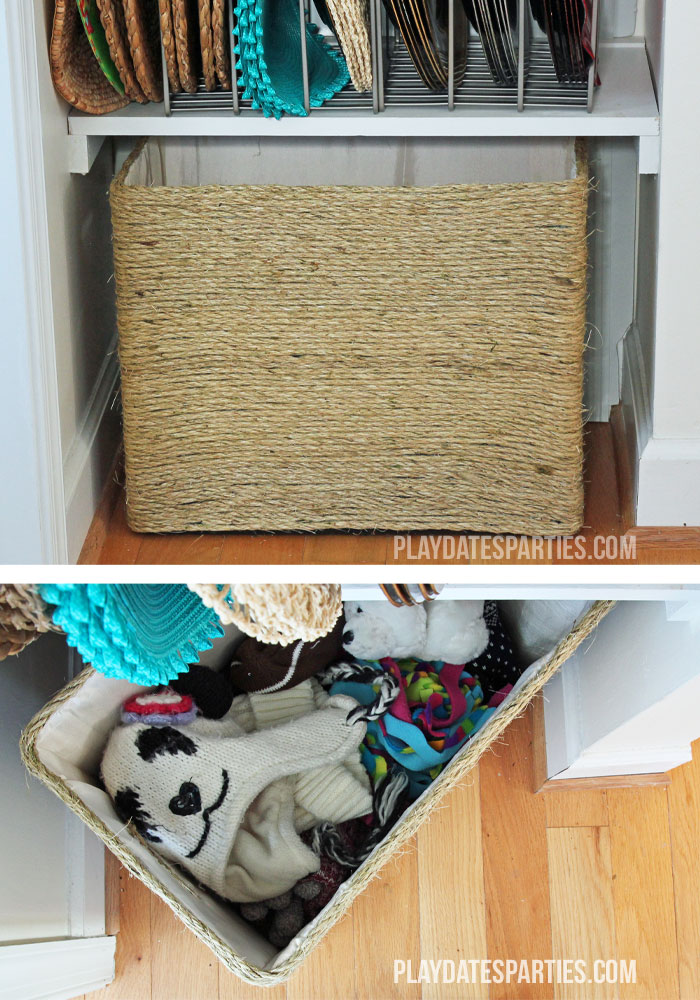
I also found a way to sneak in some of my platters, trays, and an epergne passed down from the Husband’s aunt.
Have you ever heard of an epergne before?
I had no idea what it was until I saw this one. They are very traditional serving pieces that are meant to hold both flowers and finger foods at the same time. Isn’t it beautiful? I’m thrilled to finally have it on display.
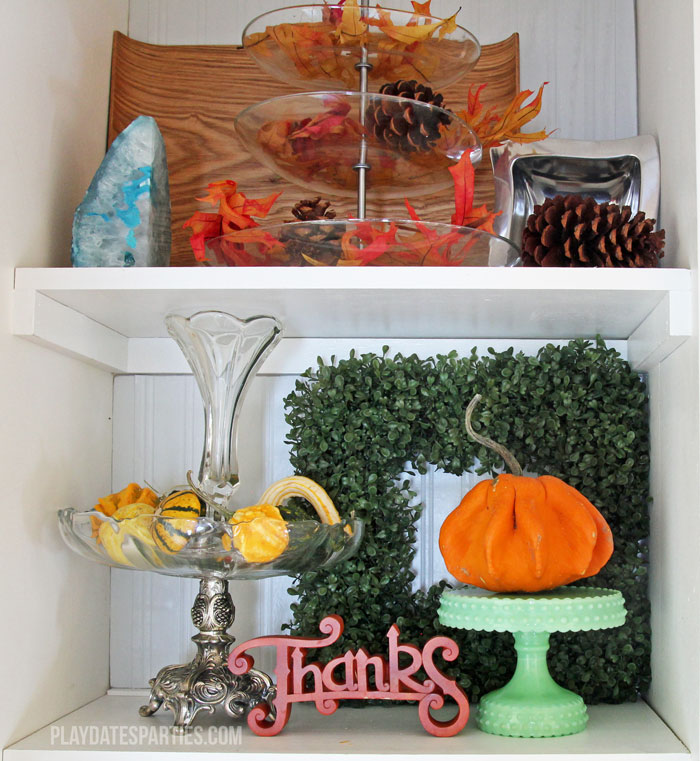
The epergne and 3-tier server are the perfect spots for a little bit of seasonal decor.
I just love how the knotty and funky gourds look on the ultra-traditional epergne. And I can easily imagine festive holly and garland filling the space as well.
Our Awesome New Linen Closet
As much as I love my new storage nook, most of the work went toward purging and reorganizing the linen closet.
That narrow 24-inch-wide and 14-inch deep closet was overstuffed with too many towels, numerous outdated medicines, and countless items that we never used.
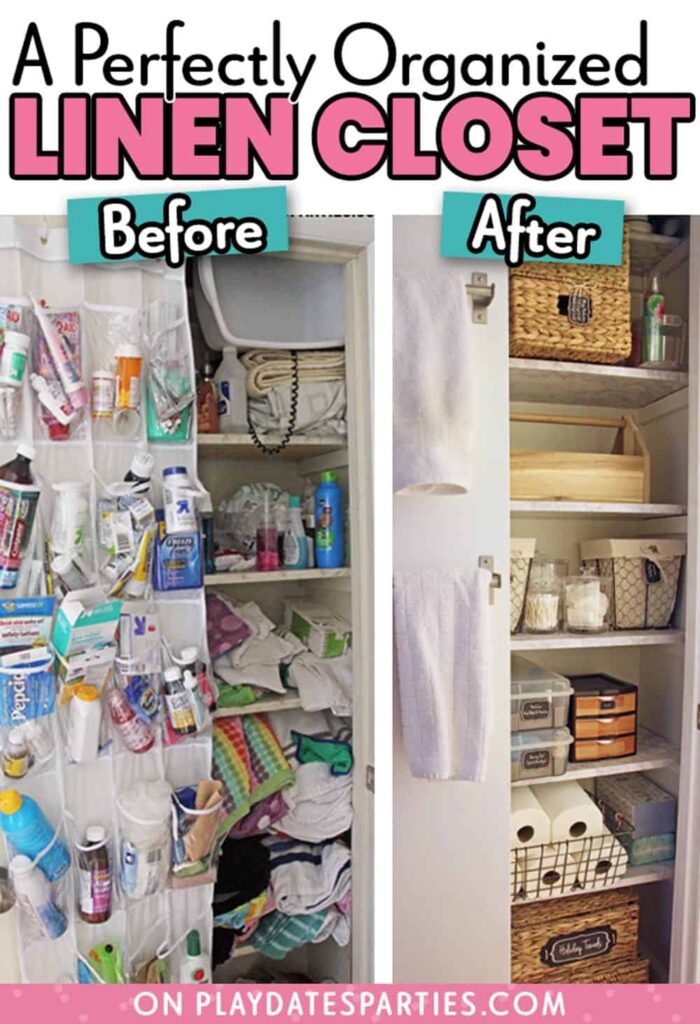
After taking my time, and following a thoughtful process, we ended up with far more storage space than we ever expected.
Take a look at how I achieved an organized linen closet that I love, and that I truly believe we can maintain:
7 Simple Steps to an Organized Linen Closet
1. Identify Your Design Style
I know that it seems silly to think of design for a linen closet, but if you love the way a space looks, you’re more likely to keep it clean and organized. Follow these steps to identify your design style and keep that in mind for the rest of the organizational process.
2. Purge, purge, purge
Arguably the most fun part of any clean out, purging your linen closet the right way will make the rest of the process significantly easier.
3. Be Brutally Honest with Yourself
How does your family currently use the linen closet? Are items put back where they belong or dumped wherever there is free space? Will your family members maintain a system that is hyper-organized, or do you need to find a middle-ground where items can be tossed in without making a mess?
There’s no point putting an organizational system in place that won’t or can’t be maintained by everyone in the household.
4. Don’t Forget Safety Considerations
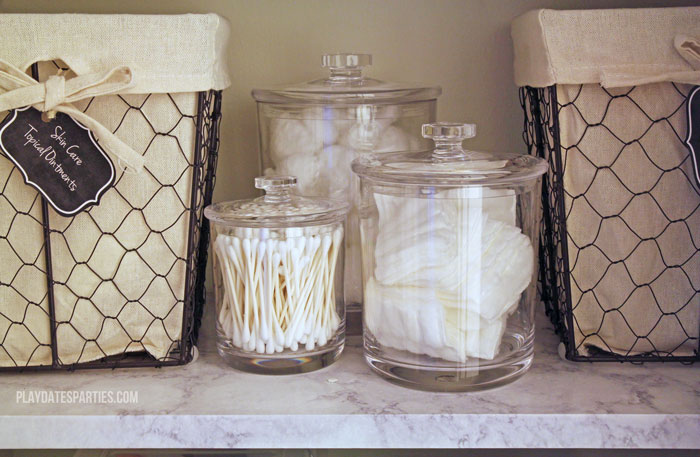
If you have little ones or pets in the house, make sure your plan focuses on their safety first. Put locks on the door and keep medicines and cleaning solutions on the highest shelves, out of reach of little hands.
Don’t think that you have to sacrifice style for safety, either. These apothecary jars look like glass but are actually kid-safe, shatter-proof acrylic.
5. Put together Your Storage Plan
Now that you know what you need to store and the type of system that can be maintained by the entire family, it’s time to get to the real work.
Take measurements of each shelf in your closet and put together a plan that fits what you identified in all previous steps. Bring your measuring tape with you while shopping, and keep in mind the best ways to use common storage items:
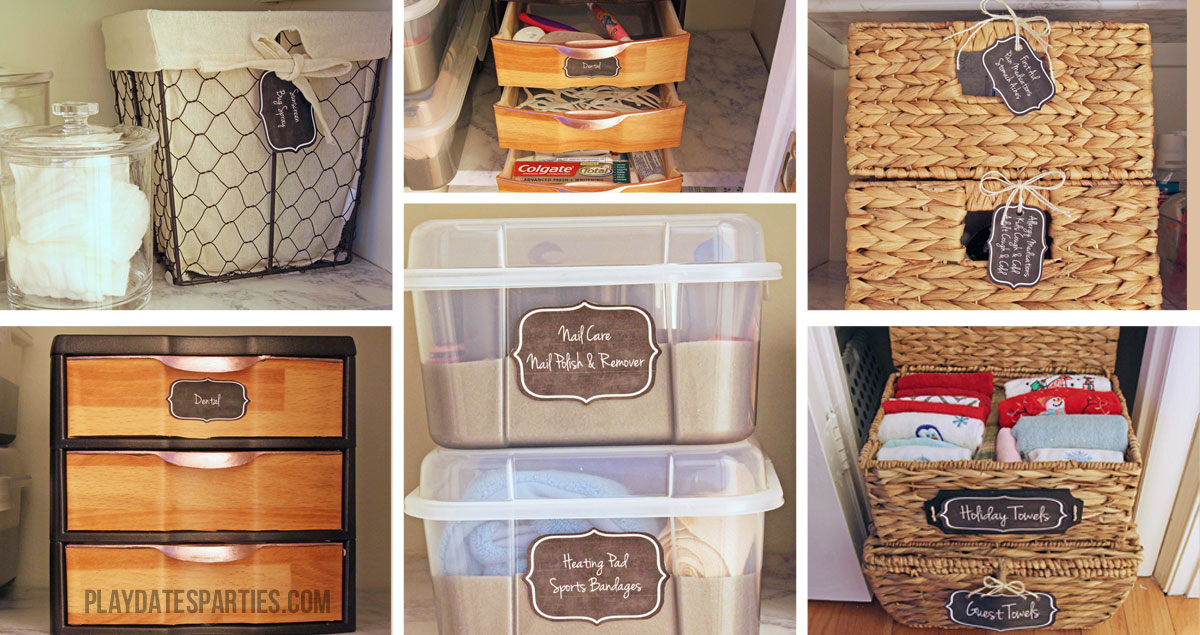
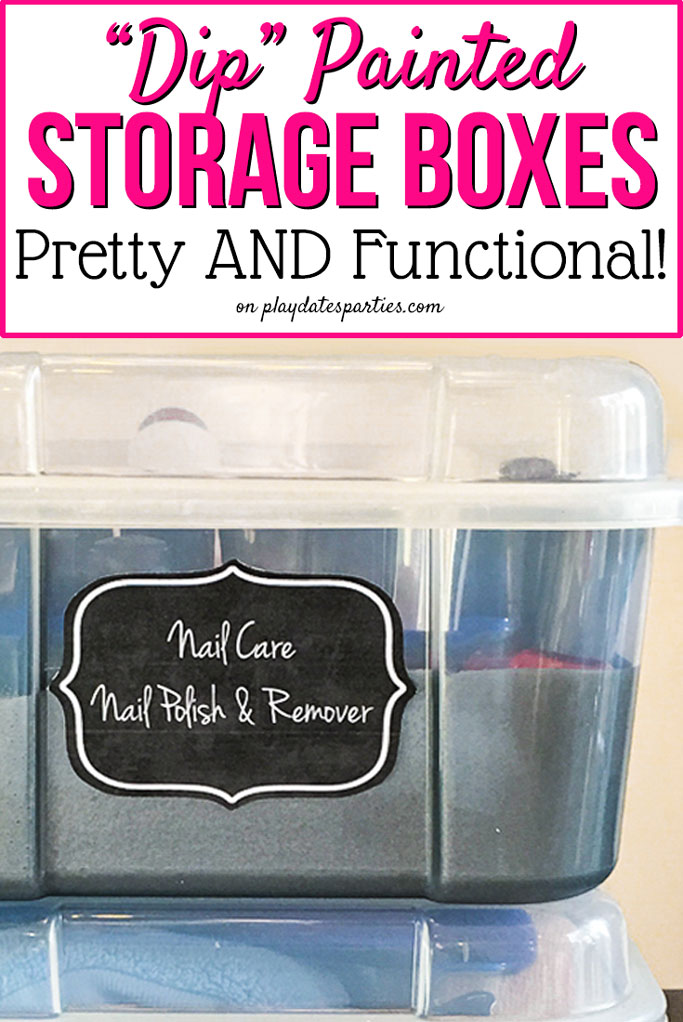
Closed and lidded storage – Best for things you don’t use very often, closed and lidded storage keeps items from getting dusty, and also limits visual clutter.
Trays – Clear plastic trays are perfect for items like bottles that can tip over, but that you need to access often and quickly.
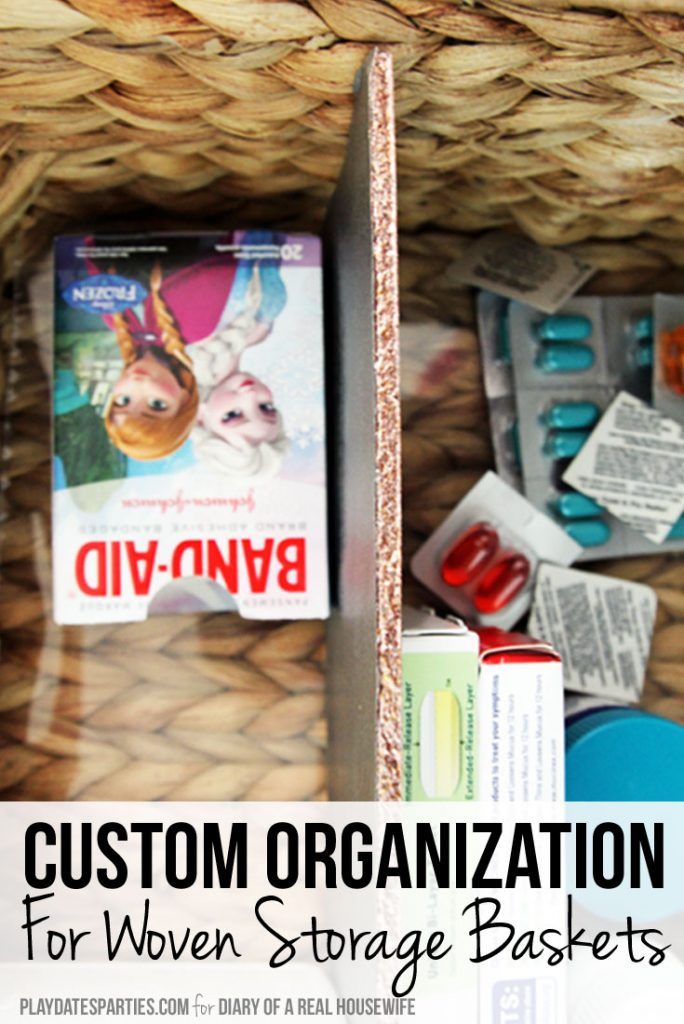
Baskets – I love open baskets for corraling small items that need to be accessed somewhat frequently, such as medicines. Make sure your baskets aren’t too big for the items you’re storing, or you’ll get frustrated rifling through the contents. (Coming soon…a simple trick to keep baskets organized)
Drawers – Like baskets, drawers are great for keeping smaller items organized. They are especially helpful for items that can cause clutter, but need to be accessed frequently. We use these drawers to hold flossers and the kids’ extra toothpaste tubes. Be wary of creating more junk drawers in your home.
Clear Jars. Glass jars are a classic way to contain small items like q-tips and cotton balls. Truthfully, any small, irregularly shaped collection is a great option for clear storage like apothecary jars.
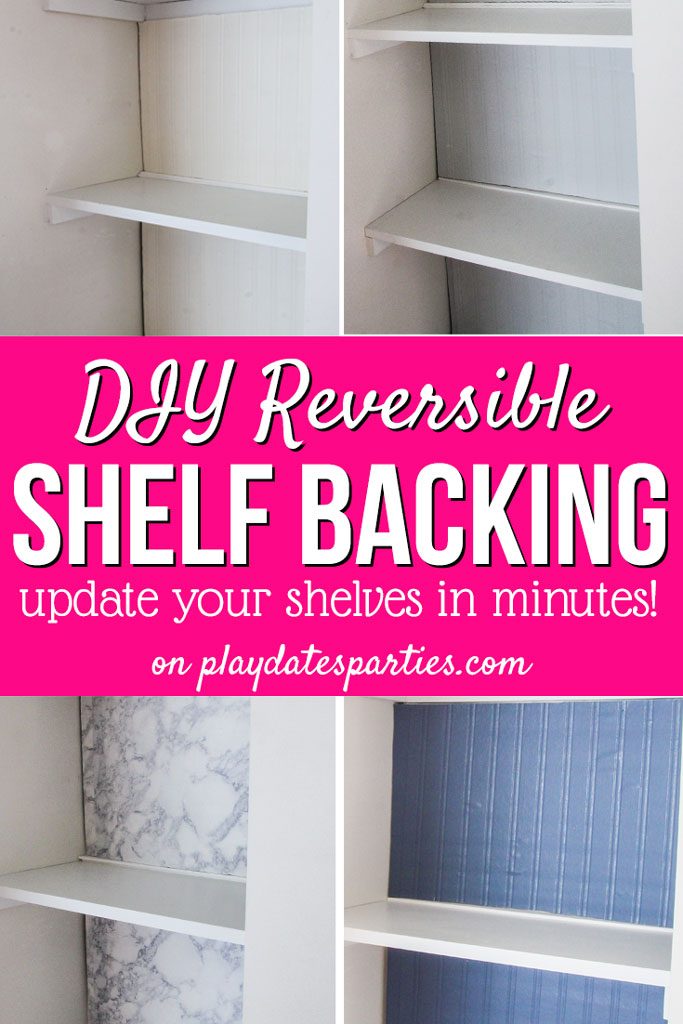
Door Shelves and Towel Bars. Maximize storage space by adding shelves and towel bars behind the door. We opted not to add a shelf on the door because it would be too deep for our other storage containers, and we would likely use it as a place to dump items instead of putting them away properly. We do love our new 15″ Ikea Grundtal rails, which act as towel rods for hand towels.
6. Put everything in its new place.
Take everything out of temporary storage (from step #2) and put it all in the storage solutions found in step 5. Arrange and rearrange in your closet until you have a set-up you love.
7. Add the Extras
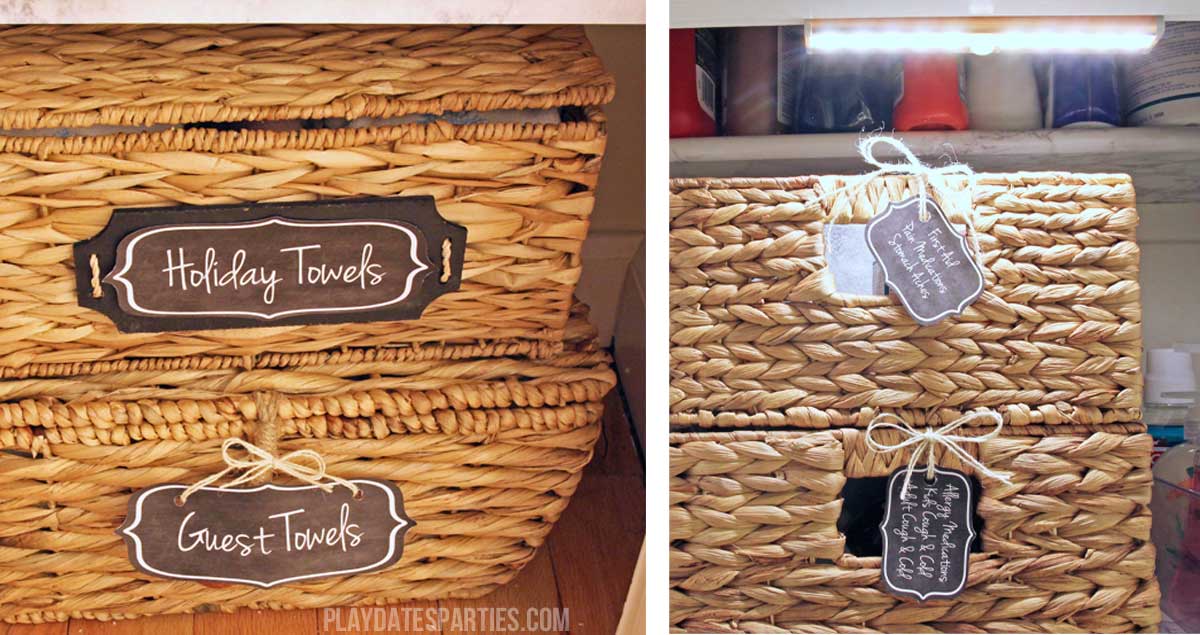
Linen closets are often dark and hard to see. Adding a motion-sensor light at the top of the doorway helps you see without turning on all the lights in the adjacent rooms.
To ensure that all your hard work doesn’t go to waste, add labels to your containers. Use twine or ribbon to add labels to baskets, while double-sided tape works perfectly for flat-front boxes.
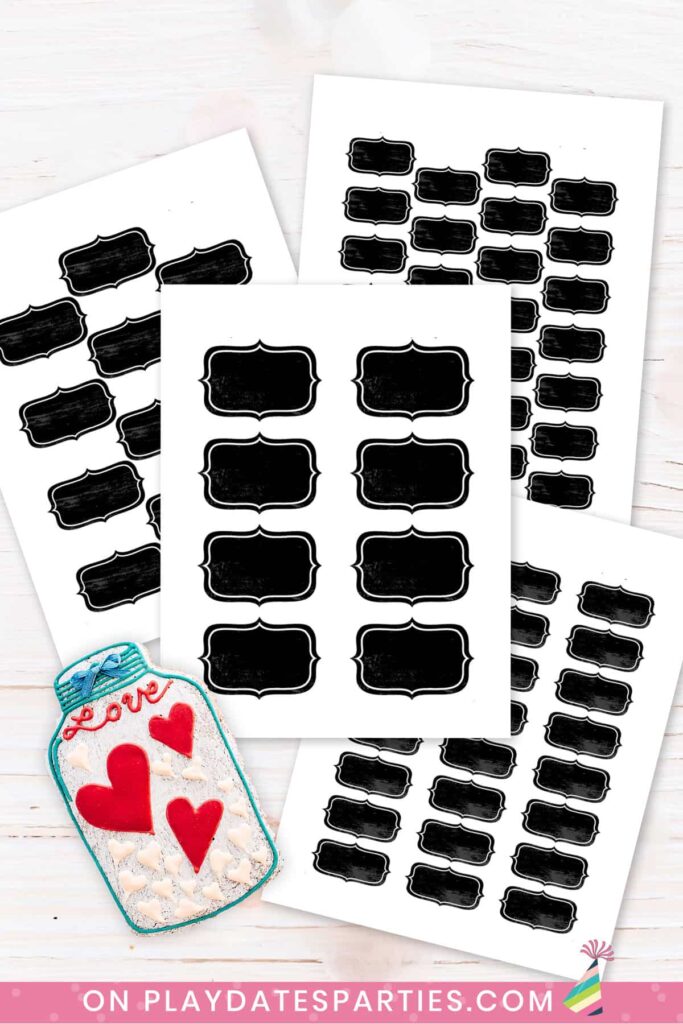
Get Your Free Printable Labels Here
In celebration of getting all the spaces organized, I’m sharing these printable chalkboard style labels free for subscribers. All you need to do is add your name and email address to the form below and I’ll send them straight to your inbox.
The labels come in four sizes, and are editable in Adobe Acrobat (it’s free!), so you can get your spaces straightened out in no time.
Don’t want to subscribe? No problem! I also offer these printable labels for a small price in my shop.
See the Entire Renovation
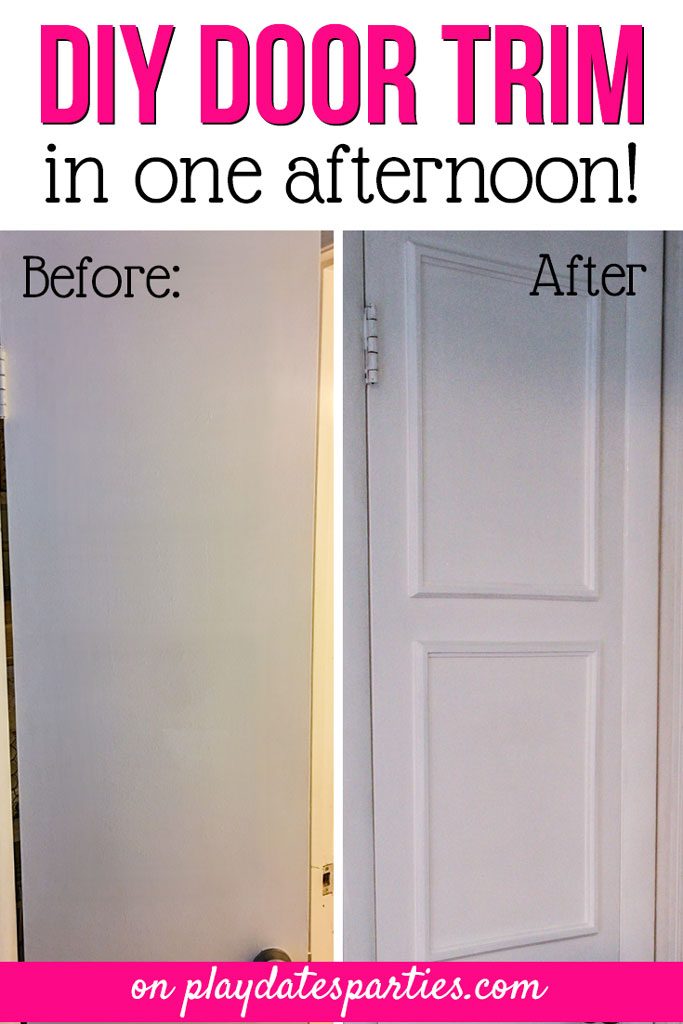
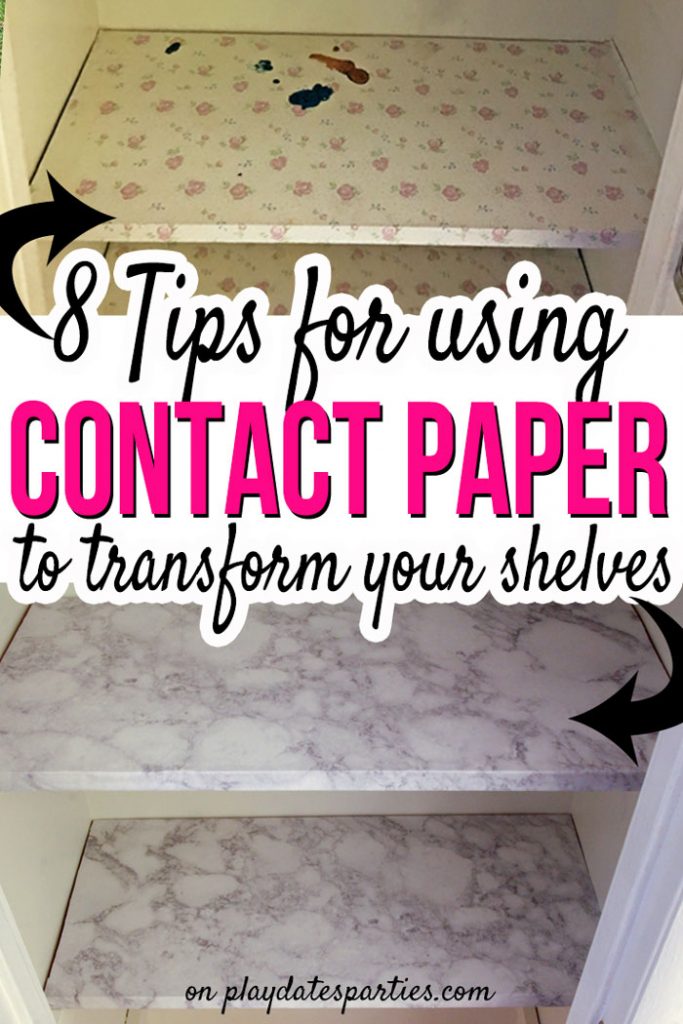
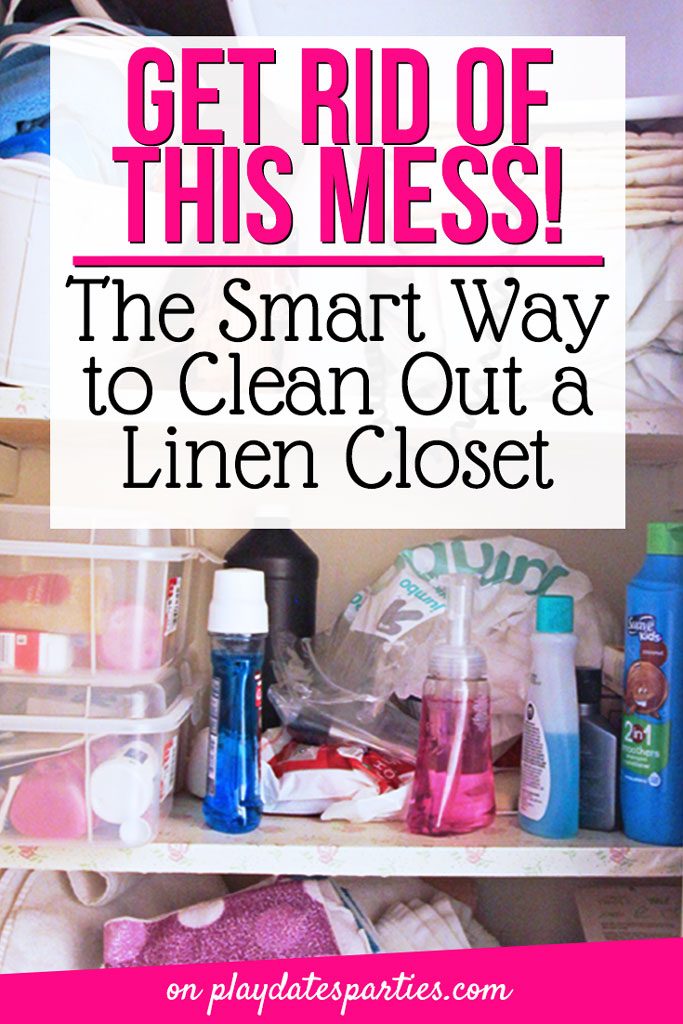
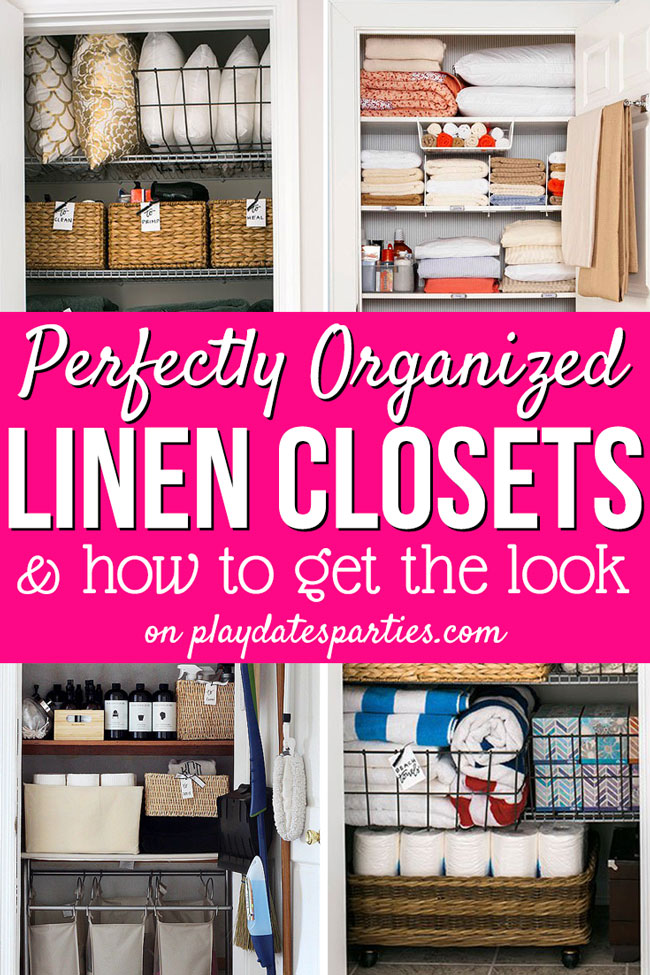
7 Simple Steps to a Perfectly Organized Linen Closet Custom Organization for Woven Storage Baskets Get the Look: Dip Painted Storage Boxes DIY Reversible Shelf Backing DIY Door Trim in One Afternoon 5 Tips to Stay Motivated During a Renovation 8 Tips for Using Contact Paper on Closet Shelves The Smart Way to Clean Out a Linen Closet Inspiration: How to Get Beautiful & Organized Linen Closets
I want to extend many thanks to the readers who have enjoyed renovation and home DIY posts over the years. Unfortunately, in January 2018 I was diagnosed with Stage II breast cancer and had to stop doing home renovation posts due to treatment.
Since that time, my focus has been on making this website an amazing resource for the everyday mom’s parties. Due to their popularity, the DIY posts and tutorials will remain on the website, but comments are now closed. Thank you again and I wish you the best in your DIY endeavors!






Jen @ Noting Grace says
This makes my OCD all kids of tingly!! This is gorgeous and I love those labels! Congrats on an amazing reveal!
Jen says
Fantastic! It looks so pretty, plus functional! My storage world is a sad place right now. I needed this plug to inspire me to do something about it!
Janine Huldie says
Cleaning out my linen closet is seriously on my cleaning and purging to-do list. How I love what you did to yours and very inspiring. Definitely going to have to see if I can try to do similar to what you did when I get to mine now, as well though #happynowlinkup
The Rambler says
OMGOSH…you totally make me inspired! Our linen closet is an embarrassment and I really want to add some class to it! LOVE your posts so much!!! #happynowlinkup
Lisa says
Oh wow, they both look fabulous! I have a few cupboards that I need to clean out, yet again. Will have to follow your lead and treat myself to some nice new storage baskets.#happynowbloglinkup x
Carolina Twin Mom / Mary Peterson says
Oh my. You just may be the first blogger to actually inspire me to organize my linen closet! I am NOT an organized woman by nature. People like yourself often don’t think about that when posting pictures of their tidy closet/room/whatever. The fact that you posted step-by-step tips was not lost on me!
I appreciate your posting this!
#happynowlinkup
Lowanda j says
I need to do this with my work closet. I had it pretty organized when i first moved into the office, but 3 years later….yikes!
Angela @ Setting My Intention says
You’re making me want to redo my linen closet! I love that twine wrapped box the different containers. I have one of those plastic shoe organizers in my linen closet and I think it makes it look cluttered rather than organized. I may take another go at it with your tips in mind!