This master bedroom renovation is turning out to be far more difficult than I ever expected. Who knew that I could feel just as stressed over a 17′ x 14′ bedroom as I did over an entire two-story backyard?
Other One Room Challenge participants and alum are probably reading this saying “Duh!”
It seems I always fool myself into thinking that it’s somehow going to be easier this time. But that’s never the case. And as much as I’m trying to do most of the work myself, I have had to ask the husband for help on a few things. And this coming week will be no exception.
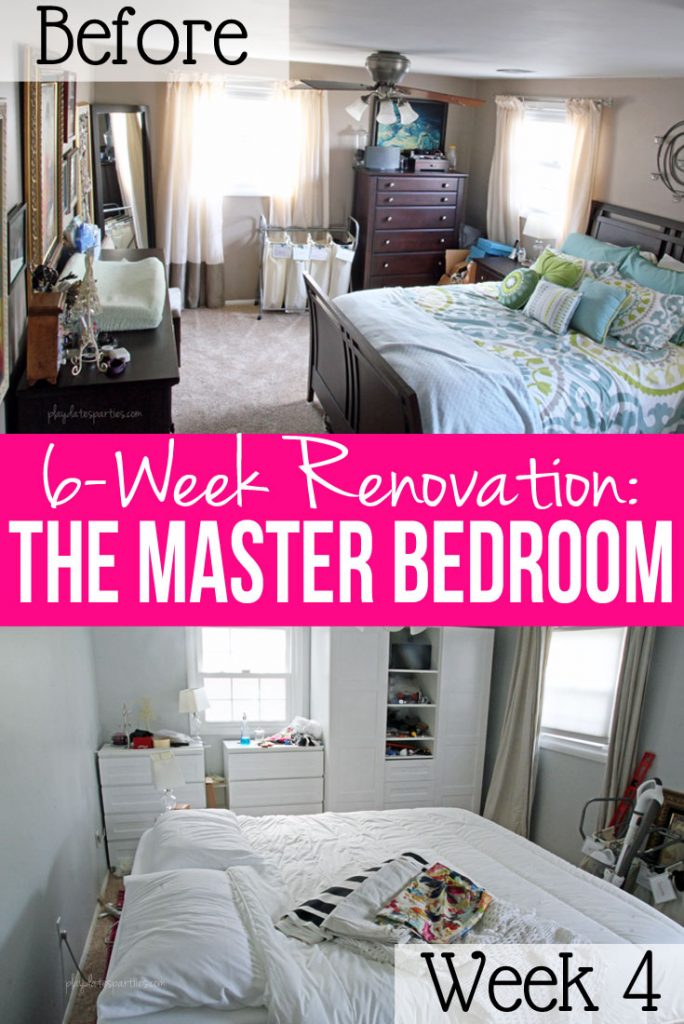
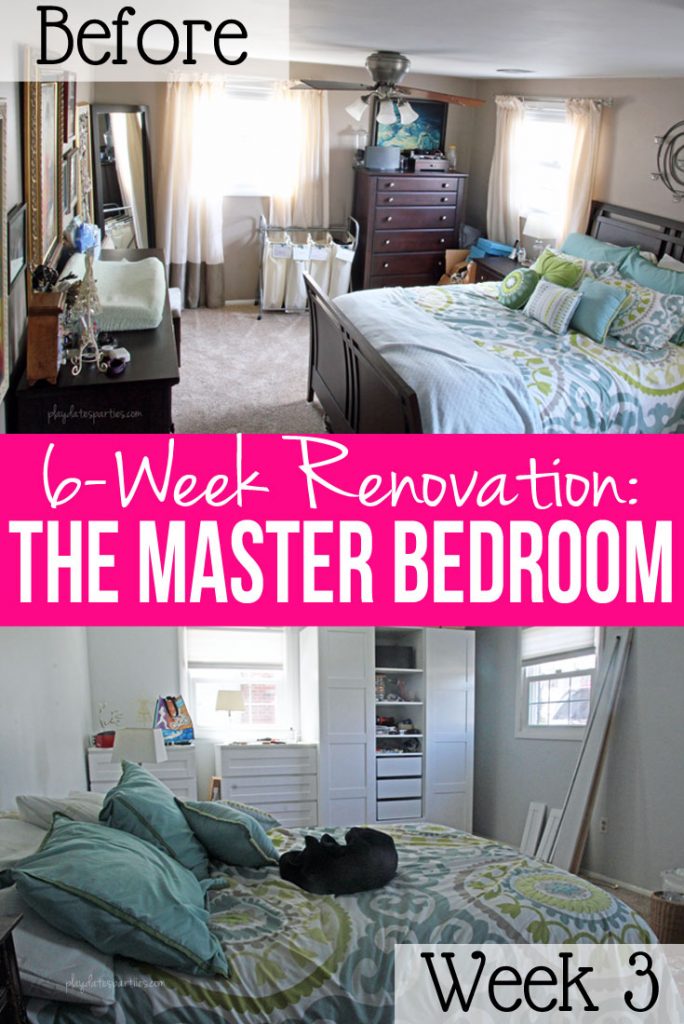
If you’re just tuning in, I’m doing a master bedroom renovation for Calling it Home’s twice annual One Room Challenge. In week one, I shared our design plan and the before pictures. In week 2, our bedroom got a fresh coat of paint, and some new storage cabinets. Week three came with headaches galore, and this week things are slowly starting to fall into place.
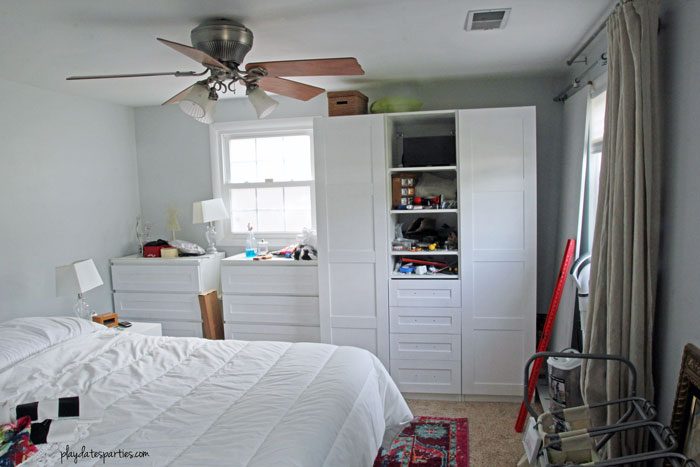
With only two weeks left until the reveal, here’s the status of each item on our project list.:
Paint the Room:
The very first thing I did was paint the entire room. We got rid of the poo-brown beige in favor of Valspar’s Polar Star. This color is in both our kids’ bedrooms, and it’s one of my favorites.
Install new closet wall
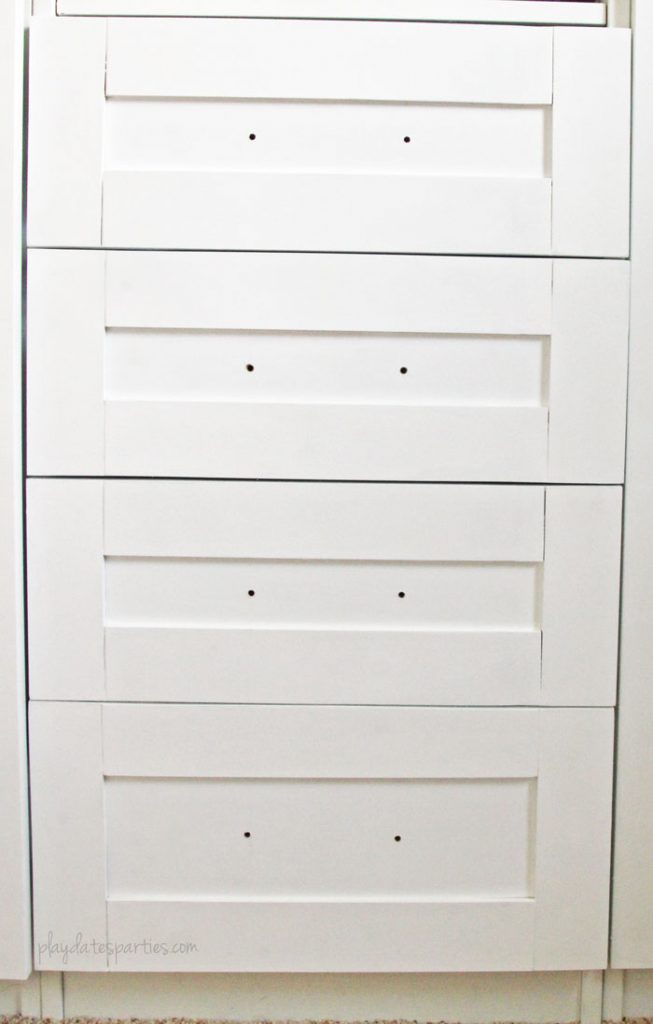
This is probably the biggest and most time-consuming project of all, and it’s so close to done! After multiple setbacks, I finally got the drawers in place this week. There were so many ways that these went wrong, I want to be sure to document the whole process in a future post so nobody else makes the same mistakes I did. Over the next week, I need to work on adding a couple extra coats of paint to the drawers, filling in the gap between the dressers, adding a custom tabletop to the dresser tops, and putting hardware on all the drawers and doors.
All that’s left is another coat of paint (or two) on the drawers, filling in the gap between the dressers, adding the top across the entire dresser section, and putting hardware on all the drawers and doors.
Paint Trim
Does anybody else hate painting trim? It’s just so tedious. The window frames are all painted, but I’m holding off on the baseboard for as long as possible. It may be cheating, but I don’t want to paint an inch more of that baseboard than necessary!
New Bed and Linens
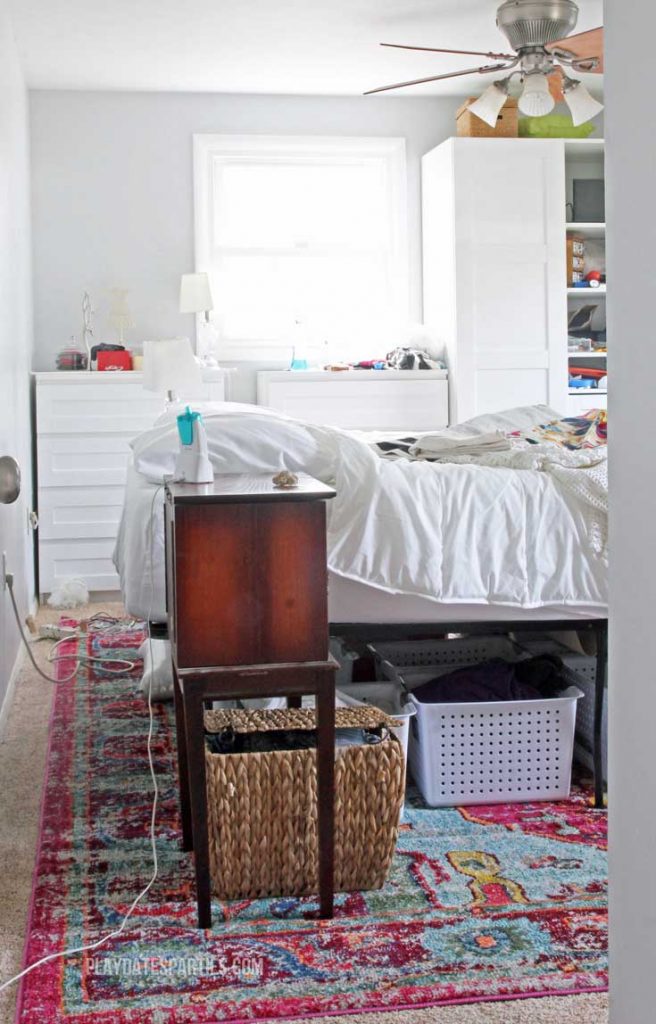
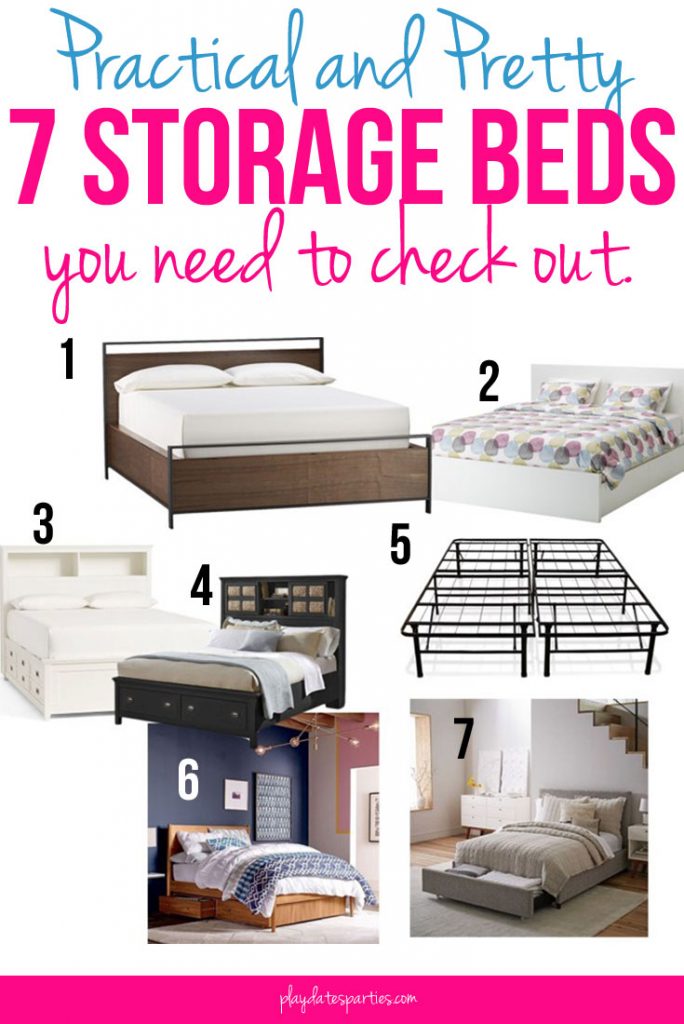
Our new bed is here! We thought long and hard about different storage bed options, but budget and storage needs led us toward taking a big risk. We purchased an 18-inch high platform bed frame and its matching mattress all through Amazon. Altogether, the set is barely $500, and promises to fit large storage tubs underneath.
So why didn’t we go with a more traditional bed frame and mattress? It was partially due to some unexpected household repairs, and partially due to space constraints. Our bedroom isn’t the smallest, but it’s not that big either. Getting rid of the traditional headboard and footboard gives us back precious walking space, and makes the room feel significantly bigger.
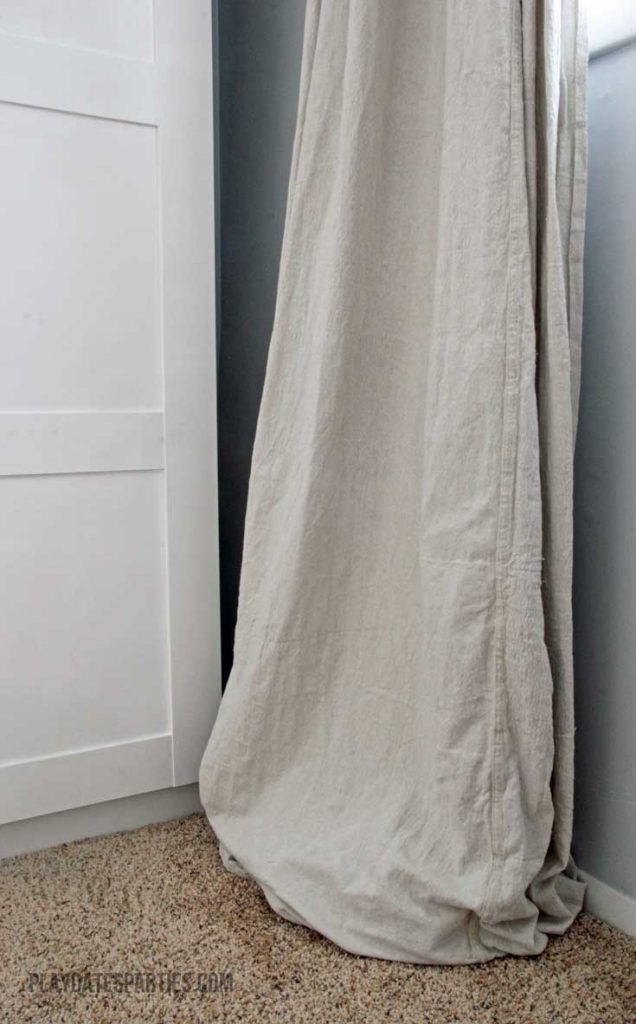
Make curtains & update curtain hardware
Done! Somehow I found a way to mess up even the easiest project and had to make dropcloth curtains twice for the room! That said, I love that the curtains soften up the room, and the high hardware also helps make the room look bigger.
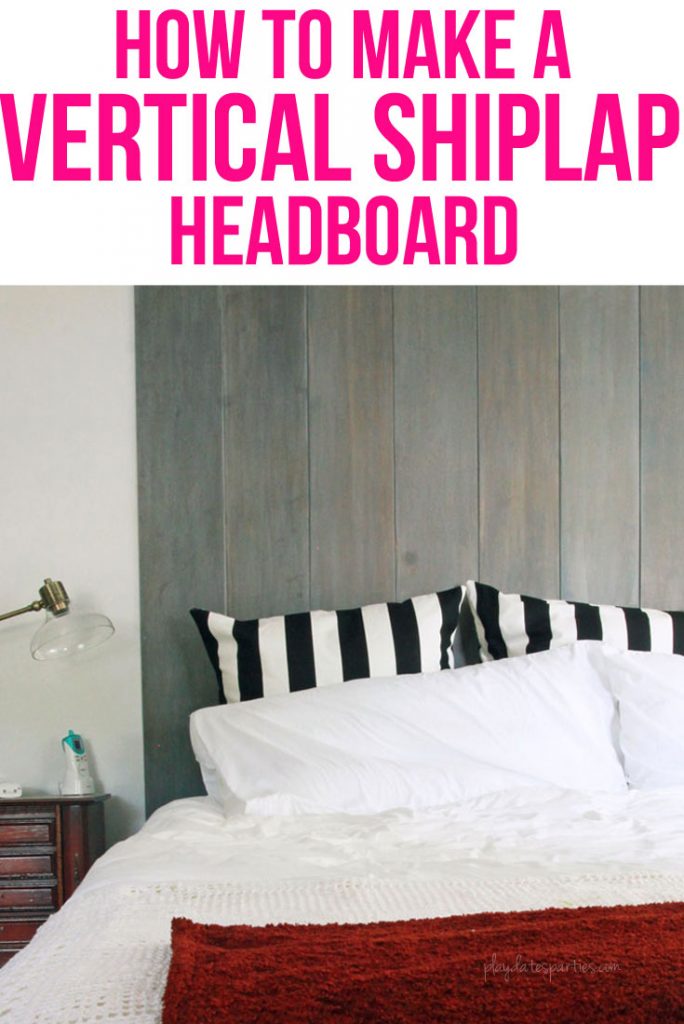
Install accent wall
I have a bad habit of being incredibly indecisive; especially when it comes to a large and permanent addition like our feature wall. While it should have been completed a week or two ago, I spent way too much time waffling over different ways to install the faux-shiplap feature.
Originally, the plan was to use vinyl peel-and-stick wood tile, but when the bed arrived, I put the tile up and realized the scale was totally off. Then, I came across some peel-and-stick wallpapers that I thought might do the trick. The first was a textured gray wood wallpaper that was the exact right tone. But it didn’t have any plank marks, and that just didn’t feel shiplap-y enough for me. Second, was a wallpaper that looked like whitewashed barn wood. Again, I loved the colors, and this did have planks, but the planks were too rustic, too narrow, and also too busy. Ugh
In the end, it looks like I’m going to go with the time-consuming method of staining and installing individual planks. Time to get started!
Install Pocket Mirror
Speaking of headaches, what I thought would be a fairly easy project has turned into a headache rivaling that of the custom drawer fronts for our Pax wardrobe. But I’m determined to make it work. Even if we’re currently on our third attempt at hanging the stupid thing.
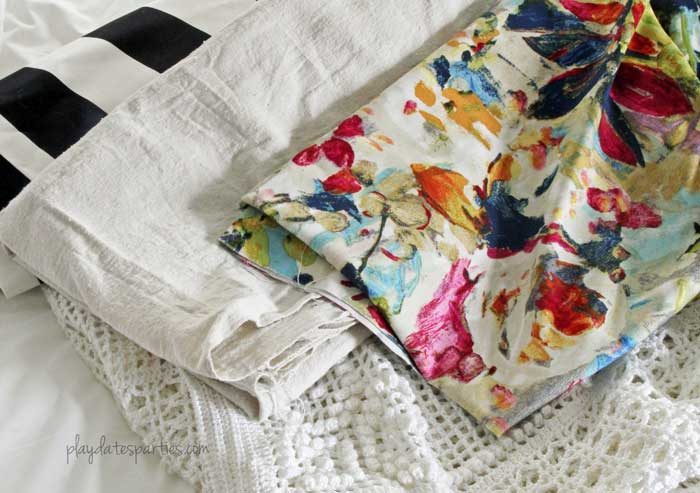
Make or purchase covers for chairs
The original room inspiration included two awesome mid-century style chairs from Amazon. And while I love them, we’ve got six dining chairs that each cost more than the whole set of those chairs. It seems foolish to get rid of sold wood construction chairs just for faux-leather chairs that will likely fall apart within a few years – even if our kids have completely destroyed the ones we have.
Unfortunately, I can’t easily reupholster the chairs we have because the backs have fabric-backed openings. And even though I tried, I can’t find parsons chair covers that I both like and that will fit our chairs. So I’ll be attempting to make my own. Don’t be surprised if the seams are more crooked than a politician!
Put up Frame Accent Above Bed
It might help to have the planks installed first before trying to get started on this accent.
Figure out space for laundry
I have a hate-hate relationship with laundry. Unfortunately, we don’t have a walk-in closet to hide our ugly laundry hampers. And I’ve grown to love having hampers that help to sort the dirties. But they’re ugly. And I don’t want to put this much effort into making a bedroom retreat just to put in some sort of ugly laundry system. Ideas are turning in my head, but you’ll have to come back to see what I actually do about it.
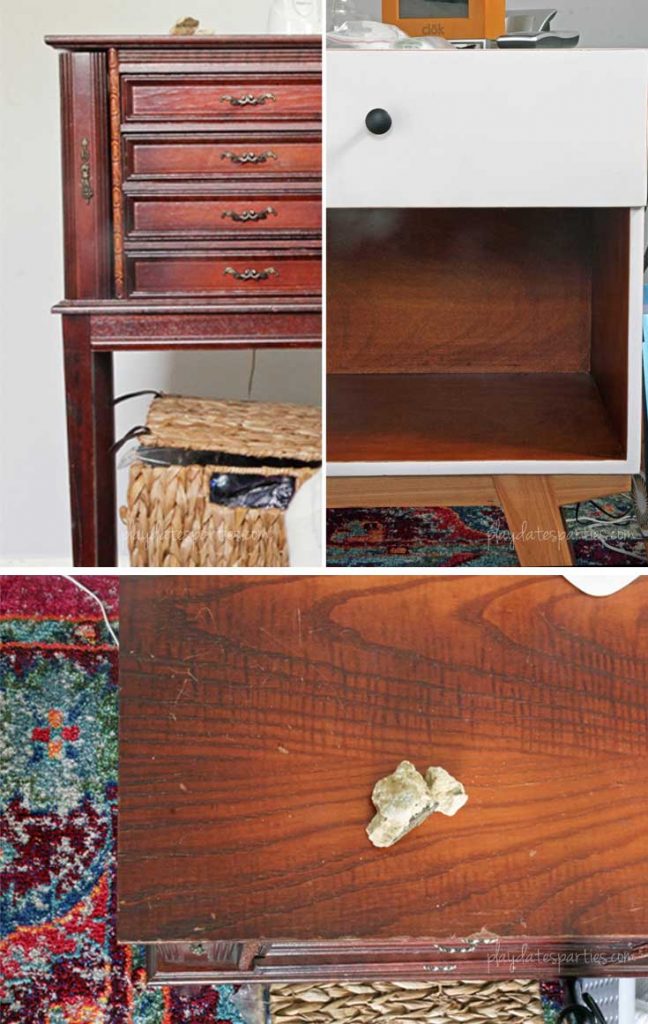
Find or make nightstands
The Husband’s new nightstand is here, and it’s awesome! I can’t seem to make a decision in favor of anything for my side of the bed, so I’m seriously considering using an old and battered jewelry chest passed down by my sister many years ago. I’m not in love with the finish color, and it has a wobbly leg, but for some reason, I just keep going back to it.
I’d love to know what you think about this one. Are mismatched nightstands a no-no? Should I paint the jewelry chest, leave it as-is or find something new?
So, let’s recap on next week’s to-do list:
- Create accent wall/headboard behind bed
- Sew custom chair covers for our parsons/dining chairs
- Sew simple curtain for the remaining window
- Figure out a way to install the pocket mirror, once and for all
- Add shelving unit between Malm dressers, and solid wood top to both.
- Start shopping for accessories
Phew, that’s a lot for one week. No wonder this renovation is so much more difficult than I originally expected!
See the Entire Renovation:
Modern Boho Master Bedroom Reveal How to Make a Hidden Jewelry Holder How to Make Tassel Trim Pillows The Easy way 5 Easy Ways to Make Stunning Throw Pillows How to Make a Vertical Shiplap Headboard Master Bedroom Renovation: Week 5 Update Master Bedroom Renovation: Week 4 Update Master Bedroom Renovation: Week 3 Update 7 Practical and Pretty Storage Beds Painting Tips for People with No Time Modern Boho Master Bedroom Design Plan
I want to extend many thanks to the readers who have enjoyed renovation and home DIY posts over the years. Unfortunately, in January 2018 I was diagnosed with Stage II breast cancer and had to stop doing home renovation posts due to treatment.
Since that time, my focus has been on making this website an amazing resource for the everyday mom’s parties. Due to their popularity, the DIY posts and tutorials will remain on the website, but comments are now closed. Thank you again and I wish you the best in your DIY endeavors!










Julie says
Wow, your progress is really making this room shine already! I laughed at your “more crooked than a politician” seams, haha. We’re getting close to the finish line, now…woot!
Laura - The No Pressure Life says
Generally, I”m in favor of matching nightstands, or at least matching colors. So, I think you should use the jewelry chest if you love it and it’s meaningful to you, put paint it to match your husband’s nightstand. Try chalk paint! I recently refinished a desk with chalk paint and couldn’t believe how easy and quick it was compared to other painting methods I’ve tried in the past.
Janine Huldie says
Omg, you did accomplish a lot this week on your bedroom makeover. I am slowly trying to makeover our master bedroom here. We just hung new pocket blinds. I want to paint hopefully soon and tidy up a bit, as well. But again this is all happen on a much slower basis here and will just take it as it comes for us. Thanks for sharing yours though and definitely inspiring if nothing else 🙂
Amy says
It always takes so much longer than expected, doesn’t it? We have mismatched nightstands in our bedroom. Truthfully, though, I’m not sure how I feel about it. And while I love painted furniture, I have trouble messing with pieces that were passed down/inherited. (This is why I have so much original wood stained furniture in my own house…) It’s looking great though! I can’t believe you’ve down so much in so little time!
Jen says
I can see it! How exciting! Even with all of the set backs it is looking lovely. I can’t wait to see the finished project.
Mama Grace says
Lovely transformation. The white looks much better and you feel like there’s more space. I bet you feel calmer in the room. #happynowlinkup
Peachy and her Mommy says
I think it’s coming together. Can’t wait to see the finished project. #happynowlinkup
lisa says
so exciting! and i didn’t even ask how it’s going. shame on me. i guess we’ll have plenty of time to catch up this weekend!Water Damage Toronto
martin chase says
Always good to see DIY’ers doing projects!