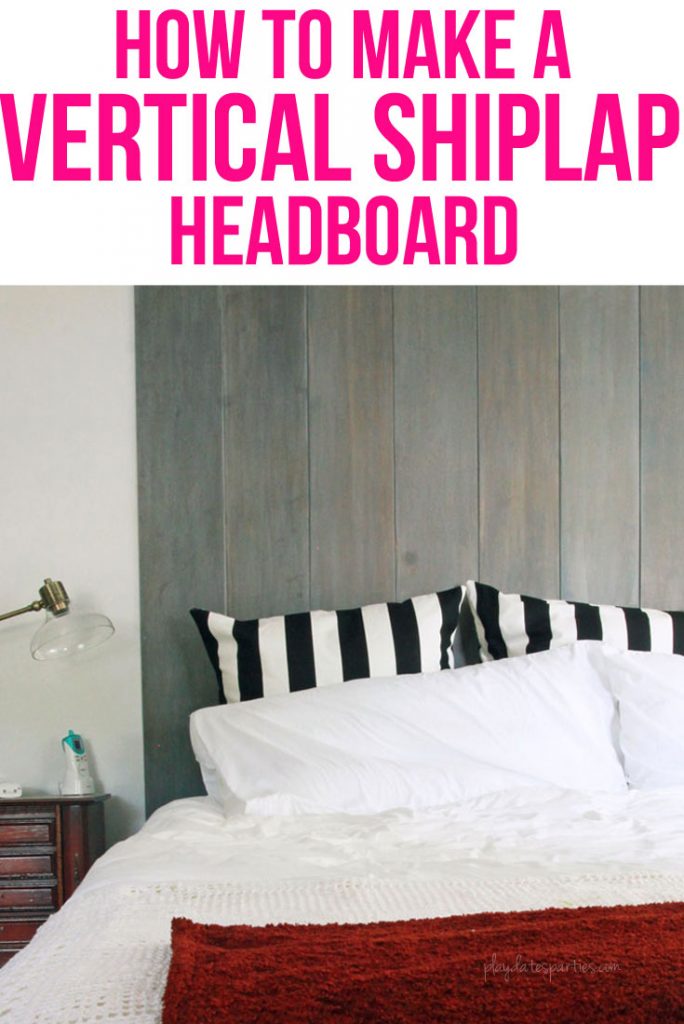
Do you love shiplap? Then this is the project for you! Learn how to make this modern, stained vertical shiplap headboard using inexpensive supplies that you can get from any hardware store. Plus, learn the mistakes you don’t want to make when completing this project.
It was supposed to be easy. I mean, it was all figured out before the new bed even arrived.
Our ceiling height headboard installation was going to be made with driftwood style vinyl floor tiles. No staining, no sanding. Just about 60 tiles and some nails. Easy peasy.
So, as soon as the new bed was up, I excitedly pulled together our fabric choices and the sample tiles. I just couldn’t wait to get a good visual of the final look.
But, I didn’t like it. I didn’t like it at all. The vinyl tiles were too brown and too narrow for the king-sized bed. And there wasn’t enough separation to create the shiplap-style panels that I wanted.
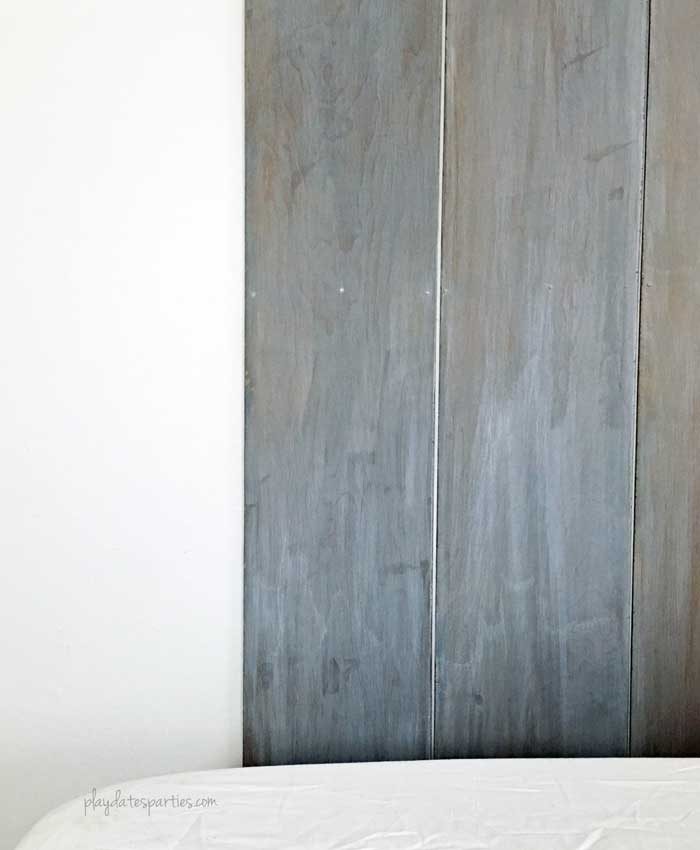
After a day or so of pouting, I decided that the best choice was to make a vertical shiplap headboard from scratch.
So, I did some math, got 10 planks stripped down at the hardware store. Then it was time to start sanding and staining – and making plenty of mistakes while I was at it.
Mistake #1 – Using caulk to fill in the gashes that couldn’t be smoothed with a sander. Caulk may be paintable, but it’s not stainable. I’m not sure why I thought otherwise, but those are the kinds of mistakes you make when you’re racing against the clock. After a bit of mixing, I was luckily able to recover with some craft paint and a small paintbrush.
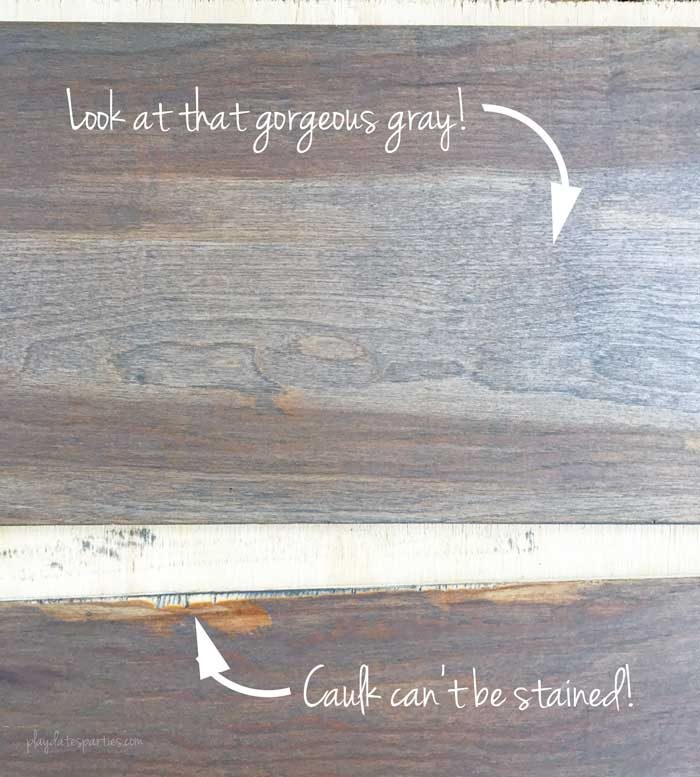
Mistake #2 – When testing samples of my stain mix, I didn’t test with a layer of polyurethane. Take a look at this closeup of the stain after it was applied. Gorgeous, right?
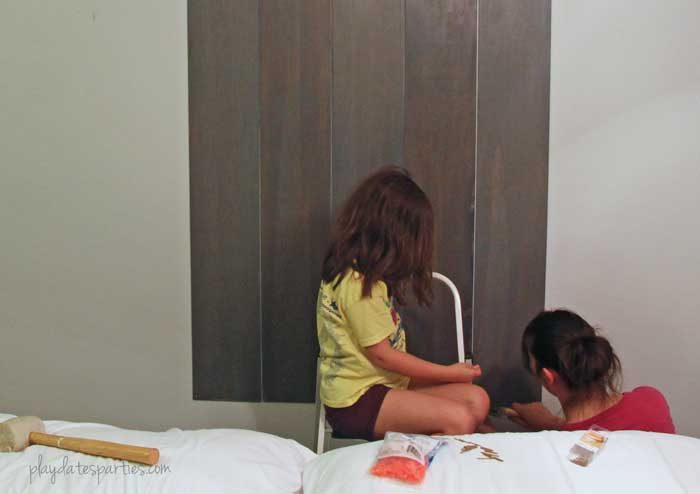
What I failed to realize is that polyurethane brings out the warm tones in stains. So my beautiful gray-brown wood turned much deeper after sealing. Whomp, whomp, whomp! Unfortunately, there was no time to strip it down and re-stain before
Unfortunately, there was no time to strip it down and re-stain before the next rainstorm, and since I only have space to stain outside, I had to move forward with the installation that evening. Thankfully, I had a willing 7-year-old to help.
The next day, I realized that the wood was definitely too dark. I felt like I was sleeping in Wild West saloon!
So out came more paint for whitewashing, which led to mistake #3 – making a whitewash mixture that is too strong. Thankfully, with some steel wool and a little bit of elbow grease, I was able to tone down the effect to finally achieve the perfect balance of gray and brown again.
It took a lot of work, and I was trying to race ahead of rainstorms the entire time I was staining, but I’m so glad I stuck with my original plan. But if you want to make one of your own, don’t make the same mistakes I made. Here’s the right way to do it!
How to Make a Faux Shiplap Vertical Headboard
Materials
- 10 boards of 1/4-inch Plywood underlayment cut to the width and length for your bed (see below)
- Sandpaper
- Stain
- Polycrylic or Polyurethane
- Optional: paint & water for whitewashing
- Finishing nails
- Wood filler
- Pre-stain conditioner
Supplies:
- electric sander
- Rags, brushes, or foam brushes for stain and sealant
- Steel wool
- Tack cloth
- 4-ft level
- 1/4-inch tile spacers
Directions:
- Cut the underlayment to the preferred width and length based on your bed and ceiling height. If you have the store cut for you, double check that it was cut properly.
- Carefully sand the plywood to remove the rough edges. Start with 80 or 120 grit and work up to 220 grit sandpaper. Don’t sand too hard, or you will remove the plywood layer.
- Fill any gashes with stainable wood filler and sand down again.
- Wipe the boards down to remove any particles. Apply wood conditioner according to package directions.
- Within 2 hours of applying the wood conditioner, brush or wipe on stain and let it soak for five to ten minutes. Wipe off any excess with a clean rag. If you like, add a second coat. (My first layer was a mixture of gray and espresso, and the second layer was gray only)
- Allow stain to dry for 24 hours and apply a sealant of your choice, according to package directions. Let the boards dry before installing on your wall.
- In your room, find the center point of the headboard on your wall and mark it off.
- Using a 4-ft level, mark a straing line from the center point to the ceiling. This is your guide for the first two boards.
- Align your first board to the side of the level line you marked and nail it to the wall using a single finishing nail at the top center of the board. (This will allow the board to pivot so you can ensure it is level from top to bottom).
- Straighten the board according to your level line and nail the board at the bottom. At this point, the board is sturdy enough to finish nailing at the top and bottom.
- Add a row of nails a few feet up to prevent gapping from the wall. (See tips below)
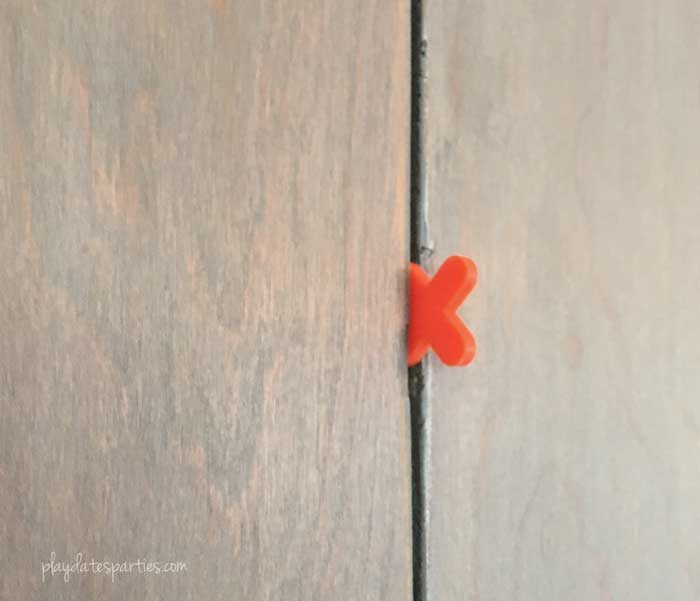
- Add your next board to the other side of your level line, placing tile spacers between the boards along the narrow side.
- Nail the board to the wall just like steps 10 and 11.
- Continue adding boards to the sides of your first two boards, using spacers between.
- After all the boards are up, rub them down with fine grade steel wool.
Whitewashing the Vertical shiplap Headboard
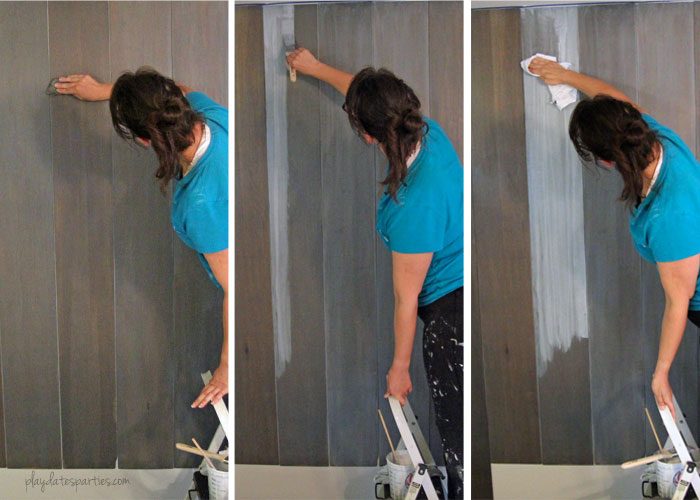
- Mix together a 50/50 paint solution with either white or light colored paint. (I used light gray leftover from the walls).
- In the longest strokes possible, apply the paint mixture with the grain of the wood. Leave a foot or so at the bottom. This will get covered during the next step.
- Also working in long, straight strokes with the grain, wipe off the paint with a clean, soft rag. To ensure even coverage, do not rub the cloth back and forth.
- For the long boards, you may not be able to reach the full length of the board in a single stroke. In that case, I found you could apply the whitewash from the bottom up. Just be cautious not to overlap too much, or it could get splotchy.
- If the whitewash is too light, add another coat. Alternatively, if you find the whitewash too bold, you can lighten it by rubbing it with course steel wool and then again with fine grade steel wool.
Tips for Making a Vertical Shiplap Headboard:
- Measure your space very carefully before having the boards cut at the hardware store. I found out with other projects that cuts can end up a different length than instructed. f your house is like mine, no two points along the same wall are actually the same height. We had the longest boards cut 1/2 inch shorter than our measured ceiling height to accommodate that difference. It does mean that the headboard doesn’t reach all the way to the baseboard, but that is covered by the nightstand.
- Unless you plan to paint the boards, don’t use caulk to fill cracks. As mentioned above, I was working quickly and used some paintable caulk, which doesn’t absorb stain. Wood filler is stainable, just make sure you get the right color for your stain.
- I wanted the boards to appear as though they didn’t have any nails, so I place all the middle nails where they would be covered by pillows or by the bed, about four feet off the floor.
- In order to have a gap at the center of the bed (makes it easier to hang pictures above), make sure you use an even number of boards. Always measure the width of your bed before getting your boards cut.
- Remember that polyurethane and polycyclic might affect the final stain color. Test your entire staining/sealing plan on a piece of scrap wood before starting your project.
- Use spacers to achieve the shiplap look. I’ve read some DIYers who used coins, but I found that quarter-inch spacers used on the narrow side worked very well.
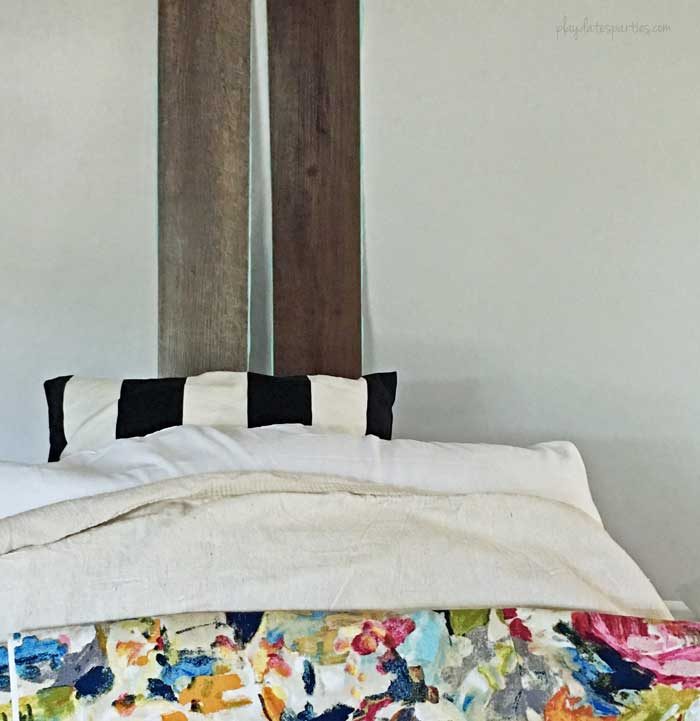
Let’s face it, vinyl flooring would be easier than this whole process. But it won’t give the same vertical shiplap effect I wanted.
I’m so in love with this headboard. Let’s face it, vinyl flooring would be easier than this whole process. But it won’t give the same vertical shiplap effect I wanted. The wide, ceiling-height planks are clean, modern, and make our room feel taller. And the wood has just enough warmth to tone down all the cool blues and whites in the room.
Do you love the shiplap look?
How would you install a vertical shiplap headboard?
See the Rest of the Renovation:

Modern Boho Master Bedroom Reveal How to Make a Hidden Jewelry Holder 
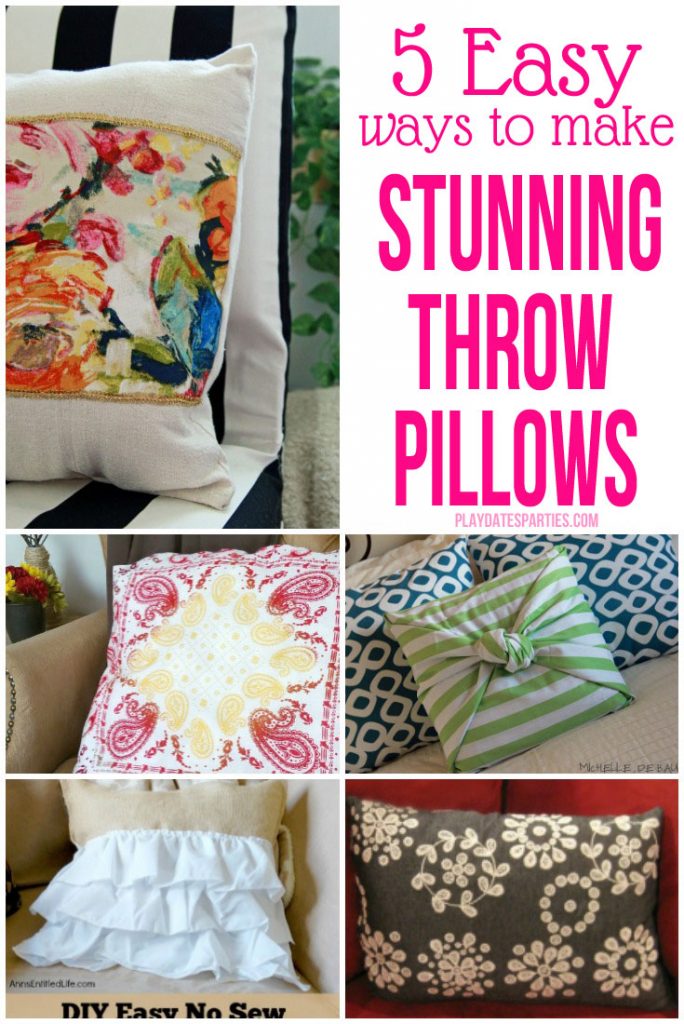
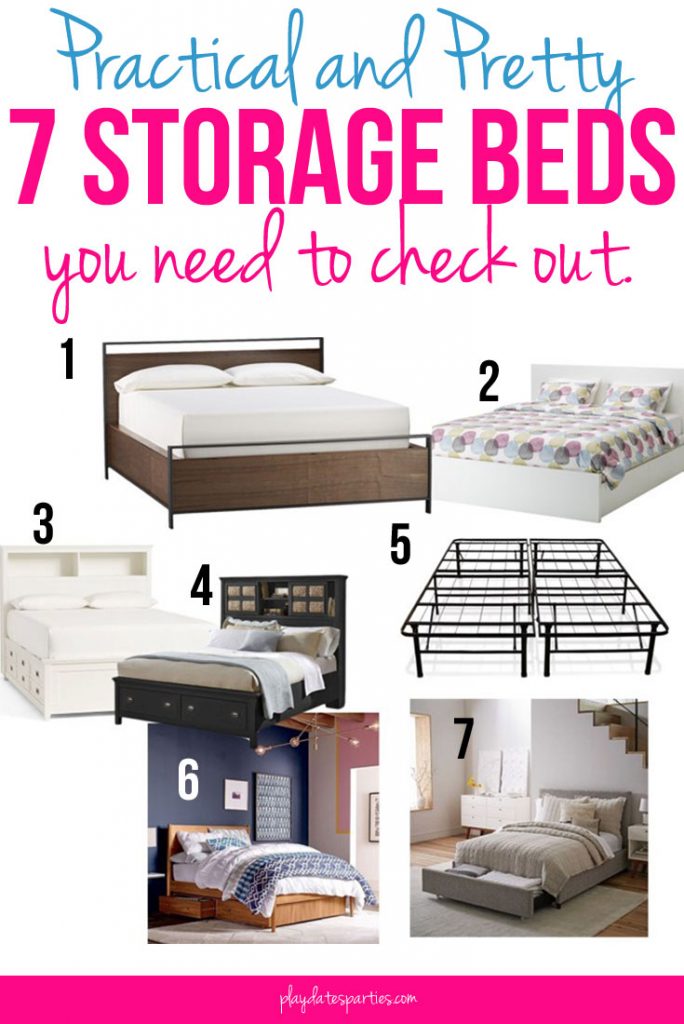
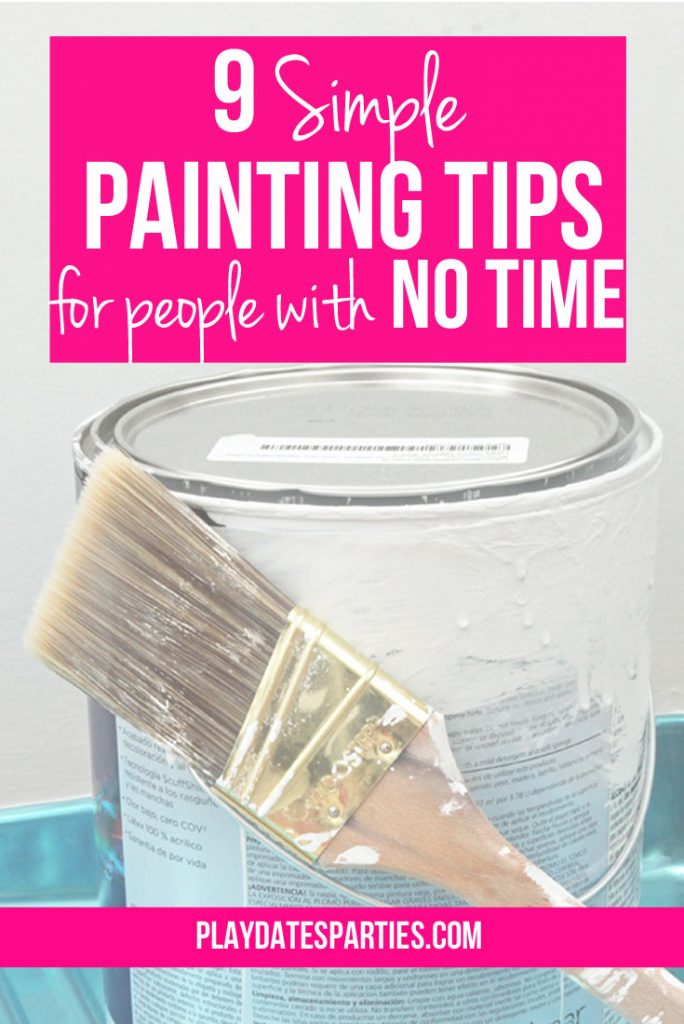
How to Make Tassel Trim Pillows The Easy way 5 Easy Ways to Make Stunning Throw Pillows How to Make a Vertical Shiplap Headboard Master Bedroom Renovation: Week 5 Update Master Bedroom Renovation: Week 4 Update Master Bedroom Renovation: Week 3 Update 7 Practical and Pretty Storage Beds Painting Tips for People with No Time Modern Boho Master Bedroom Design Plan


I want to extend many thanks to the readers who have enjoyed renovation and home DIY posts over the years. Unfortunately, in January 2018 I was diagnosed with Stage II breast cancer and had to stop doing home renovation posts due to treatment.
Since that time, my focus has been on making this website an amazing resource for the everyday mom’s parties. Due to their popularity, the DIY posts and tutorials will remain on the website, but comments are now closed. Thank you again and I wish you the best in your DIY endeavors!


Amy says
Oh, I’m sorry that this took so much extra work, but it looks amazing! We’ve had our bed for 4 or 5 years now, and still don’t have a headboard… Thanks so much for the tutorial! I may have to use this as inspiration to get my own bedroom done. 🙂
Cassie Smallwood says
Wow! This turned out beautiful! I always love to see different ways to make a headboard since they can be so expensive. Thanks for sharing your project!
Marie says
I love how the paint transformed the boards! Beautiful headboard!
Jess says
I LOVE this!! You should come do this for me! 🙂 LOL
I would love for you to share this with my Facebook Group for recipes, crafts, tips, and tricks: https://www.facebook.com/groups/pluckyrecipescraftstips/
Thanks for joining Cooking and Crafting with J & J!
Barrie Bismark says
This looks awesome. Great job! I love shiplap.
Ginger M Cochran says
Job well done! Thanks for linking up at Support Your Fellow Crafter!
Mama Grace says
Very nice! So handy.#happynowlinkup
Danielle @ A Sprinkle of Joy says
I love how it turned out!! 🙂
Marilyn Lesniak says
Thank you for sharing your wonderful post at #OverTheMoon. I look forward to what you will share next week! Like someone in person today! We hope you’ll come back again next Sunday when we open our doors at 6:00 PM EST. Pinned and tweeted!
Gentle Joy Photography says
That looks really nice. 🙂
kristin mccarthy says
Oh Shiplap. Is there nothing you cant beautify? Love it. My headboard was made from doors and crown molding.
#fanfriday
Theresa says
This is really nice & the DIY is awesome.
Pinned & sharing Thanks for joining the Inspiration Spotlight party.
Kate Hollingsworth says
Hilarious Leslie! I love reading about all the mistakes you made – it makes me feel better about the DIY mistakes I make ? xx
Calypso in the Country says
Such a creative and pretty idea! Visiting from the SITS Girls!
Shelley
Helen at Pleasures of the NW says
You’ve made this look so simple to do! I’d be honored if you shared on the Pleasures of the NW’s DIY party!
https://www.pleasuresofthenw.com/diy-crafty-link-57/
Menaka Bharathi says
This is such a beautiful and pretty idea..I really like your DIY
Simple Indian Mom Has Recently Published
*Menaka Bharathi *
*SimpleIndianMom*