Are you looking for a fun DIY train backdrop for your little one’s birthday party? Forget expensive backdrops from the big box stores, or cheap vinyl backdrops that come folded with creases that are nearly impossible to iron flat – and probably won’t be used again.
With this simple tutorial, you’ll find out how to make a stunning, lightweight DIY train backdrop. And best of all, it’ll cost less than $30…and you even get to keep some of the decorations to put in your little one’s bedroom later.
I’ve made tons of party backdrops over the years using all sorts of materials:
- leftover shipping boxes,
- tri-fold boards
- fabric,
- plastic table clothes,
- and even a few with bedsheets
What I really love about this backdrop is that even though it’s nice and solid, it’s ridiculously lightweight. And once the party is over, you can put it in the garage and paint over it again for next time.
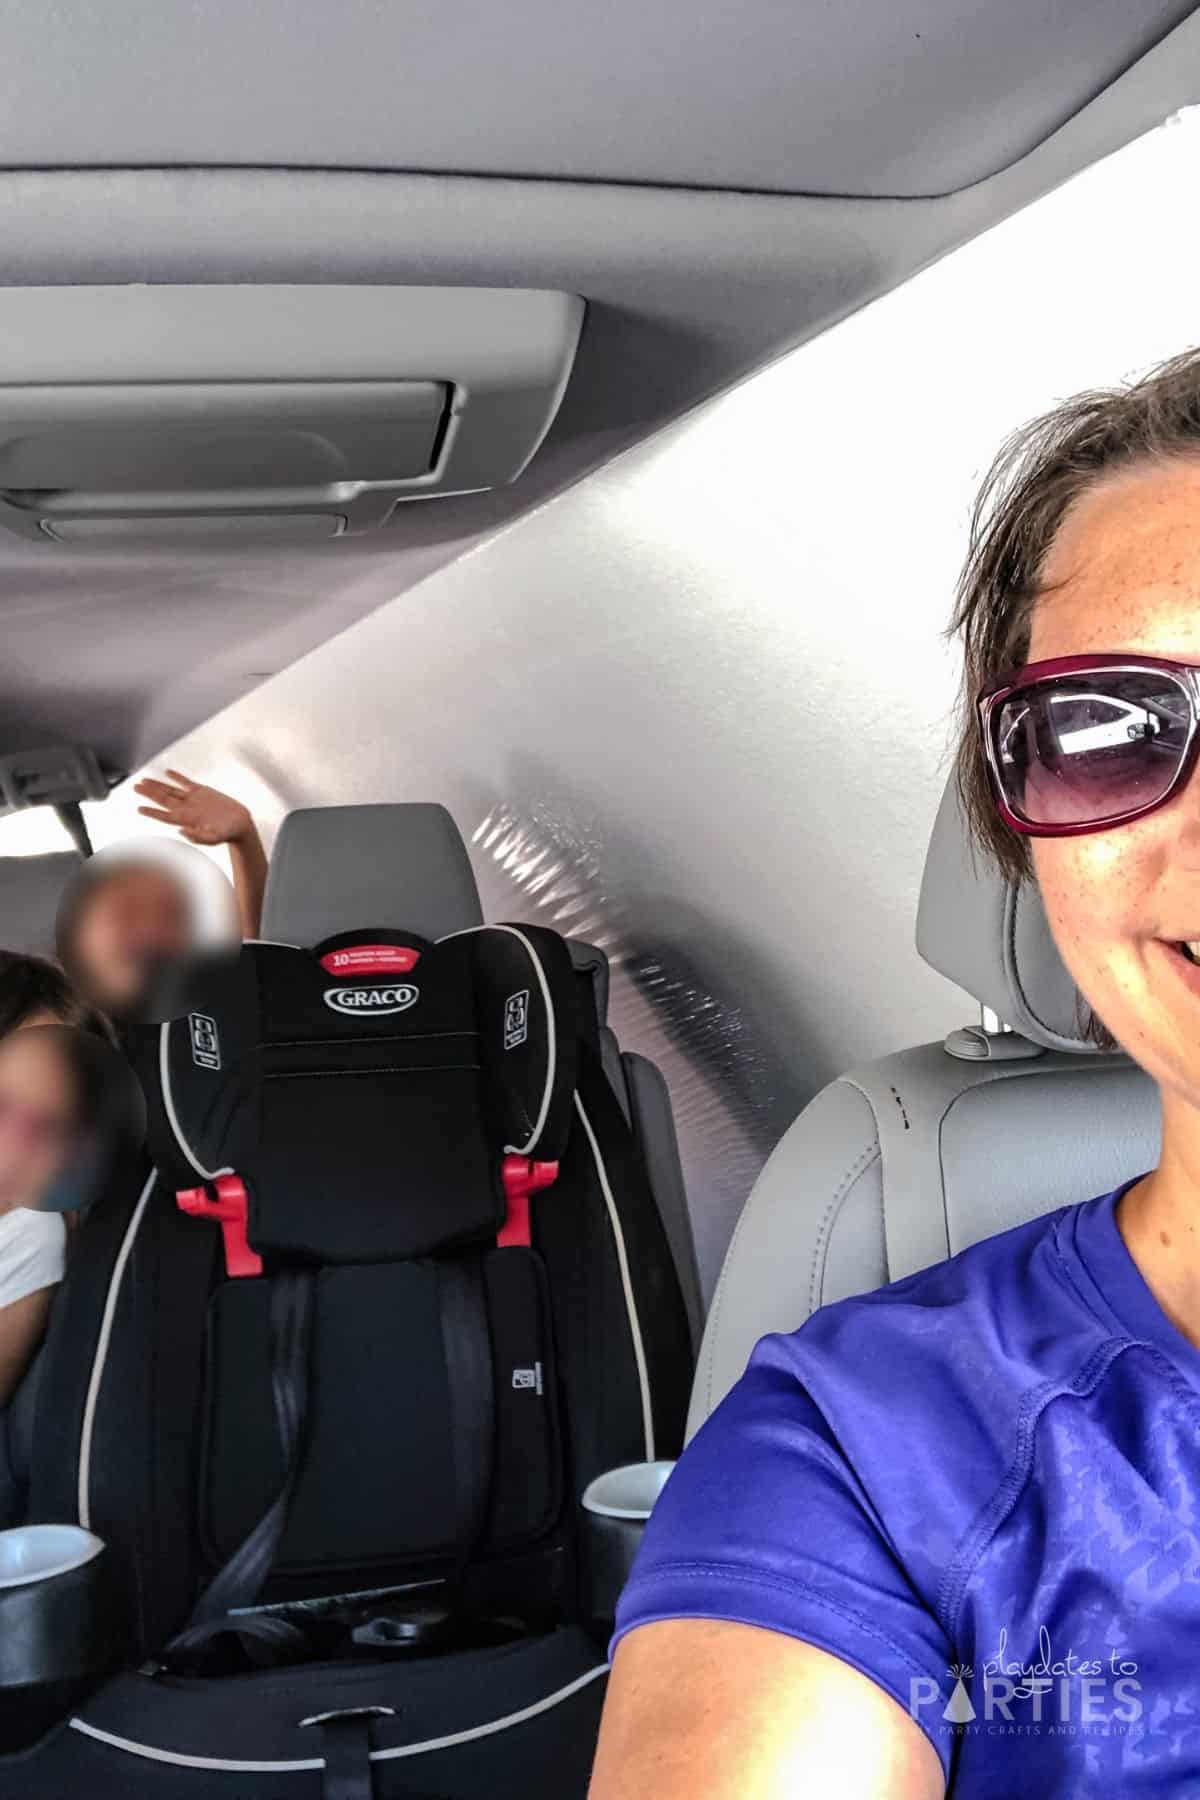
Oh, and it’s flexible enough to fit inside a minivan with three kids inside!
What You’ll Need:
Materials:
- Polystyrene Board
- Party Backdrop Frame (optional)
- Blue Paint
- 2-3 shades of green paint
- Paper plate or palette for the green paint
- Binder rings (optional)
- DIY Paper Train (see the tutorial here)
- Party Banner
- Blu-Tack
Supplies:
- Measuring Tape
- 3 foot level Level or yardstick
- Box Cutter
- Paint Roller & Paint Pan
- Foam brush
How to Make a Train Party Backdrop:
Step 1: Grab a 4ft by 8ft Polystyrene Board
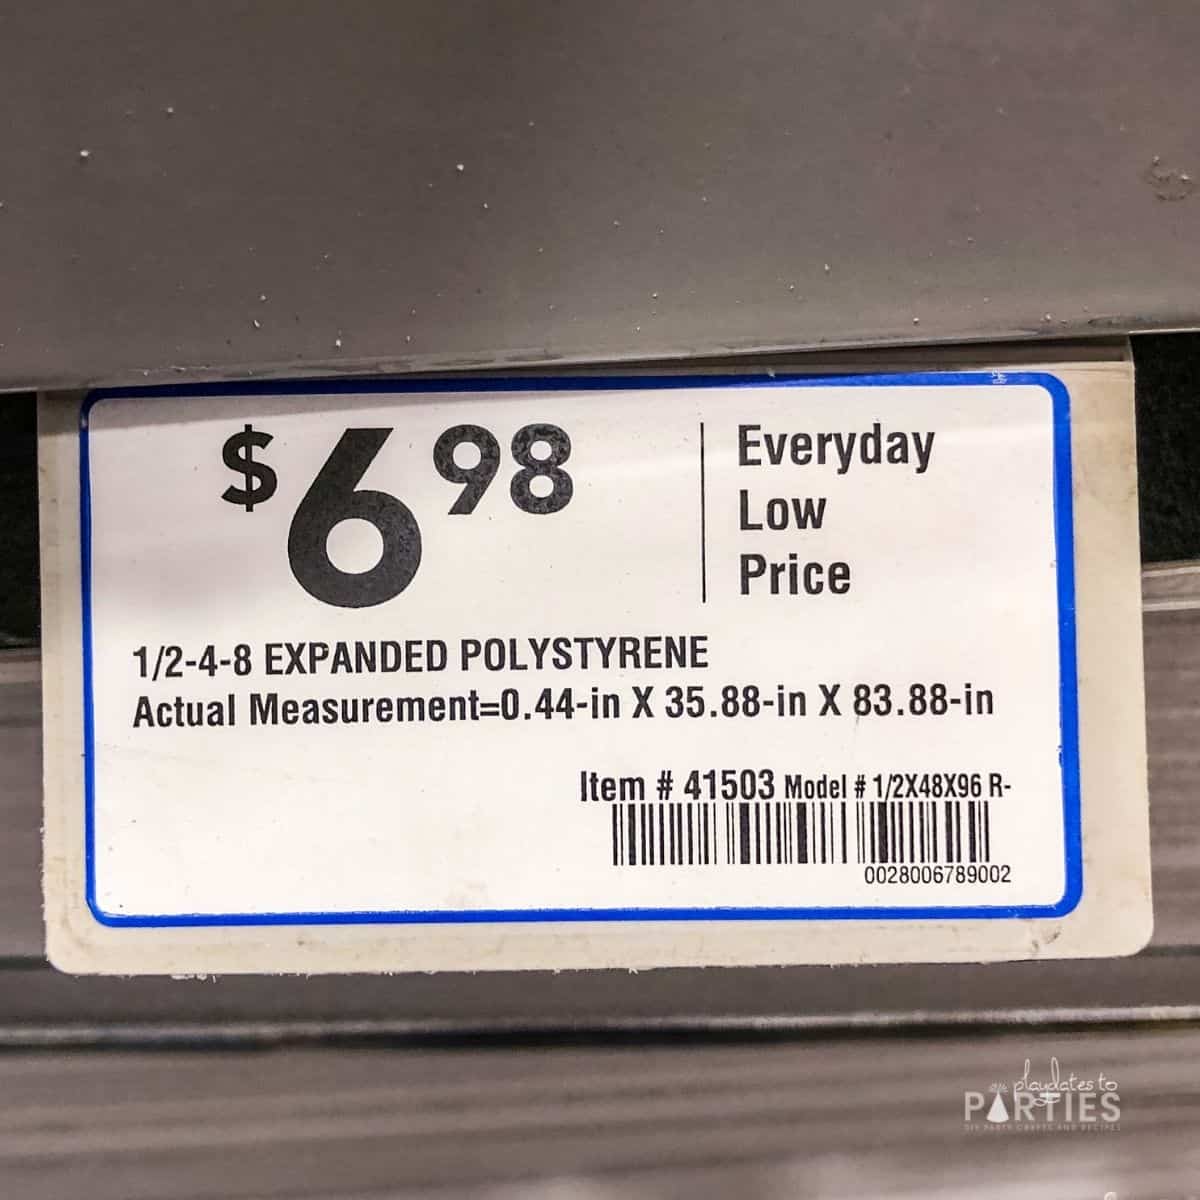
The base of this backdrop is a polystyrene board. They’re easy to find at your local hardware store and they’re ridiculously cheap for the size.
A Few Things You Should Know:
Polystyrene boards have two sides: one is covered with silver foil, and the other is white styrofoam and has a thin plastic coating on it.
The foil side can be covered with opaque fabrics, wrapping paper, bulletin board paper, and pretty much anything else that would wrap around it.
The styrofoam side is perfect for painting. That’s the side we’ll be using for this project. Just remember, it won’t have a ‘flat’ look to it. This will make sense when you see the pictures further down the page.
Foam boards are easy to paint, but they do curl up afterward. I didn’t worry about it, but you can try this technique if you want a flat board . (Don’t forget to come back and tell us if it worked!)
Step 2: Take Your Measurements
If your party is inside, you don’t need to worry about attaching the board to anything. Just lean it against a wall and you’re good to go. (Also…you can skip straight to step 4…hooray for saving time!)
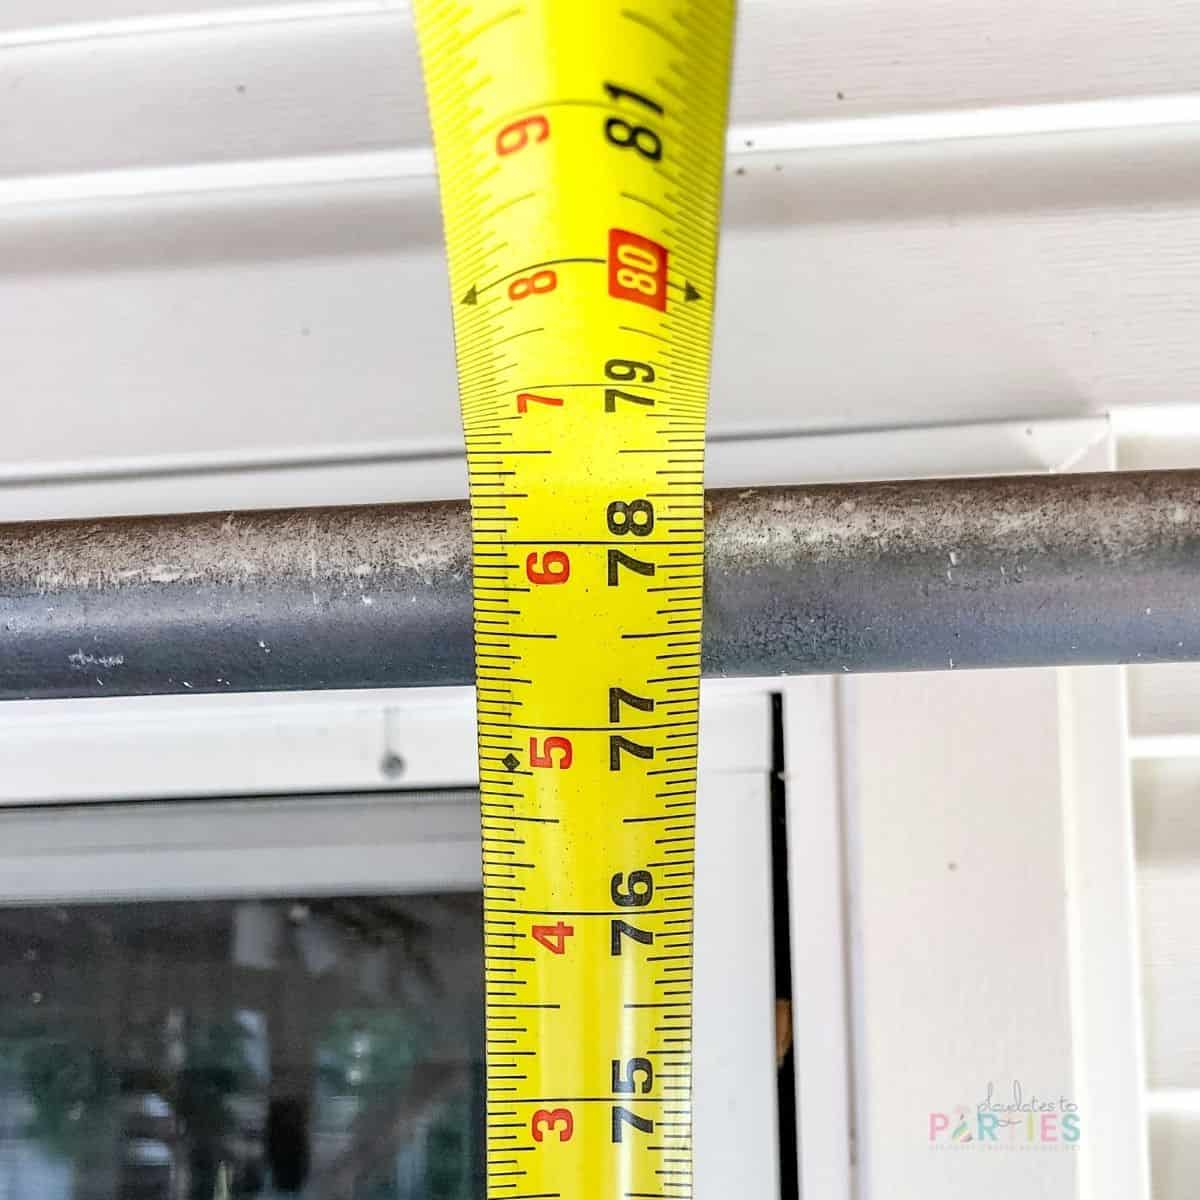
But if the party is outside, I recommend attaching your polystyrene board to a backdrop frame to keep it from blowing away. And that means measuring everything to make sure it fits properly.
Measurements You’ll Need:
- Height of your backdrop frame (if using one)
- Height of your party table – most tables are 28 to 30 inches off the ground, but it’s best to double check your table
Step 3: Cut Your Board to Fit the Backdrop Frame
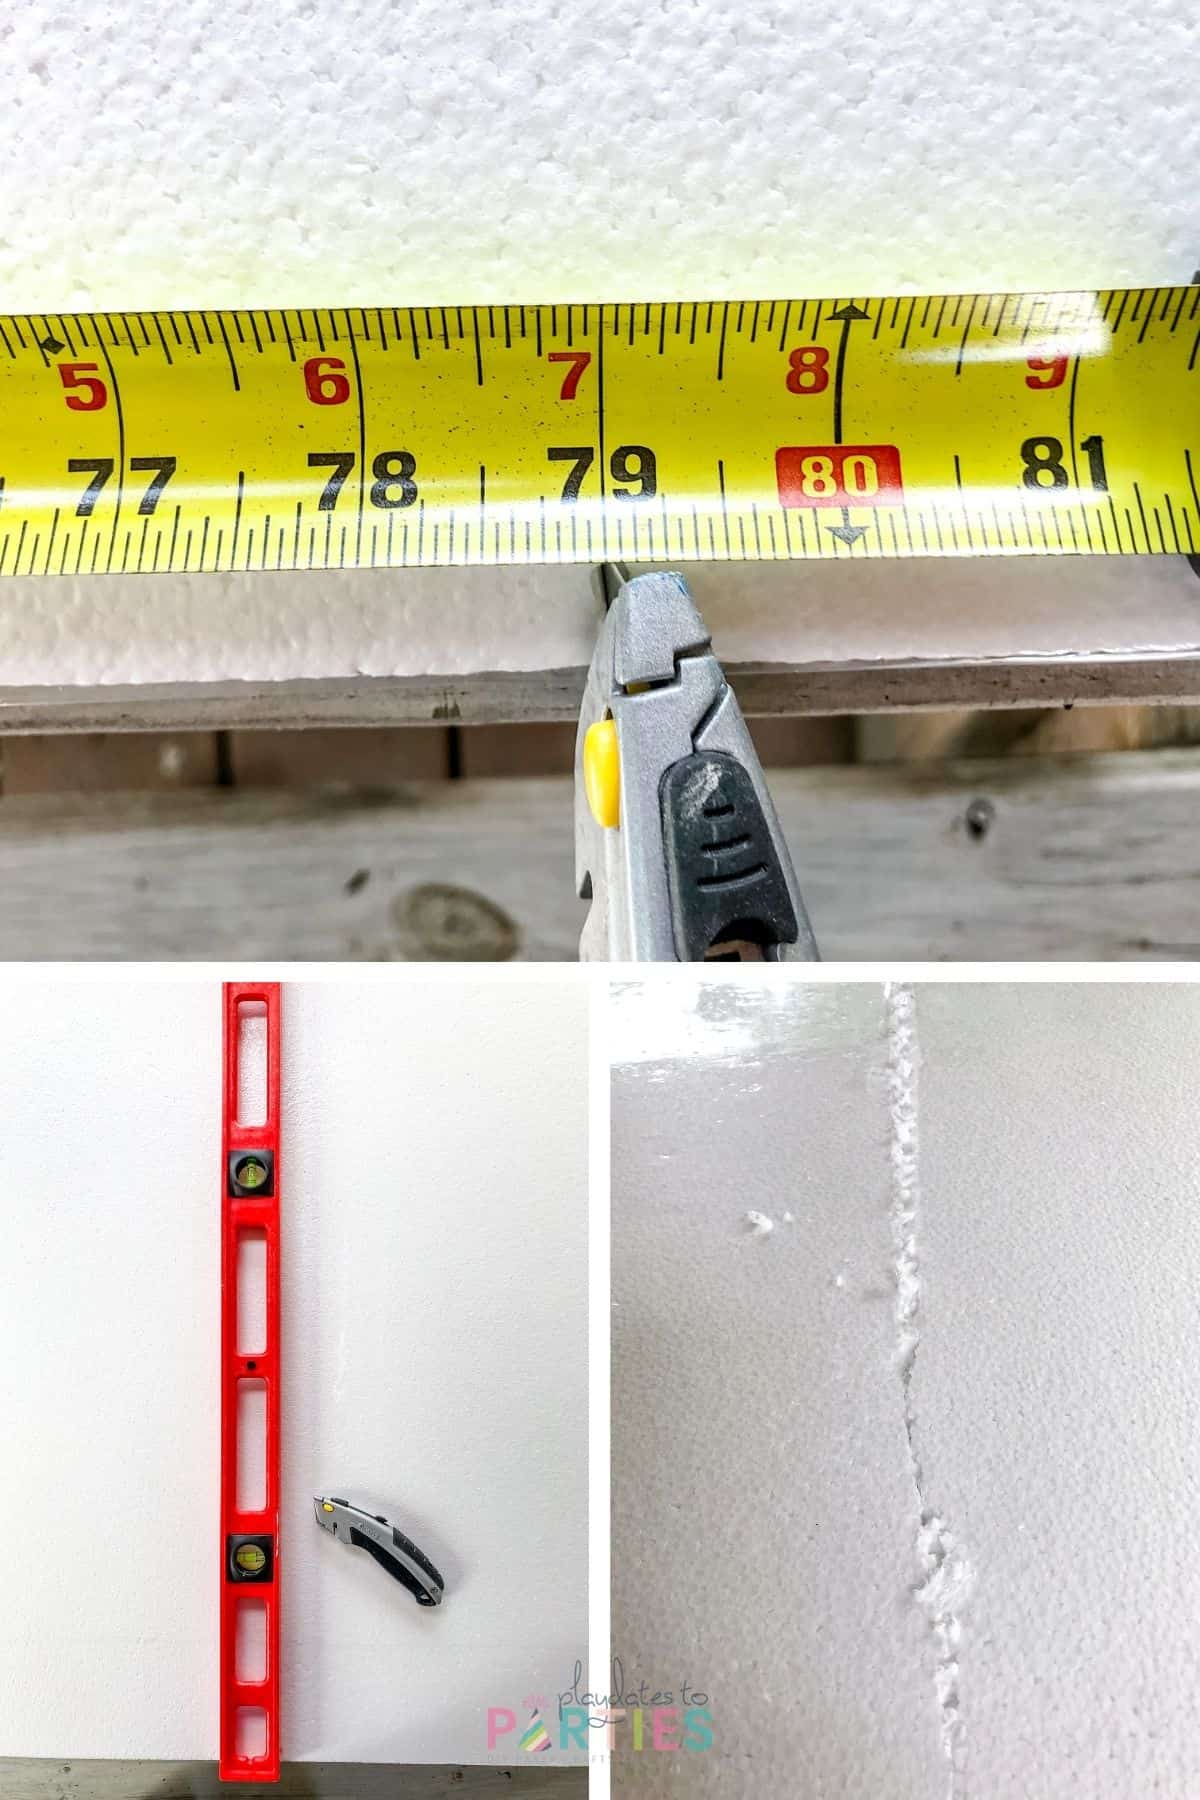
Use a tape measure to mark off the height of your backdrop frame.
Then, use a 3 foot level as a straight edge and cut the board with a box cutter. Tip: It’s best to cut on the foil side. As you see above, even with a straight edge, it’s hard to cut styrofoam cleanly.
Step 4: Remove the plastic coating off of the styrofoam
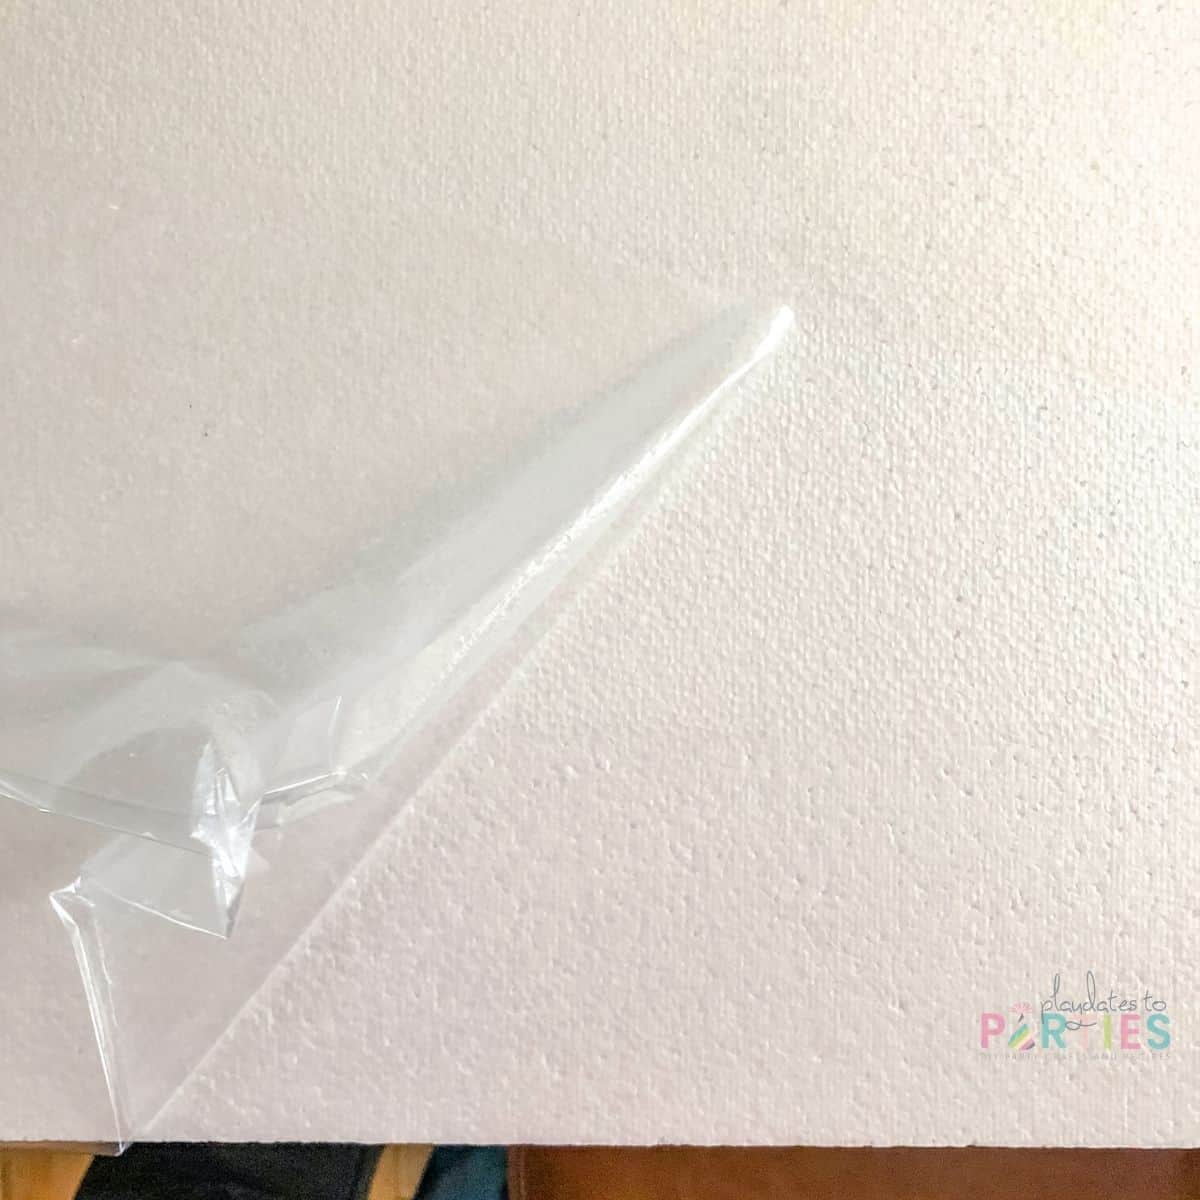
I won’t lie. This was a pain. The plastic film on the styrofoam isn’t glued solidly on the board, but it is stuck enough to rip and tear.
So be patient, and make sure you haven’t just cut your fingernails to the cuticle. You’ll want them to scrape up the edge of the plastic.
Step 5: Paint The Blue Background
Now that the board is prepared, it’s time for the fun stuff!
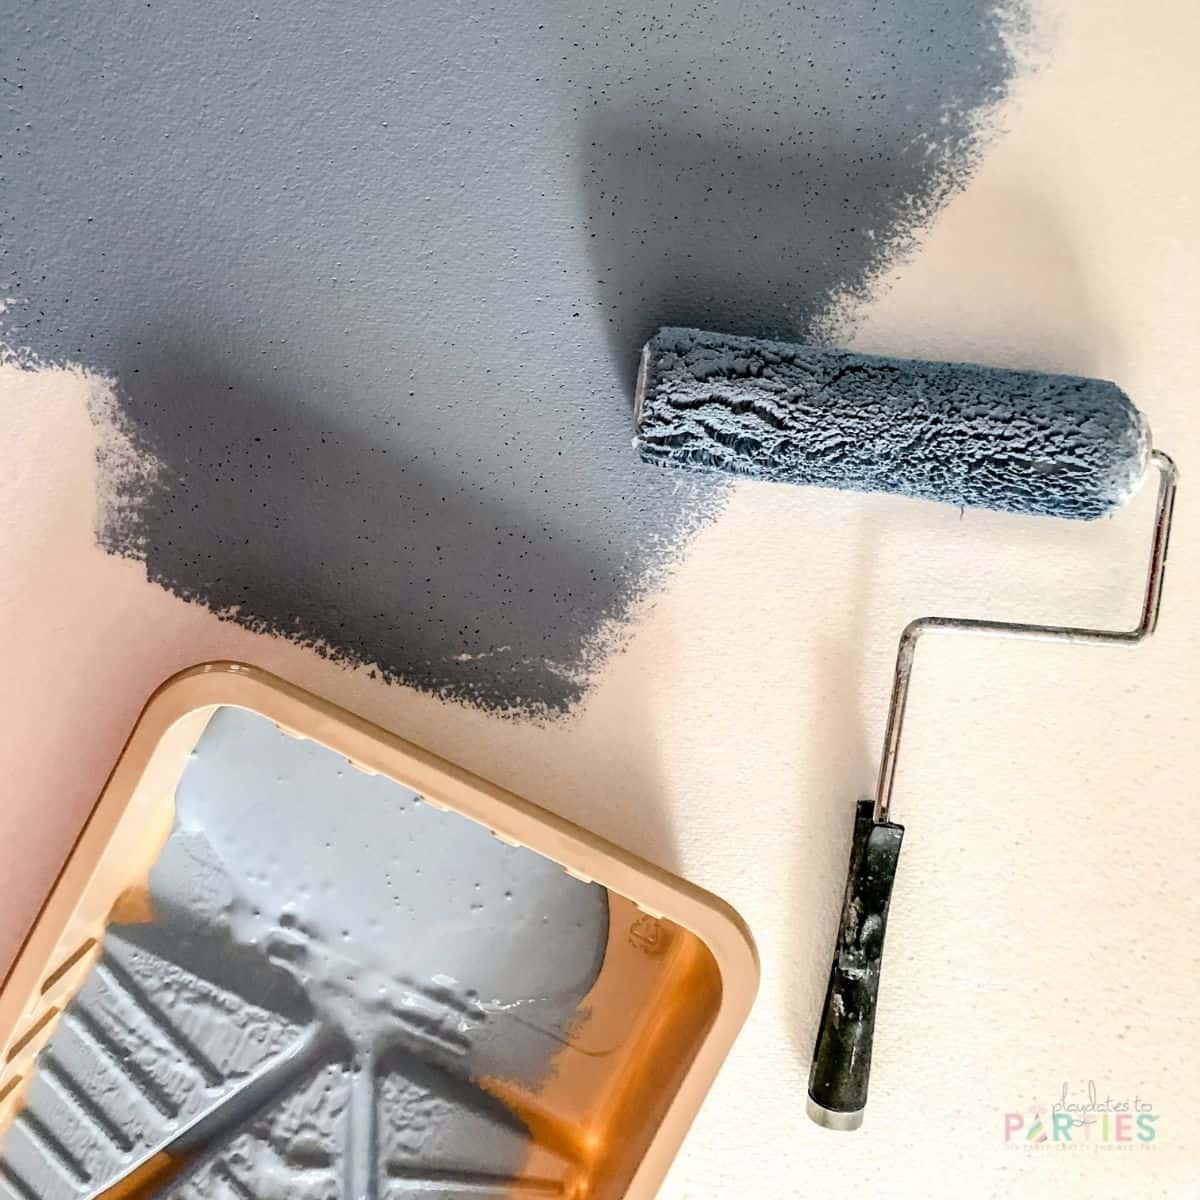
Place the board on a flat surface and use a paint roller to paint a blue sky background. There’s no need to get fancy with this. A jar of sample paint from the hardware store will work perfectly.
Let your board dry for at least two hours before moving on.
Step 6: Add the Hill
Remember that measurement of your table’s height? Now you’re finally going to use it.
From the bottom of your backdrop frame (most likely the edge that you cut), measure up 2-4 inches shorter than your table. Use a foam brush to paint a thin line of green paint across the backdrop to mark that spot.
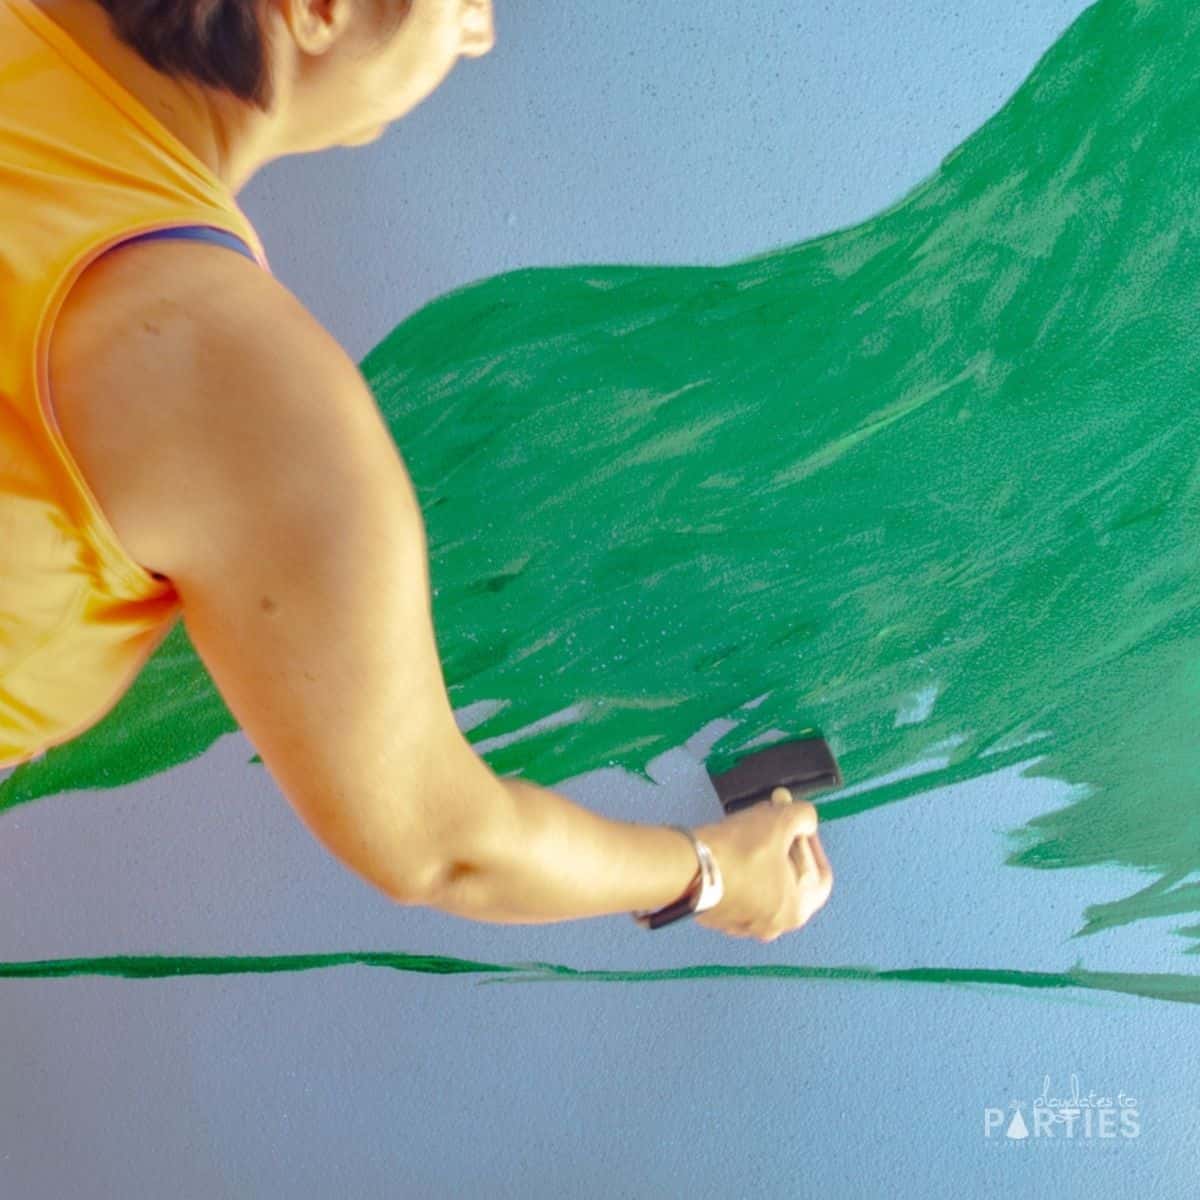
With that same foam brush, create a rough rolling hill on your backdrop. I drew my hill higher on the right hand side, but you could have your train rolling down the opposite direction. The key is to keep it simple.
Finally, fill in the hill you created with your green paints. Use short strokes when painting, and add a darker green to one side of the foam brush every now and then to add texture.
Don’t worry about perfection. This is supposed to be fun!
Step 7: Attach the Backdrop to the Frame
(Skip this step if you’re not using a backdrop frame)
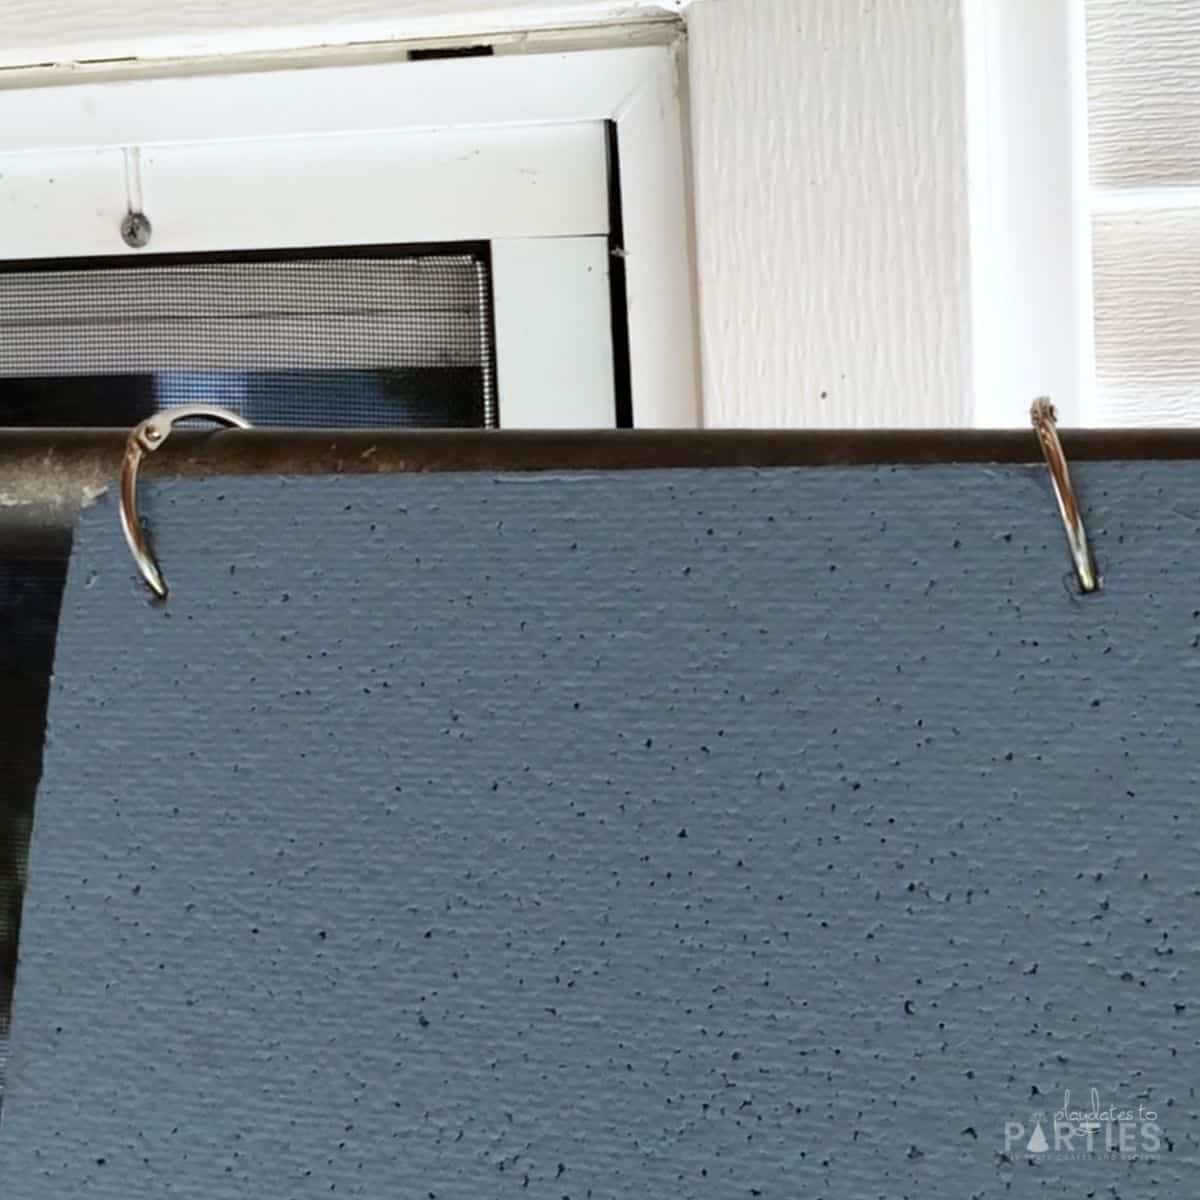
Use binder rings to attach your backdrop to your frame. I just poked the ring through the styrofoam and then attached it to the frame.
If you’re having trouble getting the ring through the polystyrene board, you can gently use a hammer and an awl to make a hole for the rings. Just be sure to do it on a surface that you don’t mind getting dented.
Step 8: Add Your Embellishments
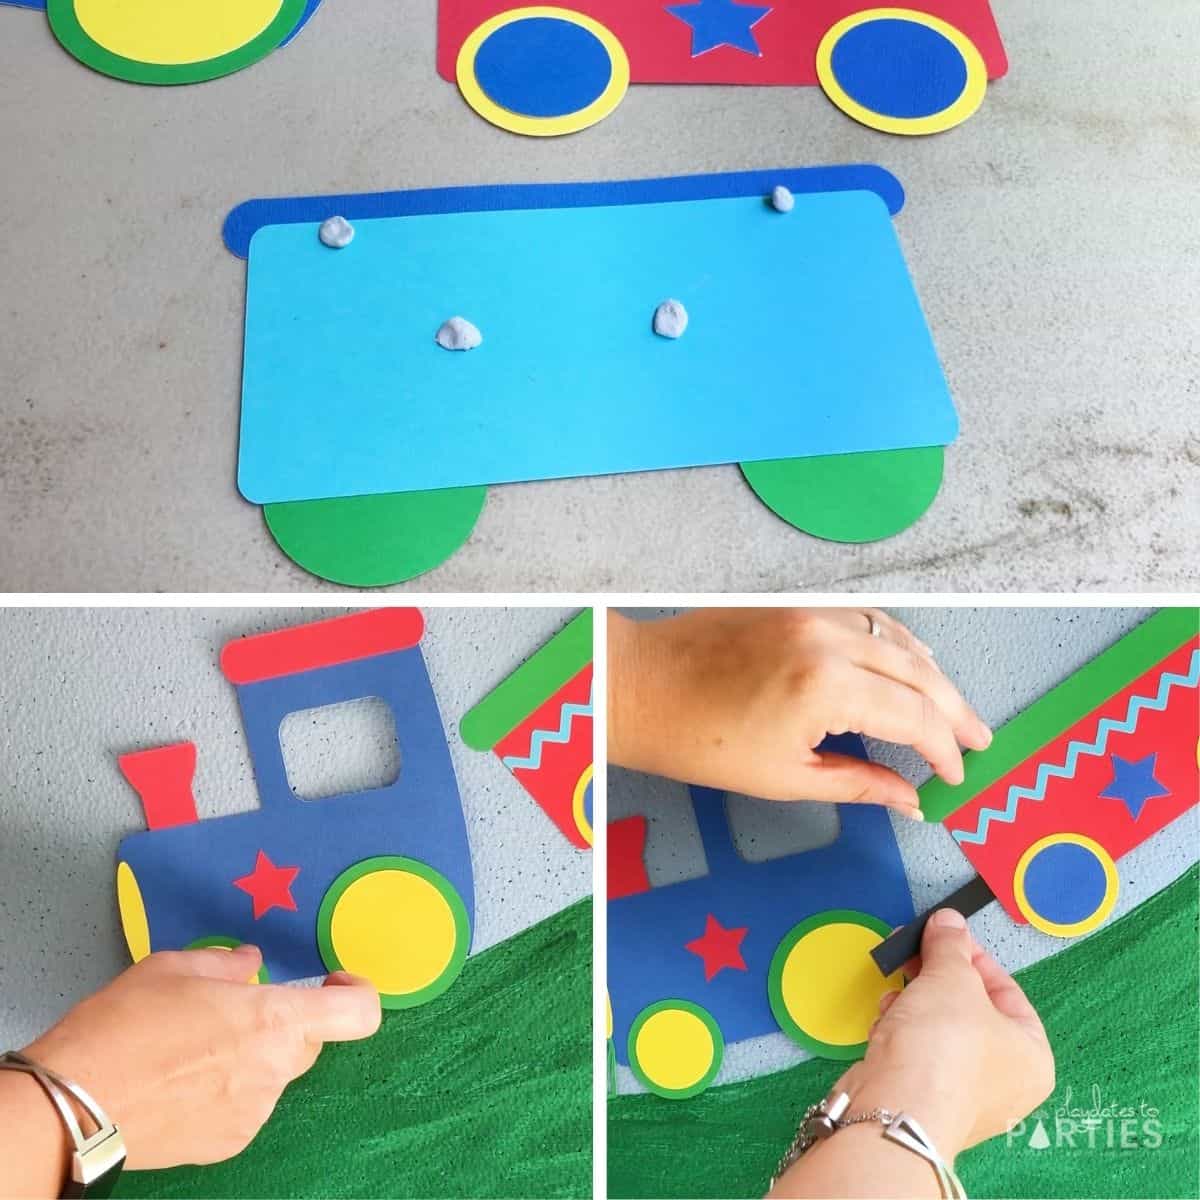
I used this Paper Train SVG file to create the train for our backdrop, as well as our cake topper and other decorations for my son’s train themed birthday party.
To add it to our backdrop, all we needed was a little blu-tack, and it held up perfectly through the entire party. It even held up well enough that I was able to move it to my son’s bedroom when the party was over.
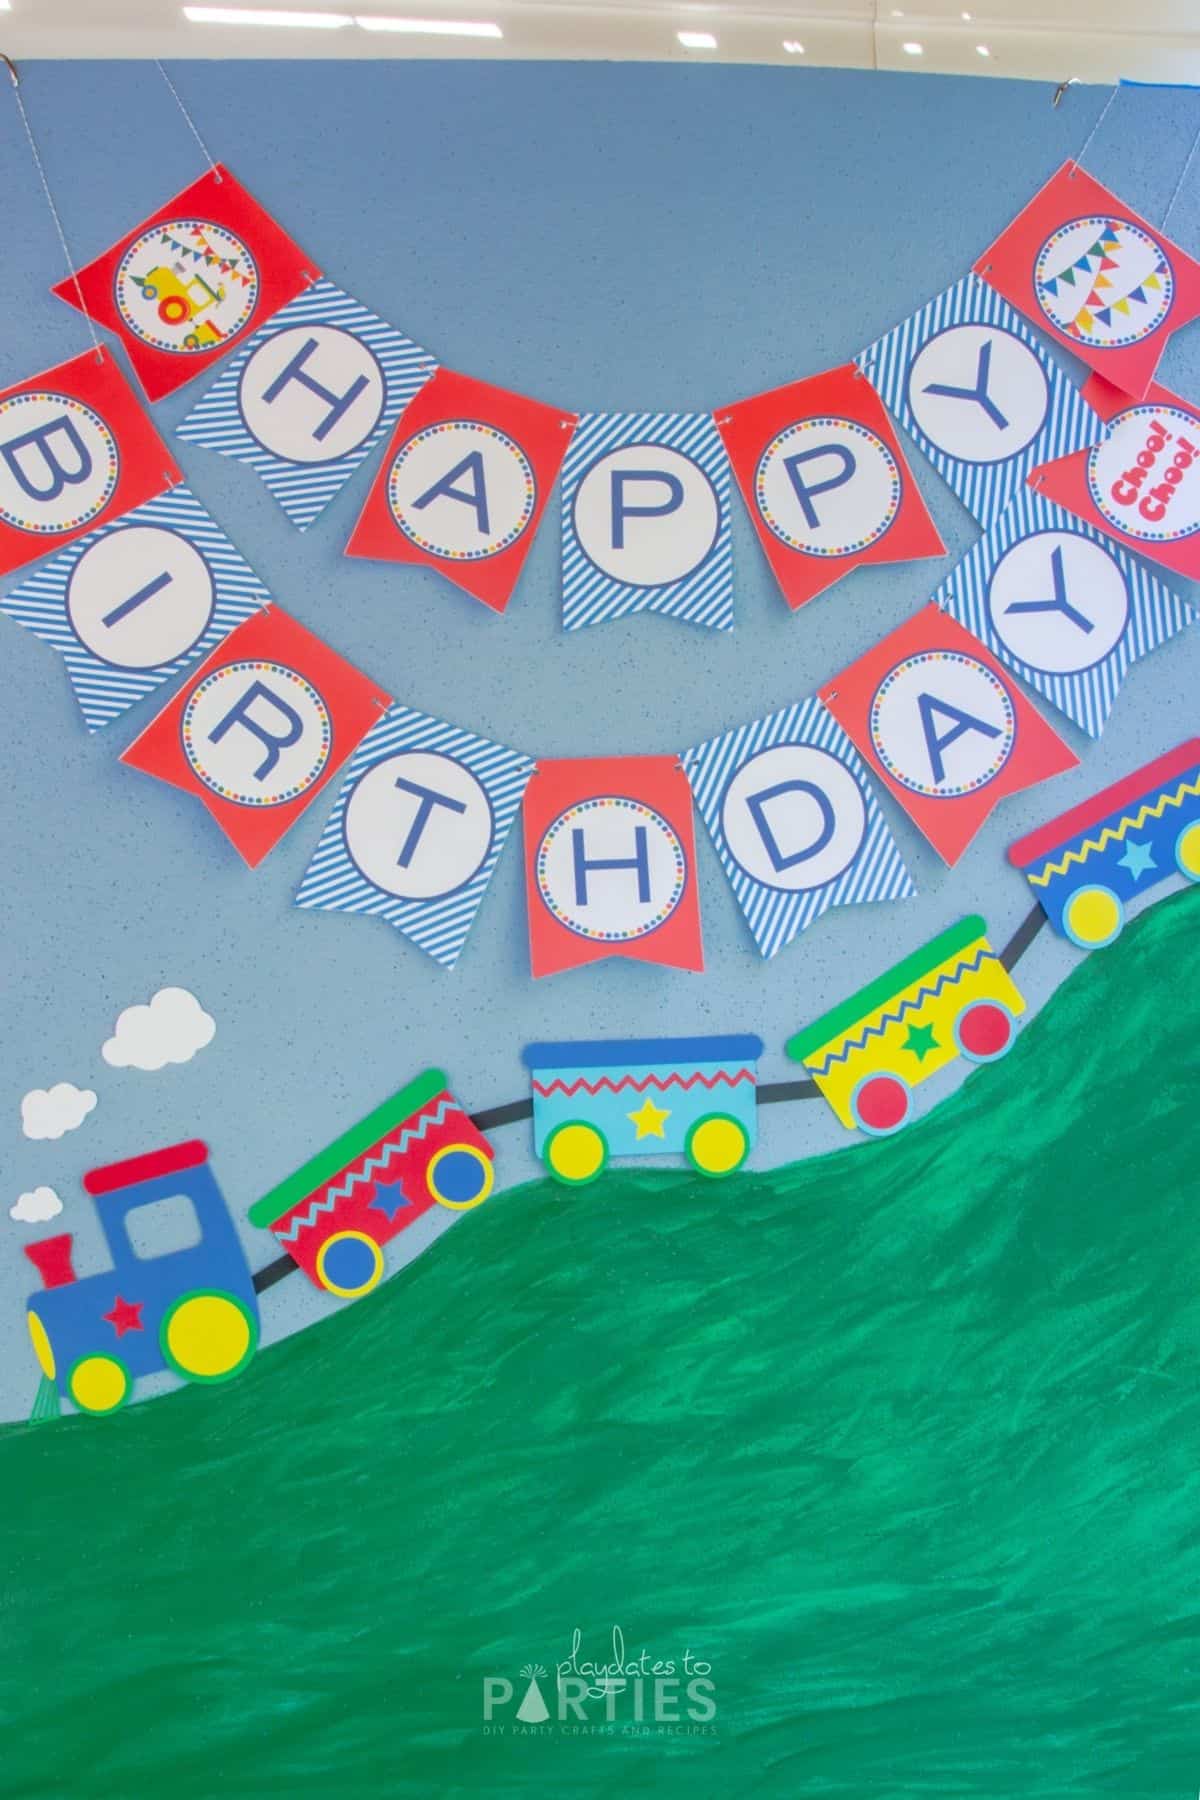
And last but not least, you’ll add your happy birthday banner. This is the banner we used, which matched the other printable decorations we had at the party too.
Now it’s Your Turn
See, you don’t need to buy wrinkled vinyl backdrops or expensive printed designs for your party.
With a few cheap materials, you can make this fun DIY train party backdrop. It’ll set the theme and the atmosphere, and create a fun focal point for guests to enjoy.
Best of all, you can reuse many of the supplies and materials over and over again!
If you enjoyed this tutorial, you’ll love this train birthday party, or you can browse all our party themes for more inspiration.
Please share any of your own projects by tagging me with @playdatesparties on Instagram or Facebook. There’s nothing better than seeing how others adapt the crazy ideas I come up with.






Leave a Reply