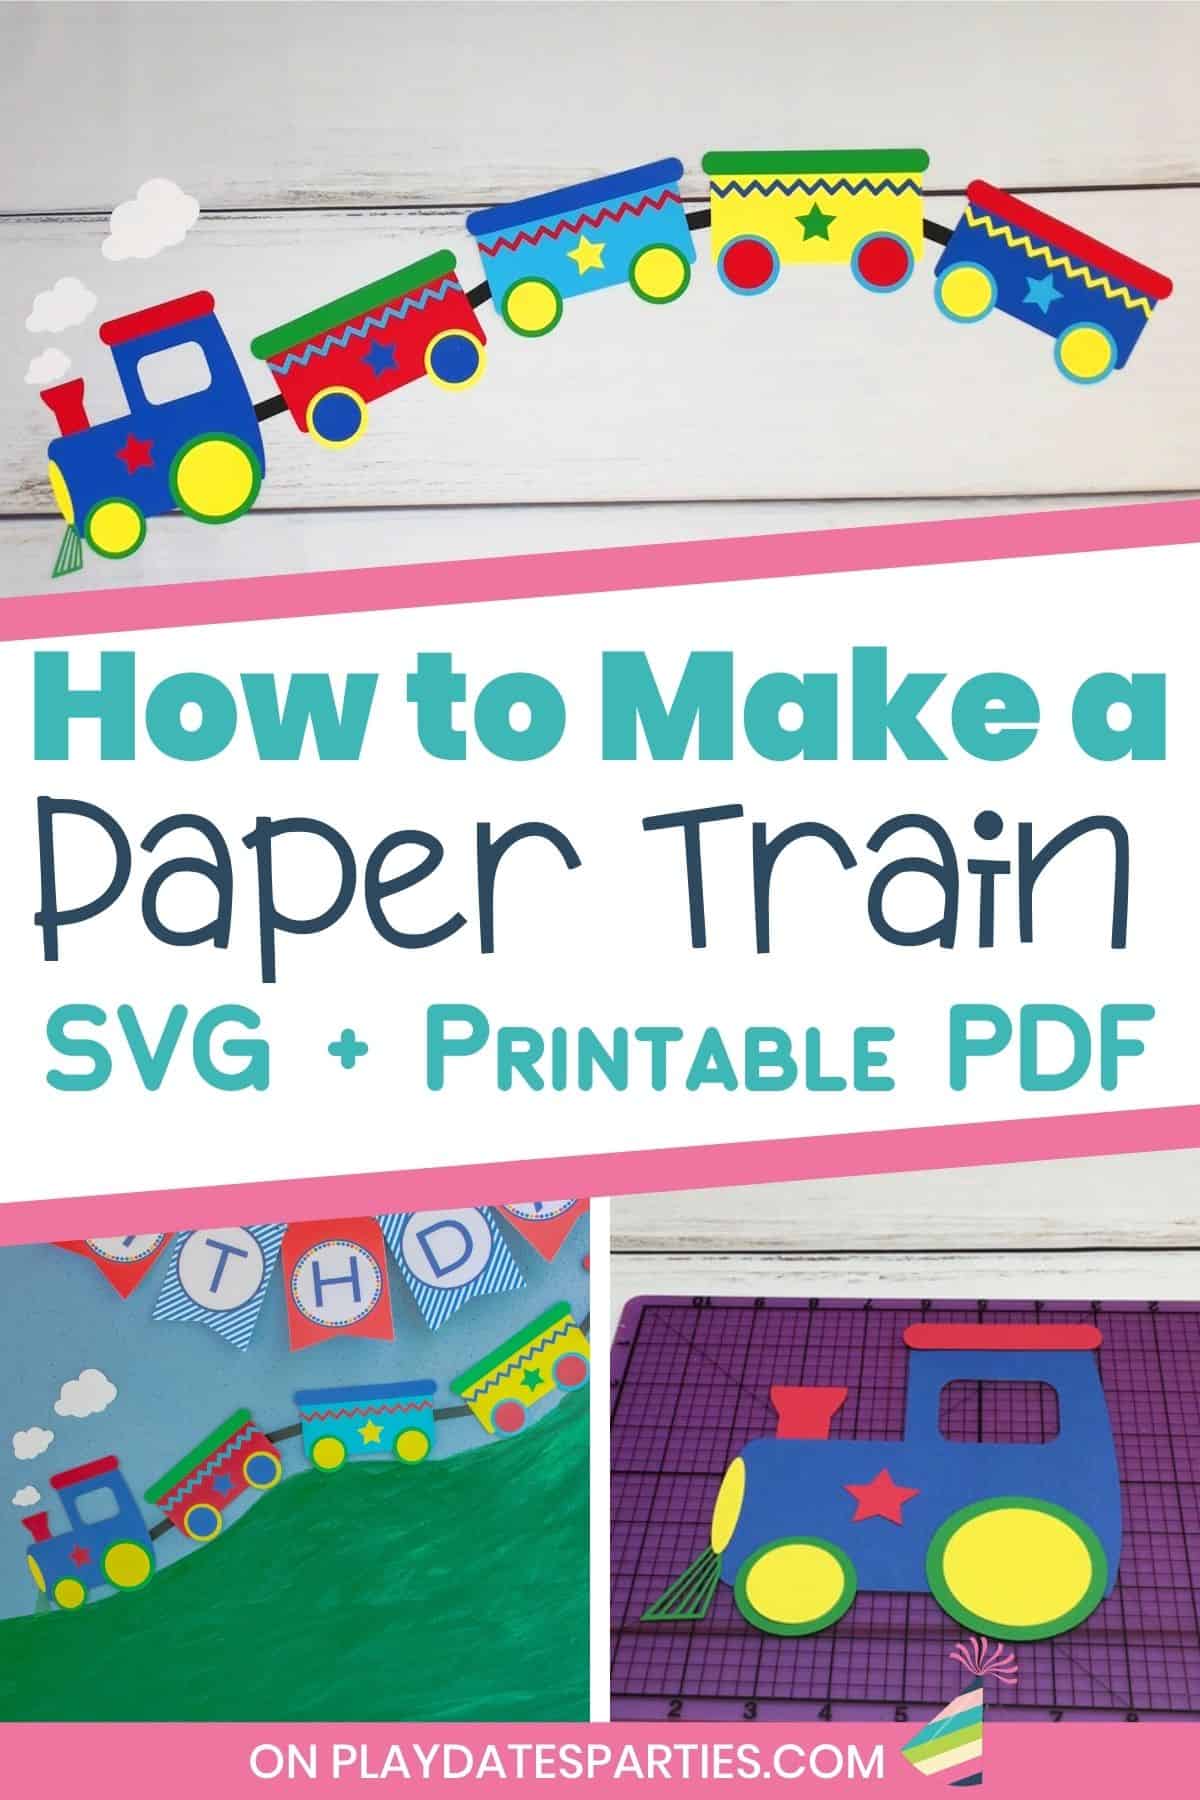
We’re excited to share this super easy paper train craft with you! It’s perfect for anyone who wants an easy project that leaves a lasting impression. The best part is that you can change the colors, patterns, and more to really customize it for your space.
The tutorial below goes through all the steps, so even beginners can follow along. And even though it was designed as an SVG file for your Cricut, the file also includes two PDF versions if you prefer to cut the design by hand.
What makes this project so fun:
Aside from the bright, happy colors, here are a few things we love about this paper train template:
- The SVG file is easy to resize to fit your needs
- No advanced skills necessary, simply cut it out and glue it together
- You can customize it in any color you want with the Cricut design file, but it also includes PDF paper patterns so that anyone can create their own with a printer and a simple pair of scissors.
- It’s fun for any number of projects: train themed party decor, playroom decor, nursery decor, advanced crafters can even use parts of the SVG file to create layered vinyl projects for their little ones.
What You Need
Materials:
- This SVG file
- 1 piece of red card stock
- 1 piece of yellow card stock
- 1 piece of green card stock
- 1 piece of dark blue card stock
- 1 piece of light blue card stock
- 1 piece of black card stock
- 1 piece of white card stock
- Glue stick or glue pen
Supplies:
- Cricut Cutting Machine (see FAQ if you don’t have a Cricut)
- Light Grip Cutting Mat
- Fine Tip Blade
- A craft mat with measurements
- Glue
- Small scissors (just in case you need to trim the extra pieces)
A few notes about the supplies:
Card Stock: As long as you’re displaying the train against a flat surface, you can use less expensive card stock that is only colored on one side
Glue: I’ve made this train with both glue stick and glue pens. Both worked well because they dry with just a thin layer of glue that doesn’t make the paper warp. I do not recommend glue guns or most regular craft glue for this project because it will likely get too messy with the many small pieces.
Craft Mat with grid: You’ll need a craft mat that has a grid at least down to the quarter inch. This will help you make sure your train wheels are all aligned
Step-by-Step Directions (Video Tutorial):
To make things easy for you, I’ve got a step-by-step tutorial with photos at the bottom of this post. Don’t forget to leave a rating and print out your copy of the instructions!
You can also watch the full video tutorial in the video player on this page, or over here on YouTube.
Essential Tips:
Don’t skip these tips – read them before starting to avoid any potential mistakes.
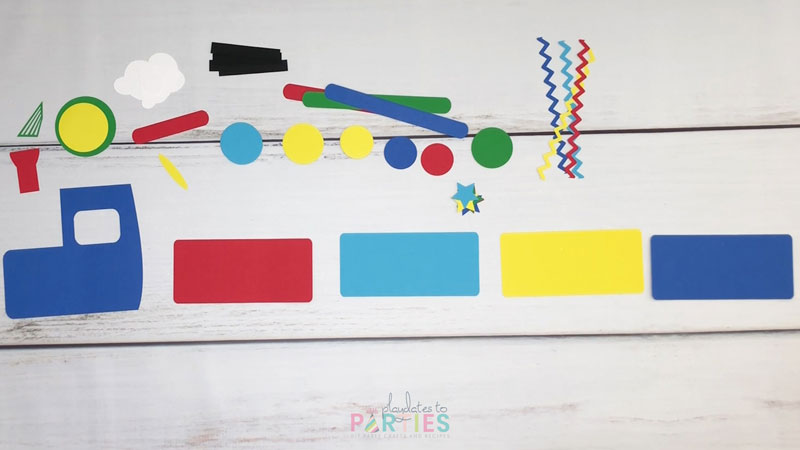
Tip #1: Sort your pieces before you get started
Once you have everything cut out and removed from the mat, you’ll want to sort out your pieces by size and color.
You might even want to arrange the train cars in the color order you want. Getting everything organized makes the rest of the process so much easier for assembling the pieces together.
Tip #2: Arrange all your pieces before gluing anything together
I recommend that you do a dry fit assembly of the train engine and each of the train cars without glue.
This way, you can be sure that you’re not missing any pieces and that you are gluing the correct size circles together for the wheels. Don’t worry about making sure everything is lined up perfectly. You mostly want to make sure you’re:
- not missing any pieces
- gluing the correct sizes of circles for the wheels, and
- that the distribution of the color look looks good.
No one wants to have to go back and recut cardstock or find out after it’s too late that you’re left with all blue wheels for the last train car. When all the other wheels have contrast in colors.
Tip #3: Store Your Assembled pieces in zip-top bags
If you’re making this in advance of a party or event like I was, then keeping the pieces together in a zip top bag will keep them together and prevent them from getting ruined by accidental spills.
FAQs:
How Can I Use this Design?
I used parts of this design in three different ways for our party:
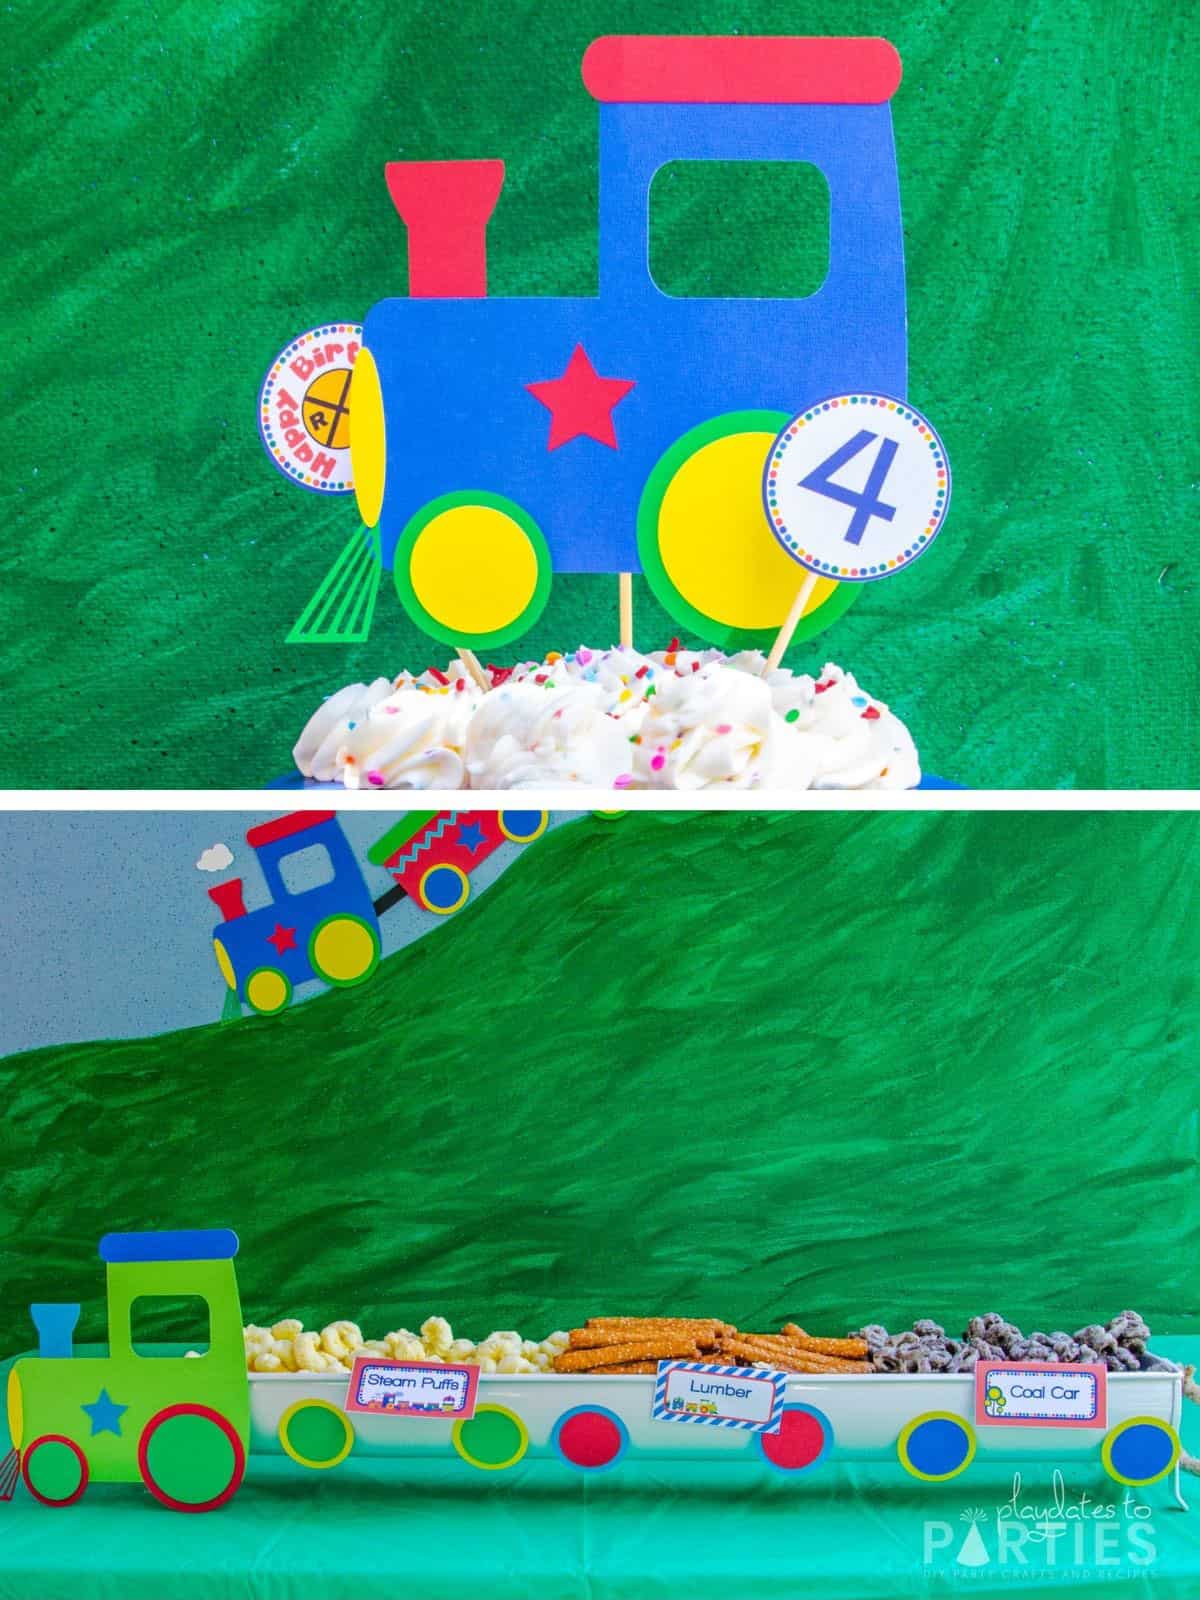
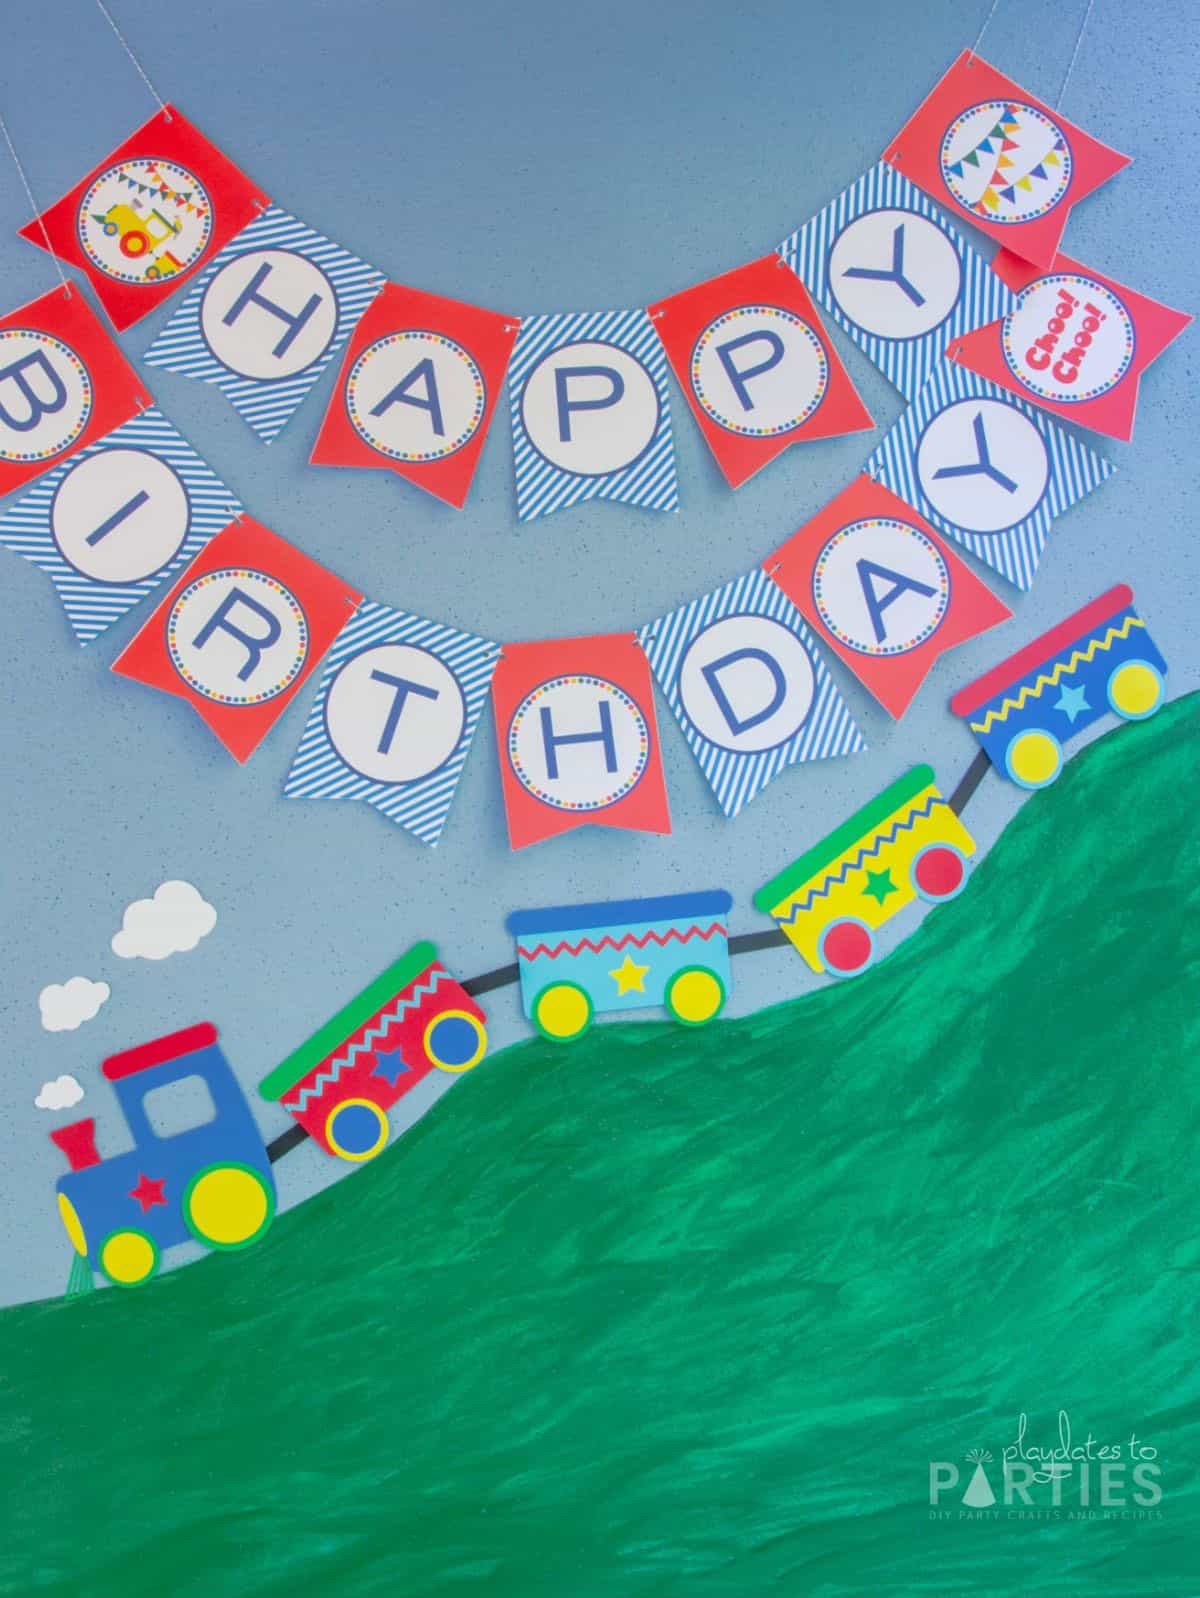
- A full train was on the snack table train party backdrop (that cost less than $30 to make!)
- The engine pattern colors and size were changed to create a DIY cake topper
- A third engine and an extra set of wheels was used to transform a long, narrow serving tray into like a snack train.
And after the party, I was able to move the paper train to the birthday boy’s bedroom. (Most of it is still there, in fact, but being the mischievous kid he is, several pieces are torn off. )
How Big is the Paper Train?
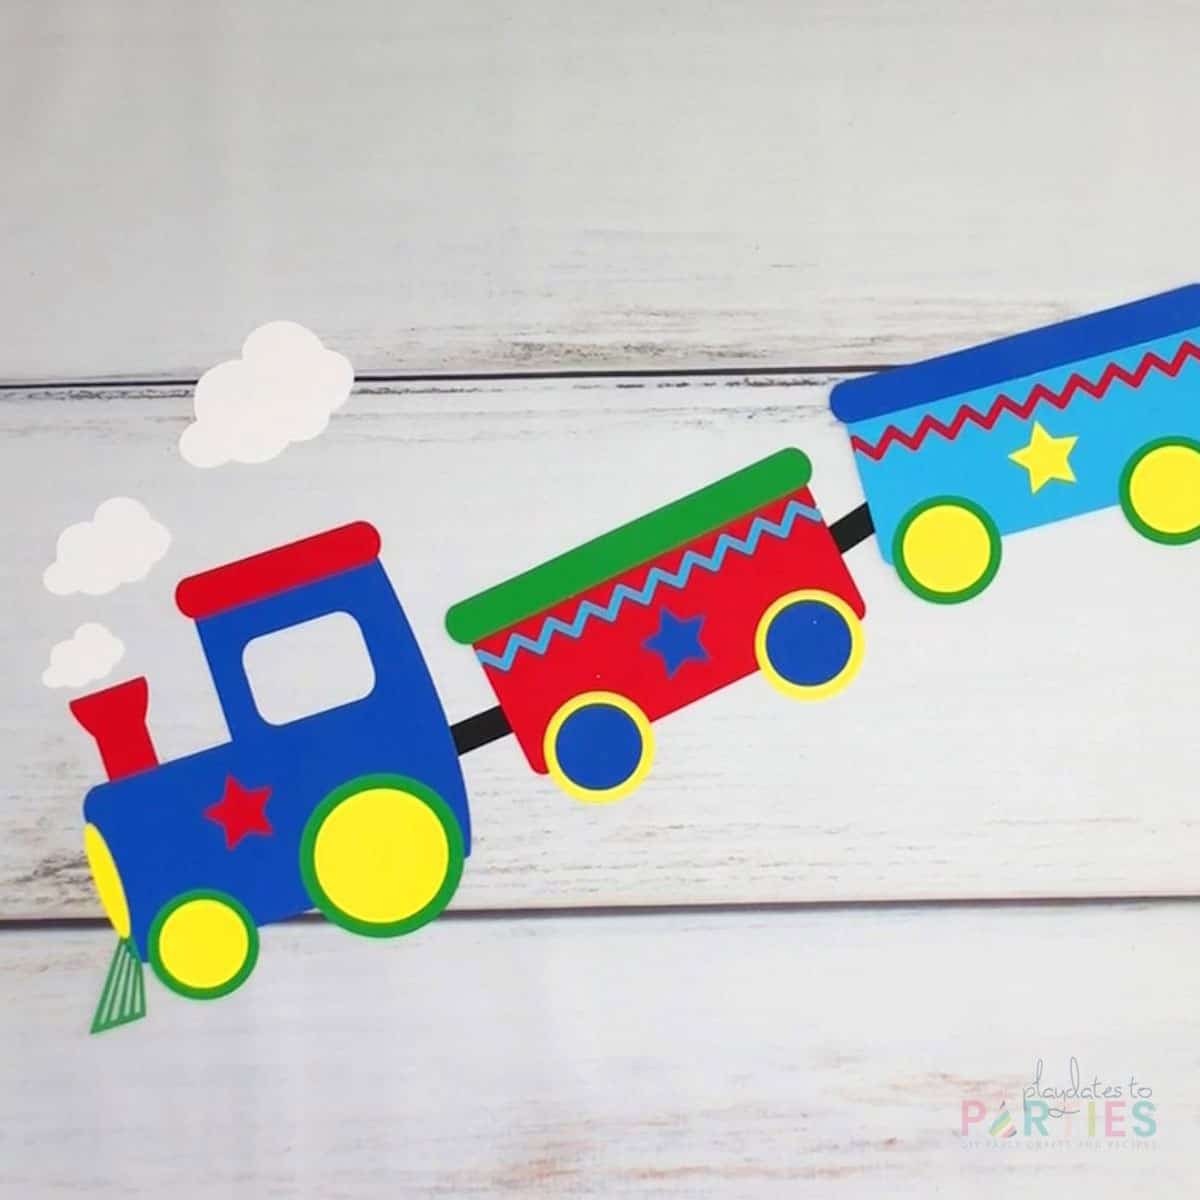
The default overall size is about 36 inches long by 12 inches tall. Individually, the train pieces are approximately:
- Engine: 6.5″ wide x 5.5″ tall
- Cars: 5.25″ wide x 3.5″ tall
- Steam Puffs: multiple sizes up to 6″ wide x 3″ tall
However, you can resize the SVG train pattern to your desired size as long as your biggest piece (the train engine) is within the cut area of a standard mat, 11.5 inches tall.
What if I don’t have a Cricut Cutting Machine?
This design should work with machines that accept SVG files. However, I have not been able to test this with other machines, so I can’t guarantee that it will work outside of Cricut Design Space.
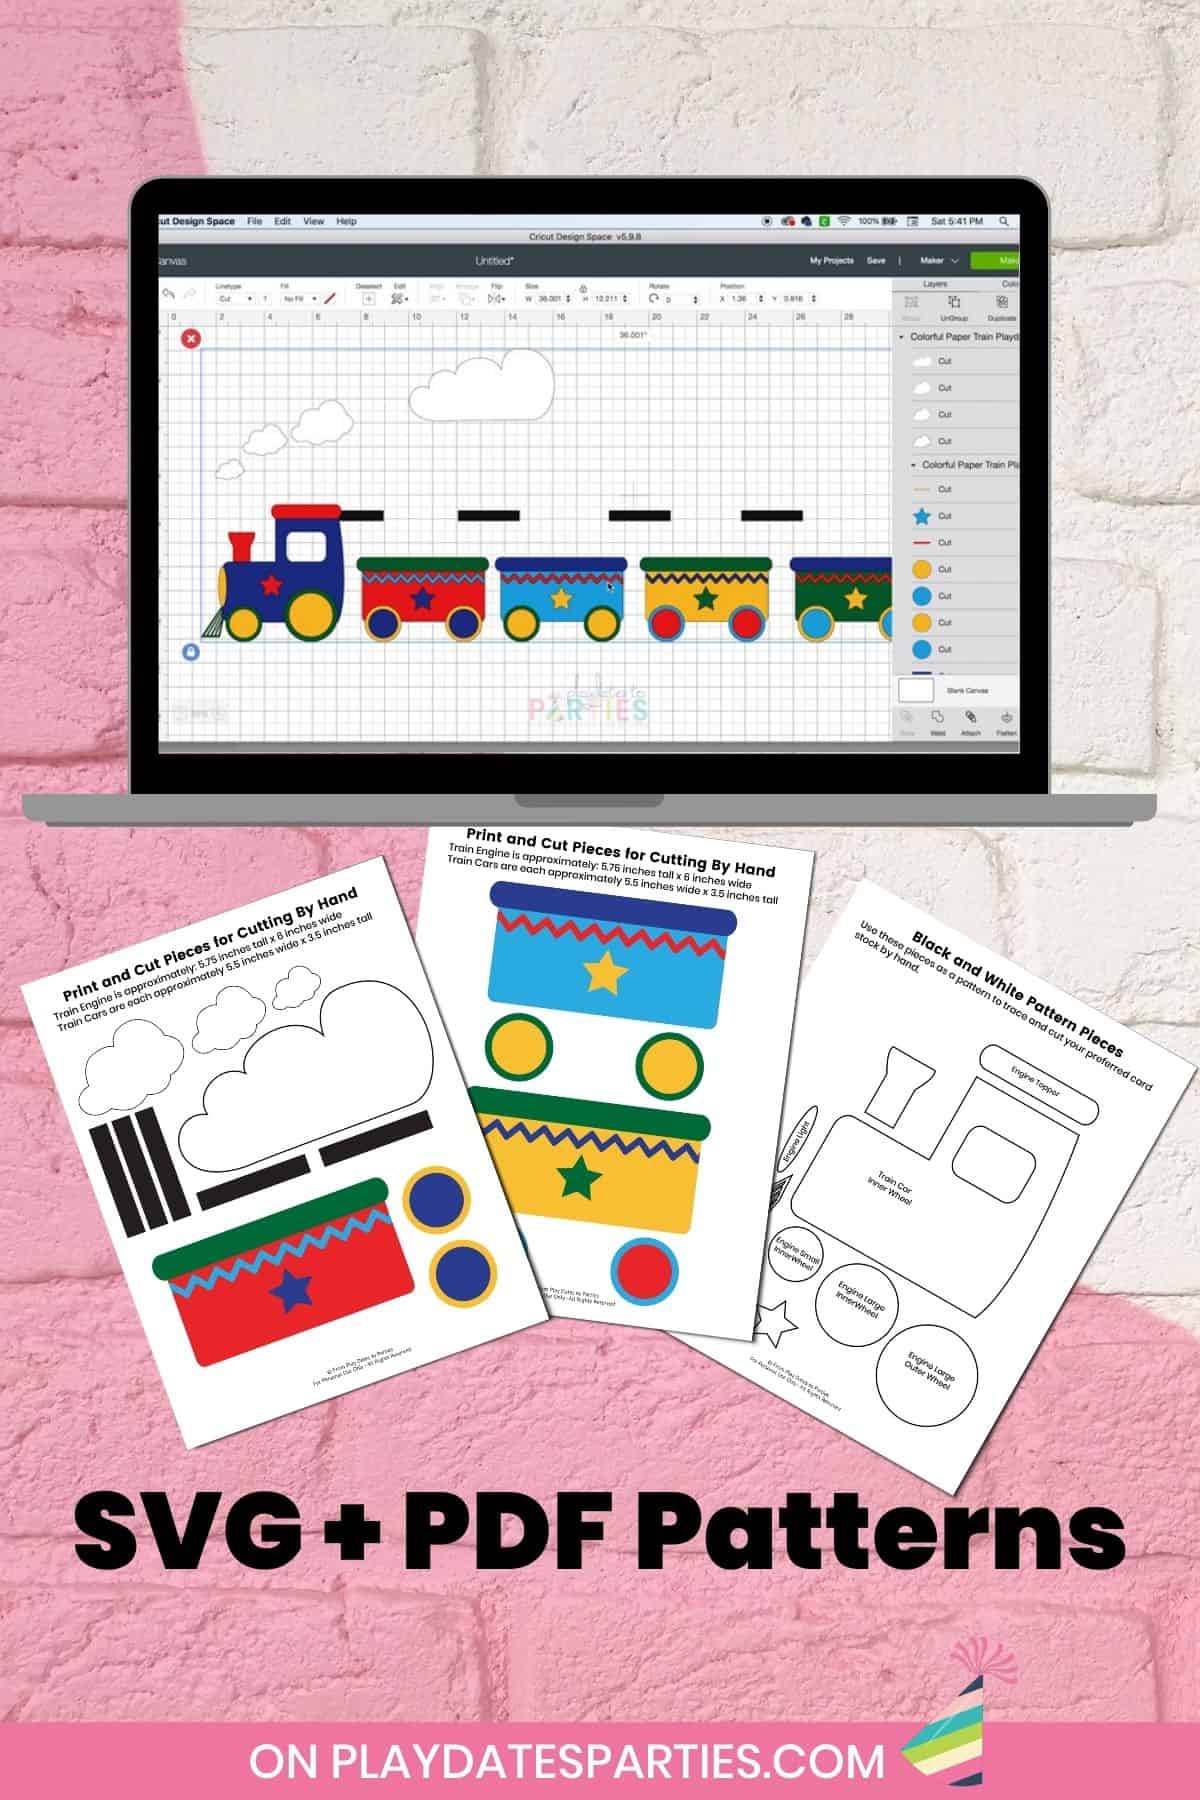
If you don’t have a cutting machine at all, the download also includes two PDF patterns:
- A color printable file you can cut out and assemble, and
- A black and white pattern you can use to trace and cut if you prefer different colors for your train.
If you liked this party craft, you’ll also love this DIY backdrop frame. Or you can check out all my Cricut crafts here, and all my train party ideas here.
How to Make a Paper Train

This super easy paper train craft is perfect for anyone who wants a simple project that leaves a lasting impression. The best part is that you can change the colors and size of the SVG file to really customize it for your needs.
Materials
- This SVG file
- 1 sheet of red card stock
- 1 sheet of yellow card stock
- 1 sheet of green card stock
- 1 sheet of dark blue card stock
- 1 sheet of light blue card stock
- 1 sheet of black card stock
- 1 sheet of white card stock
- Glue stick or glue pen
Tools
- Cricut Cutting Machine
- Light Grip Cutting Mat
- Fine Tip Blade
- A craft mat with measurements
- Small scissors (just in case you need to trim the extra pieces)
Instructions
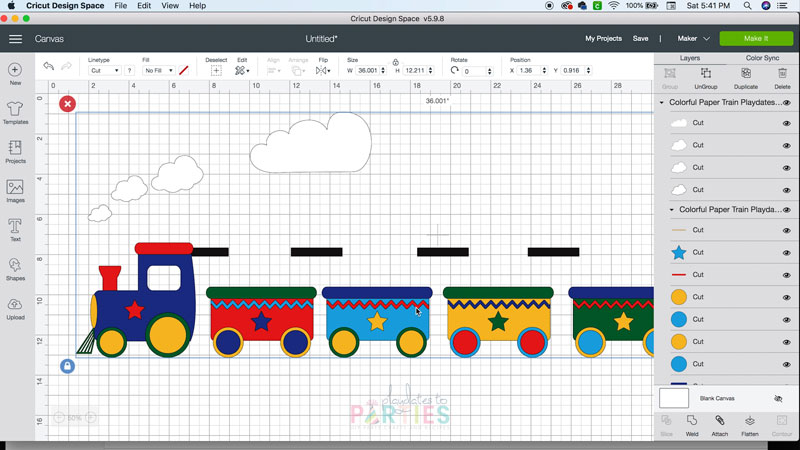
Upload the Design
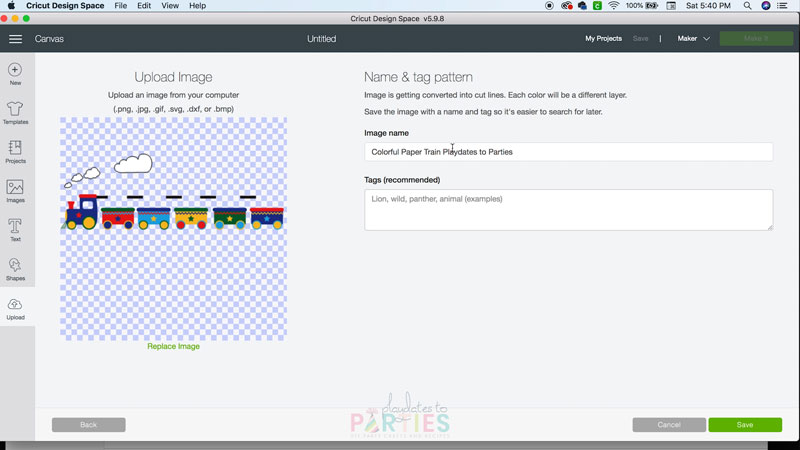
- Click upload, then upload image, then browse to wherever you saved the files on your computer.

- Click on the colorful paper train SVG file, then open. You can rename it or add tags, that's totally up to you.
- Click save, then insert it into your design.
Prepare and Cut the File in Cricut Design Space
- Double check that you've got everything to the right size for your final design and space. (see notes)
- Ungroup the file.
- If you wish to change any of the train colors do so now. Click Make it.
- In the preview you should have seven mats. Double check that all the pieces look correct, and adjust the paper size if necessary.
- Send the file to your machine and cut accordingly.
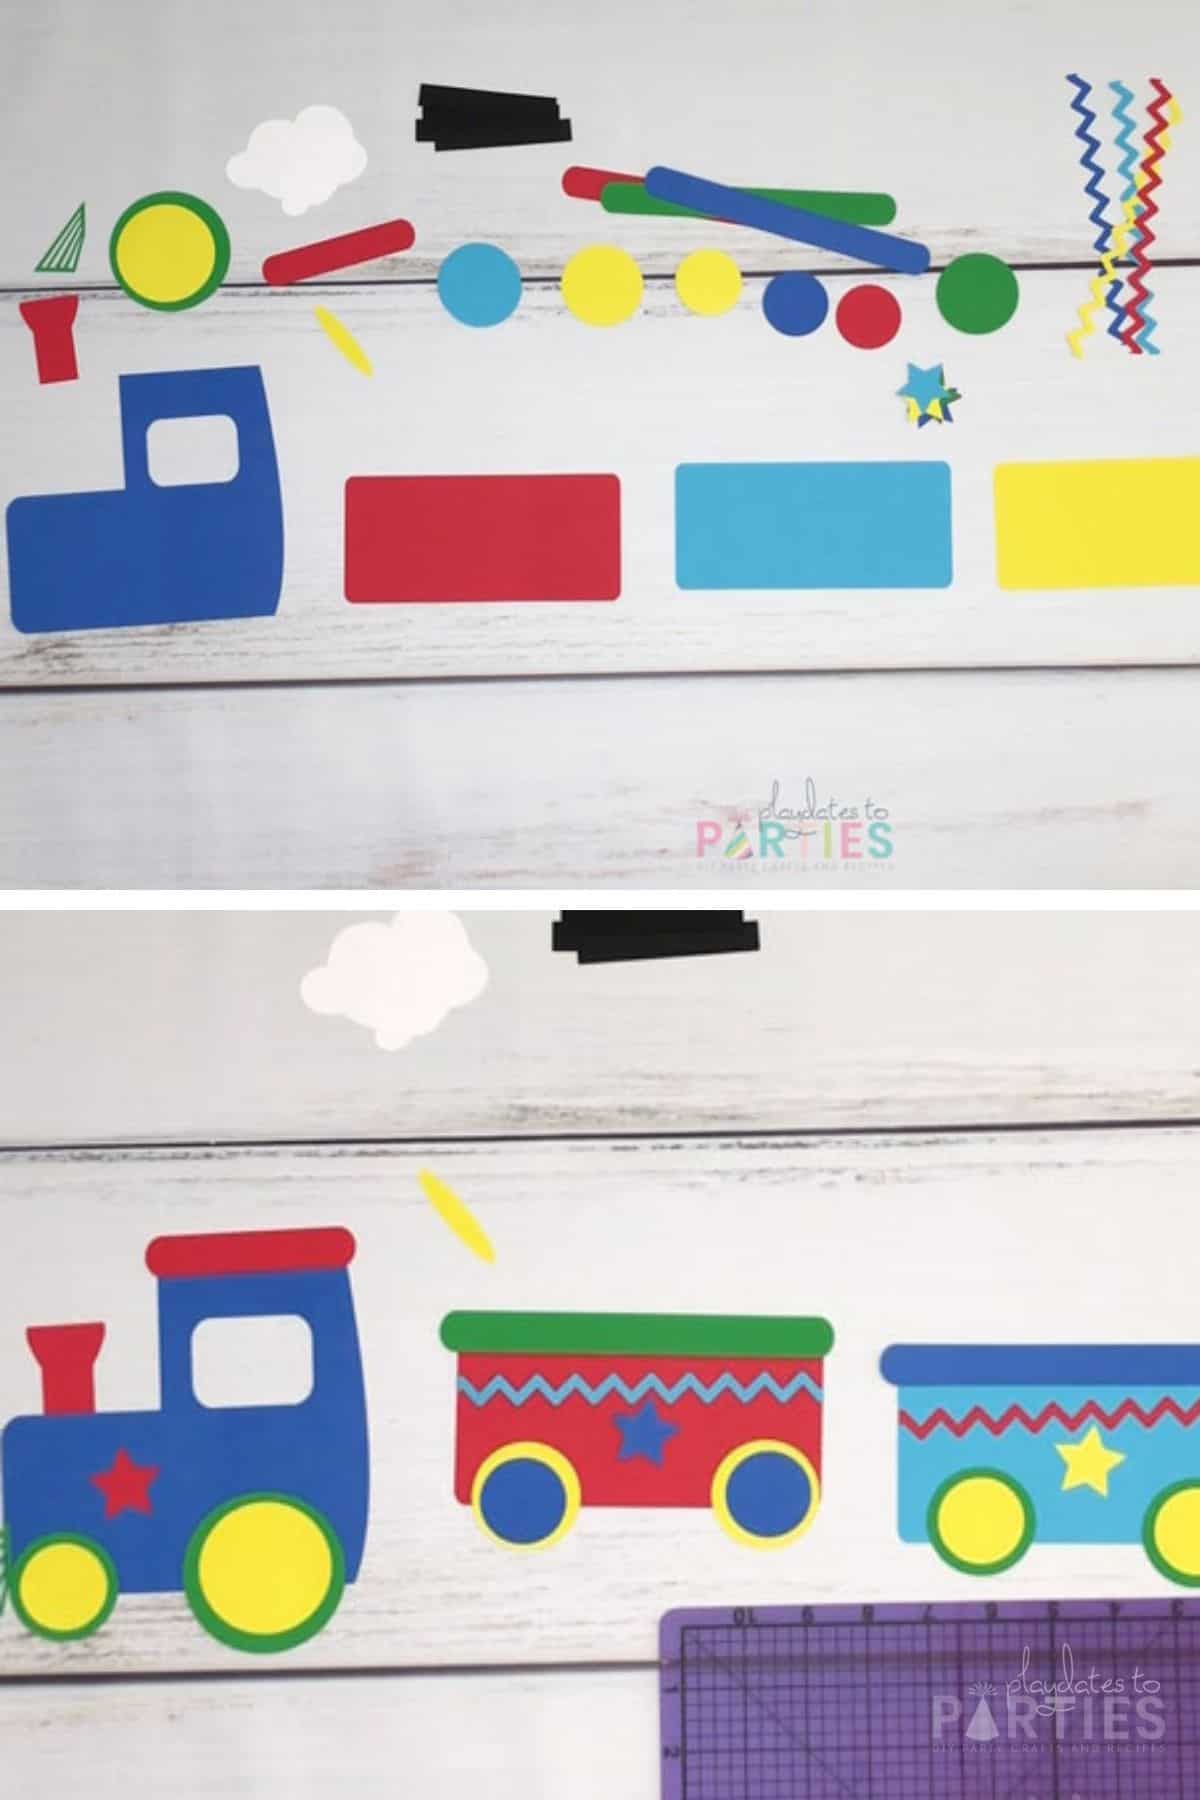
Organize the Cut Pieces
- Once you have everything cut out and removed from the mat, you’ll want to sort your pieces by size and color.
- Next, take the pieces and place everything together before gluing to ensure you have your color patterns straight.
Assemble the Engine
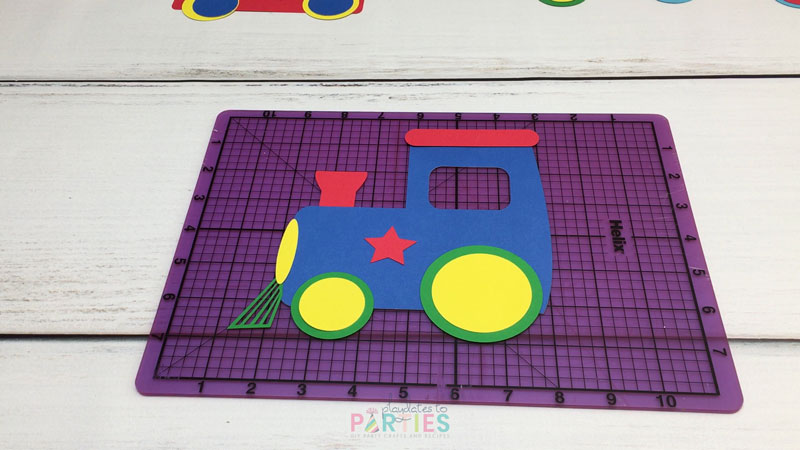
- Slide the assembled train cars aside and grab a crafting mat with a grid.
- Place the base of the train engine on your mat, so that the bottom of the engine is even with one of the gridlines.
- Place the apron to the front of the engine so that the bottom of the apron meets up with a gridline about 1/2 inch below the bottom of the engine.
- Next, place the wheels on the engine so they meet up with the gridline 3/4 of an inch below the bottom of the engine.
- Add the steam stack to the front of the engine. But instead of layering on top of the engine base, the bottom of the steam stack will be glue to the underside of the engine.
- Next, add the star to the middle of the engine, the light just above the apron, and the topper just above the cab.
- When you’re happy with the placement of all your pieces, glue them in place with a glue stick or glue pen.
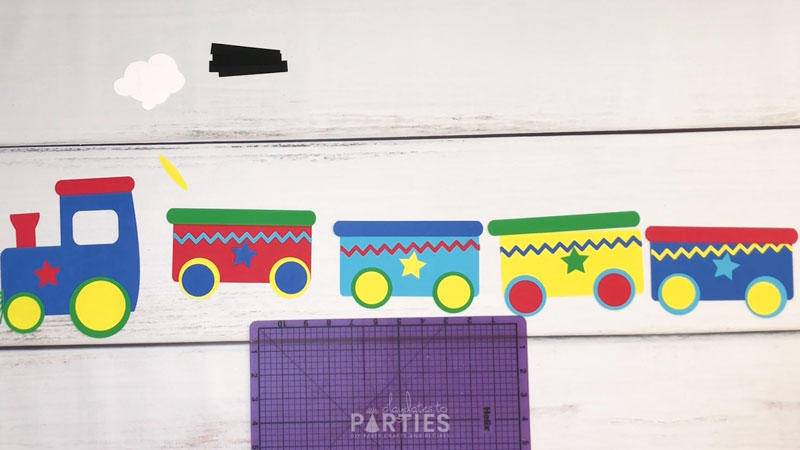
Assemble the Train Cars

- Place a train car base along the same horizontal gridline as the engine. (This will help ensure that all your wheels are even.) You’ll also want to align the train car so that there are two vertical lines to mark the placement of the wheels.
- Glue the small, 1.2” circles onto the big 1.5” circles, gently pressing the pieces together so they stay stuck.
- Align your wheels to the bottom horizontal gridline 3/4 inch from the bottom of the train car and then glue the wheels to the base of the train car.
- Glue the rounded rectangle to the top of the train car, the zig zag line just slightly below the rounded rectangle, and the star in the middle of the car. Use the gridlines on your mat to help you line the star up to the middle of the car.
- Repeat with all the remaining train cars
Connect the Train Cars and Engine
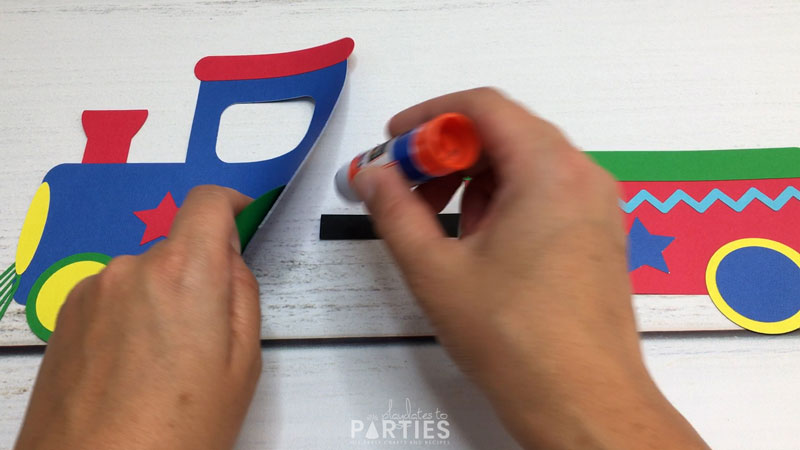
- When everything is glued and dried, you’ll want to look back at how long your train should be. Then space the cars evenly along that path.
- When your train is at the right length and each piece is in the correct position, glue a black connector between the undersides of the engine and the first car.
- Continue with the other connectors between the cars.
Notes
- Be cautious when making the train smaller. If you do, the zig zag pieces will become difficult to cut and glue.
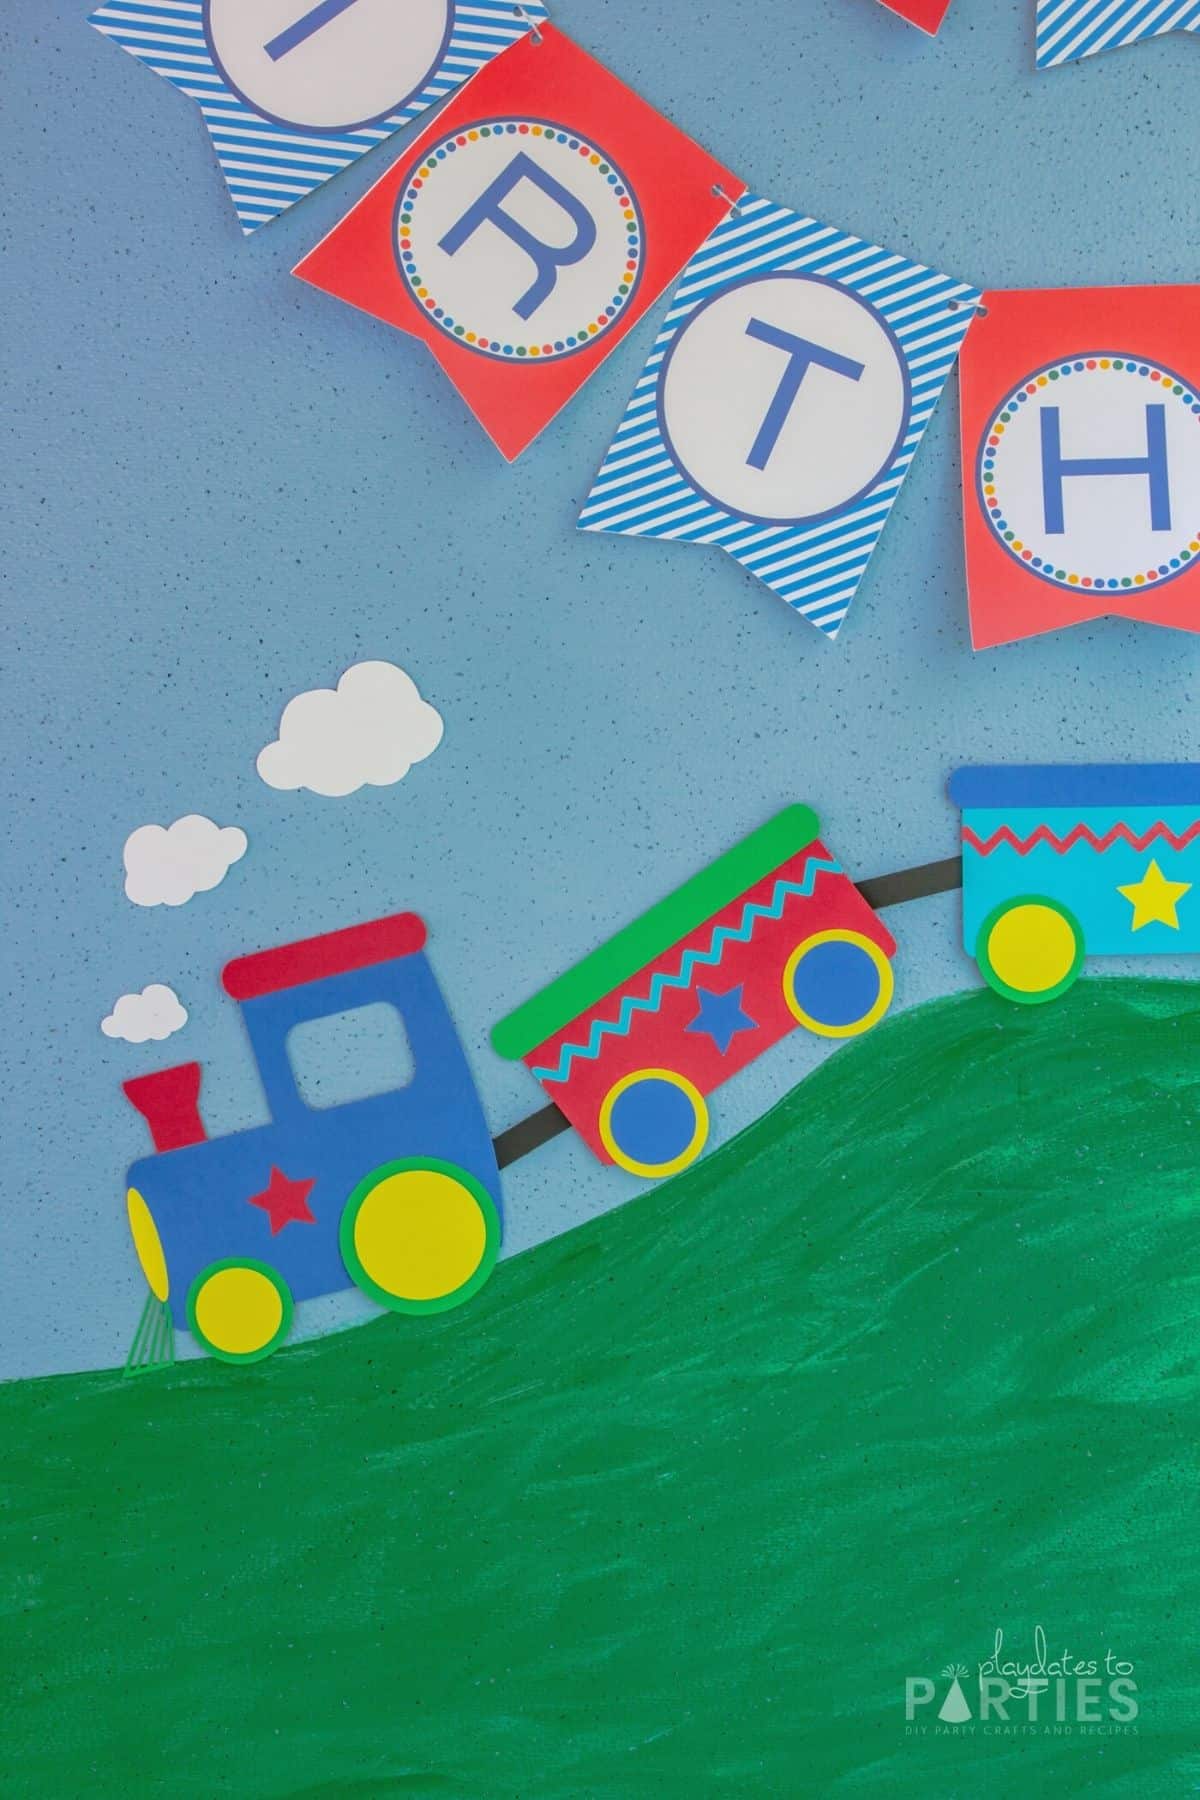
- The default train arrangement is in a straight line. However, it can be adjusted to look as though it’s rolling over hills. To do that, glue together the engine and the cars, but don’t add the connectors until your cars and engine are all in place on their final destination.
- If you want to assemble this in advance, but aren’t sure if your train will be straight or curved, you might want to use some extra small brads to hold all the pieces together.
Recommended Products
As an Amazon Associate and member of other affiliate programs, I earn from qualifying purchases.


Leave a Reply