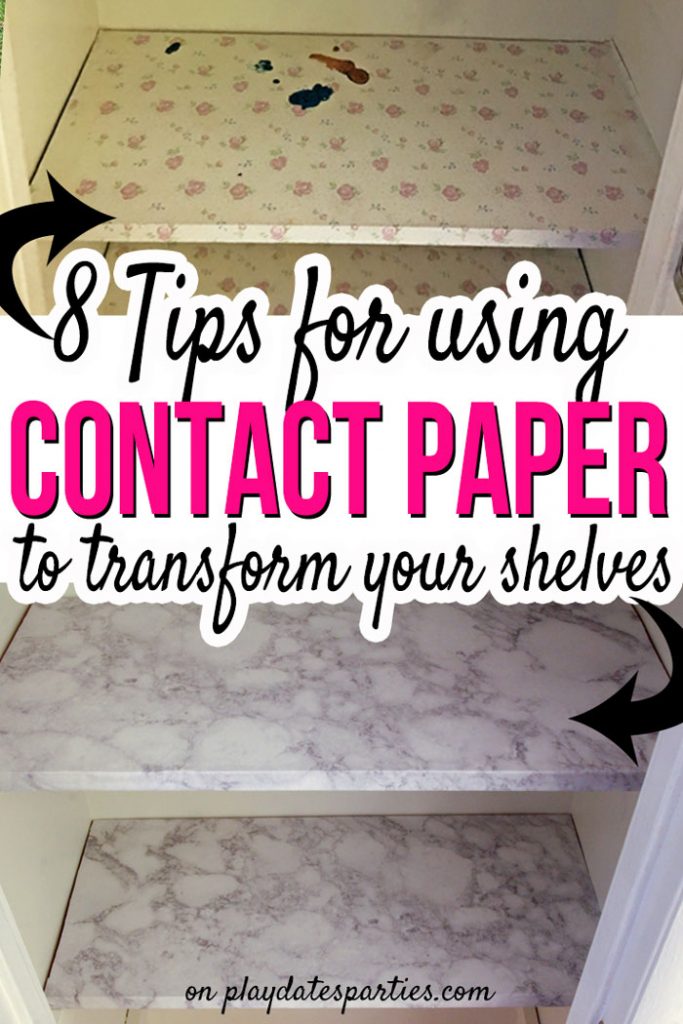
Transform your ugly old shelves from dingy to dreamy. Keep reading for the best tips to use contact paper for shelves. Oh, and to make sure they last, too!
Got ugly shelves?
Me too.
Well, I did….until I completely revamped our shelves to look like marble. Yes, classic and beautiful marble.
They look so much better now…and it cost me less than $8!
Yep, marble shelves for less than ten bucks.
Where We Started
First, let’s see what these shelves looked like before.
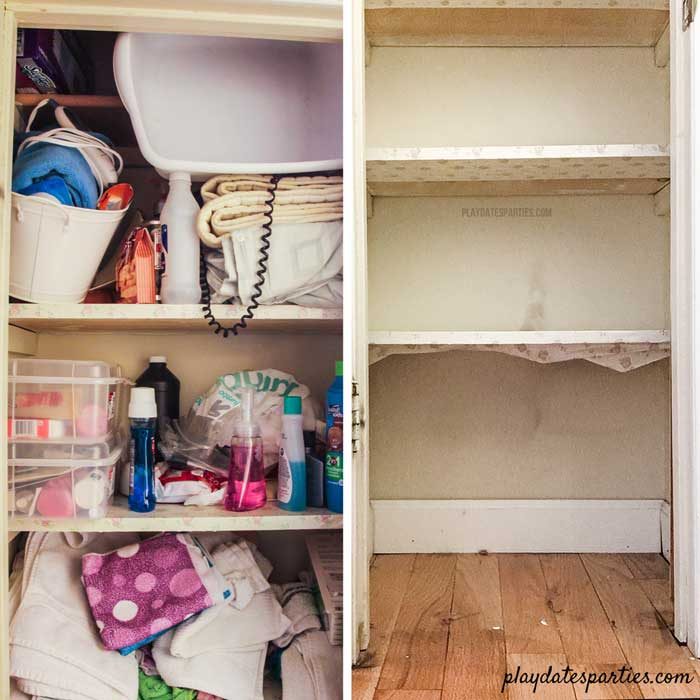
Pretty nasty, aren’t they?
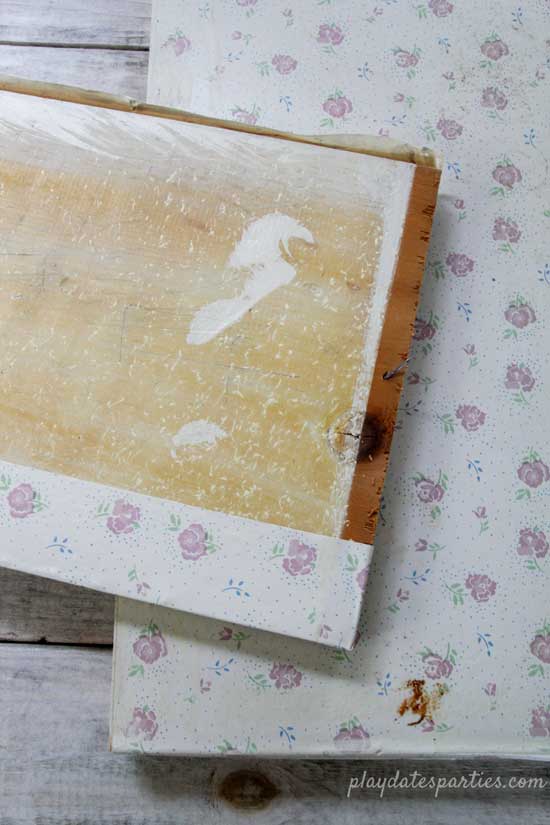
Between the dated pattern, the stains, and the peeling contact paper, these shelves were awful. To make matters worse, after removing the contact paper, I found large chips in the wood and sloppy paint blobs.
It’s clear that the wood stain from my design inspiration was just not an option.
Which is why I was so excited to find faux marble contact paper. It’s pretty, it’s neutral, and it’s the perfect way to update shelves on a budget.
Using contact paper for shelves isn’t new (obviously). But, no one wants a repeat of the peeling that was going on in those before pictures.
After all, even a simple and inexpensive project is only worth the effort if it looks good for a long time, right?
Materials and Supplies You Might Need for This Project
- Contact paper (obviously)
- Wood shelves cut to size
- Scissors
- Exacto Knife or box cutter with sharp blades
- Lineman pliers
- Hammer
- Rubber Mallet
- Sandpaper
- Lint free cloths
8 Tips When Using Contact Paper for Shelves
1. Buy More Contact Paper Than You Think You Need
Truth told, this isn’t the first time I worked with marble contact paper. A couple years ago I ordered some marble contact paper from Amazon (back then it cost less than $8) for a different project.
Although I still had some of that contact paper on hand, I needed more than was left over.
BUT, after purchasing a new roll of marble contact paper (for less than $8), I realized how different the colors and patterns are from each other. Take a look:
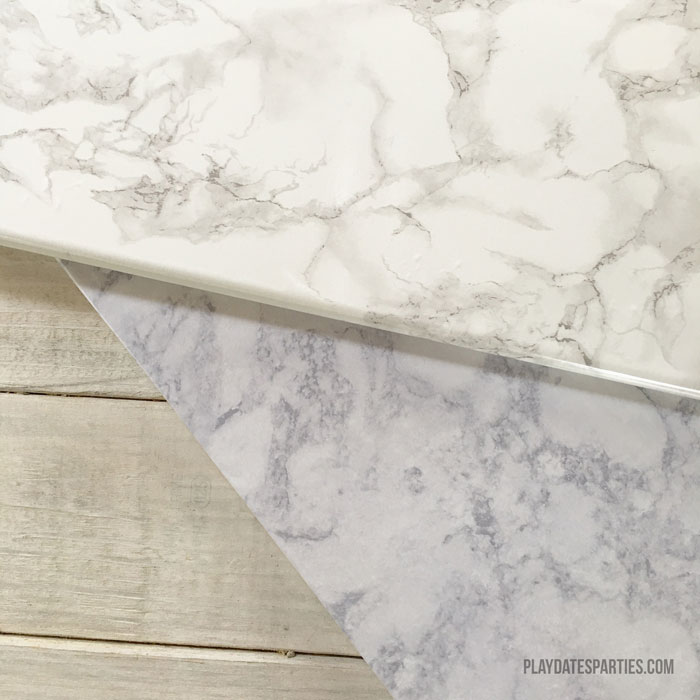
Just like tile, flooring, and fabric, different printing runs can have slightly different looks.
That’s why I strongly recommend you purchase one more roll than you think you’ll need for your shelves. It’s better to return an extra roll than to have mismatched shelves.
2. Remove Your Shelves Before Applying the Contact Paper
From what I can tell, the old contact paper was applied while the shelves were nailed down in our linen closet.
Not only did that end up looking terrible, but it was probably far more difficult to put the contact paper on the shelves themselves. Why bother at that point?
Do yourself a favor and remove the shelves before applying the contact paper.
If your shelves are nailed down, you can gently tap them from the underside with a rubber mallet. Just be careful not to hit them too hard, or you may end up splitting the wood.
3. Properly Prepare Your Shelves
Contact paper adheres best to smooth, clean surfaces, so it’s extremely important to make sure your shelves are properly prepared.
You may need to do some (or all) of the following:
- Remove old contact paper, stickers, or anything else stuck to your shelves
- Sand down the shelves to remove rough edges
- Remove nails, staples, or any other hardware
- Wipe down your shelves with a damp, lint-free towel to remove dust and debris, and
- Allow the shelves to dry completely
Quick Tip:
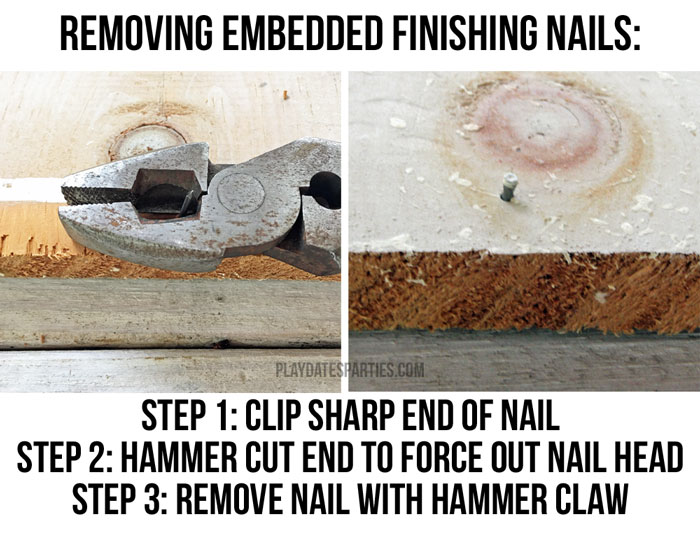
I had to remove several nails from our shelves before using the new contact paper, many of which were embedded deep in the wood. Here’s how I took care of it:
- Cut off the pointed end of the nail with lineman pliers, making sure you don’t cut too close to the shelf.
- Hammer the new blunt end of the nail to force the head of the nail through the top of the shelf.
- Finally, use the claw on a hammer to remove the nail from the shelf.
4. Do the Math
Most contact paper has a grid on the back that makes it much easier to measure and cut. Use this to your advantage!
That said, the measurements could be in inches or centimeters, depending on where the contact paper was manufactured.
I wanted to ensure that all visible sides of our shelves would be covered with contact paper…including the bottom.
The problem is that the contact paper isn’t wide enough to cover our shelves that much. So before cutting anything, I measured and calculated at least three times how much contact paper I would need to add to the underside of each shelf to get a completely covered look:
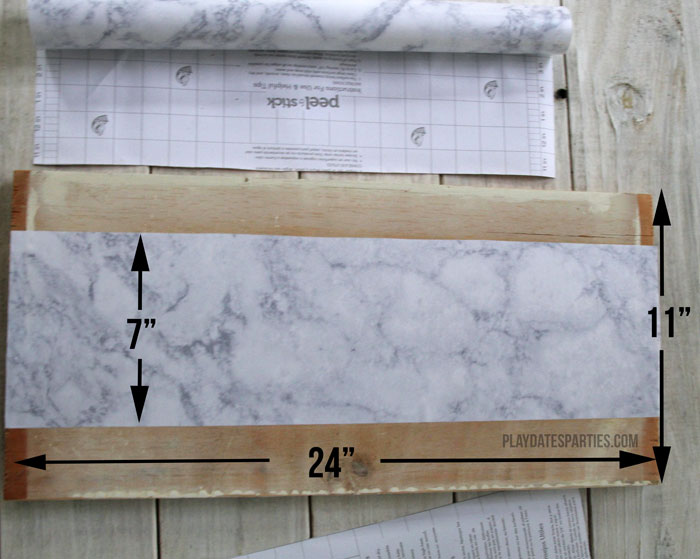
By doing the math ahead of time, I was able to minimize waste and use only one roll’s worth of contact paper.
5. Cut a Little Bit Longer Than You Think You Need
I know, I just said to measure everything to avoid waste. But hear me out on this.
It can be very difficult to get contact paper exactly straight when starting. And once you start crooked, you can end up with gaps in your final project.
Cutting your paper slightly longer than the width of the shelf will ensure there are no gaps. And you can always trim the excess with an exact knife or box cutter.
6. Allow Natural Stone Contact Paper for Shelves to Overlap
You’re not likely to get seams to match up with marble contact paper.
Since it’s not uncommon to see seams in large natural stone shelves and counters, allowing a little bit of overlap creates the smoothest and most natural looking seam.
That said, I do recommend putting the seam in an inconspicuous area if possible. I put our seams on the underside of the shelf. Take a look:
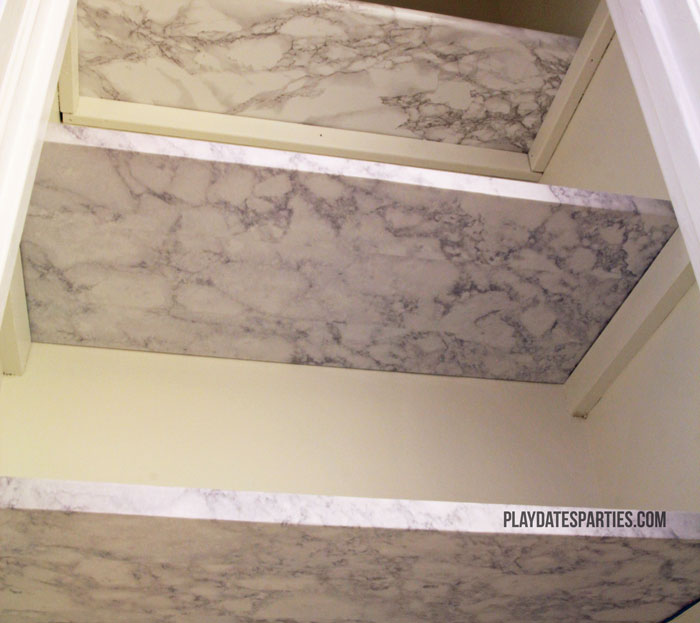
Not too bad, huh?
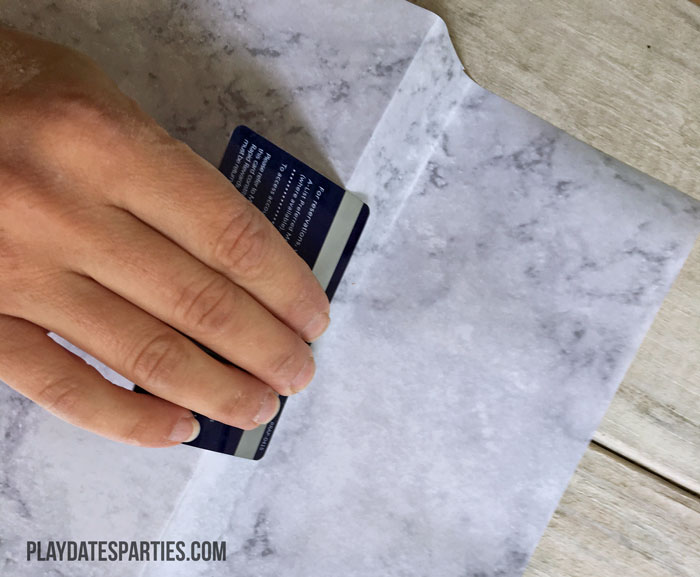
7. Only Peel Back Your Contact Paper a Few Inches at a Time
If you remove the entire back of the contact paper at once, you it will end up sticking to itself. Then you’ll end up with wrinkles that are nearly impossible to get out. (Yes, this is experience speaking)
Gently peel back a few inches from the backing of the contact paper and place the sticky side against the shelf.
Smooth down the contact paper from the center out. I highly recommend using a credit card or smoothing tool to press out any bubbles as you go.
Then continue to peel and press in small sections until you are done.
8. Be Cautious about Where You Use Contact Paper for Shelves
Using contact paper for shelves in our linen closet is a no-brainer. They won’t get too much abuse in there.
That said, if you use contact paper for shelves in a kitchen or a bathroom, you may end up seeing some peeling after a while. Use shelves with an end cap like these Ikea shelves to minimize the effect of humidity on the contact paper and to help hold the raw edges down.
The After
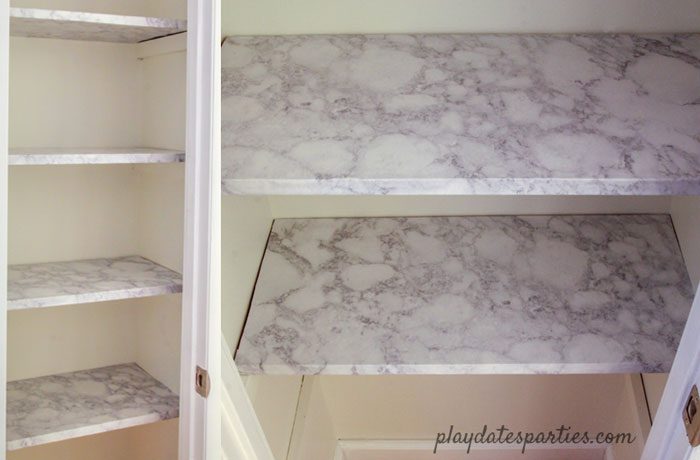
So long ugly old shelves!
The new contact paper coating is so much better than the peeling, stained, and dated old shelves that were there before.
And with the fresh coat of paint I added to the inside of the cabinet last week, the whole closet is feeling so much airier! Now I can’t wait to get to the really fun part-shopping for new baskets and bins to hold all our stuff!
How Long Did It Take?
Replacing all five shelves took about 2.5 hours. That includes the time removing all the old contact paper, prepping the shelves, and putting on the new contact paper.
I think it was definitely time well spent.
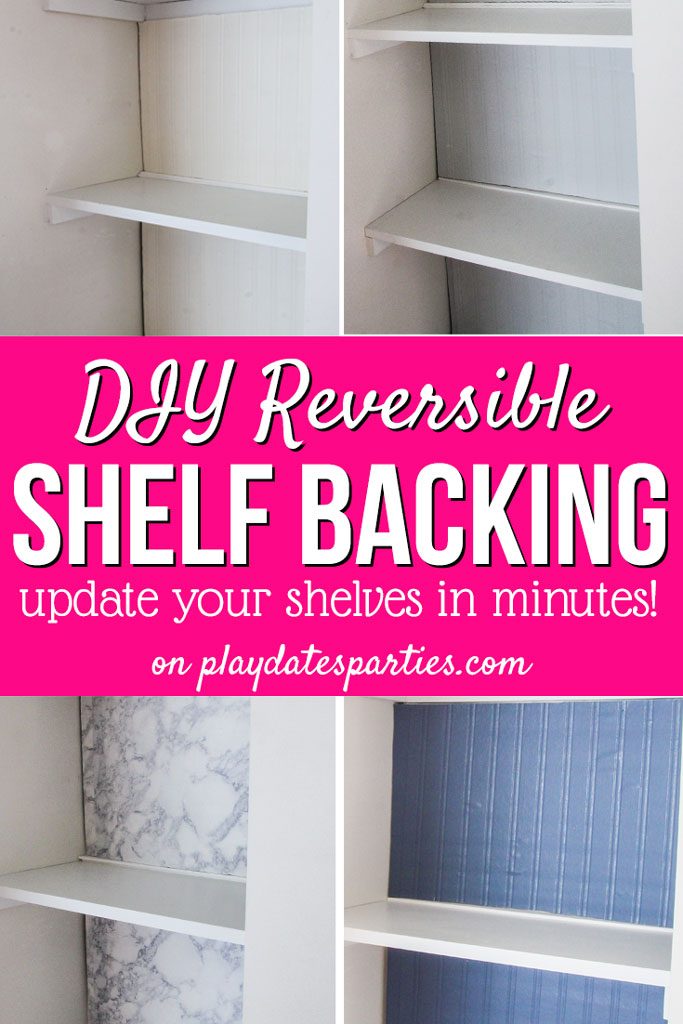
See the Entire Renovation:

7 Simple Steps to a Perfectly Organized Linen Closet Custom Organization for Woven Storage Baskets 
Get the Look: Dip Painted Storage Boxes 
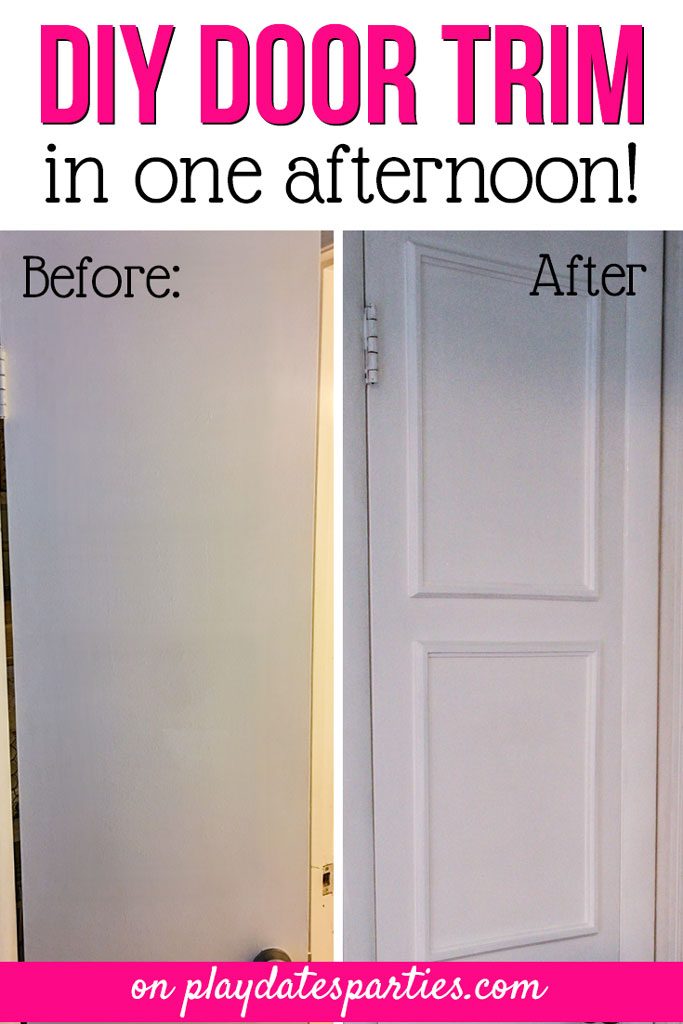
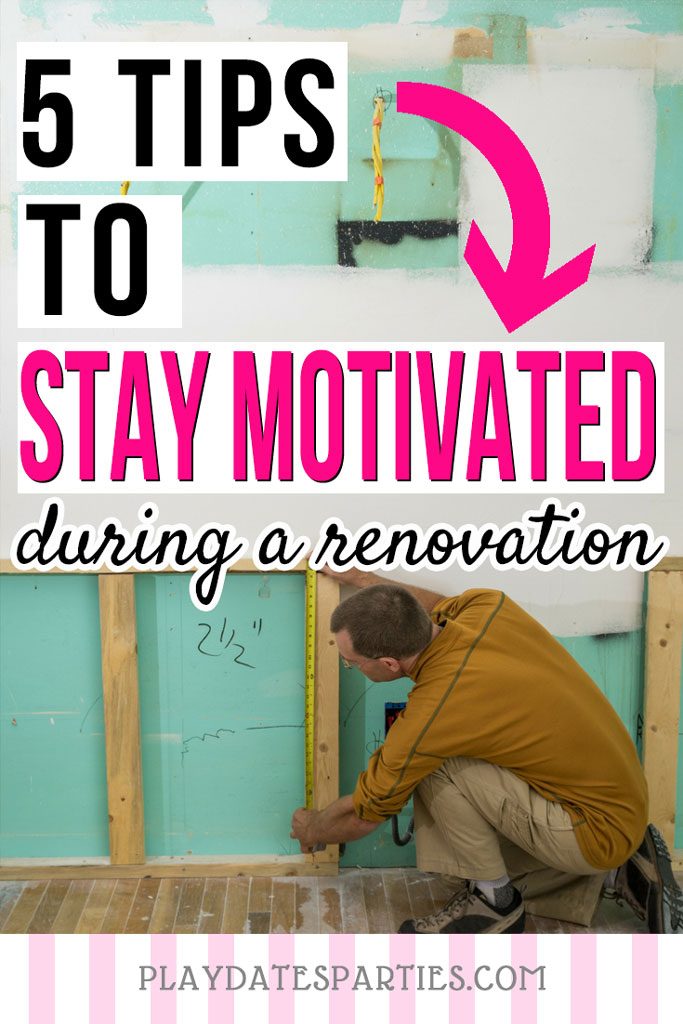
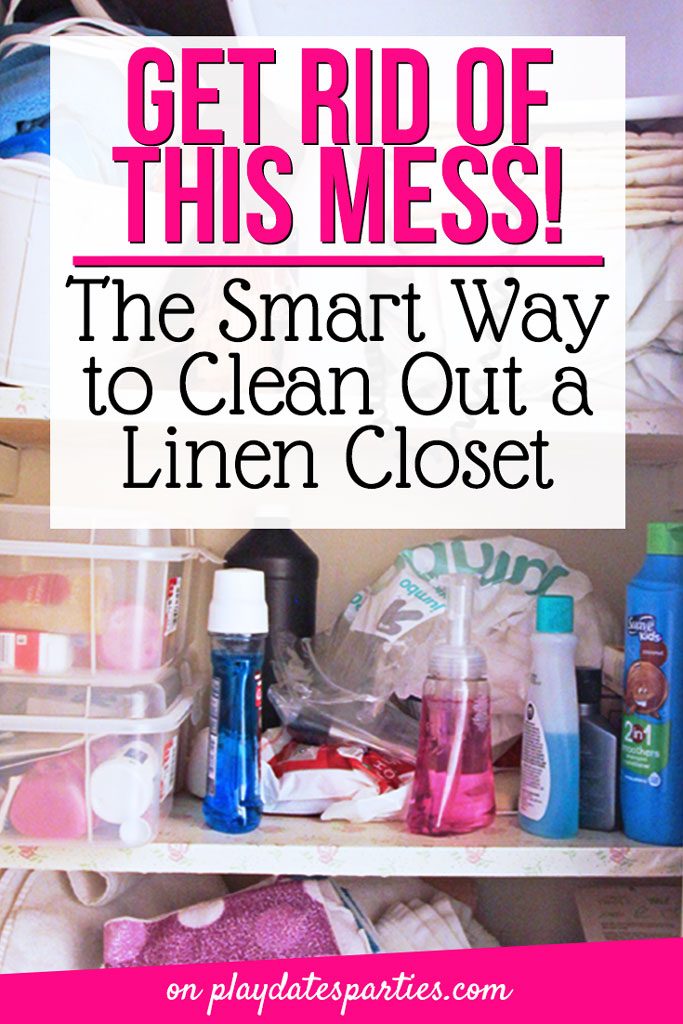
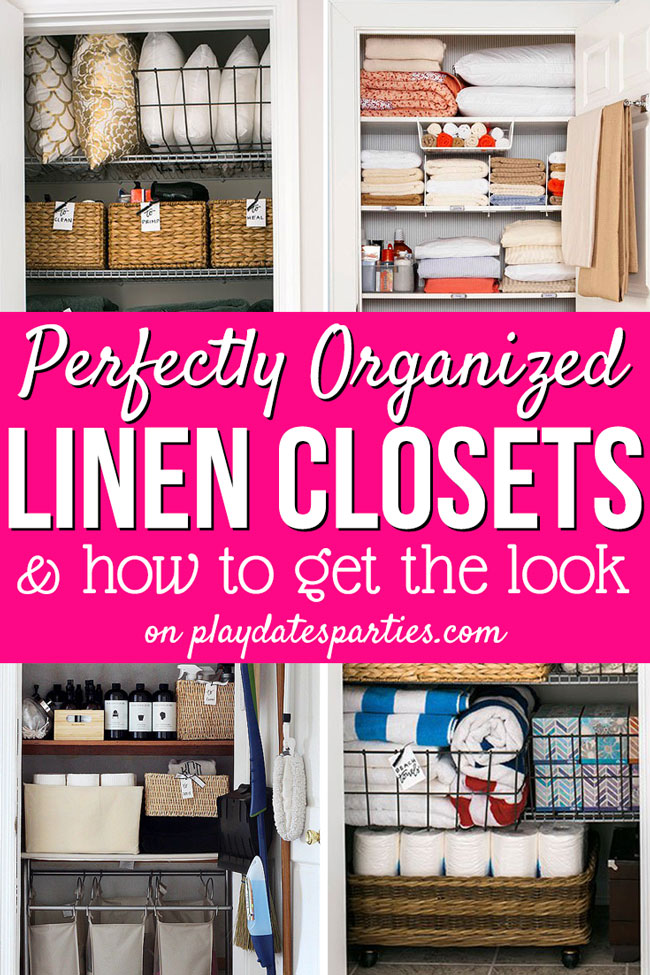
DIY Reversible Shelf Backing DIY Door Trim in One Afternoon 5 Tips to Stay Motivated During a Renovation 8 Tips for Using Contact Paper on Closet Shelves The Smart Way to Clean Out a Linen Closet 
Inspiration: How to Get Beautiful & Organized Linen Closets

Now It’s Your Turn
You don’t need to keep looking at ugly old shelves. With the 8 tips above, just a few dollars, and a single afternoon, you can completely transform the look of any of your closets!
Would you use contact paper for shelves?
What pattern or style would you use? Let me know in the comments!

I want to extend many thanks to the readers who have enjoyed renovation and home DIY posts over the years. Unfortunately, in January 2018 I was diagnosed with Stage II breast cancer and had to stop doing home renovation posts due to treatment.
Since that time, my focus has been on making this website an amazing resource for the everyday mom’s parties. Due to their popularity, the DIY posts and tutorials will remain on the website, but comments are now closed. Thank you again and I wish you the best in your DIY endeavors!


Morgane @bear, dolly and Moi says
The contact paper is a really nice touch!
Good to see you are back on the ORC.
Like you I chose a smaller indoor project, so much easier than the backyard we both work on last spring!
Tamara says
I never even knew what contact paper was! That’s beautiful! I love it so much than the peeling stuff!
Jen @ Noting Grace says
Genius! They look so real – I can’t wait to see the final reveal!
Janine Huldie says
My grandmother must have had stock in contact paper as she used it all the time in her kitchen and bathroom cabinets, too years back. But never knew exactly how to apply it in all honesty. So you taught me a new lesson here today and might have to try soon in my own home cabinets #happynowlinkup
Ana@CelebratingSunshine says
What a transformation! Such a great idea to use marbled contact paper! I love your pictures and the final result! #happynowlinkup
Katy says
That looks amazing! I didn’t know they had marble contact paper. The last time I used some, it was clear and I got it so my toddlers could stick stuff on it for “art”. 🙂
#happynowlinkup
Holly from klinwin.com says
Your shelves look so nice and I never would have guessed you used contact paper! I need to do this; I see a trip to Lowes in my near future. Thanks for sharing! #happynowlinkup
Dara says
Those look great!
Good tip about peeling the backing as you go, I would totally be the one doing it all at once and cursing like a sailor when it was stuck to everything but the shelf.
Kellie - Hooray for Moms says
Cool idea! What a great way to breathe new life into old shelves.
#happynowlinkup
WebMDiva says
I have a hall closet that I could totally do this with! LOVE the idea. Great job. 🙂
Amie says
They do look really lovely! I may have to hunt some of this down 🙂 #KCACOLS
Amie says
Sorry silly me, wrong linky! I meant #HappyNow
Susan says
Your shelves came out great. I use contact paper all the time on my shelves – some are marble and some are a cute polka dot pattern. Doing the bottom of the shelves that are visible makes a big difference in “selling” it as real.
Julie Briones says
Wonderful tutorial, and your shelves came out just lovely! Pinned! (visiting from Create Dream Inspire)
Susan says
Contact paper is no joke! I love the stuff. What a great blog post and I have to share it in my Pinterest! Glad to hop over from the bloggers pit stop!
Jann Olson says
Great idea! They really look nice. Thanks for sharing your tips with SYC.
hugs,
Jann
Mother of 3 says
Great tips! I haven’t used contact paper in ages but I do remember struggling in our hold house (the first time I used it!). Thanks for sharing at the Summer Time Fun Linky party. Pinned.