Functional organization can be pretty too! Get the best of both by making “dip” painted storage boxes in just an afternoon!
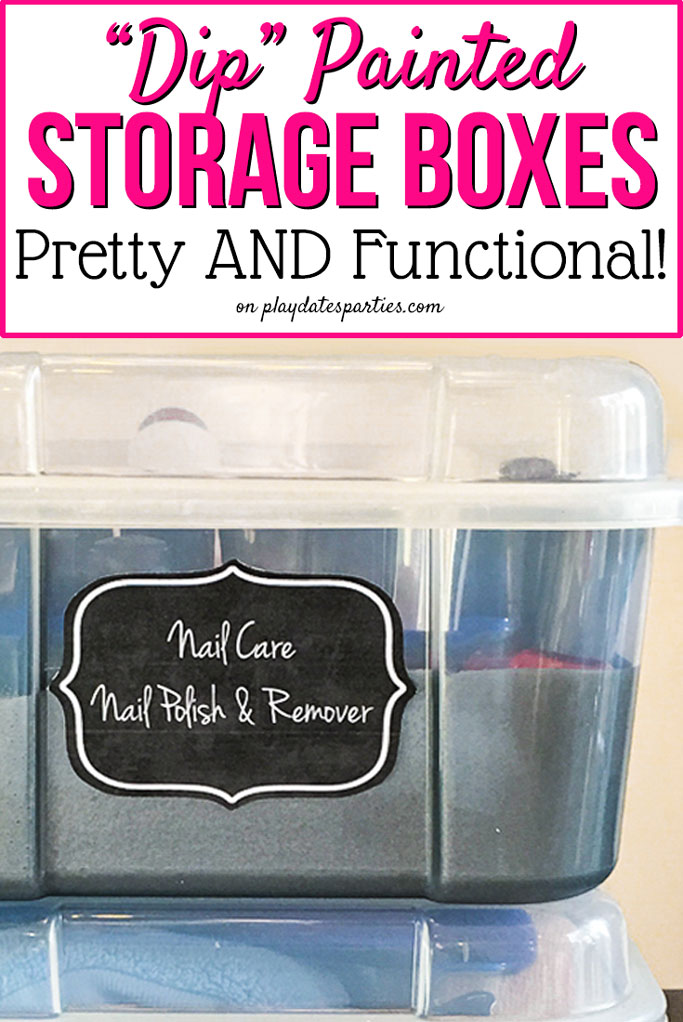
Whenever I try to get organized, I somehow end up with lots of clear plastic storage tubs and boxes. And why not? We’re always told that clear plastic organization systems are great because they help you see what you have.
But here’s the rub: We crave organization because what we’re storing is difficult to go through, and is often just plain unattractive.
So why would I want to put ugly stuff in a clear plastic bin?
Honestly, I don’t. And if you saw the reveal of our freshly organized and beautiful linen closet you would see that very little of my storage solutions were see-through.
Why We Ended Up with Plastic Storage Boxes…Even Though I Don’t Like Them
You see, I was working on a budget, so I had to shop our home for many of the storage solutions. That included finding a way to use a couple clear plastic storage boxes that we had on hand.
Functionally there was nothing wrong with them, and they were in good working order. I just needed to make sure I was using them the right way, and I needed to find a way to hide the clutter inside.
As it turns out, “dip” painted storage boxes are the perfect way to solve multiple problems!
- Plastic boxes are fairly inexpensive,
- I can still see just enough of the contents inside to find what I need, and
- They are pretty to look at!
All it took was a little creativity and about 2 hours of time.
So, even though I ended up with a clear plastic organization system, just like so many experts recommend, at least I can now enjoy looking at it.
How to Make “Dip” Painted Storage Boxes
Materials
- Clear Plastic Storage Box (I used a 1.5 Gal Rubbermaid Handy-box Snap Case)
- Painter’s Tape
- Plastic-Friendly Spray Paint
- Plastic Grocery Bags
- Optional: clear sealant
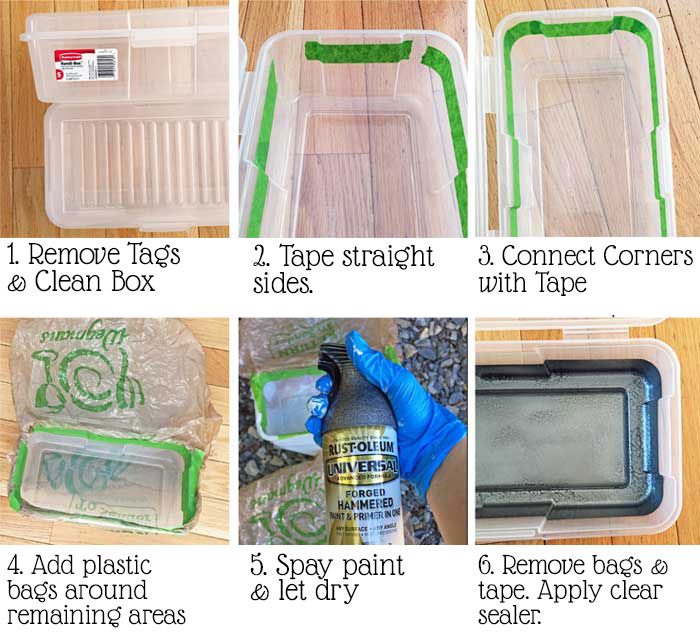
Directions:
- Clean out the inside of the storage box with window cleaner or rubbing alcohol and allow to dry thoroughly. (This will help the paint adhere to the surface.)
- On the inside of the box, tape off the top of your ‘dip’ line with painter’s tape.
- Continue taping to the top of the box, making sure that the unpainted areas are covered.
- Place the lid and bottom of the box into plastic shopping bags to protect from overspray. Tape the shopping bags down with painter’s tape.
- Spray paint the inside of the box with your chosen color. Applying several light and even coats will help to avoid paint drips.
- Slowly remove the plastic bags and painter’s tape when the dry to the touch.
- If using a sealant, allow the paint to dry for 24 hours before applying.
- Allow the paint to cure for at least a week before placing items inside. This will help prevent the paint from scratching off.
Tips & Notes for Painted Storage Boxes
- Cleaning the box with window cleaner or rubbing alcohol helps the paint adhere to the box so you’ll get less chipping and peeling.
- Curves make tape angle up or down. Tape off the straight edges of the box first, and then use smaller pieces of tape to carefully connect those sides along the curves.
- Don’t be heavy handed with the spray paint. (I know, it’s so tempting!) Several light coats will give you a much nicer result.
- When removing the plastic bags and painter’s tape, be sure not to pull too quickly, or you will pull the paint off the box.
Now It’s Turn
Functional storage really doesn’t have to be ugly, and it doesn’t have to show your mess, either. With this technique, you can see just enough of what’s inside your painted plastic box to know what’s there, without looking at an eyesore. But I want to know…
Do you use clear containers for organizing?
What is your biggest organization pet peeve?
See the Entire Renovation:
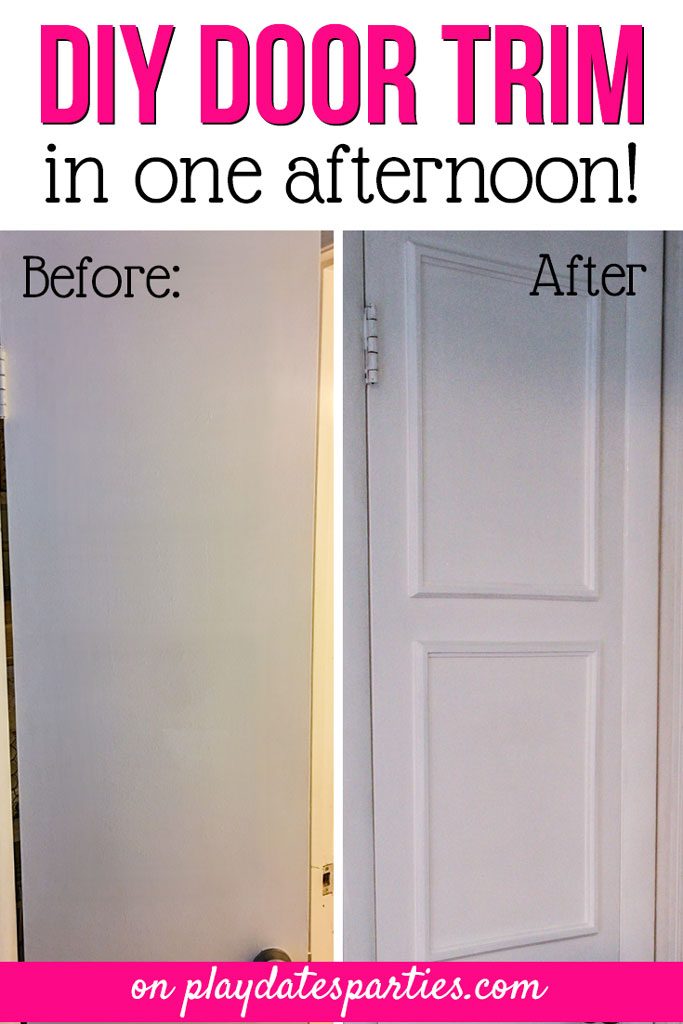
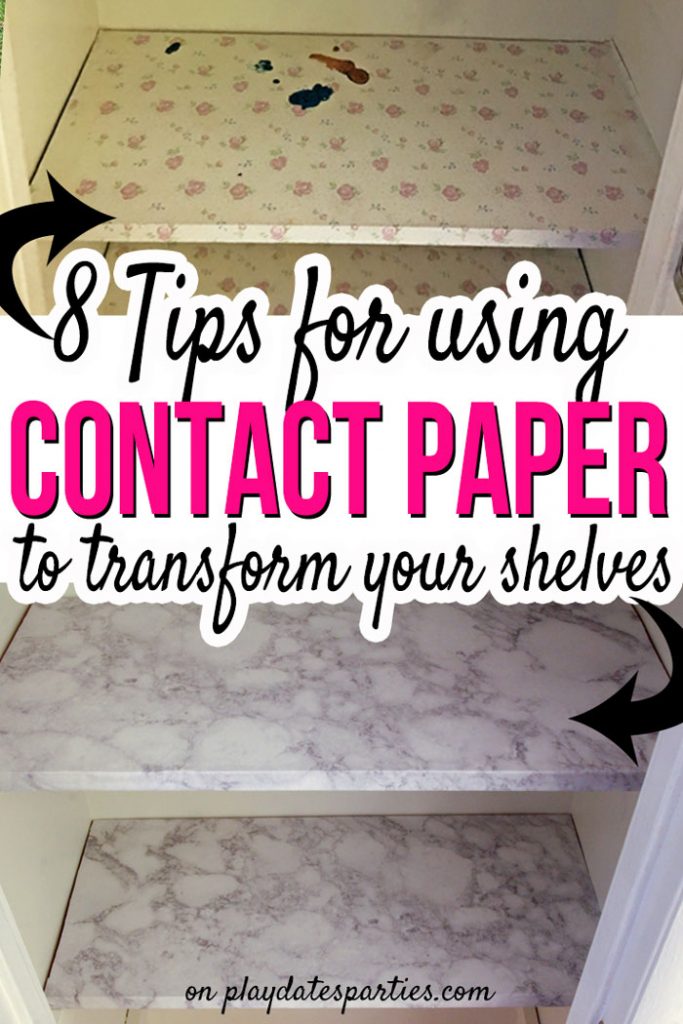
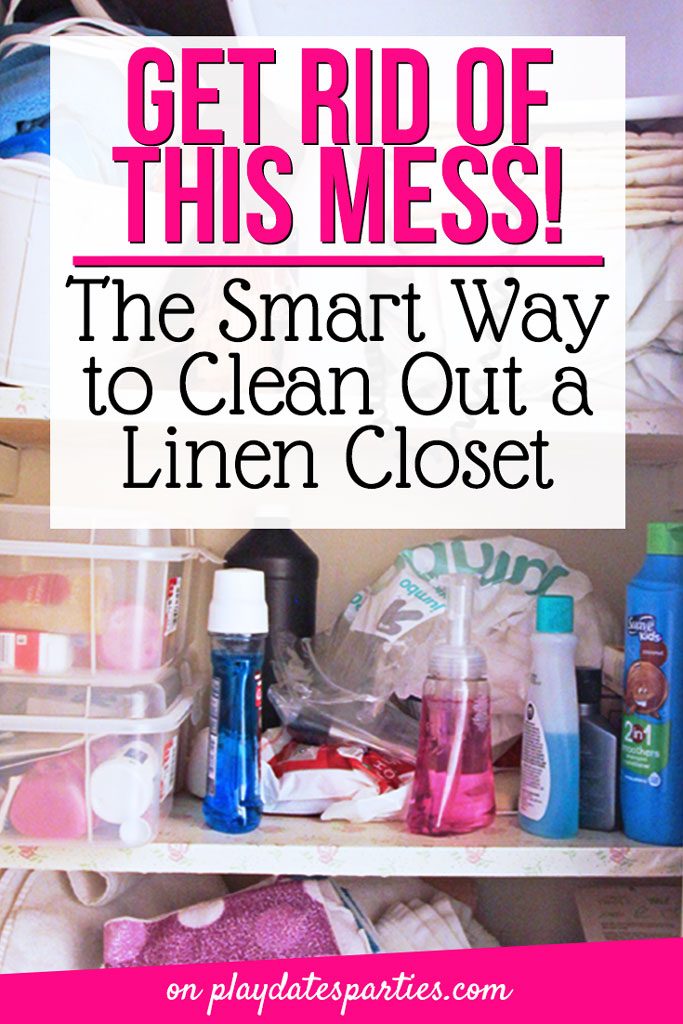
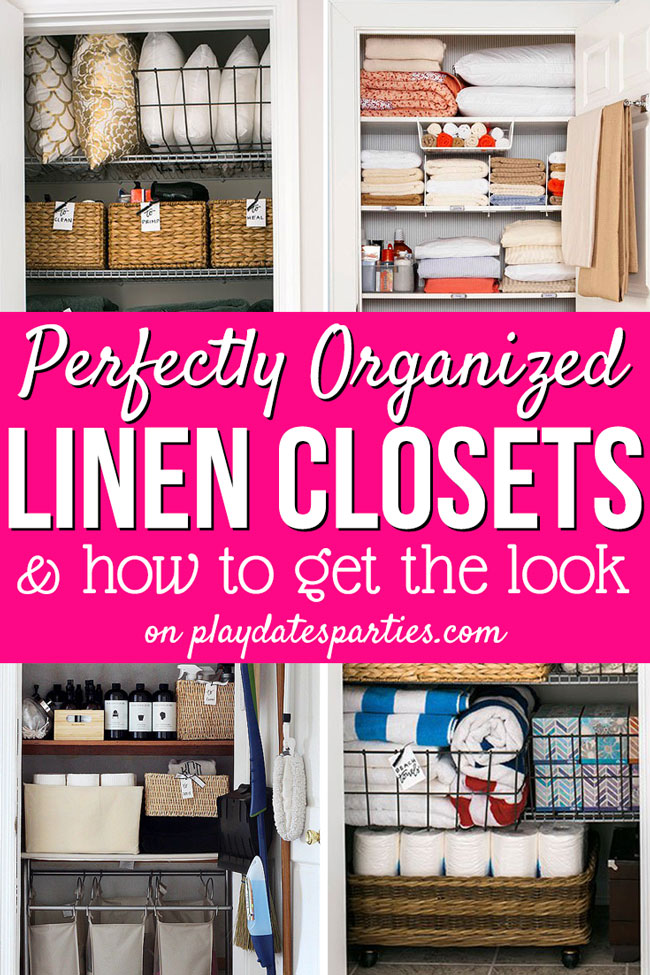
7 Simple Steps to a Perfectly Organized Linen Closet Custom Organization for Woven Storage Baskets Get the Look: Dip Painted Storage Boxes DIY Reversible Shelf Backing DIY Door Trim in One Afternoon 5 Tips to Stay Motivated During a Renovation 8 Tips for Using Contact Paper on Closet Shelves The Smart Way to Clean Out a Linen Closet Inspiration: How to Get Beautiful & Organized Linen Closets
I want to extend many thanks to the readers who have enjoyed renovation and home DIY posts over the years. Unfortunately, in January 2018 I was diagnosed with Stage II breast cancer and had to stop doing home renovation posts due to treatment.
Since that time, my focus has been on making this website an amazing resource for the everyday mom’s parties. Due to their popularity, the DIY posts and tutorials will remain on the website, but comments are now closed. Thank you again and I wish you the best in your DIY endeavors!






Janine Huldie says
This is seriously genius and I usually use plastic bins, as well. But never would have thought to pretty them up this way. Thanks for the awesome idea, Leslie #happynowlinkup
Katy @ Experienced Bad Mom says
This is a neat idea and one I haven’t seen around before! Kudos to you for your creativity and style. #happynowlinkup
Brandi with Big Fit Fam says
This is such a great idea! I get so tired of looking at my crappy clear storage boxes! Great job! #happynowlinkup
Dana says
Leslie, this is so clever! I love all of the pretty storage containers, but I have a hard time spending the money on them. This is a perfect compromise.
Donna Reidland says
So nice. They would make you want to get organized! 🙂
Mother of 3 says
What a great idea! I have lots of those clear bins around and they are just so boring. Pinned.
Marie Moody says
Hmmm Very interesting and now what to use them for. Wait you could probably do the same thing with bigger bins I’m sure for I’m into crocheting and I could use the bins for the different colors of yarn I buy. I always buy yarn when it goes on a really good sale because you never know when I’m gonna need it. Thanks that’s a great idea and I could use your size for my needles. Woo Hoo Thanks for sharing.
Jennifer Wise says
SO brilliant!! I love this idea. Looks do-able, too. 🙂 I need to do this. Pinning. 🙂
#SYClinky
Jann Olson says
What a clever idea! I would not have thought to dip plastic totes. Thanks for sharing with SYC.
hugs,
Jann
Tracy Albiero says
A good way to color code and stay organized! #trafficjam
Bright says
This is quite clever! I have a million clear containers that I love to sort crafts, toiletries, shoes….I like the idea of still using them because they are so easy to dust and wipe down but also color code them. Especially helpful for the kids (hairbands, toys…miscellaneous junk….
Theresa Huse says
Clever idea.Thanks for sharing at the Inspiration spotlight party @DearCreatives See you again soon.