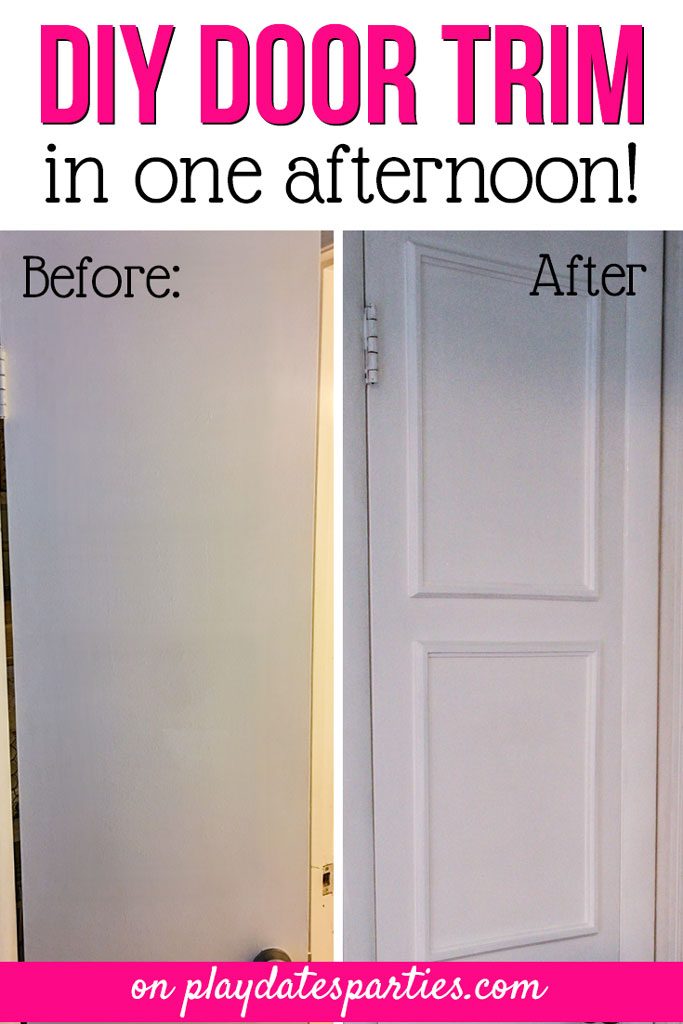
Interior door trim has never been so easy! Take a look at how to make a plain, flat, odd-shaped door look like new with this simple DIY hack.
It was the only door left.
The previous homeowner had replaced all the interior doors with standard raised-panel doors…except this one.
And it’s no surprise. At 18 inches wide and 79 inches tall, there are very few doors that will even fit the opening…even if we had the tools to get the door cut down to size.
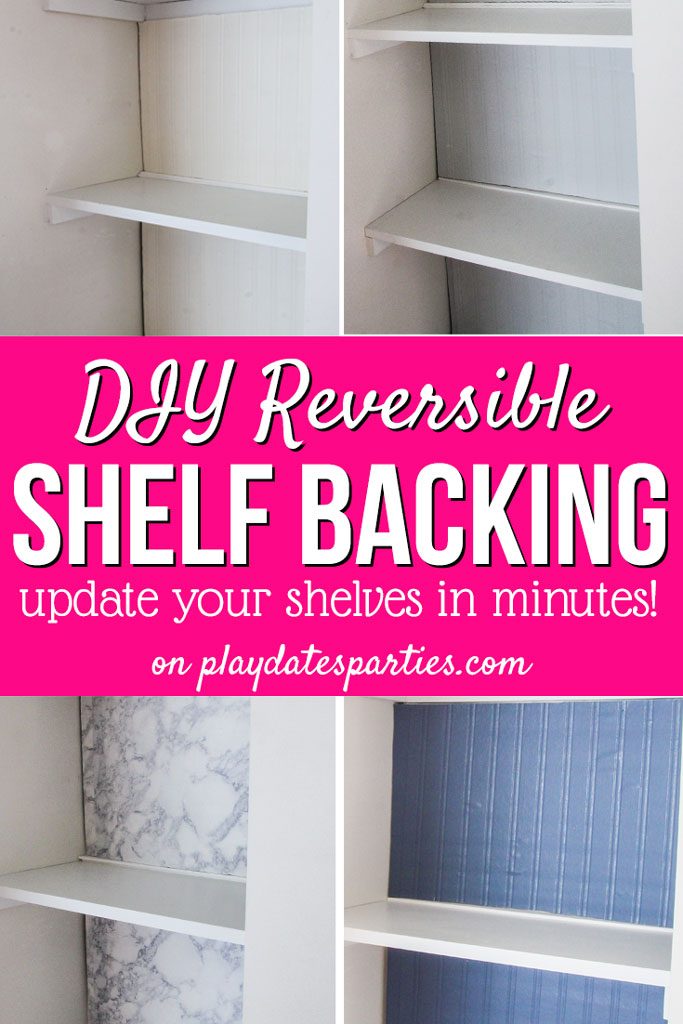
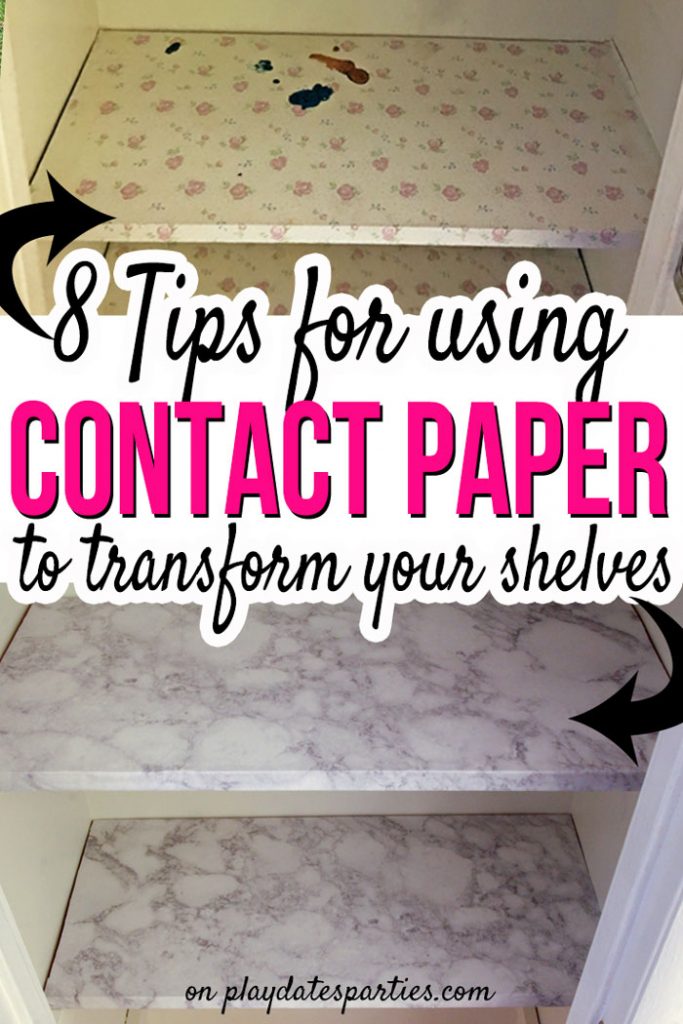
Until now, most of the focus on clearing out our linen closet has been on the inside. We’ve purged all the extra junk that it held, given it a fresh coat of paint, and even covered the shelves to look like marble.
But the exterior of the door still left a lot to be desired.
Options for Interior Door Trim
Of course, we could have looked at replacing the door entirely. But as mentioned above, the dimensions make it far too tedious to do so. And the expense is definitely beyond our current budget.
So, I had to figure out a better option.
Of course, I could also have purchased molding from a big-box store, carefully measured, and tediously cut it all down to match the other doors in the house.
But, frankly, with three kids running around, I don’t have time for that either.
Then, as I was walking through Ikea one day, I saw the 12×16 Fiskbo frame, and immediately I knew we had a winner. The front is nice and flat-perfect for mounting against a door. And the back has just enough interest to look like picture frame molding.j
It doesn’t hurt that they were super cheap, too.
All it took was one afternoon, and our boring flat-panel door got a fun facelift!
Our linen closet had the last flat-panel door left in the house. And when it was time to update the linen closet for the One Room Challenge this fall, the boring door clearly needed a change.
How to Use Picture Frames to Add Interior Door Trim
Materials & Supplies
- Ikea Fiskbo Frames
- Pliers
- Measuring Tape
- Hand and stick level
- Painter’s Tape
- Pencil
- Paintable & Sandable Caulk
- Liquid Nails &/or Super Glue
Directions
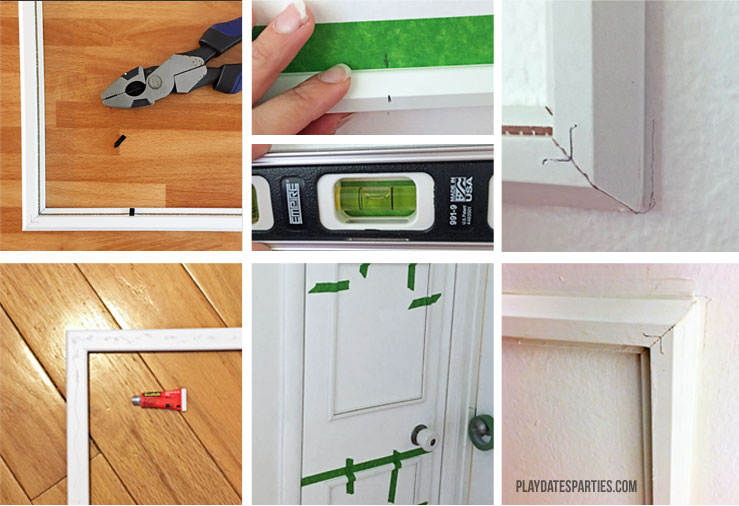
- Using a pair of pliers, gently pull the picture tabs straight out from the frame to remove them. Be careful not to scratch the frame.
- Determine the placement of the frames on your door. (I decided to make my frames level at the very top and bottom with the panels on the adjacent door.) Be cautious to avoid placing the frames too close to the door knob.
- Tape off the top of where each frame will go, making sure the tape is level.
- Use a pencil to mark the center of the door on each piece of tape. Also mark the center of the top of the frame while you’re at it.
- Tape the frames up on the door with painter’s tape, aligning the marks on the painter’s tape and the top of the frame. Double check that the frames are level on the top. Use the stick level to make sure the frames line up vertically with each other.
- Optional: Mark the corners of the frames on the door to provide a better guide for placement for the next steps.
- Take the frames down and apply clear super glue to the front, flat side, of the frame.
- Quickly place the frames on the door, double checking that they are aligned and level. Hold each frame in place long enough for the glue to set.
- Tape the frames up until the glue is completely dry.
- After the glue is dry, apply the caulk around the frames. Apply caulk at each point where the frame meets the door, and at the channel in the frame where the picture would be inserted.
- As you caulk, use your finger or a smoothing tool to ensure that the edges are as smooth as possible around the door and frame. (Trust me, you don’t want to try to sand caulk!)
- Once the caulk is set, Paint everything in the color of your choice and enjoy your newly transformed door!
How Much Does Interior Door Trim with Picture Frames Cost?
Remember, prices are often subject to change, but this is about what we spent.
- Frames: 3.50 *3 = $10.50
- Caulk: 1 tube $2.50
- Paint: on-hand = $0
- Liquid Nails: $4.00
- Total cost = :$17.00
Now It’s Your Turn
Don’t feel as though you need to put up with boring, flat-front doors anymore! All it takes is one afternoon, and you can have transform those doors from flat to fabulous!
Would you ever use picture frames to add molding to your house?
Do you have a favorite Ikea hack?
See More One Room Challenge Updates:

7 Simple Steps to a Perfectly Organized Linen Closet Custom Organization for Woven Storage Baskets 
Get the Look: Dip Painted Storage Boxes 
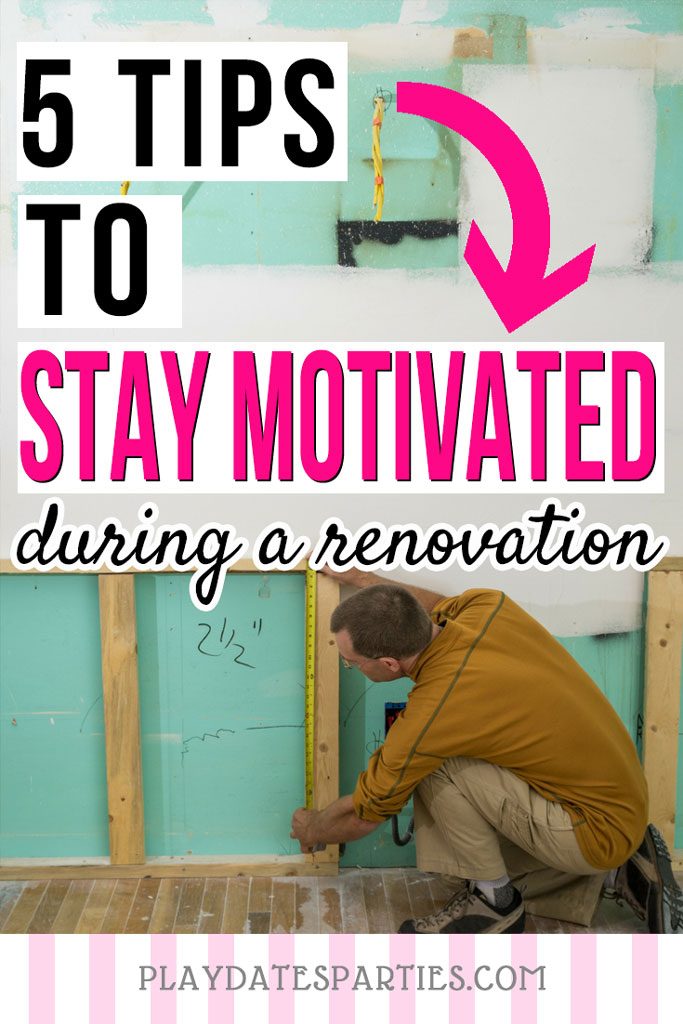
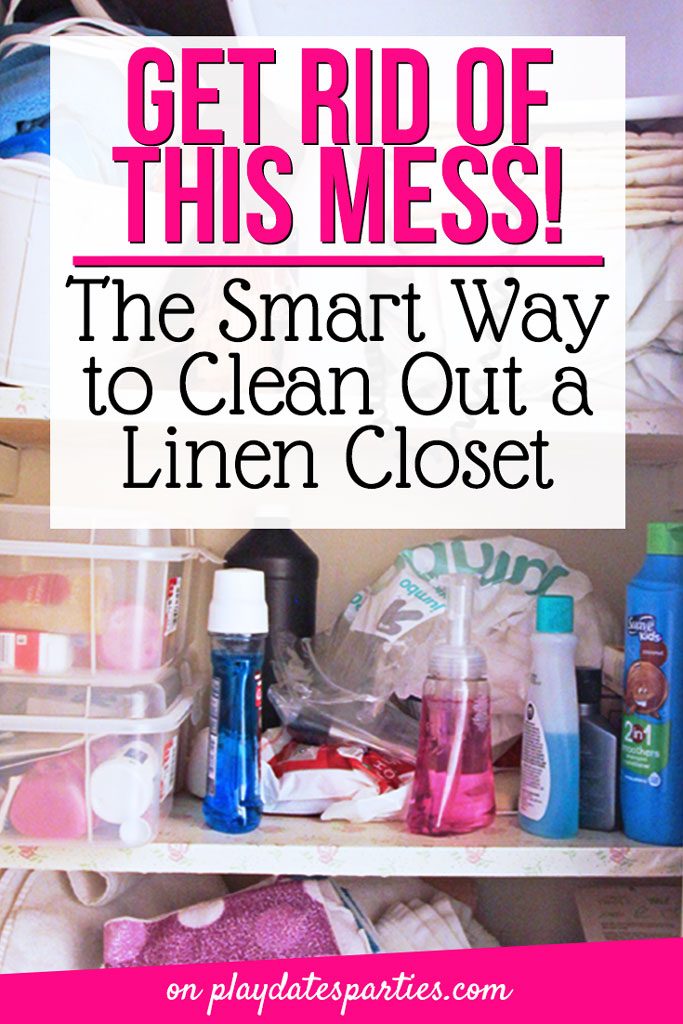
DIY Reversible Shelf Backing DIY Door Trim in One Afternoon 5 Tips to Stay Motivated During a Renovation 8 Tips for Using Contact Paper on Closet Shelves The Smart Way to Clean Out a Linen Closet 
Inspiration: How to Get Beautiful & Organized Linen Closets


I want to extend many thanks to the readers who have enjoyed renovation and home DIY posts over the years. Unfortunately, in January 2018 I was diagnosed with Stage II breast cancer and had to stop doing home renovation posts due to treatment.
Since that time, my focus has been on making this website an amazing resource for the everyday mom’s parties. Due to their popularity, the DIY posts and tutorials will remain on the website, but comments are now closed. Thank you again and I wish you the best in your DIY endeavors!


Morgane @ Bear, Dolly and Moi says
very clever! The “new” door totally belongs with the one right next to it.
Good luck finishing up your challenge!
WebMDiva says
I LOVE this idea! Such an easy way to update doors. I think I’m going to try this!
Jen says
No way! How easy this is? The finished project is super cute. Great job! My doors all have molding, but maybe I can see what else needs molding…..
kristin mccarthy says
I love these hacks! I have used a tons of them in our home. Our doors have molding but if they didnt I would totally do this!
#happynow
Janine Huldie says
Never would have thought to do door molding this way, but looks gorgeous and love that it is cheap and affordable, too. Thanks for sharing, Leslie #happynowlinkup
Brandi Puga says
What a Brilliant IDEA!! my doors all look like crap in my house, this might be the perfect way to spruce them up! Thank you so much! #happynowlinkup
Brianna says
Love this! I’m trying to collect as many ideas as I can for our move into a new home this month! #happynowlinkup
Carolina Twin Mom / Mary Peterson says
You are quite a woman! Good for you for taking this on. Sounds like you were not one bit daunted! Looking great. #happynowlinkup
Holly from klinwin.com says
Wow–what a clever idea!! I love how it turned out! I’ve heard of people doing this with the sides of a kitchen island (something that is on my to-do list) but your idea is even easier and just as cool. Way to go!
#happynowlinkup
Jean | DelightfulRepast.com says
Leslie, that is sooooo clever! I would never have thought of it! #SundaysBestLinkup
Jann Olson says
Adding the trim makes such a difference! Thanks for sharing with SYC.
hugs,
Jann