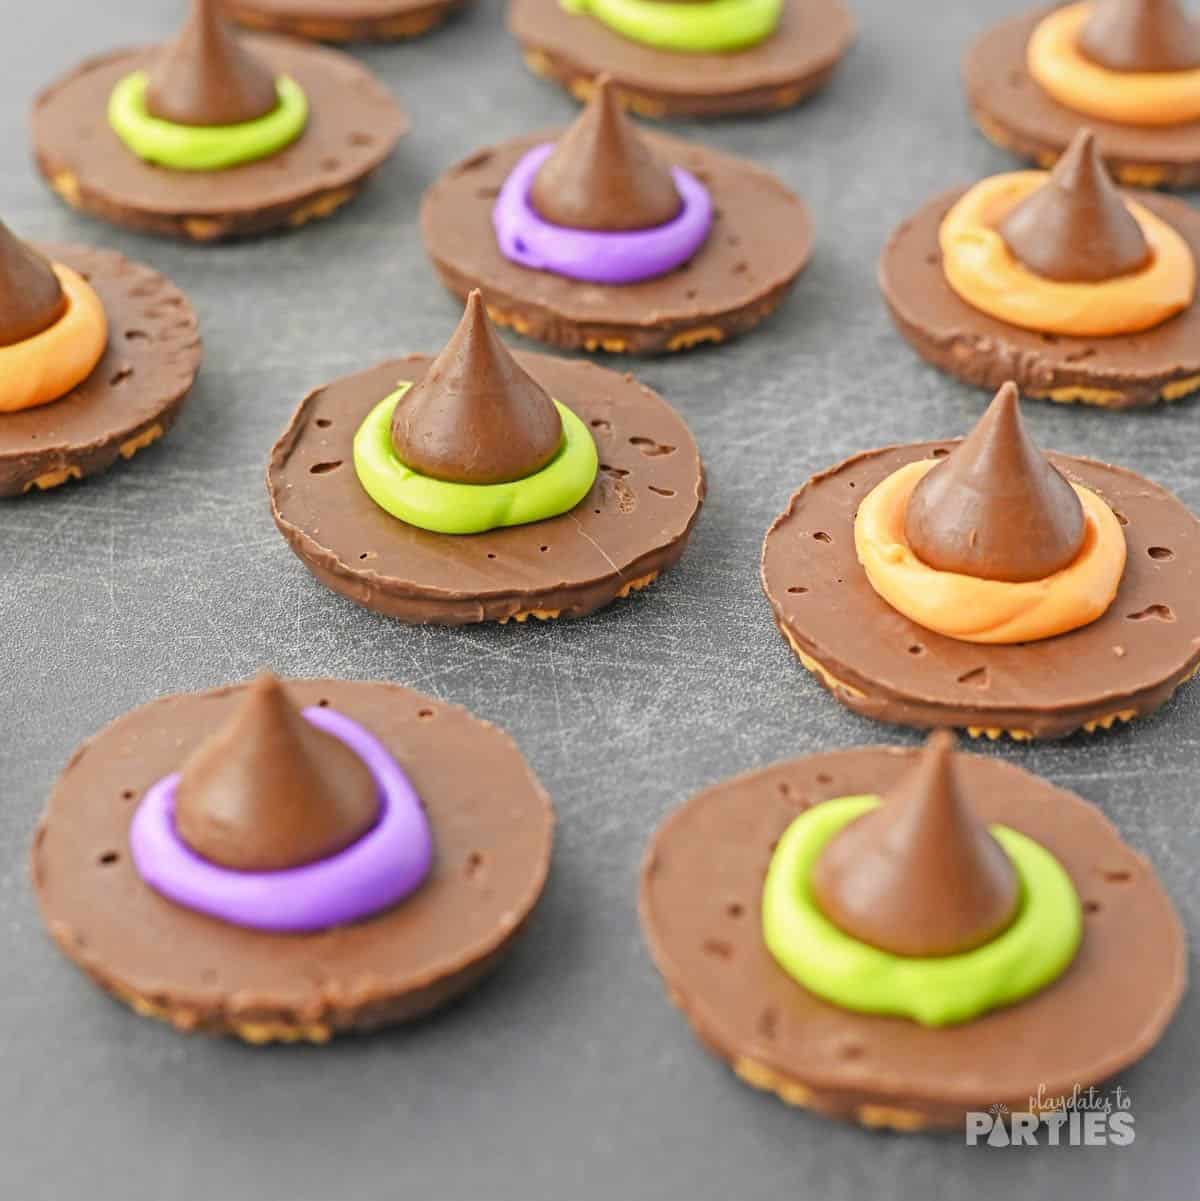
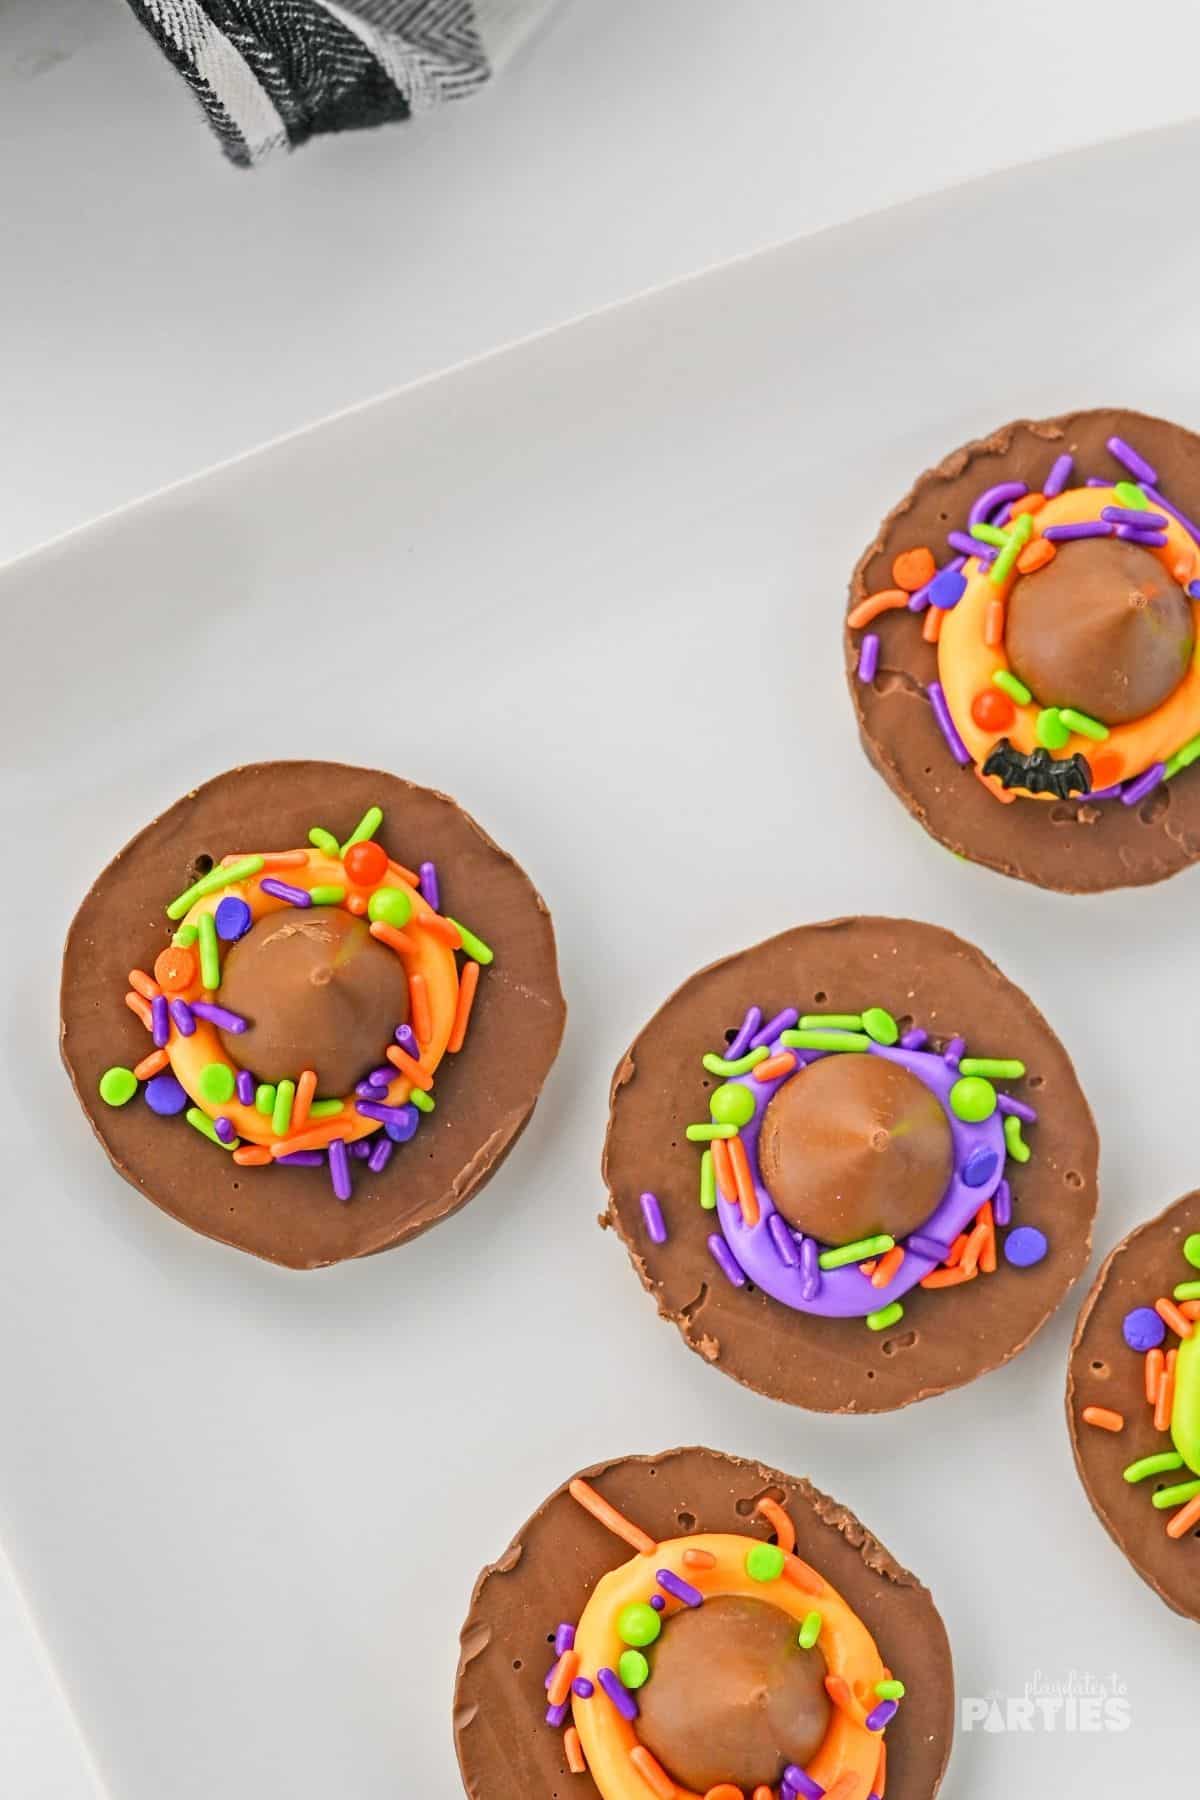
Prepare to cast a culinary spell that will leave your little monsters howling for more! With our bewitching no bake Witch Hat Cookies, you’ll be the star sorceress at your kiddo’s Halloween bash.
No need for a magic wand or a dusty old spell book, all you need are some simple ingredients, a dollop of creativity, and a sprinkle of our easy-to-follow steps. So, grab your broomstick (or, you know, your favorite mixing spoon) and let’s brew up some Halloween magic!
Why You (and your kids) will Love Witch Hat Cookies
- Easy! No baking required, so no need to worry about having a coven-sized oven.
- Fun! Get your little ones involved and let their imaginations run wild as they decorate their very own witch hats.
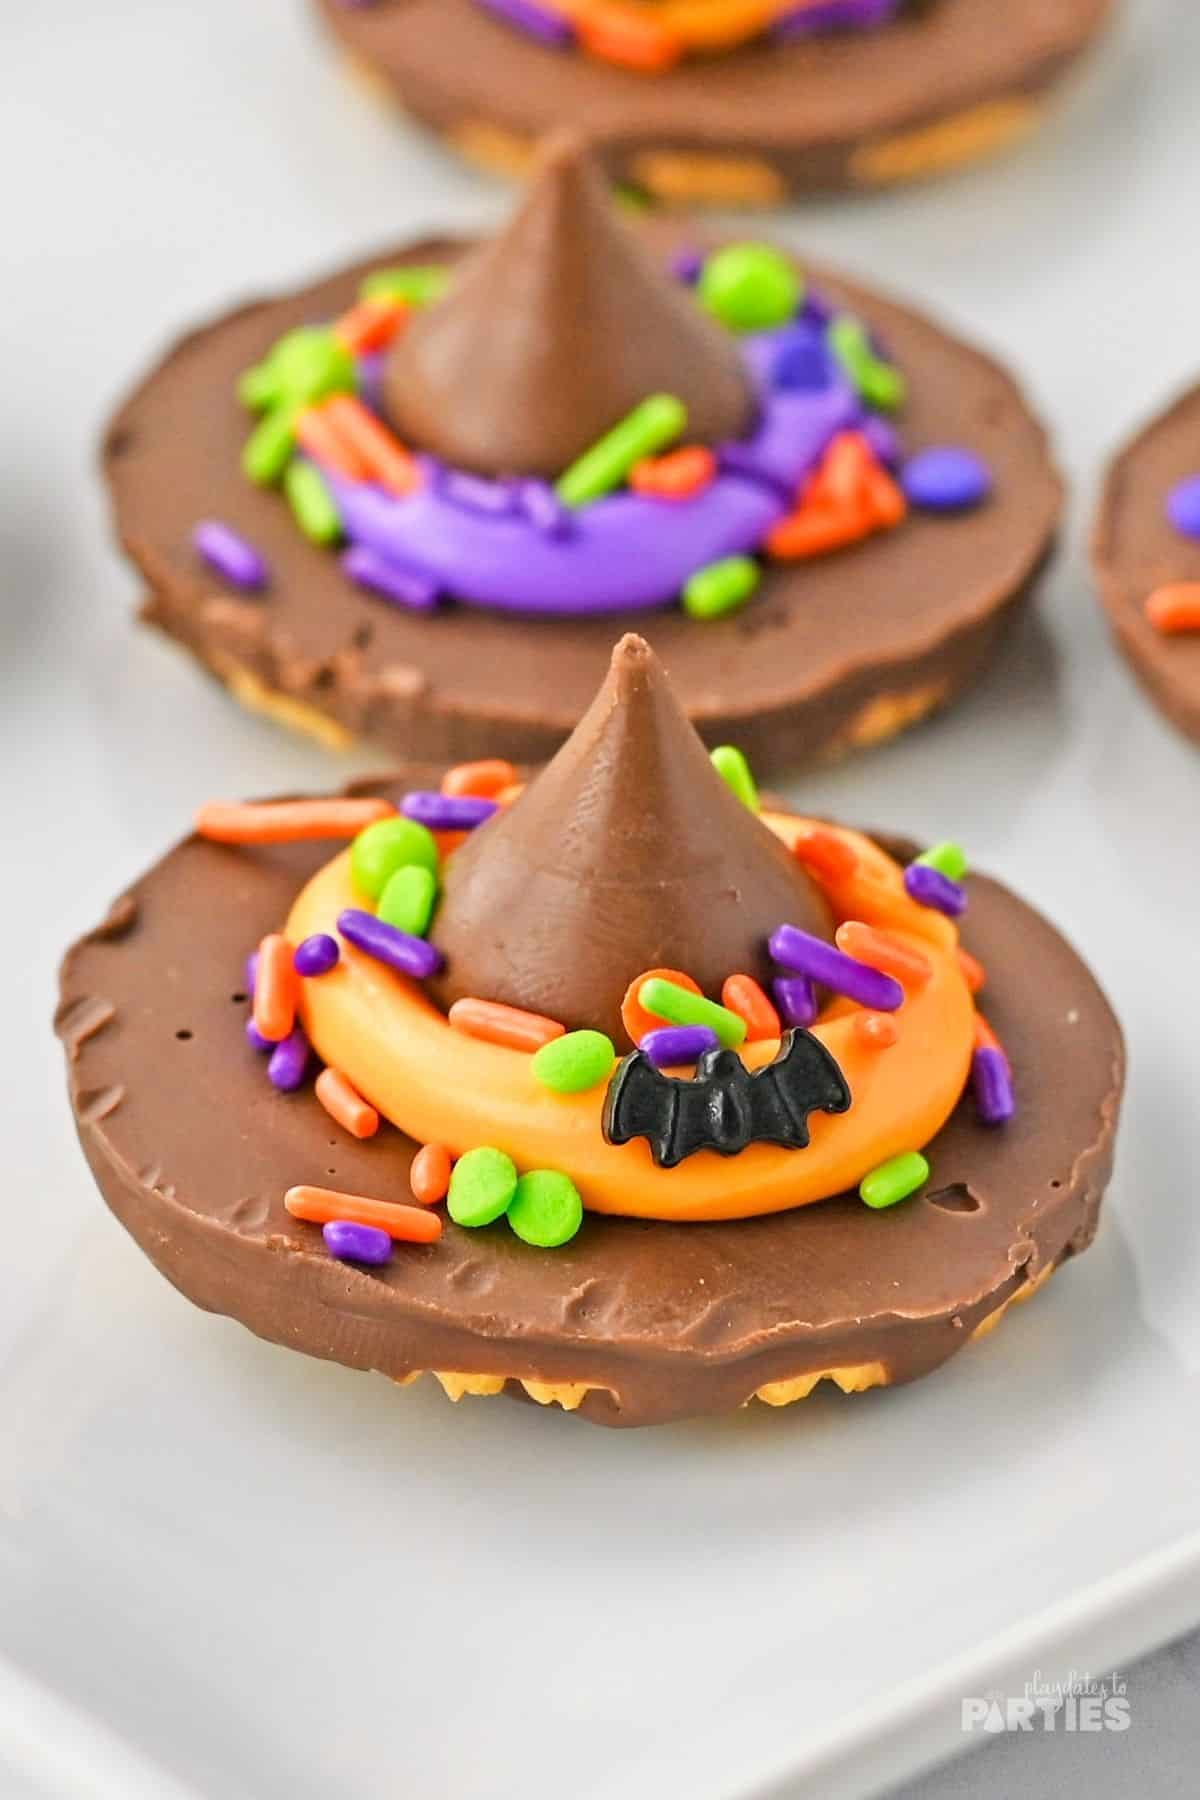
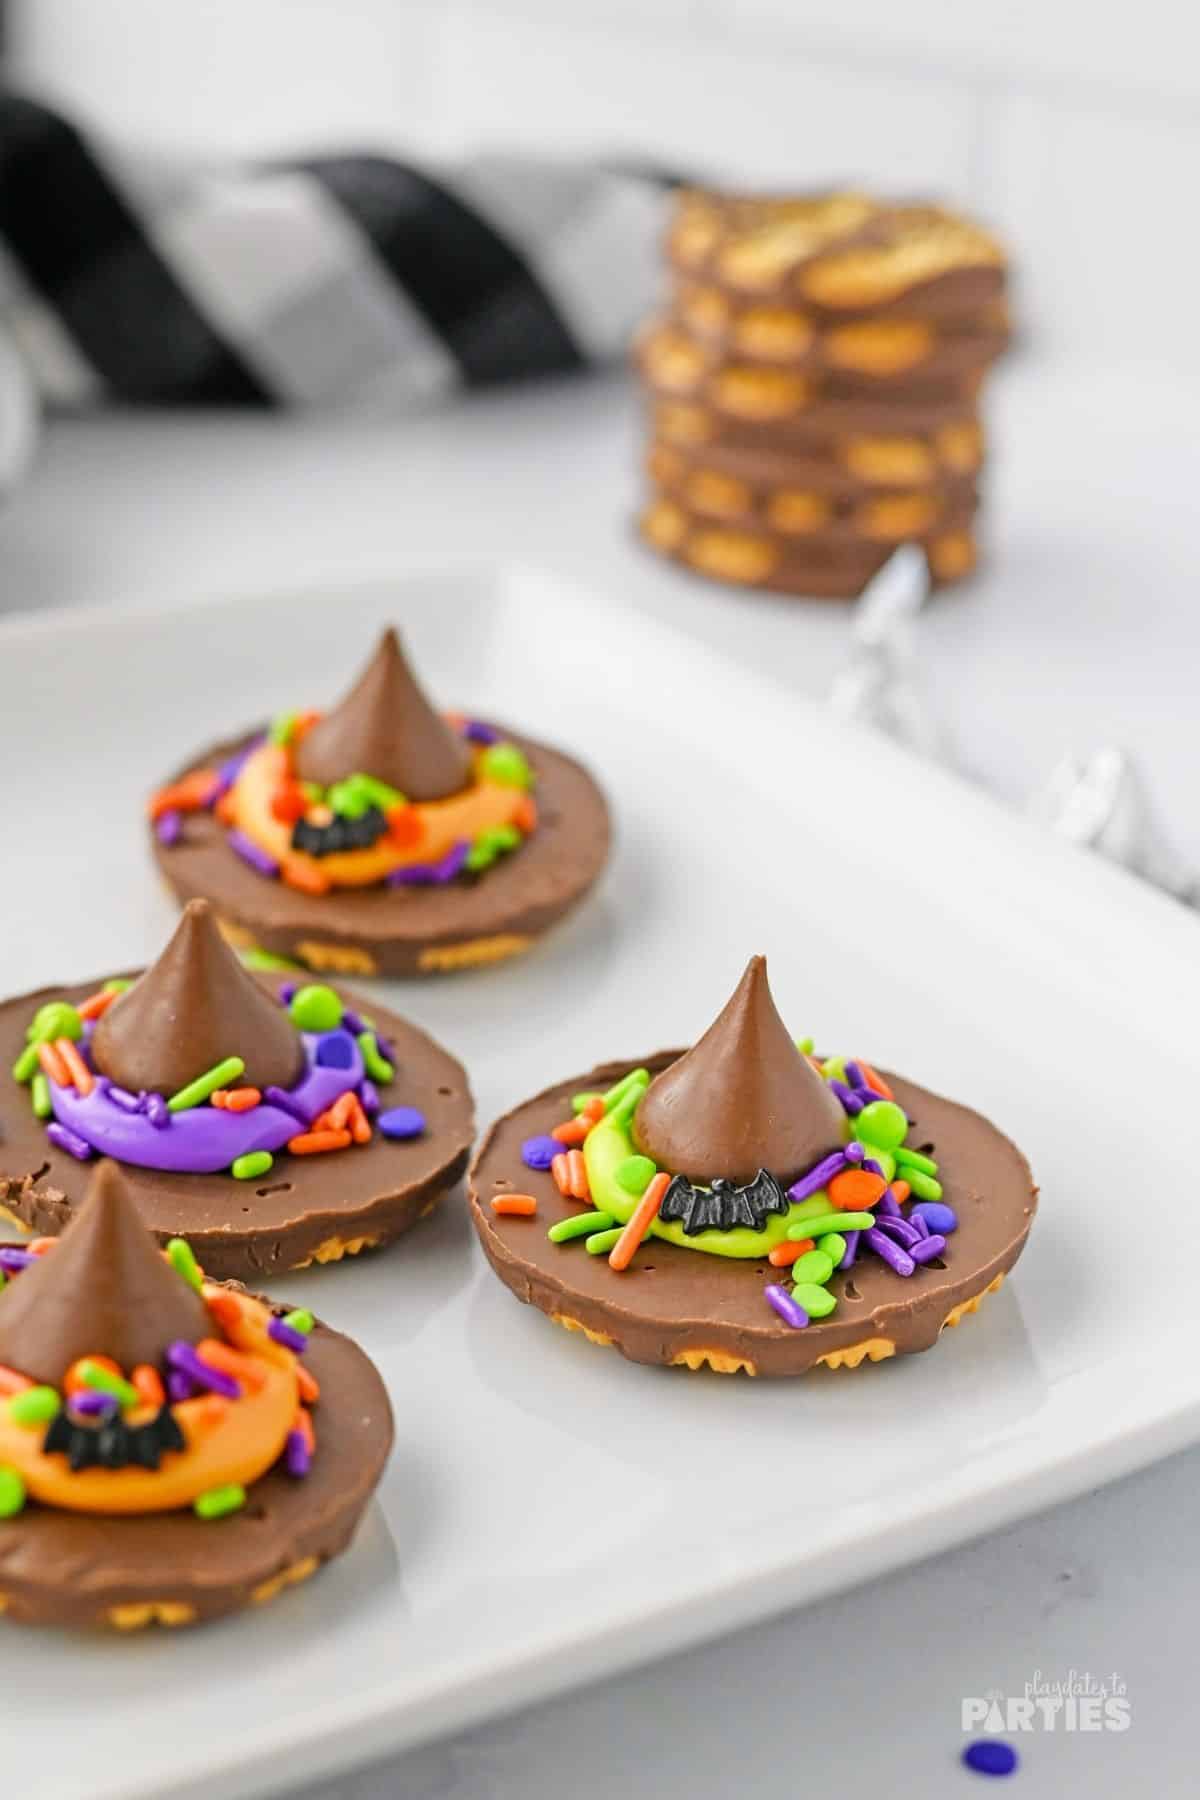
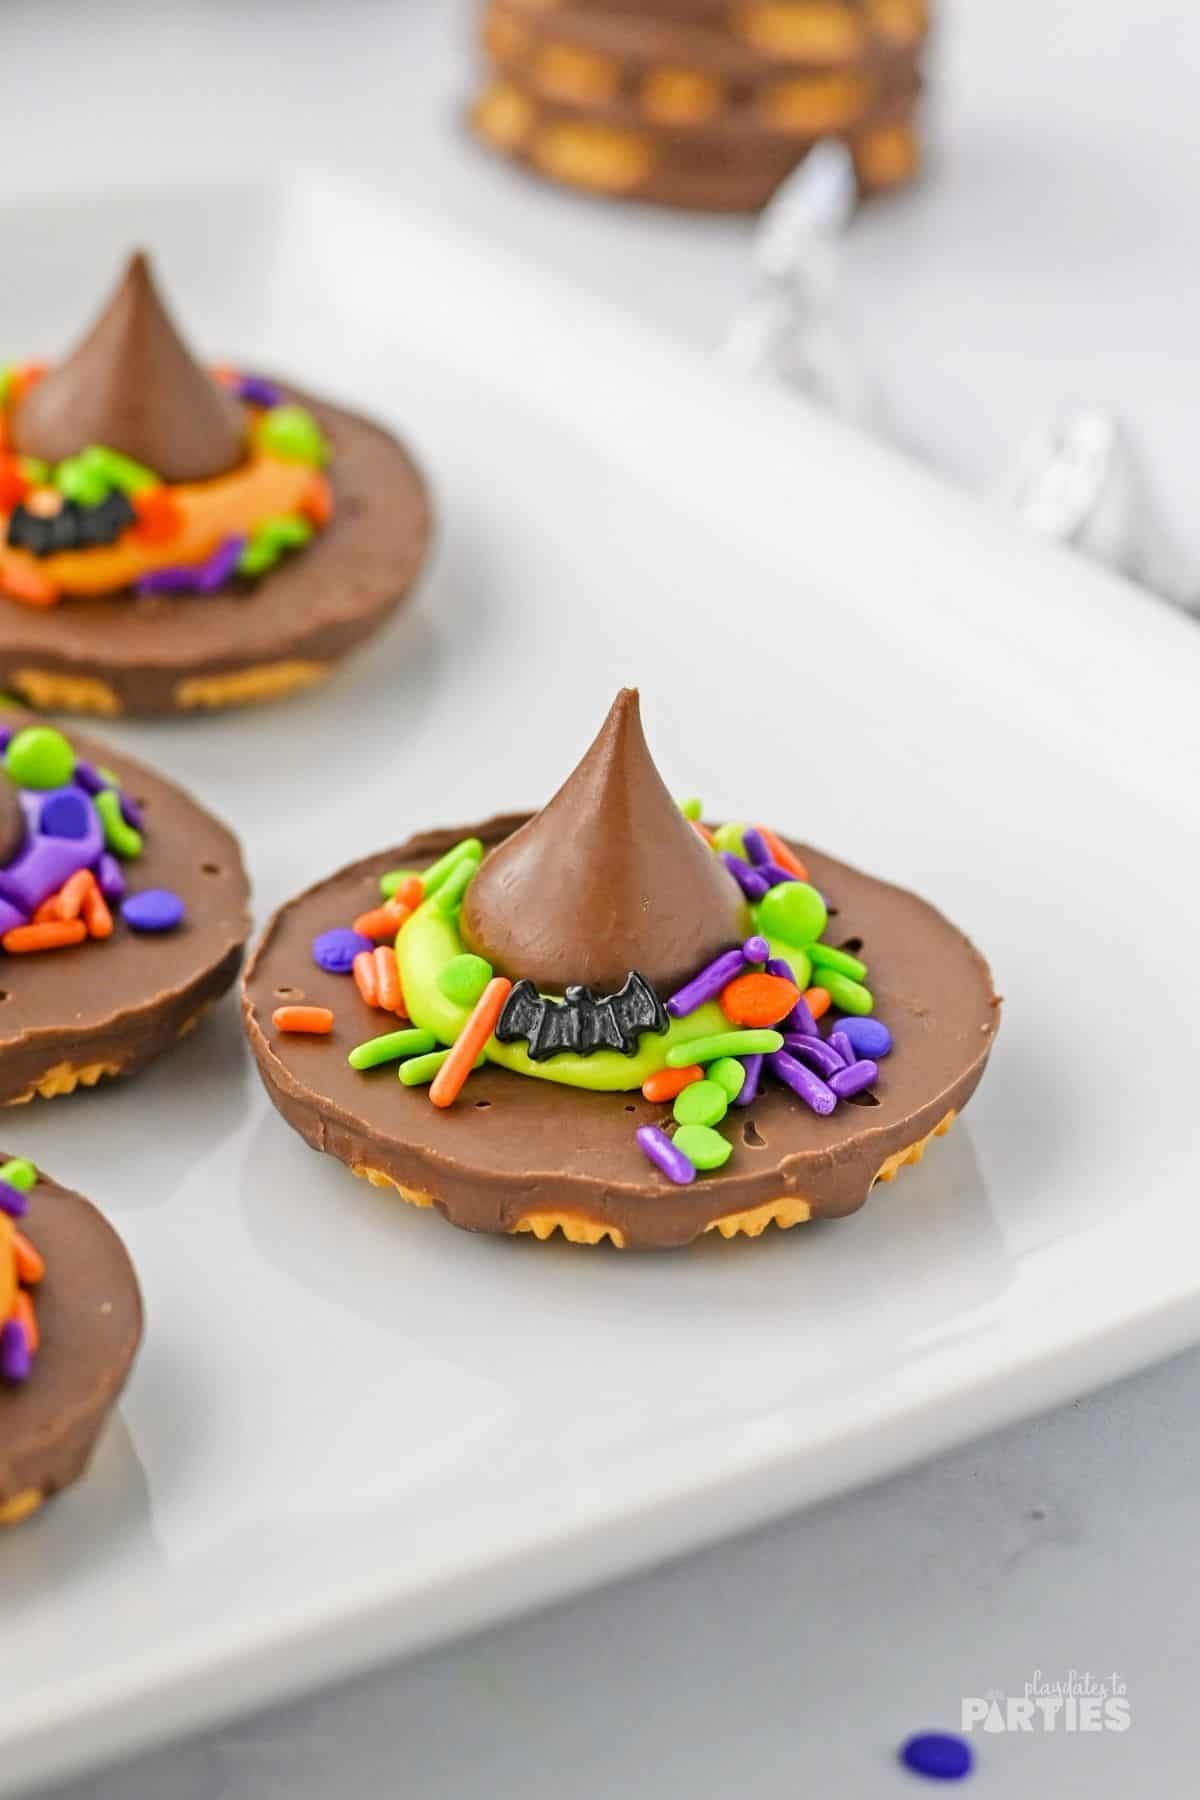
- Colorful! With vibrant hues and playful details, these cookies will bring a pop of color to any Halloween party.
- Tasty! Made with popular treats, witches hat cookies are perfect for a sweet tooth.
What You’ll Need:
Ingredients:
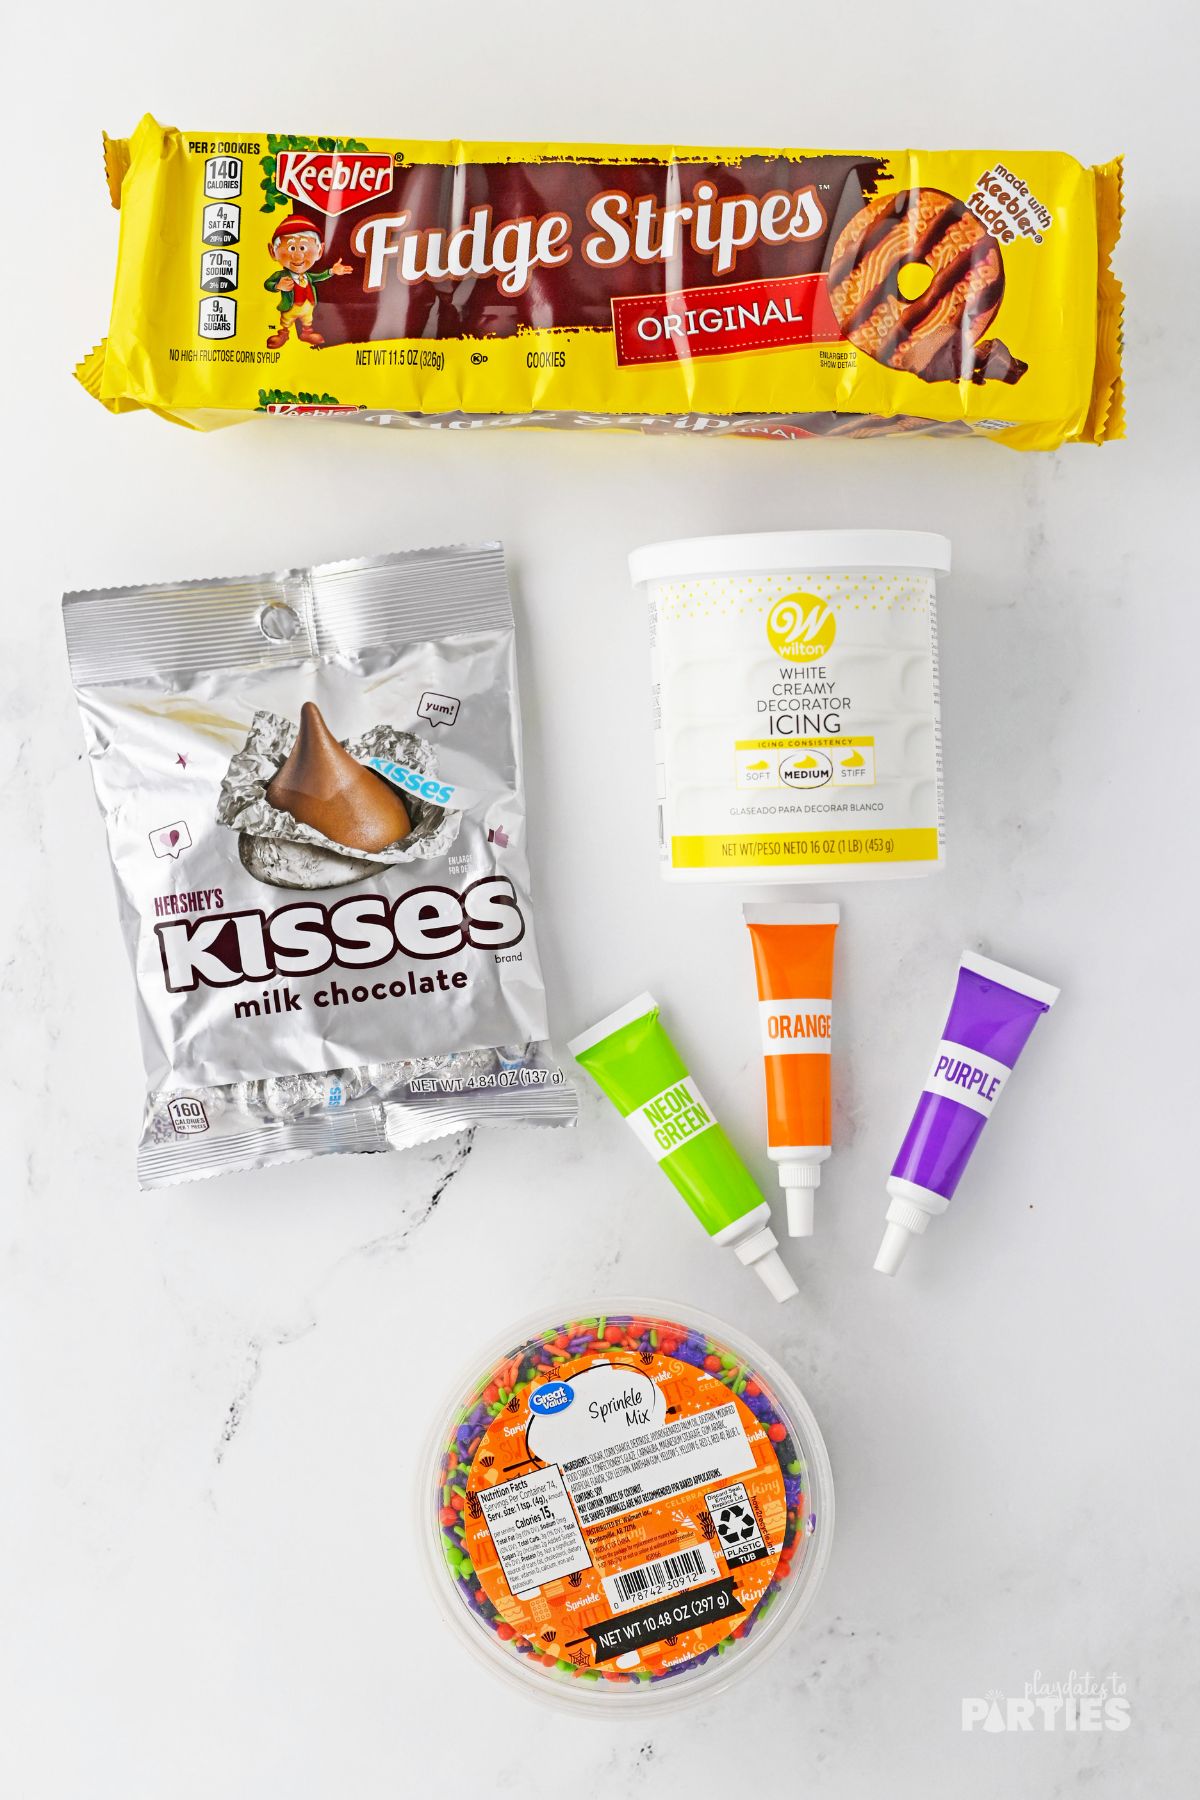
- 24 Fudge Stripe Cookies
- 24 Hershey Kiss Candies
- 16 ounces white decorator icing
- Gel food color (orange, lime green, & purple)
- Halloween Sprinkles
Equipment:
- Small mixing bowls
- Measuring spoons
- Piping bags with round tips (or quart sized Ziploc bags)
- Silicone mat
How to Make Witch Hat Cookies (Step by Step):
To make things easier for you, I created a simple photo guide below. For all measurements and a more detailed guide, check out the recipe card at the bottom of this page.
Prepare the icing
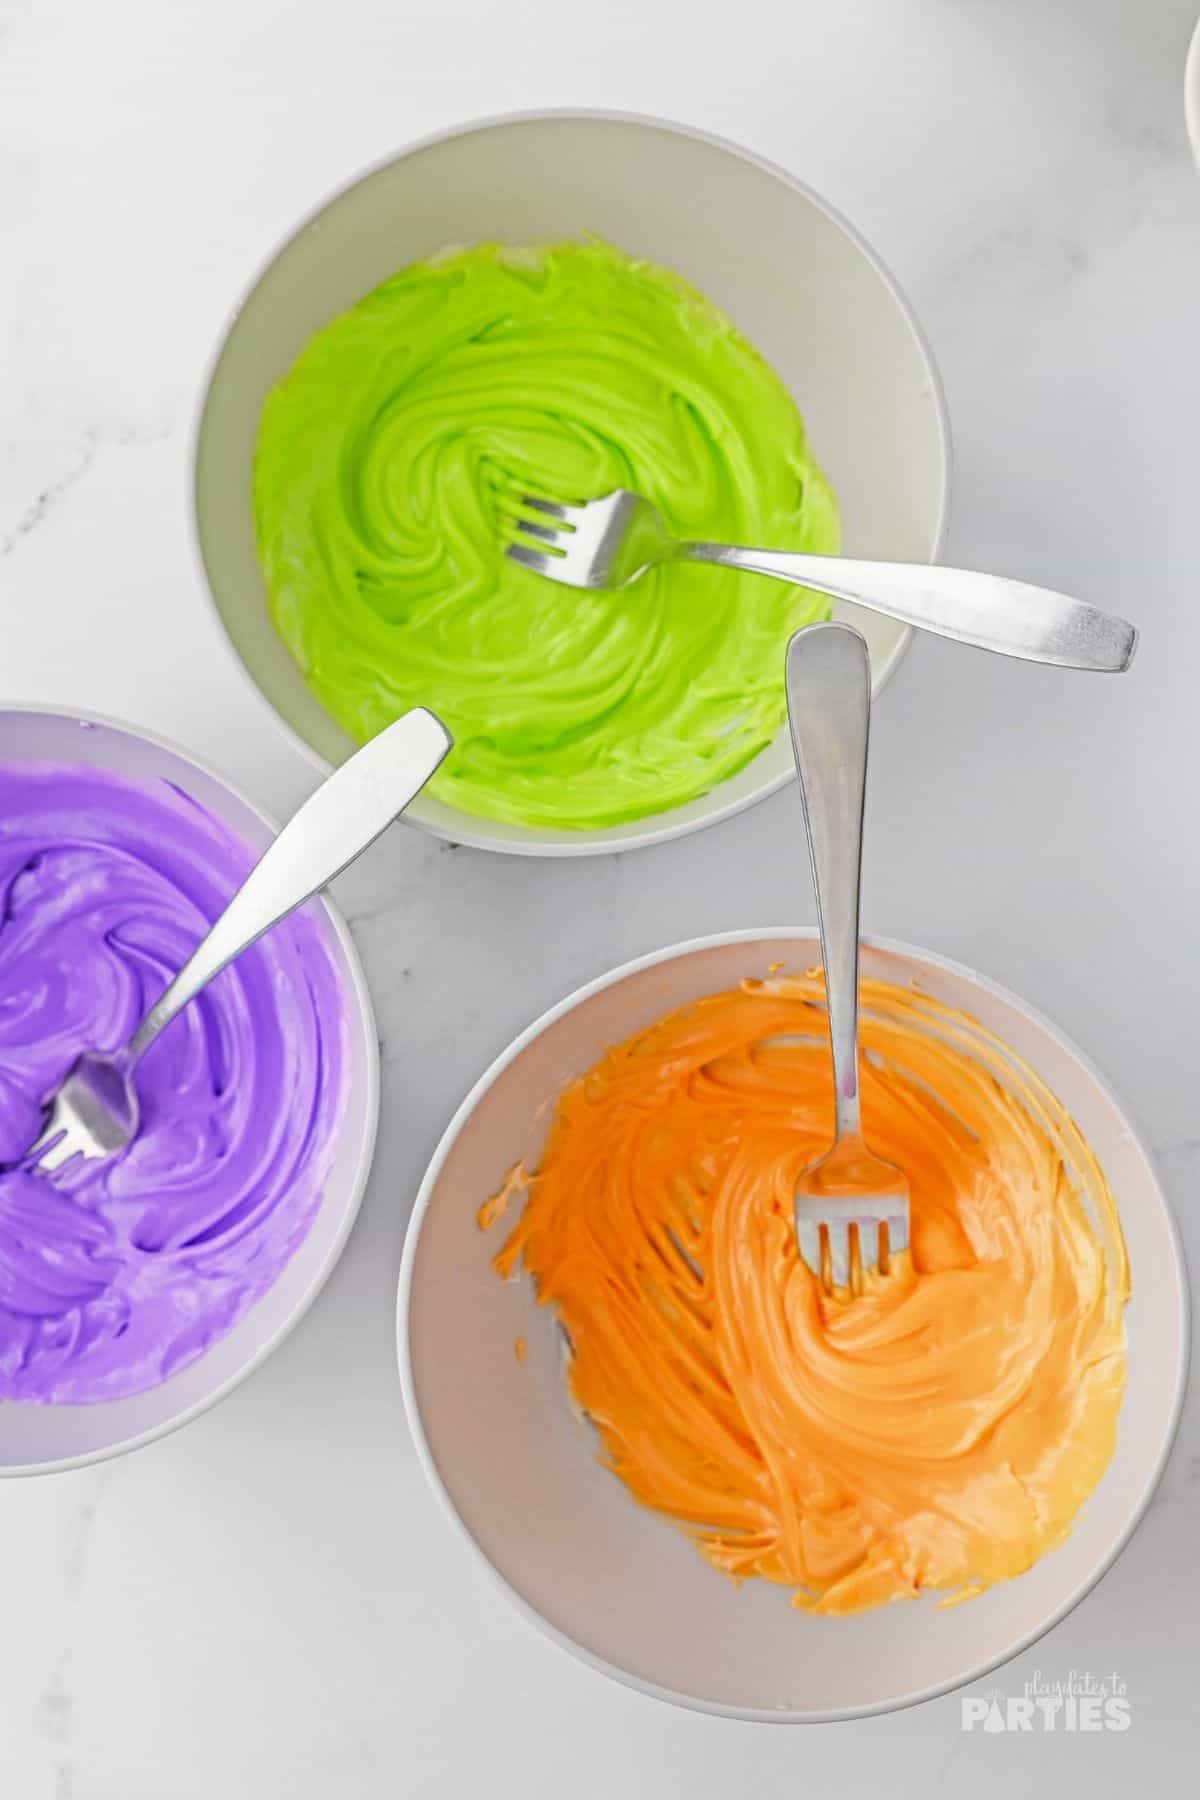
Step 1 – Divide the of decorator icing equally into 3 small bowls.
Step 2 – Add about ½ teaspoon food coloring to each bowl of icing: one bowl of orange, one bowl of lime green, and one bowl of purple. Stir the icing in each bowl until the color is evenly distributed and smooth. Transfer colored icing to piping bags – one bag for each color.
Decorate the cookies
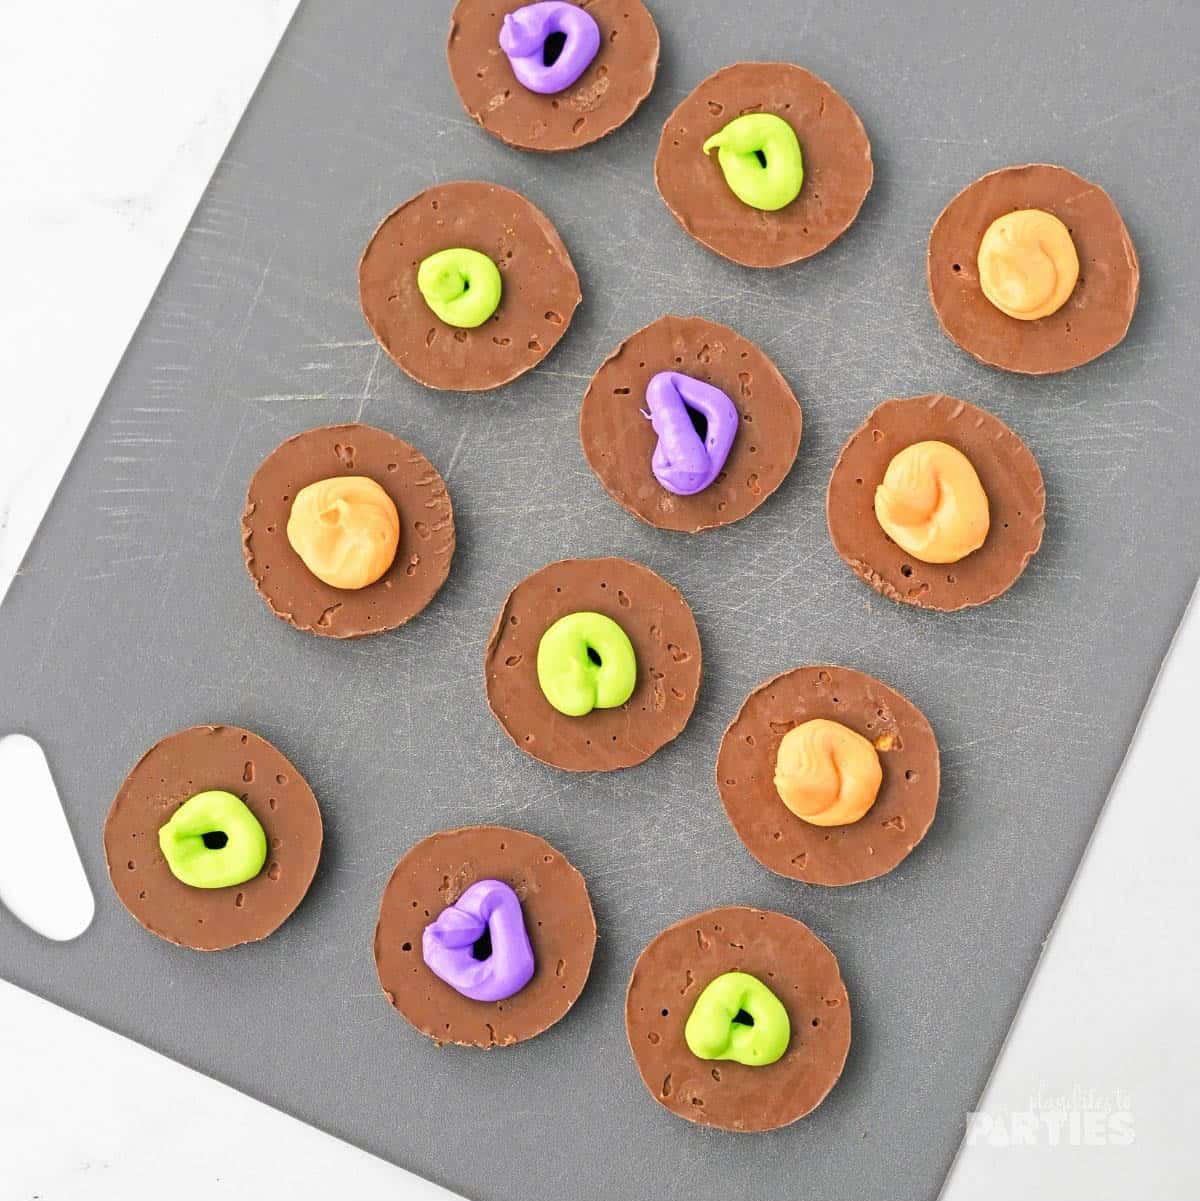
Step 3 – Place the fudge stripe cookies on a silicone mat with the chocolate covered bottoms facing up.
Step 4 – Pipe a generous circle of icing onto the center of the cookies: 8 orange, 8 green, and 8 purple.
Step 5 – Gently press a Hershey’s kiss into the frosting in the middle of a cookie so the icing creates a small ring around the base of the Hershey’s kiss.
Step 6 – Immediately add sprinkles on top before the frosting sets. Repeat the last two steps with the remaining cookies.
Essential Tips:
Don’t skip these tips – read them before baking to avoid any potential mistakes.
- Use orange and black icing for a more traditional witch hat color scheme.
- Fold the opening of your piping bag over a tall glass to make it easier to add the icing.
- Before transferring the icing, crimp the piping bag with a chip clip just above the piping tip. This will prevent the icing from coming out of the tip before you’re ready to start.
- A silicone mat helps to keep the cookies from sliding around
- Use gel food coloring for more vibrant and even colors.
- If you don’t have piping bags, you can use a Ziploc bags with a small hole cut in the corner. (see how I did for these Monster treats)
- Let the cookies set before serving to ensure the icing has hardened.
Frequently Asked Questions:
You can also use other round cookies that are either a chocolate base or are covered in chocolate. Grasshoppers, chocolate covered oreo thins, or even your favorite homemade chocolate cookie can work.
Just make sure that the cookie is sturdy enough to pick up with the extra weight of the Hershey’s kiss and sprinkles.
You can, but the colors may not turn out as vibrant. Gel food coloring is recommended for best results.
Make sure to add the sprinkles immediately after placing the Hershey’s kiss on top of the icing. The frosting will act as a glue and hold them in place. You can also gently press down on the sprinkles to make sure they stick before letting the cookies set.
How to style Witch Hat Cookies for a Halloween Party
- Place the cookies on a tiered tray decorated with Halloween-themed decorations, such as plastic spiders, a bony skeleton hand, or gummy worms.
- Place your cookie tray on a black plastic cauldron with witch feet decorations sticking out underneath.
- Add a witch’s hat or broomstick next to the table as a fun touch.
- Use your everyday plates and cover them with colorful Halloween napkins in orange, green or purple for a budget-friendly transformation.
- Serve these cookies alongside other Halloween treats: milk colored green or purple, Non alcoholic eyeball jello shots, witch cauldron pudding cups, mummy dogs, and candy corn jello cups.
Don’t forget to decorate with some kid-friendly Halloween decorations too.
Storing Witches Hats
Place the cookies in a large airtight container and store at room temperature for up to 3 days.
To Freeze: Freeze in a single layer on a baking sheet until solid. Then transfer to a freezer safe container with wax or parchment paper separating the layers. Enjoy within 3 months.
Thaw at room temperature in a single layer for 12-24 hours before serving. Broken teeth don’t look good on real witches and wizards.
Pro Tip: Avoid the temptation to create a cookie tower at room temperature – stacking these magical treats can cause the icing to smudge and the hats to lose their enchanting shape.
If you liked my witches hat cookies, you’re going to love my spook-tacular non alcoholic drinks for kids. They’re easy, festive and perfect for Halloween parties!
Or you can check out my other Halloween ideas here.
Witch Hat Cookies
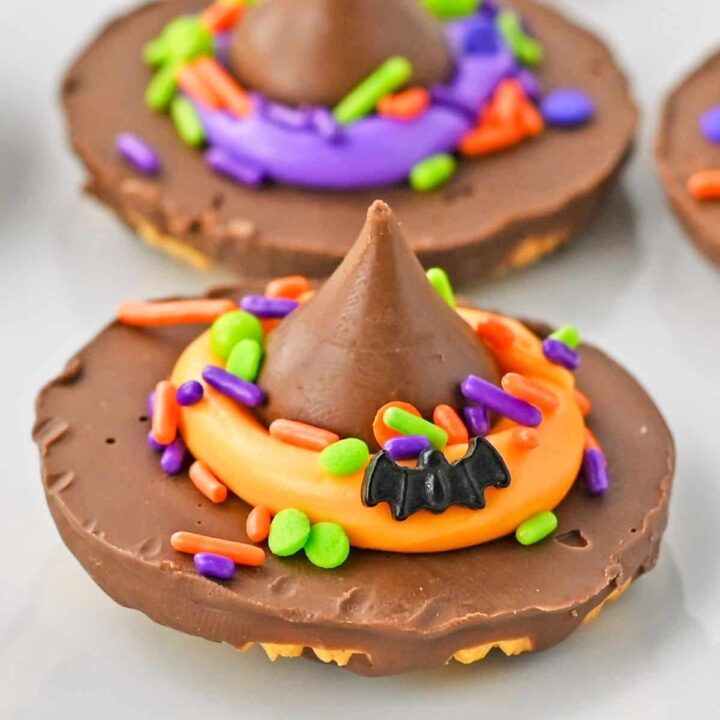
Welcome to the world of witch hat cookies, where magic and deliciousness collide! A simple, no-bake treat perfect for Halloween parties.
Ingredients
- 24 Fudge Stripe Cookies
- 24 Hershey Kiss Candies
- 16 ounces white decorator icing
- Orange gel food color
- Lime green gel food color
- Purple gel food color
- Halloween Sprinkles
Instructions
- Divide the of decorator icing equally into 3 small bowls.
- Add about ½ teaspoon food coloring to each bowl of icing: one bowl of orange, one bowl of lime green, and one bowl of purple. Stir the icing in each bowl until the color is evenly distributed and smooth.
- Transfer colored icing to piping bags fitted with a round tip - one bag for each color
- Place the fudge stripe cookies on a silicone mat with the chocolate covered bottoms facing up.
- Pipe a generous circle of icing onto the center of the cookies: 8 orange, 8 green, and 8 purple.
- Gently press a Hershey's kiss into the frosting in the middle of a cookie so the icing creates a small ring around the base of the Hershey's kiss.
- Immediately add sprinkles on top before the frosting sets. Repeat steps 6 and 7 with remaining cookies.
Notes
Remember, the step-by-step photos and FAQ in the recipe post are there to help you if you feel stuck at any point.
- Use orange and black icing for a more traditional witch hat color scheme.
- Fold the opening of your piping bag over a tall glass to make it easier to add the icing.
- Before transferring the icing, crimp the piping bag with a chip clip just above the piping tip. This will prevent the icing from coming out of the tip before you're ready to start.
- A silicone mat helps to keep the cookies from sliding around
- Use gel food coloring for more vibrant and even colors.
- If you don’t have piping bags, you can use a Ziploc bags with a small hole cut in the corner.
- Let the cookies set before serving to ensure the icing has hardened.
Recommended Products
As an Amazon Associate and member of other affiliate programs, I earn from qualifying purchases.






Jennifer Wise says
These are darling. Pinning! Visiting from The Happy Now blog linkup.