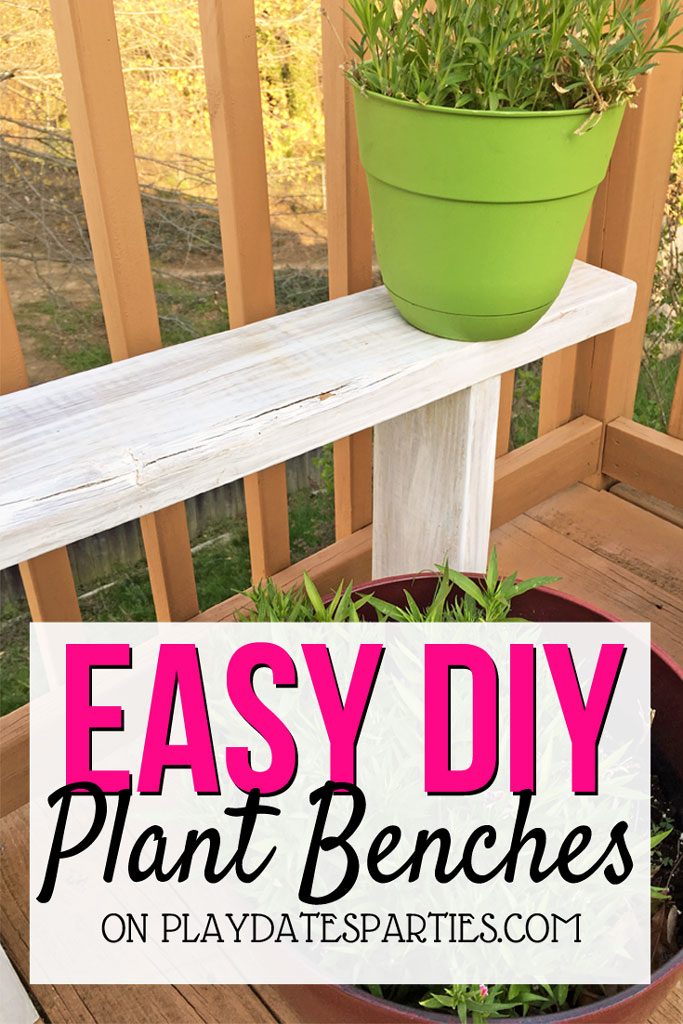
In this backyard renovation update, find out how to make easy DIY potted plant benches using leftover deck boards and simple hardware.
I wish I could say that we had more done on the deck this week for the One Room Challenge.
Unfortunately, the cold/snowy/rainy weather in conjunction with our family schedule kept a whole lot from happening.
Most of the last week was spent on cleaning up the existing spaces, planning what the updated space will look like and painting for planned projects. But other than that…not a whole lot was actually accomplished.
In the process of cleaning and prepping materials, I found myself stuck on decision-making for two big projects:
- the existing flowerpot benches and
- the planned privacy screen.
How we Made Easy DIY Potted Plant Benches
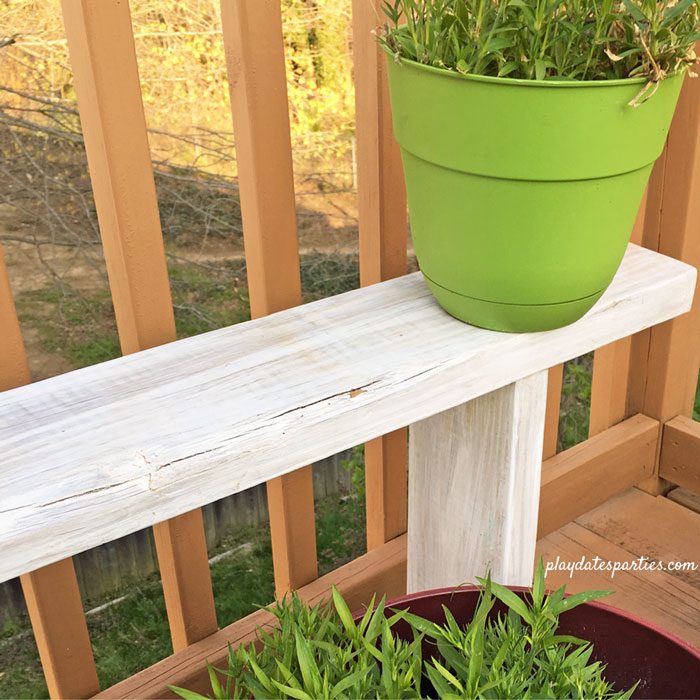
In my last post, I mentioned the potted plant benches that I made last year. They are one of my favorite things I’ve ever made for our yard. Here’s what you’ll need to re-create one of your own:
Materials
- 1 pre-treated deck board cut to 35.5 inches long
- 2 pre-treated deck boards cut to 18 inches long
- outdoor rated deck screws, 3-inches long
- Power Sander and sand paper in varying grits
- Power drill, we use a cheap electric drill, and that was just fine
- L-brackets/corner braces 3-inch (optional)
- 1-inch outdoor screws for the corner braces (optional)
- White deck stain
Directions
- If you’re so inclined, go ahead and cut your deck boards to size. We had 35.5-inch boards left in our garage by a previous homeowner, so I attempted to saw them by hand. (That said, I don’t recommend that route. Go ahead and ask the hardware store to cut them for you!)
- Sand down any rough edges that look like they might splinter. Start with the lowest grit sandpaper and work toward the smoothest. I usually use 80, 100, then 120.
- Stain your boards on all sides before assembling. This will make them withstand the weather much better throughout the years.
- Decide on the location you want your legs to be and mark them off. Make sure the marks are square with the front edges of the bench top. (I don’t recommend anything further in than abut 6-8 inches. Remember, they will need to be sturdy enough to hold the weight of potted plants after they are full of rainwater.)
- Pre-drill holes for the screws in the bench top.
- Using a power drill, attach the legs of the bench using the pre-drilled holes, making sure the ‘legs’ stay as straight as possible.
- If you prefer, add L-brackets to the corners underneath the bench where the legs meet the top. We have some benches with L-brackets and some without, and the L-brackets definitely add a bit more stability.
That’s pretty much it! Don’t they look pretty with plants around them?
My Biggest Mistake Making These DIY Potted Plant Benches
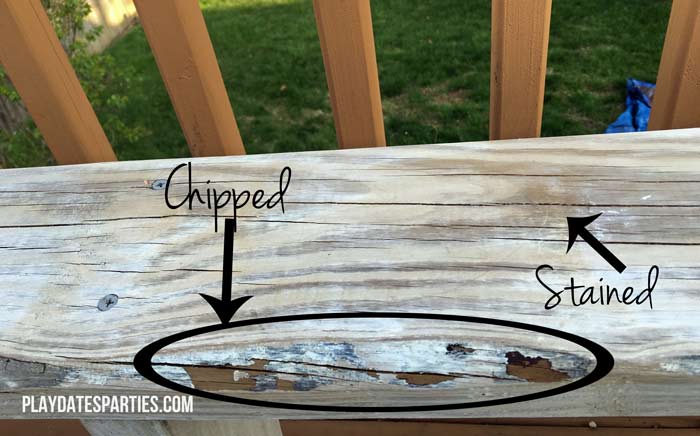
If I could go back in time, I’d tell myself not to try a whitewash look on the plant benches.
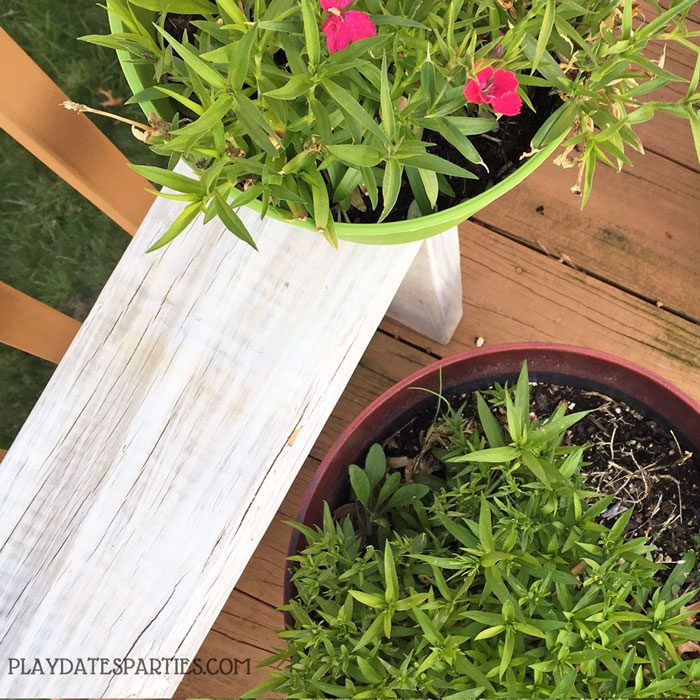
The thin coat of stain I applied didn’t hold up as well as I’d hoped. It’s starting to chip off of some of the potted plant benches and was stained by dirt runoff from the pots.
I already gave the benches a good washing with a brush and a bleach solution, but they’re still clearly stained. I still have that can of white stain and could apply a new coat for the summer. Here are a couple shots of them as they are today:
Pros of not staining the benches:
- With two levels of deck to redecorate, leaving the benches as is would allow precious time to be spent on all the other projects that are planned.
- The chippy, stained look is hot right now, let’s just call this embracing that trend.
- When the benches are covered in pots again, the stains won’t likely be very visible.
- Because the stain is white, any new pots put on the bench this year will likely cause new dirt stains as well.
Cons of not staining the benches
- The privacy screen is freshly stained, and will be brighter than the benches, possibly making them appear dirtier
- New stain would provide extra protection against the full sun and rain that beats down on the upper deck
- Multiple layers of stains with new plants could compound how dirty the benches look over the summer.
What would you do: New layer of stain or not?
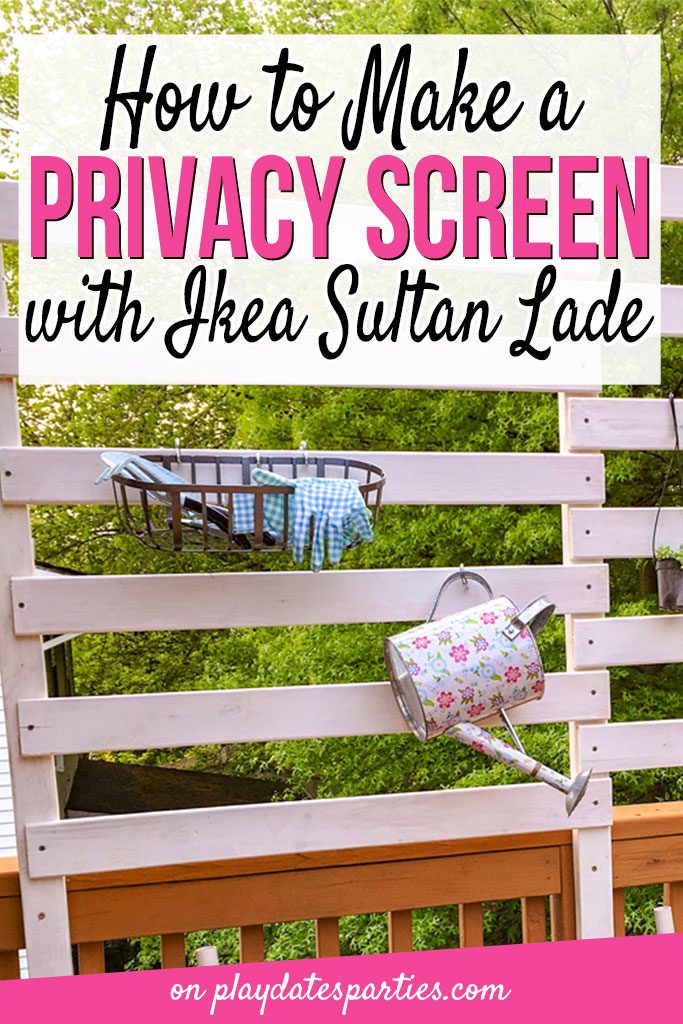
DIY Privacy Screen: Single or Double Width
Second on my list of undecided items is the privacy screen that I’m creating.
I can’t wait to tell you my secret source for this project when the full tutorial comes out. But in the meantime, I’m still trying to decide if I want it to be single or double width.
The upper deck looks directly down onto our neighbors back yard, and let’s just say it’s not the prettiest sight. Our neighbors are nice enough, but their dogs have pretty much ruined their back yard. Putting up a screen will help to create the feeling of being in a completely private space.
Here’s the rub: I only have 12 horizontal boards to work with, so the level of privacy will be affected by the width. Here’s a quick and dirty shot of what the screens would roughly look like (as photographed on our very dirty driveway):
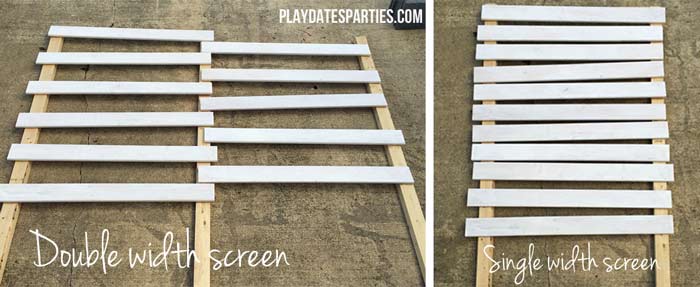
Pros of a Single Width Screen
- The horizontal boards would be very close together, which would provide lots of privacy within that width.
- The materials are all pretty much ready to go, so there would be far less additional time needed for assembly.
- A single screen wouldn’t take space away from the potted plant benches on the upper deck.
Pros of a Double Width Screen
- A double width screen would be about 2/3 the width of the deck space, which would look more substantial than a single screen.
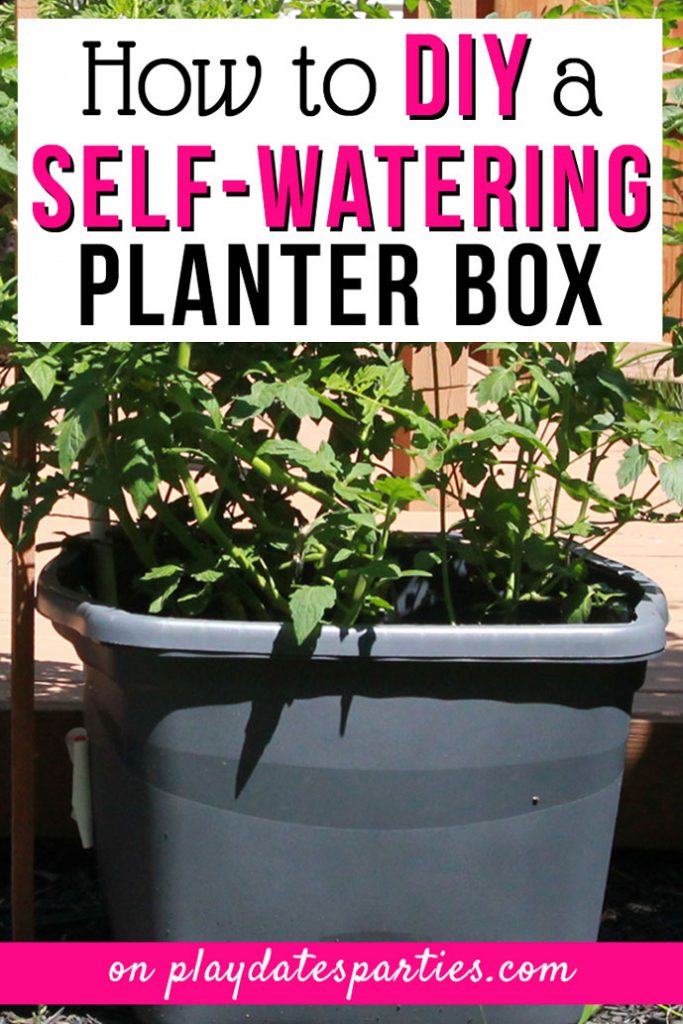
- The extra space between the boards would make it easier for hanging small pots and other items with hooks, or for using the screens as supports for climbing vegetables (we will be using the self-watering planters in front of the screen(s) this summer)
- If the gaps between the boards are filled with other items, the double width screen would actually do more to cover the neighbor’s yard.
What would you do: Double or Single Width Screen?
Tell me in the comments your votes for both the potted plant benches and for the privacy screen. Based on the comments between today and Friday night, I will complete these projects before next Wednesday’s update.
See the Entire Renovation:

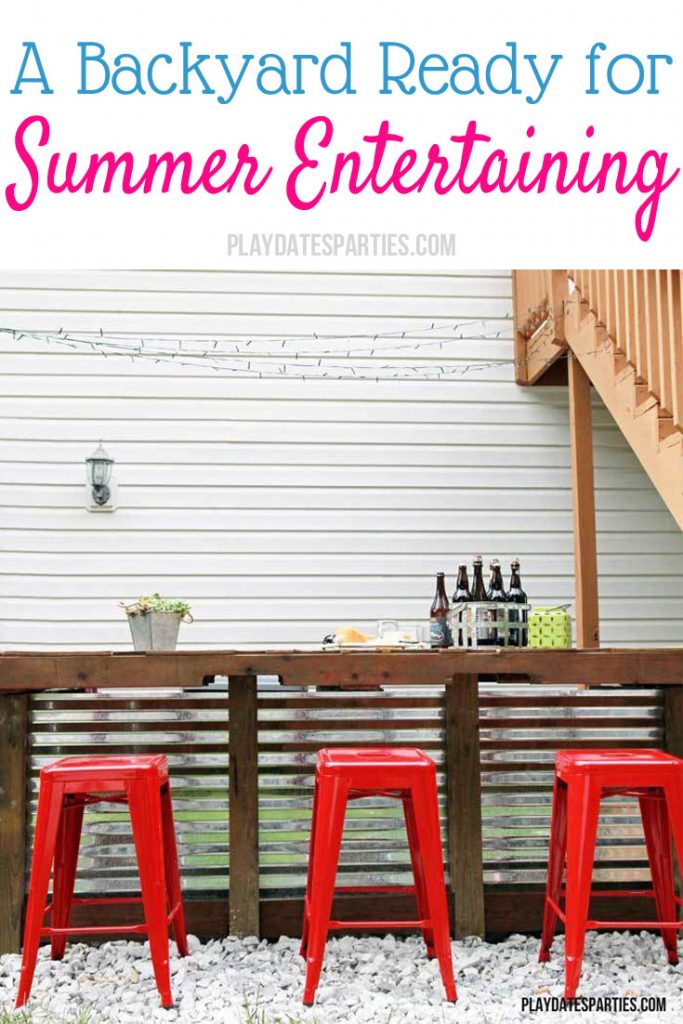
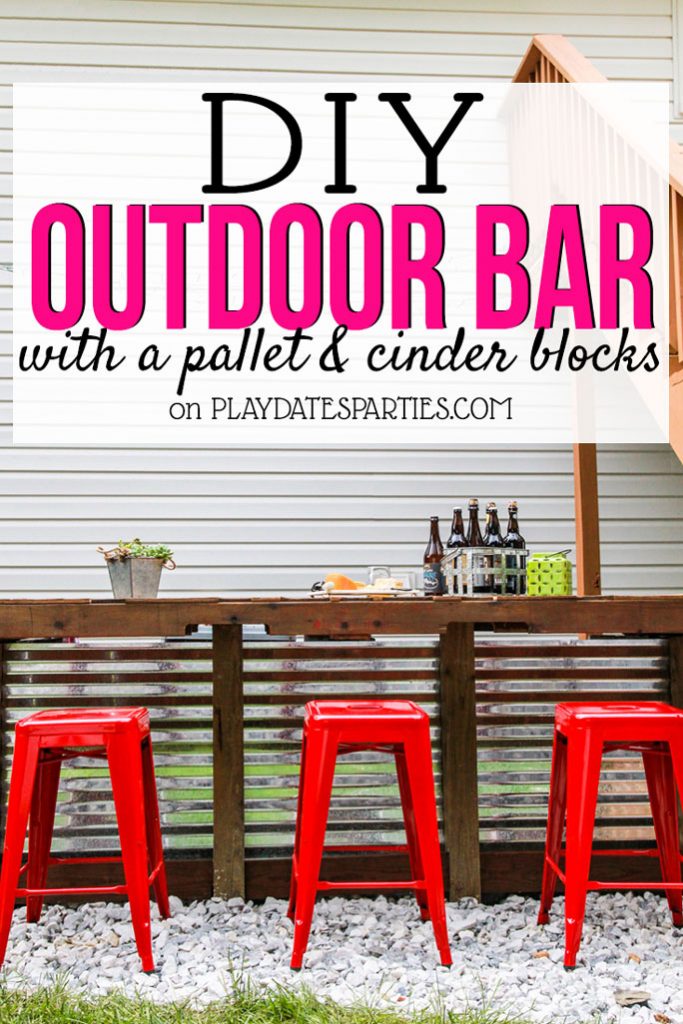
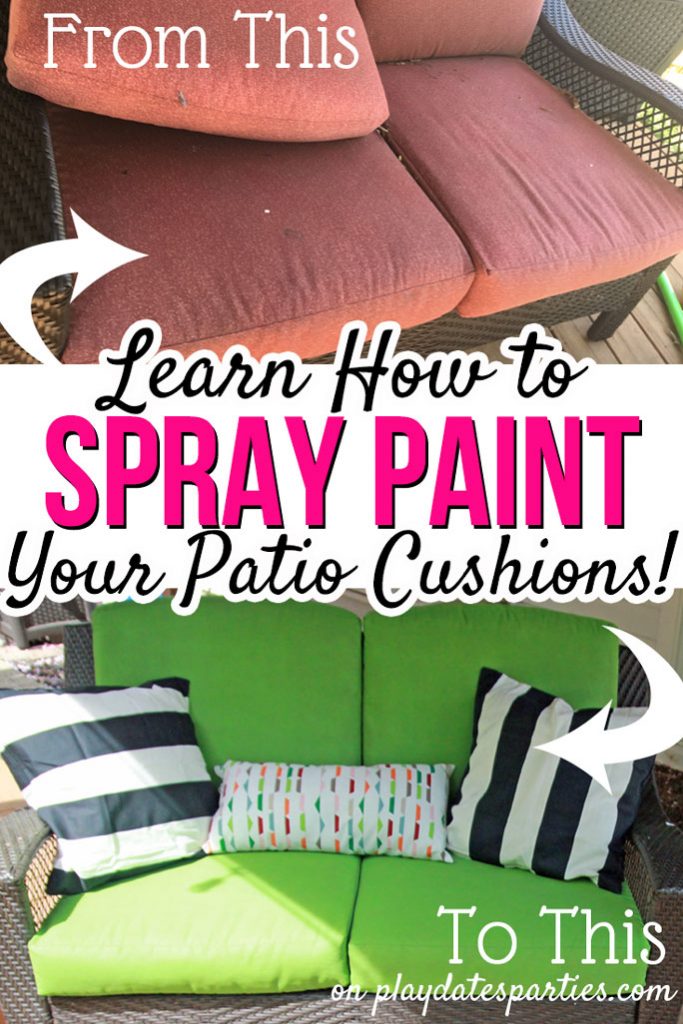
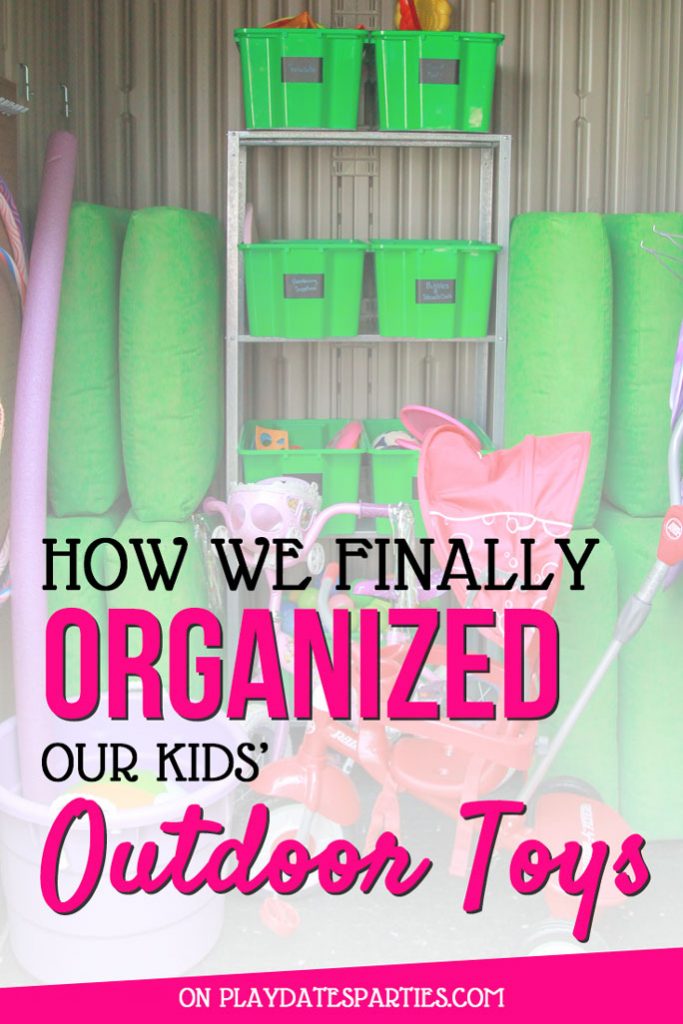
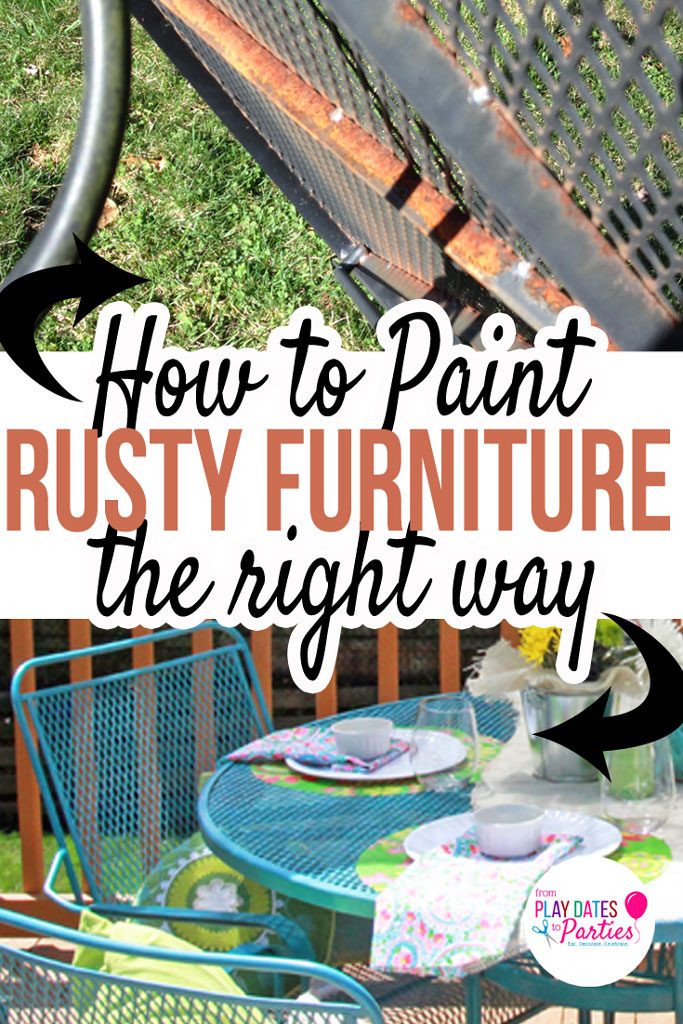
Backyard for Entertaining: Reveal How to Build an Outdoor Bar with a Pallet & Cinder Blocks 4 Quick & Easy Chalk Paint Projects How to Spray Paint Your Patio Cushions Our Extreme Outdoor Toy Organization System How to Make a Privacy Screen with Ikea Sultan Lade Easy DIY Plant Benches How to Paint Rusty Outdoor Furniture How to DIY a Self-Watering Planter Box


I want to extend many thanks to the readers who have enjoyed renovation and home DIY posts over the years. Unfortunately, in January 2018 I was diagnosed with Stage II breast cancer and had to stop doing home renovation posts due to treatment.
Since that time, my focus has been on making this website an amazing resource for the everyday mom’s parties. Due to their popularity, the DIY posts and tutorials will remain on the website, but comments are now closed. Thank you again and I wish you the best in your DIY endeavors!


Janine Huldie says
This is a hard one and not going to lie I probably would go with the non-staining to save some time, but still that is just me 🙂
Dana says
I say don’t stain the benches (save you time) but make the privacy screen double width (more time). You can always stain the benches later, so I wouldn’t stress too much about that decision.
We had all our old decking hauled away – I wish I could have given it to you!
Tamara says
See, we did do some staining two years ago and.. meh. I could have easily not have done it. It was expensive and time-consuming!
Jen says
Oh tough call! I would say do what is easiest (the lazy Jen way)! That is always my advice. Maybe not the best 🙂 Cute idea!
Carla says
I would seal up those benches with marine varnish or something like that to stop the chipping. Double wide screen for sure.
Laura Ingalls Gunn says
Leslie I adore the direction that your room is headed towards! I would choose no stain. You did SO much better than I did in my room this week.
I would love for you to share this post at Thoughts of Home on Thursday. I think our readers would really enjoy it!
Good luck in the upcoming week!
morgane @ Bear,dolly and Moi says
I am going to vote with everybody on the double screen. A few years ago, I installed a lattice (lot of holes!) to separate our yard from the neighbors, and grew morning glories, it became a wall (pretty and no more neighbors..here is the link you are interested :https://beardollyandmoi.blogspot.com/2010/05/building-garden-structures.html)
As far as staining the ledge, it might be something you want to do later, as time becomes available…
this week end is supposed to be nice! no rain, no snow!
Hope you have a chance to enjoy it.
Audra @ Renewed Projects says
I like this idea of adding Morning Glories to a privacy screen. It would really block out the neighbors while adding some color to one’s backyard area.
Ivory says
I am just joining your site, soooo, I would say coat it with stain or something, only because you don’t want your beautiful to start rotten. I once had plants on an old table outside, the watering and the weather rotted it. I love what you created by the way. Thanks for sharing.
Ann says
Cute idea! My husband made me a free standing plant shelf with 5 levels. He wanted to stain it but I’m glad he left it the light wood color it came in. Next time he makes me something for the garden I’d love him to stain it a darker wood color though, to see which one I like more. I would try another layer of stain and see if that will help. How about double wide with a vine to cover up the open spaces?
Teresa says
This is perfect for spring! I think I might even get something like this to fit me balconies.
Thank you for sharing at The Really Crafty Link Party. Pinned!
mummy here and here says
So simple but looks really effective, now we all need is some warm weather to enjoy the garden X #brilliantblogposts
caryn says
Such a bummer that the white wash cracked off. It looks really pretty. Love this idea. I will try it, too.
Debrashoppeno5 says
I like this idea for the plants. It looks like you can move it around if the need arises, I’ll throw in my two cents and say let them weather naturally and save yourself the time and effort.
linda says
love the plant benches! I’ll be keeping this in mind as we head into warmer weather and add plants to our back deck.
Kristin's Peppermints and Cherries says
These benches look like they would fit nicely on a small porch. Our porches are painted, so they require fresh paint yearly…chippy porches aren’t in like chippy furniture unfortunately! 🙂
Sheri says
Very cool! Thanks for sharing at the To Grandma’s House We Go DIY, crafts, recipes and more link party. Hope to see you next week!
Nikki Gwin says
Leslie, I am featuring your potted plant bench on OVER THE MOON LINK PARTY which is going on now. I’d love for you to stop by and take a look and link up again!
🙂 gwingal
The Pramshed says
These look great and would look good in our garden. Fab idea! Thanks for linking up at #fortheloveofBLOG. Claire x
Donna Reidland says
It’s that time of year, isn’t it? I’m starting to think about what new things I want to do in our backyard. I may have to make some plant benches, too.
Kim says
Love your potted plant project! I’m so ready to get my hands in the dirt this year! Thanks for sharing your post on the Encouraging Hearts and Hope blog hop! I featured your post this week at daytodayadventures.com which means I gave it some extra love on social media! Make sure you come link up today! Have a great week!
LINDA BOUFFARD says
I’m SO making these and I’m pretty sure I can make them by myself!! Whoop!!! Thank you SO MUCH. Also featuring you tonight at the new party!! What to do Weekends. Best wishes, Linda @crafts a la mode