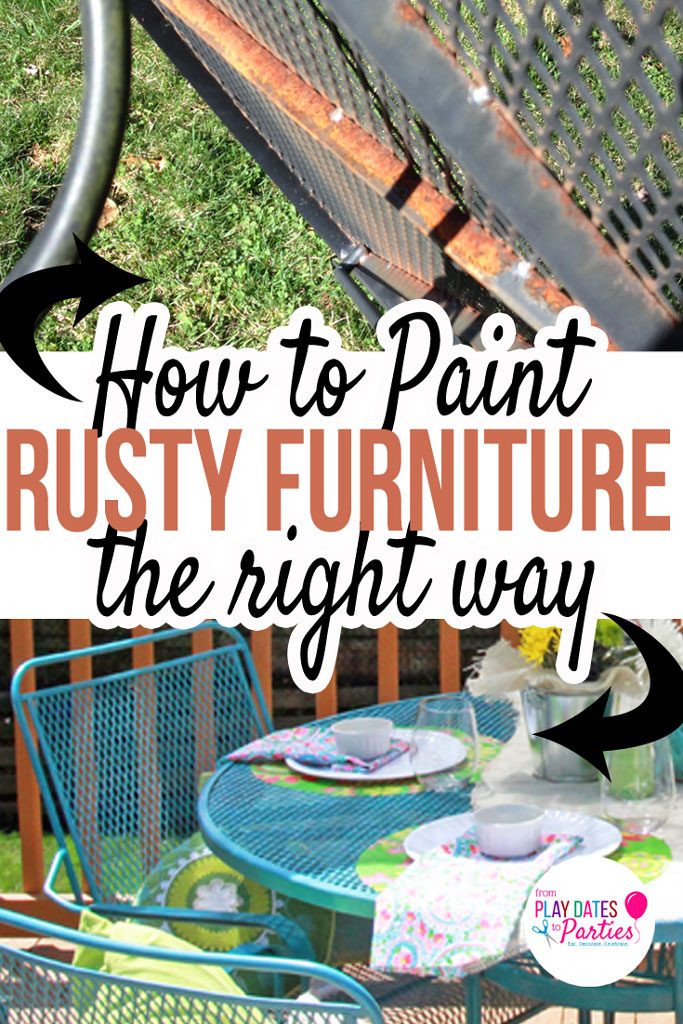
Don’t throw away that old rusty outdoor furniture! Find out how to paint rusted patio furniture to make it like new again!
What have I gotten myself into?
Temperatures aren’t much above freezing around here, our next few weekends are filled with activities and I just signed myself up for a MASSIVE six-week challenge – the One Room Challenge (ORC) to be exact.
In a nutshell, the ORC is six weeks of intense renovation/redesign of a single room in your home. The goal is to share progress and inspiration along the way…all leading up to a gorgeous reveal at the end!
The problem is, I didn’t sign up for just one room…I signed up to do both of our back decks.
That means not one, but TWO living areas.
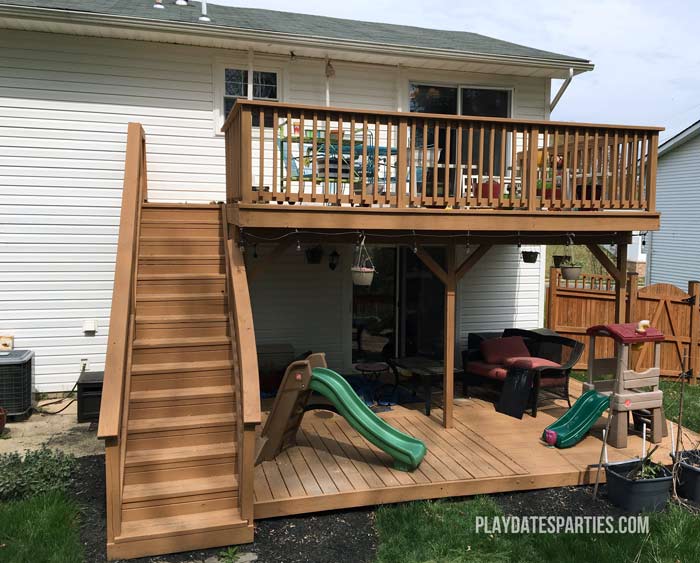
Right now, the upper deck (right off of our kitchen and dining area) is a mess of pots that were left out over winter and an unfinished project from last year.
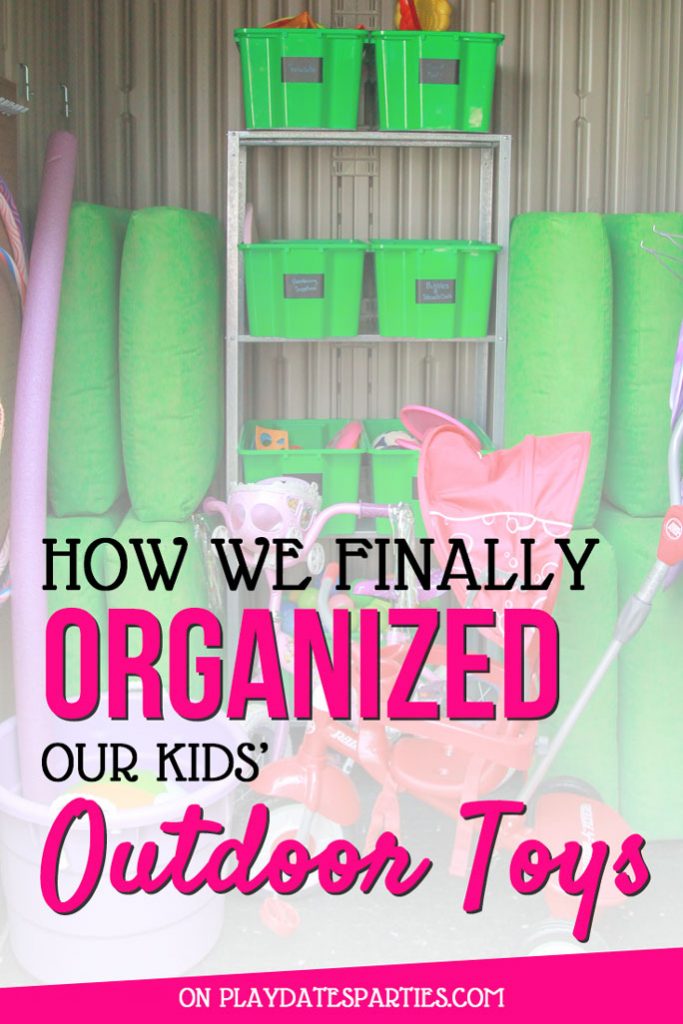
The lower deck (off of our family room) has a giant deck box that currently holds the kids outdoor toys. I hate that box. It’s nearly impossible to find the toys the kids want through all the clutter, and it stopped closing correctly last year – which means there’s about an inch of water collected on the bottom. Yuck. (Take a look at what we did to fix it!)
The yard overall also needs just some general sprucing up.
Paint Rusted Patio Set
Thankfully I did a lot of work while I was pregnant last spring. And the very first thing on my list was to renovate our cheap old rusty dining set.
I think at least half of the homeowners out there start off with a set like this.
We bought it the first summer we were living in this house, and had spent most of our cash furnishing the place with important things like bedrooms and dining rooms. Pinterest didn’t exist yet, so we just went to our local Lowe’s and picked out the cheapest, easiest set we could find.
That was 9 years ago.
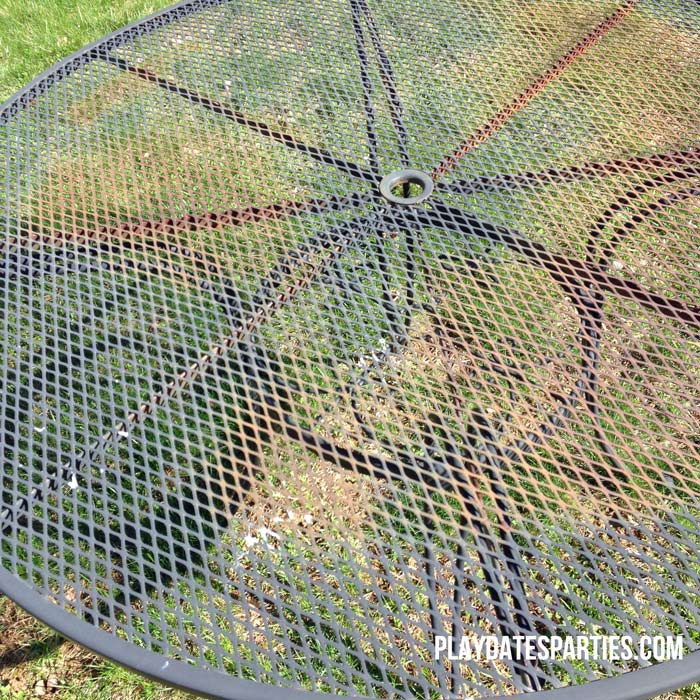
We didn’t really do anything to protect the set over the years, and the elements had definitely taken their toll, leaving a rusty mess.
How to Paint Rusted Metal Furniture
Supplies:
Scrub brush
Power drill (recommend cordless)
Wire brush attachments for drills
Large dropcloth
Wood boards
Rustoleum Rust Reformer Spray Paint*
Spray paint in your preferred color*
*I found that a table and four chairs took at least 3 cans of Rust Reformer and about 6 cans of colored spray paint.
Method:
- Hose off the dining set as well as possible. Using a scrub brush, get all the dirt out of the grooves. Let the table dry off completely
- Remove as much rust as possible with a wire brush. I used wire brushes that attach to a power drill. The brushes got caught sometimes and at other times it felt like the drill was going to get away from me, but it was the best way to scrub off some of the tough rust.
- Give the set another good cleaning with a soft scrub brush and the hose.
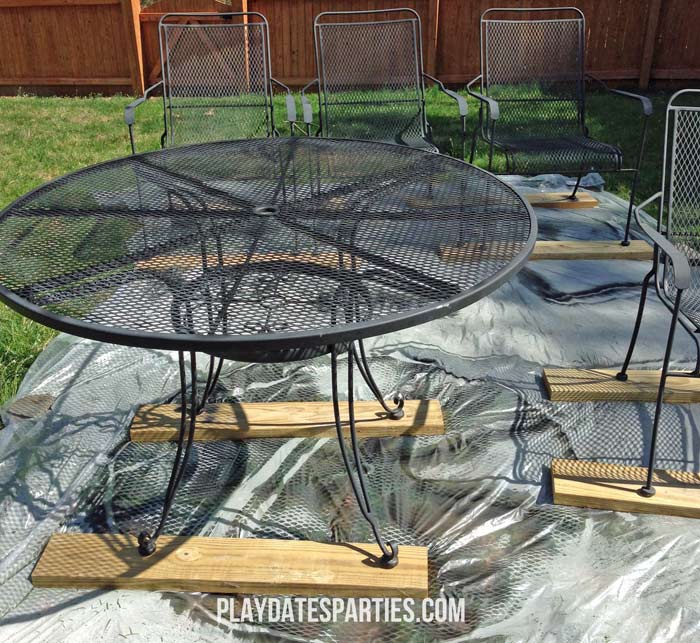
- Set up a large drop cloth with wood boards to raise the furniture off the ground. This help to keep the furniture from sticking to the drop cloth, and prevents missed spots due to wrinkles or debris.
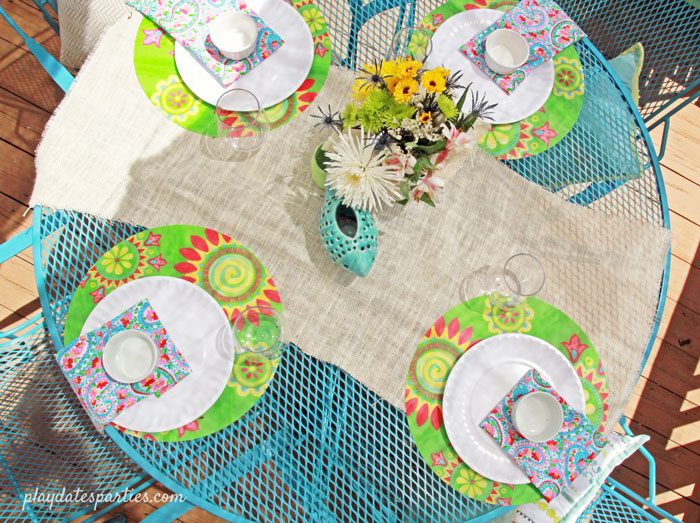
Enjoy your new dining set! This project took me a few days to complete, but I wanted to make sure it was done right. Our family is already too big for this set, but we want to wait as long as possible before replacing it. Heres a shot of it now after sitting in full sun throughout the summer and winter (please pardon the mess, clean-up is first on the to-do list).

And all decked out, ready to party!
So what’s left? Here’s a quick rundown of what we need to do between now and May 8th:
For the Upper Deck:
- Clean up winter debris
- Finish the canopy
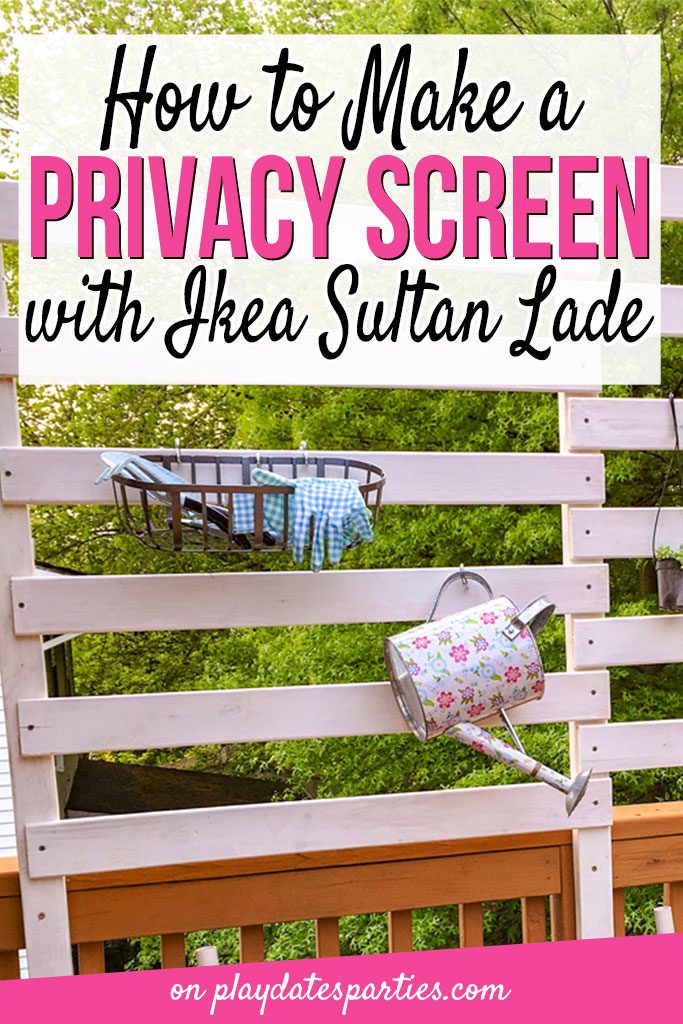
- Make a privacy screen
- Refresh old pots with paint if necessary
- Spray paint the bar cart
- Start the herb garden
- Plant fresh flowers
For the Lower Deck:
- Figure out a new storage solution for the kids’ toys, preferably with decent organization
- Revitalize or replace the furniture
- Replace the hanging plants
- Figure out a safe way to help repel bugs
- Add new decor and plants around the seating area
That’s a lot to get done in 33 days. It’s time to get started!
What would you do with this space?
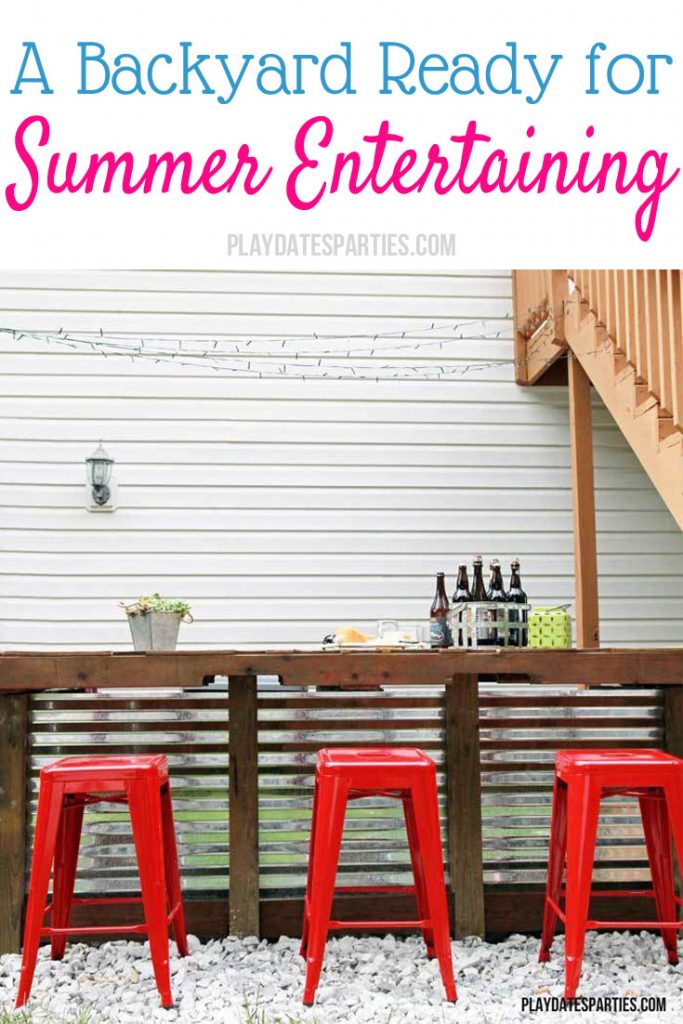
What’s your favorite way to get your outdoor space ready for summer entertaining?
See the Entire Renovation:

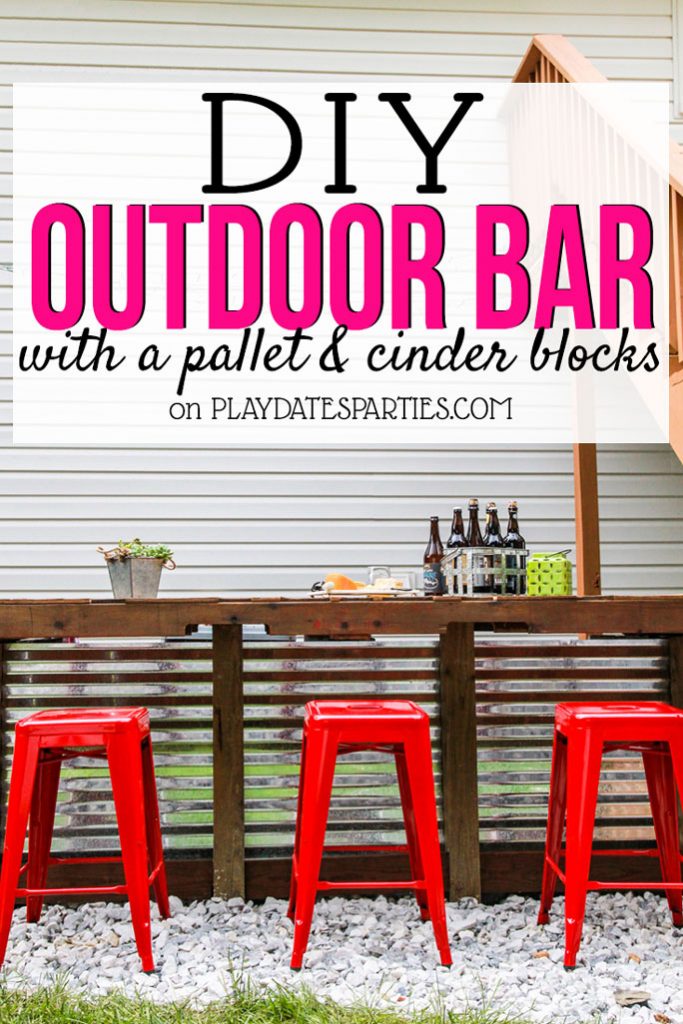
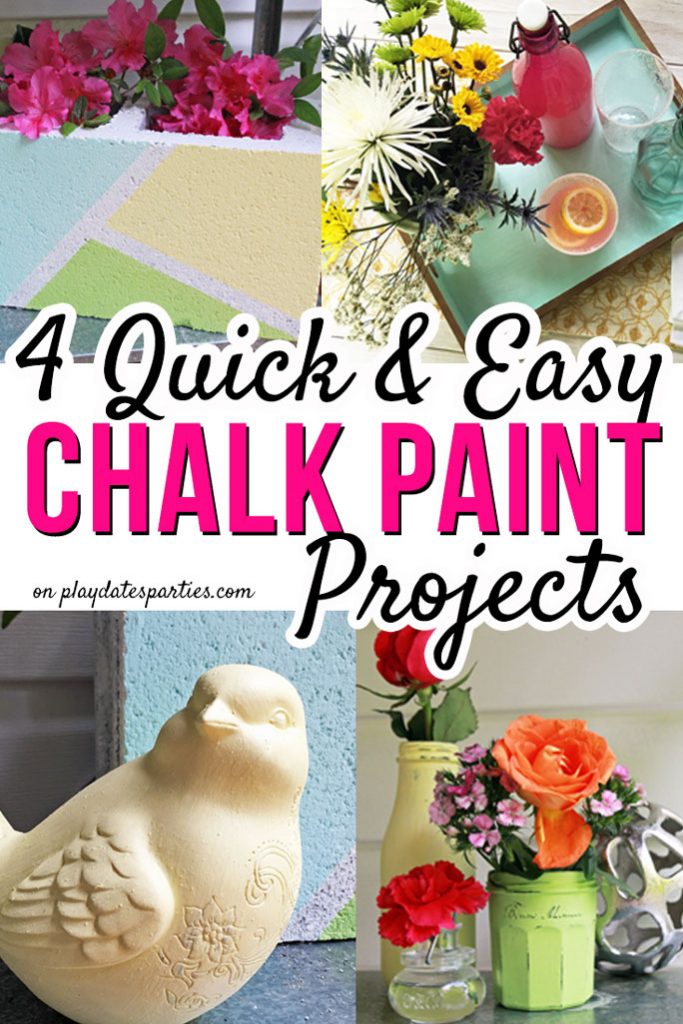
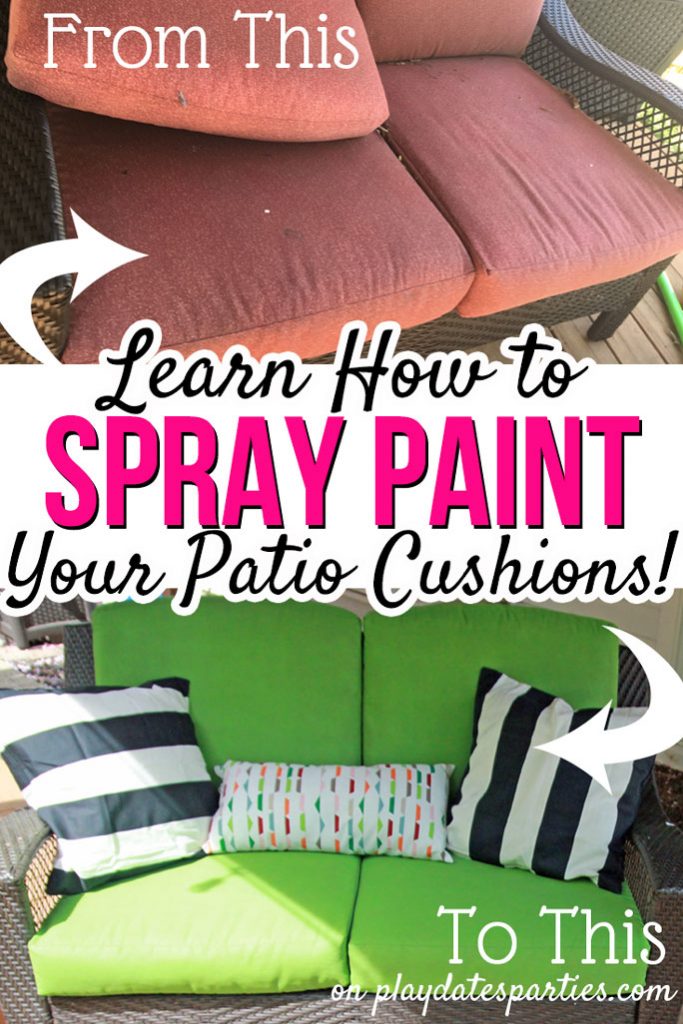
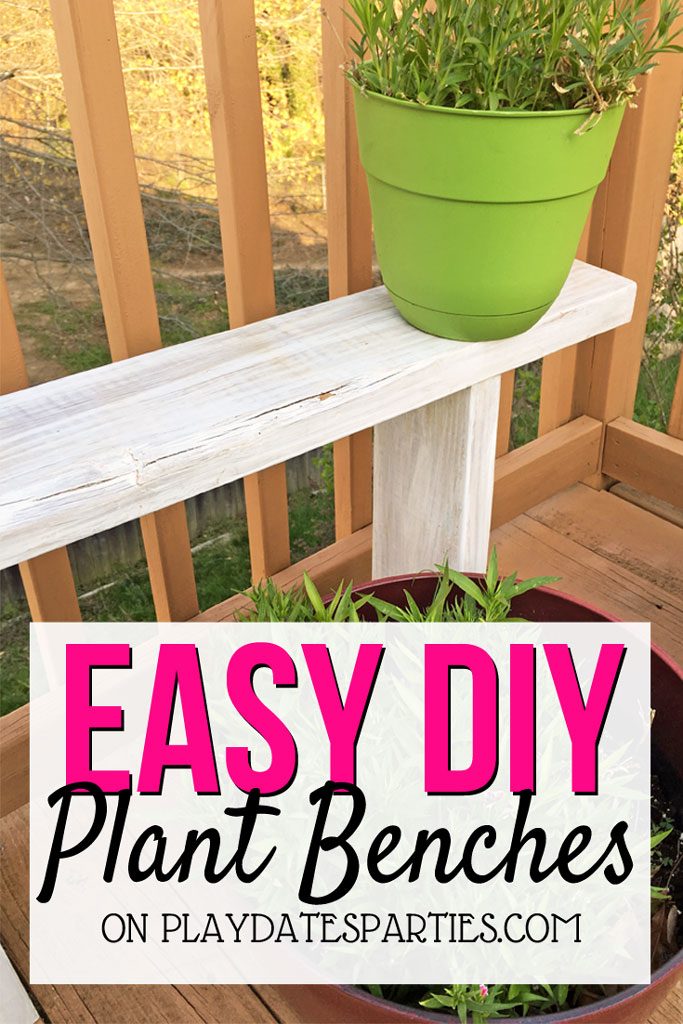
Backyard for Entertaining: Reveal How to Build an Outdoor Bar with a Pallet & Cinder Blocks 4 Quick & Easy Chalk Paint Projects How to Spray Paint Your Patio Cushions Our Extreme Outdoor Toy Organization System How to Make a Privacy Screen with Ikea Sultan Lade Easy DIY Plant Benches How to Paint Rusty Outdoor Furniture How to DIY a Self-Watering Planter Box

I want to extend many thanks to the readers who have enjoyed renovation and home DIY posts over the years. Unfortunately, in January 2018 I was diagnosed with Stage II breast cancer and had to stop doing home renovation posts due to treatment.
Since that time, my focus has been on making this website an amazing resource for the everyday mom’s parties. Due to their popularity, the DIY posts and tutorials will remain on the website, but comments are now closed. Thank you again and I wish you the best in your DIY endeavors!


Tamara says
Consider me completely impressed. It’s so tempting to just junk the rusty furniture, but yours looks fresh and new again.
Leslie says
The Husband was ready to drag that set to the recycling center, but I knew it still had some life. At some point we’ll have to get a table that fits all five of us, but for now we’re enjoying the colorful change.
Michaela @ The Lodge on haydon says
Such a cool deck space!! But you are doing double : ) Oh Boy! Such a great tip for the metal patio furniture! I have a piece I am wanting to use in my own ORC and I am going to be using your method, thanks so much!
Nellie says
OH MY GOSH! You know how you don’t realize you need something SO much until you see it. THAT. WITH THIS POST. My poor outdoor furniture has taken a pretty bad beating. I know I am terrible at DIY but this seems manageable as long as I put my brain to it!
Morgane @ Bear, Dolly and Moi says
this is a real nice way to update your table, and a great way to start the challenge.
good luck with the double level, hopefully the weather will remain workable….before the mosquitoes arrive!
Nina says
Well hey now! Seriously Leslie I’m so impressed with all your DIY creativity. If it were me I wouldn’t have known what to do with that table set!
Dana says
I love the bright color! Our 20+year old deck was just torn down and the new one should be done next week. I’m so excited to buy furniture and furnish it so that it is a usable, comfortable space. Can’t wait to see how your project turns out!
Leslie says
I’m all about bright colors. Bet you couldn’t tell by the website, huh? :-p
LZ Cathcart@ The Summery Umbrella says
Absolutely LOVE that color!! Your patio is looking awesome 🙂
Leslie says
Thanks so much!
April R - Uncookie Cutter says
The table looks great and I can’t wait to see what you do with the rest of the space!
Leslie says
Thanks! It’s coming along slowly, but there are LOTS of changes happening!
Jelica@APrettyFix says
So glad I saw your post this morning! I am in the process of removing rust from an old table and am halfway there. Just need to find the right spray paint – thanks for the tips above! This will help me move onto the next stage 🙂 Great post!
Leslie says
I definitely recommend using the Rustoleum spray paint formulated to encapsulate rust. Otherwise, it might eat right through the new paint. It adds a couple more steps, but I can honestly say that our furniture doesn’t show any signs of the old rust even after being outside for a year.
Nikki Gwin says
I love the color you chose! My mama told me about Rust Reformer but I haven’t used it as a primer of sorts before. Good tip!
🙂 gwingal
a spirit of simplicity says
It looks lovely. I like the color very much.
Allison@adlibmom says
I’m not so afraid of the rust anymore. I won’t be shying away from the rusty furniture at garage sales! The color you chose is one of my favorites. It looks great!
Teresa says
The furniture looks so much prettier now, I love the new color. We don’t have a patio or patio furniture, but we do have some old beach chairs that probably could benefit from a similar treatment. Thank you for joining The Really Crafty Link Party. Pinned!
Donna Reidland says
I love that turquoise. Thanks for sharing. Pinning for spring when I need to get to some painting. Blessings!
candy says
I have couple chairs need to be redone. Using drill beats all the scrubbing with a wire brush. Found you on Simple Homestead Link Party.
JamiE says
I love seeing old things get a new life. They look amazing, and probably even better than when they were new. 🙂
Jann Olson says
Rustoleum is such great spray paint! Thanks for sharing with SYC.
hugs
Jann
Lydia from Lydia's Flexitarian Kitchen says
It’s an amazing transformation. I’m interested to know how the paint job has held up in the two years since you originally wrote the post.
Leslie says
Great question! The patio set sits in full sun ALL year long, so the paint is a bit faded, but no rust in sight! Thanks for stopping by!
Linda S says
What a great way to bring new life to an old set! I am on the look-out this year for a patio set for our back deck. I think I’ll set my sights on a set that needs some TLC.
Twochicksandamom/Donna says
Great tutorial! Thanks for sharing at Party in Your PJs!
Debbie Kitterman says
Hey Leslie – thanks so much for linking up at #TuneInThursday last week. I have chosen to feature your post tomorrow at the linkup.
Leslie says
Thanks so much! I’m honored