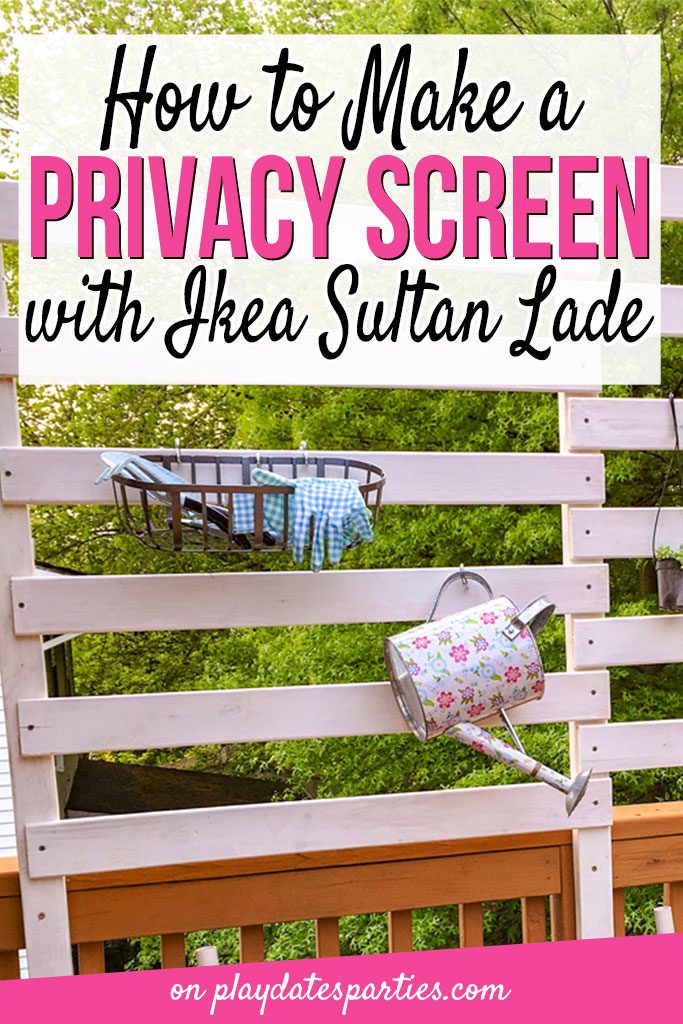
Learn how to create a deck privacy screen that also doubles as a climbing trellis for your potted plants. Assembly is simple, and you can make it in a weekend!
What a week!
The warm weather finally decided to come back to the mid-atlantic and our family couldn’t be happier.
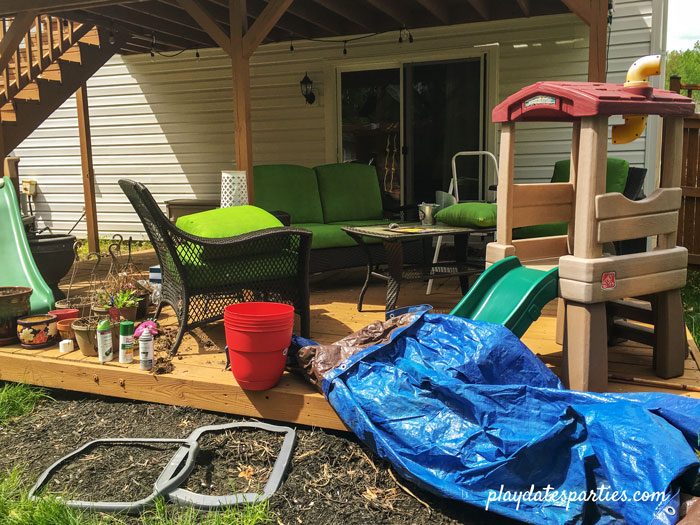
We’re in our third week of renovating our backyard. And even though several projects are done…there’s no way you would know it from the look of things right now:
When we left off with last week’s One Room Challenge update, I was letting you decide two parts of this makeover:
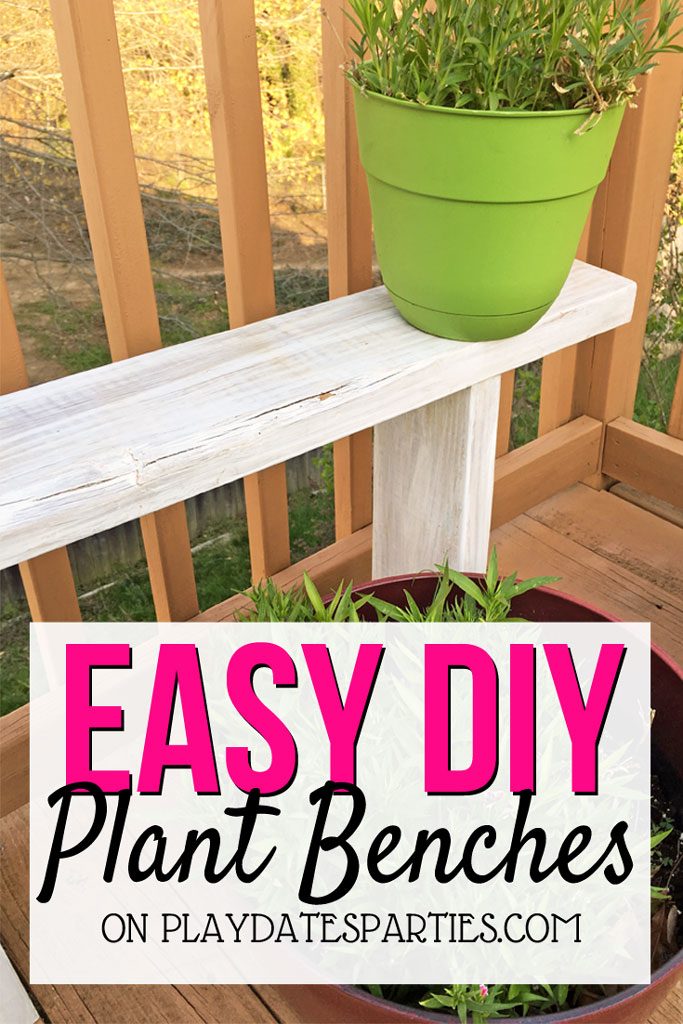
- Whether or not to freshly stain the plant benches, and
- If we should make a single or double width deck privacy screen.
The results were pretty much unanimous:
- Leave the benches as-is, (hooray for easy!) and
- Make a double-width privacy screen.
One reader, Carla, recommended sealing up the benches with marine varnish, and I love that idea. But for time’s sake, I’m going to leave the benches alone for now.
I’ll fix up the stain and seal them up with marine varnish either in the fall or early next spring. So that just left trying to figure out how to turn this Ikea Sultan Lade bed base into a deck privacy screen.
Why Use Ikea Sultan Lade for the Deck Privacy Screen?
I know, it sounds strange, right?
Well, our 3-year-old’s Ikea bed completely came apart a few weeks ago. On top of that, we were unaware that the same bed was under a recall notice for potential trapping.
Clearly, the bed had to go.
But, the base seemed to be in good shape, and we’ve been looking at this eyesore for the last several years:
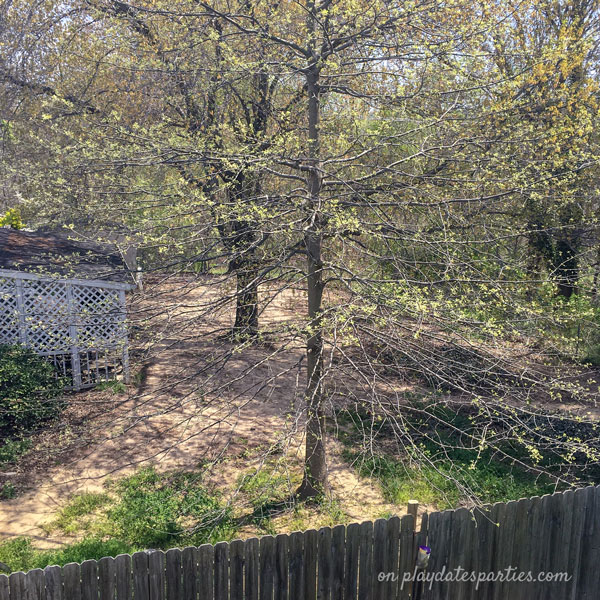
That’s when I realized that the Sultan Lade bed slats would be perfect for a deck privacy screen. Score!
How to Make a Deck Privacy Screen with Ikea Sultan Lade
Materials and Supplies
- Ikea Sultan Lade Slatted Bed Base, OR 12 boards approximately 38″L x 3.5″W x 3/4″D
- Box cutter with a sharp blade
- Pliers
- 3 wood studs – 2 x 3 cut to 84″ tall
- Sandpaper
- Outdoor stain
- Water sealer
- Deck screws: 3′ and 1.75″
- Power Drill with drill and screw bits
- 4 foot level
- Measuring tape
- Pencil or chalk markers
Prepare your materials
This is the most time-consuming part of the whole process. You will definitely want to allow for at least a full day to get these steps finished.
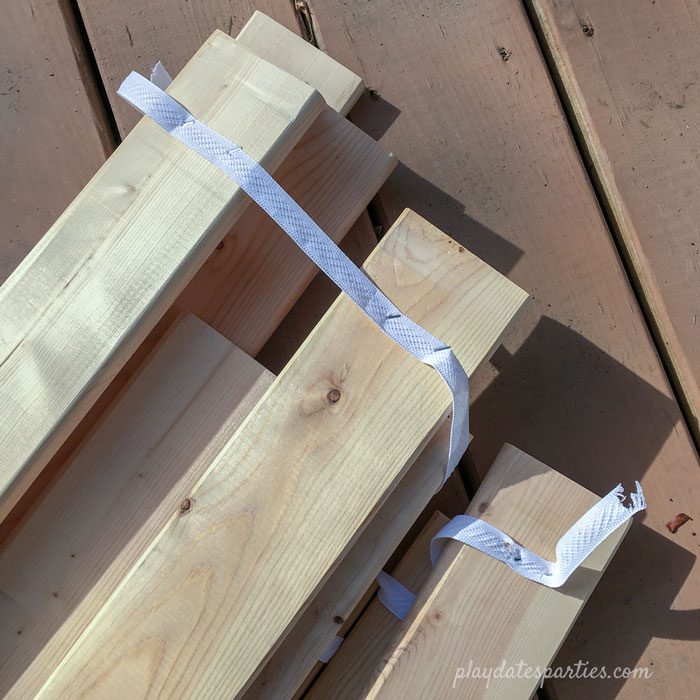
- If using the slatted bed base, you will need to remove the webbing that connects the slats together. Cut the webbing with a box cutter as tight as possible to the staples. Then, use pliers to remove as many staples as possible.
- Sand all wood pieces to reduce rough edges and wipe down to remove all dust and debris
- Paint all the wood pieces with a long-lasting outdoor stain. I used stain we had on hand from Olympic that promises 5 years of protection and a spray on water sealer to protect the screen from water damage.
Add the Vertical Supports
Once all the wood is prepared and dry, it’s time to really get moving!
It’s helpful to first lay everything out on the ground as you would like it to look, so you can take a few preliminary measurements.
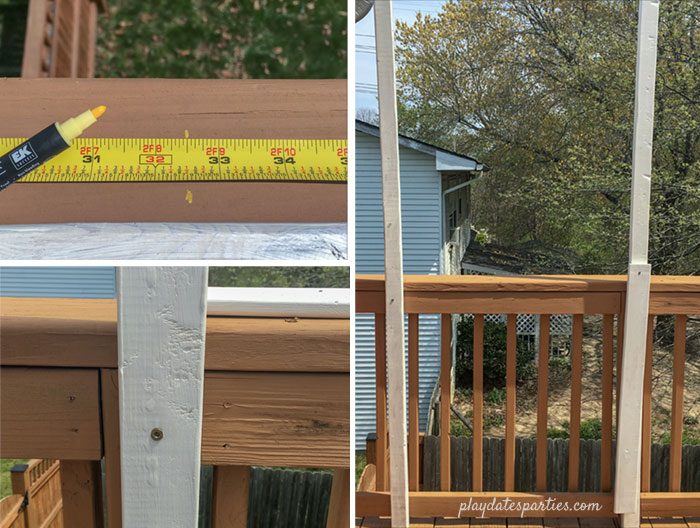
- With a pencil or chalk marker, mark the center of where you would like your privacy screen located.
- Using the 4-foot level, attach one of the studs at the marked location. Start by holding the stud firmly in place and drilling a pilot hole through the stud and slightly into the deck. Then Use a 3″ screw to attach the stud to the deck. Screw the stud into the top and bottom of the deck railing
- Measure 38″ from the outer edge of the stud to the left and again to the right. Double check your measurements by holding a stud to the marked location (where the mark is at the outer edge of the stud), and then hold one of the Sultan Lade boards up to ensure that the Sultan Lade board goes edge-to-edge between the studs.
- Alternatively, you can also attach the first slat to the center stud (see directions below) and use it to measure the distance for your outside studs.
- Once you have your measurements verified, attach the right and left studs to the deck in the same manner as step 2.
Add the Sultan Lade Slats
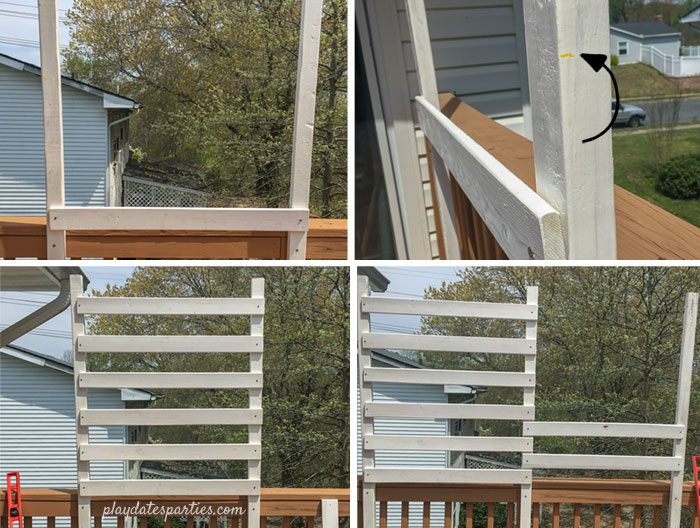
- Starting with the center stud, drill pilot holes through the slats and into the stud just above the deck’s hand rail. Use a 1.75″ deck screw to attach the slat to the stud.
- Using the 4-foot level, attach the slat to the left outside stud, following the directions in step 1.
- Measure 7.5 inches from the bottom of the first Sultan Lade slat and mark the location on the center stud. As long as you are using boards with the measurements identified above, this will be the distance between each slat.
- Align the bottom of your second Sultan Lade slat to the mark you just made on the center stud. Make sure the board is level and attach it to the center and left studs according to the directions in steps 1 and 2.
- Repeat steps 3 and 4 until 6 boards are attached to the center and left studs.
- Starting just above the first Sultan Lade slat on the left, attach a new Sultan Lade slat to the center and right studs using exterior screws. Don’t forget to drill your pilot holes and make sure the slat is level before attaching it to the right stud.
- Attach the remaining slats to the center and right stud, following the directions above.
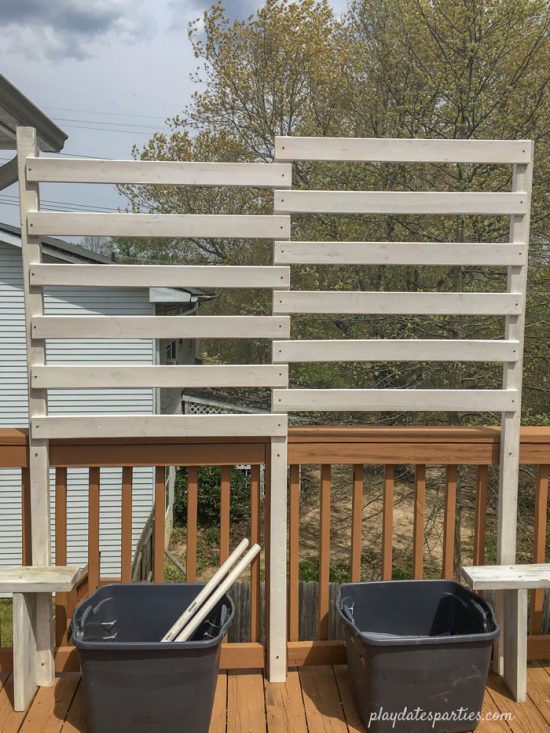
And Now You Have a New Deck Privacy Screen!
Assembling the privacy screen took me less than 3 hours, even with little kids around. The baby actually joined me on the deck for a snack as I was finishing up!
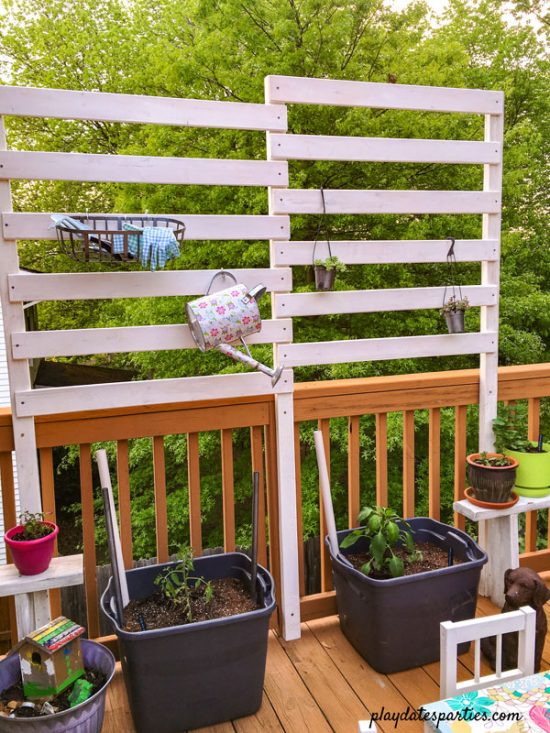
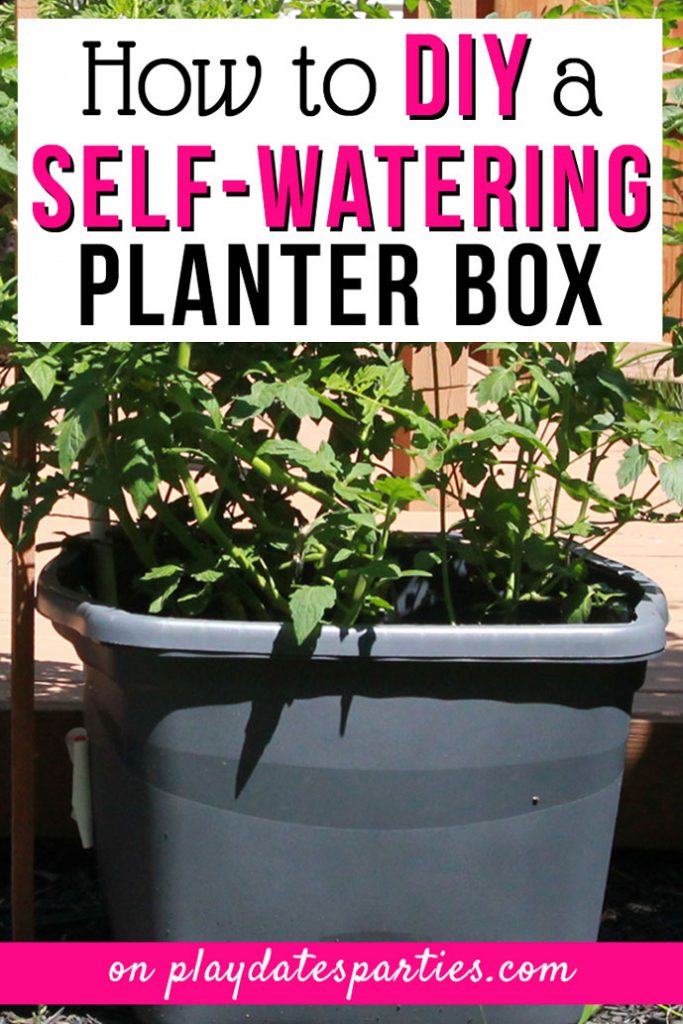
Here is how it looks today, with our DIY self-watering planters in front of it, ready for a small veggie garden.
We plan to use the screen to help provide support for our tomato plants (instead of a trellis). I also hope to add some hanging plants to the screen for more greenery and added privacy.
Progress for the Backyard Renovation
Here’s a little recap of the to-do list so far:
For the Upper Deck:
- Clean up winter debris (about halfway done!)
- Finish the canopy (almost done!)
Make a privacy screen- Refresh old pots with paint if necessary
- Spray paint the bar cart
- Start the herb garden
- Plant fresh flowers
For the Lower Deck:
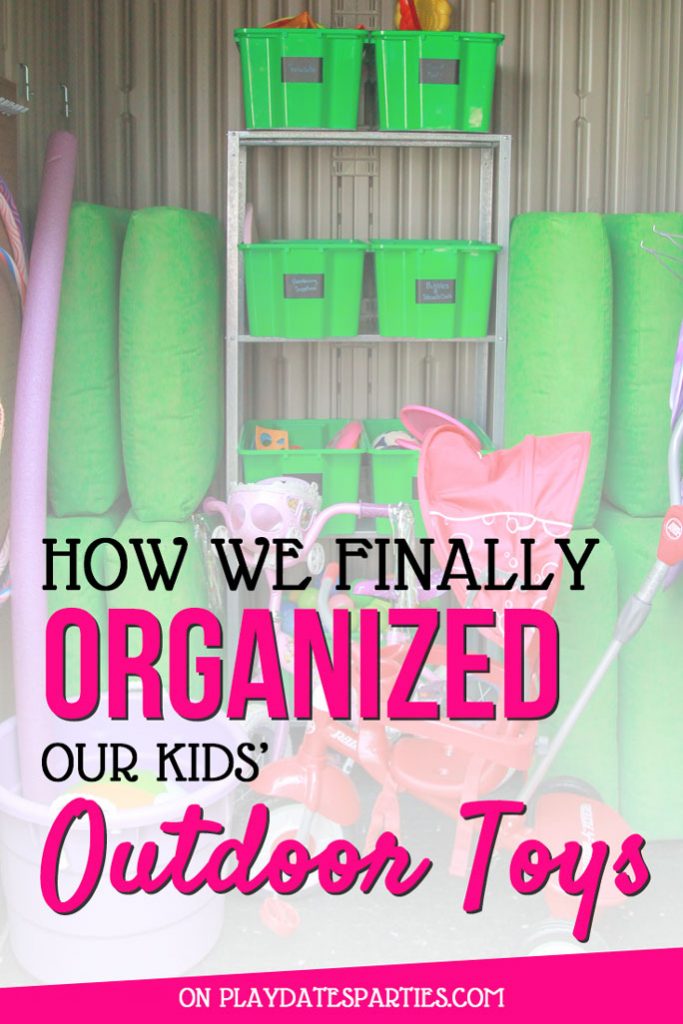
- Figure out a new (and organized) storage solution for the kids’ toys
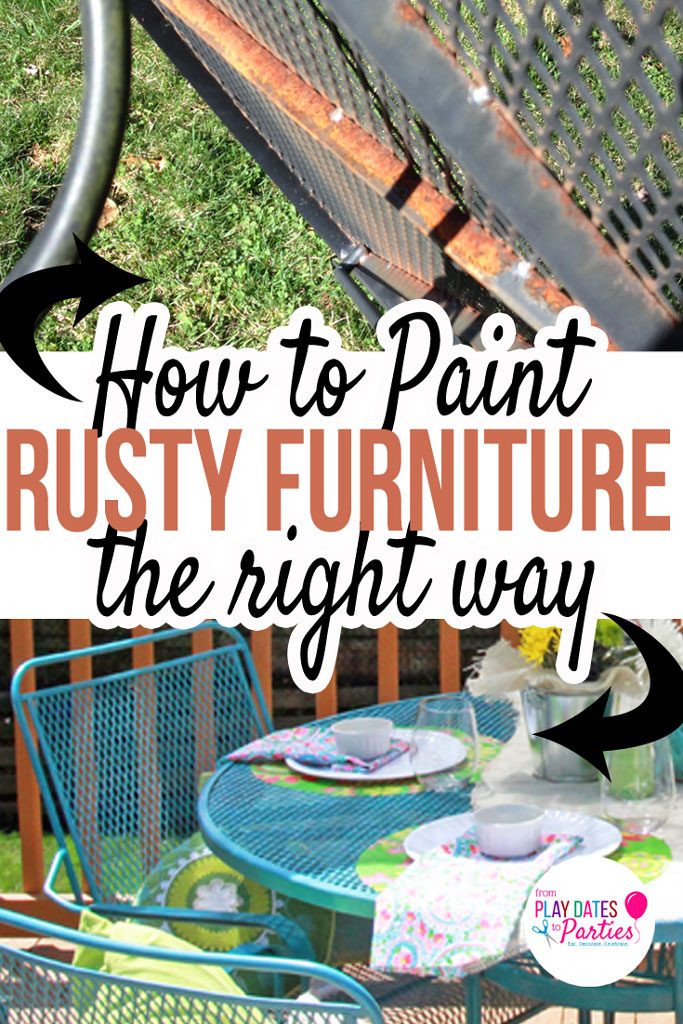
Revitalize or replace the furniture(it’s so awesome!)- Replace the hanging plants
- Figure out a safe way to help repel bugs
- Add new decor and plants around the seating area
Update! All Decked Out
The backyard is finally finished! You can read all the details here, but I thought it would be nice to see the privacy screen with the planters in place, and a few accessories to help us keep our patio garden healthy all summer long.
Don’t forget to head over to the full reveal post to see more pictures of the finished deck patio screen and all the other projects we made along the way!
See the Entire Renovation:

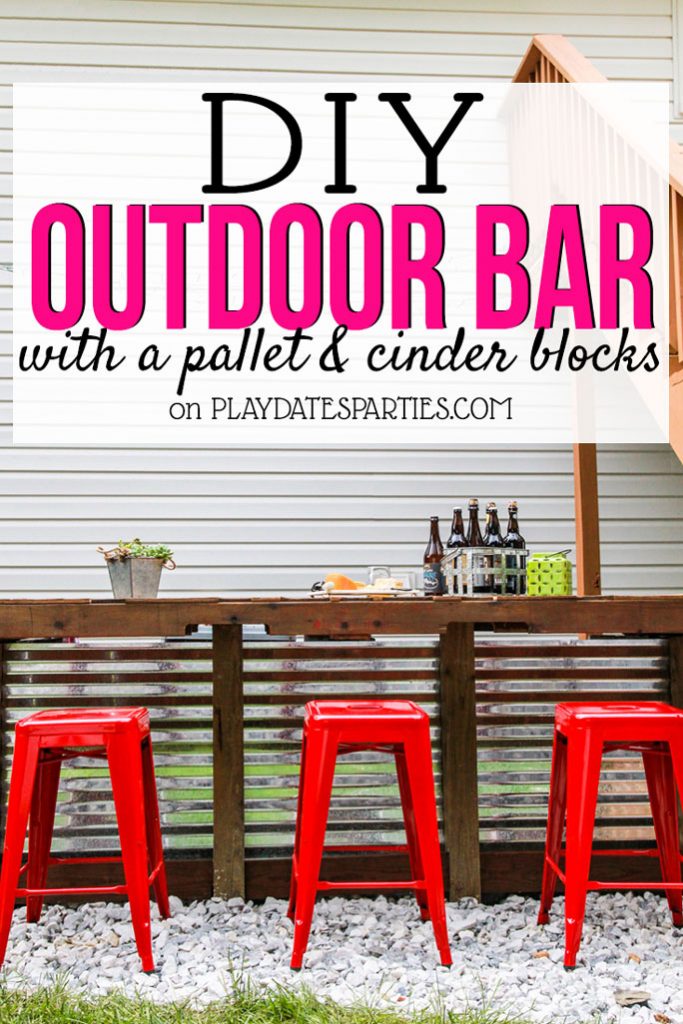
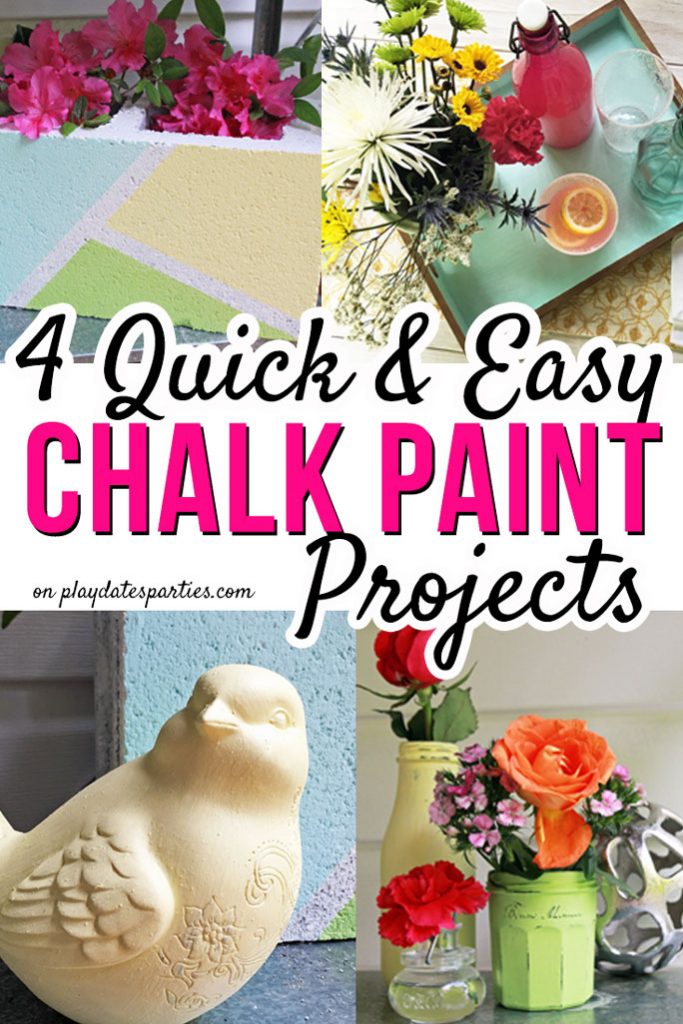
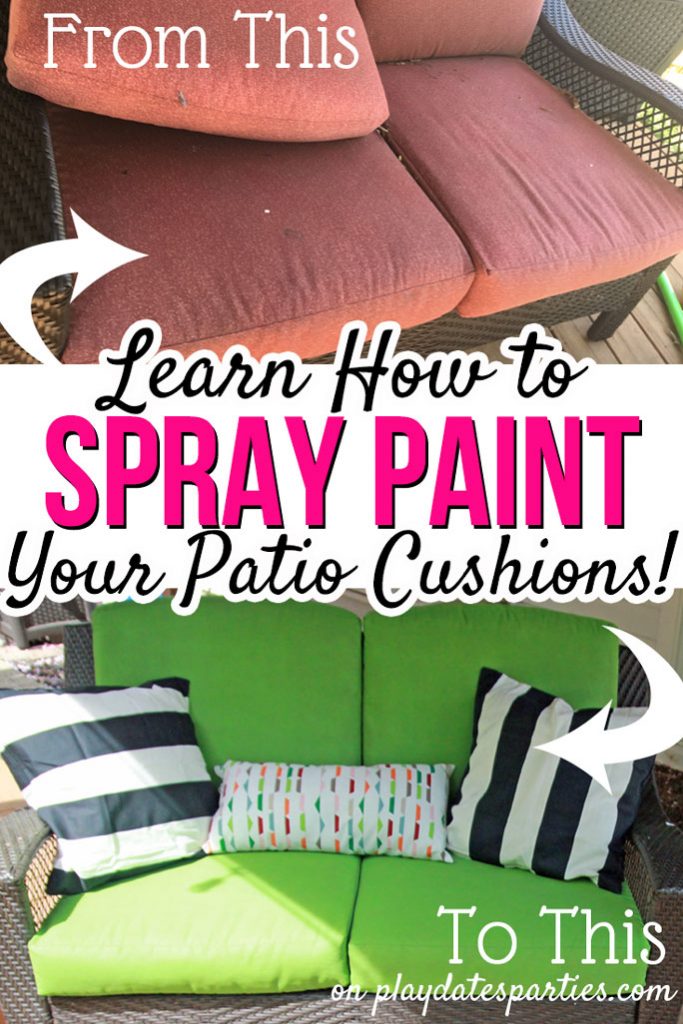
Backyard for Entertaining: Reveal How to Build an Outdoor Bar with a Pallet & Cinder Blocks 4 Quick & Easy Chalk Paint Projects How to Spray Paint Your Patio Cushions Our Extreme Outdoor Toy Organization System How to Make a Privacy Screen with Ikea Sultan Lade Easy DIY Plant Benches How to Paint Rusty Outdoor Furniture How to DIY a Self-Watering Planter Box

I want to extend many thanks to the readers who have enjoyed renovation and home DIY posts over the years. Unfortunately, in January 2018 I was diagnosed with Stage II breast cancer and had to stop doing home renovation posts due to treatment.
Since that time, my focus has been on making this website an amazing resource for the everyday mom’s parties. Due to their popularity, the DIY posts and tutorials will remain on the website, but comments are now closed. Thank you again and I wish you the best in your DIY endeavors!


Tamara says
I can’t believe how quickly you could do it! I’m such an IKEA junkie but I never would have thought of this.
Leslie says
Oh, we’re definitely Ikea junkies too! There are 2 stores each within an hour distance from us, so we get a lot of our furniture there (who wants to spend a lot of money on furniture that kids will likely ruin?) We’re heading back there this weekend, too!
Nina says
This is so creative, Leslie! I wanted privacy screens for our old apartment but it turns out we weren’t allowed to have any above the balcony level!
morgane @ Bear,dolly and Moi says
good job on that privacy fence, with a few plants, it looks like your neighbors will totally disappear….
The photo of your very happy baby is so perfect! It is good to get family approval!
Laura says
This is so much fun to follow your progress! You are well on your way and everything is lovely.
I hope you will share this today at Thoughts of Home on Thursday.
Just stop by my blog to join in.
Enjoyed visiting,
Laura
White Spray Paint
April R - Uncookie Cutter says
This is great, what a unique and fabulous idea! Can’t wait to see more!
Nellie says
This is quite the feat. I highly doubt my DIY level is this high but man it’s so nice to see you do it!! I will just live vicariously through you, you never shock me with your amazing skill!
Cheryl Lawson says
Leslie,
This is EXACTLY what I’ve been looking for for our deck Thank You! Thank You! Thank You! We are already planning a trip to IKEA next Sunday and I can’t wait to get started. Love your blog and appreciate the tutorial so much! ~Cheryl
Pauline Wiles says
What a fun Ikea hack! I love seeing inventive uses like this and I’m sure you’ll get a lot of enjoyment from this project.
Hello from the Hearth & Soul link party!
Teresa says
It turned out great. No one would say that was originally a bed base! Thank you for sharing at The Really Crafty Link Party. Pinned.
Jann Olson says
What a creative idea! Thanks for sharing it with SYC.
hugs,
Jann
Nikki Gwin says
Hi Leslie! I love your privacy screen and especially that you can grow plants on it too. I am featuring it on todays OVER THE MOON LINK PARTY which goes live at 5 pm Central. Please stop by to see all the features and link up again.
🙂 gwingal
Katie@MySweetHomeLife says
Love the privacy screen and I had to go check out the full reveal- what a great job! You have certainly inspired me to get my act together in our backyard.
Lina says
Wow, that’s a great idea! Thanks for sharing at Sew It Cook It Craft It! You’re one of my features tomorrow when the new party starts!