These aren’t your everyday chocolates! Make chocolate pumpkin truffles when you want a fall treat with a kick, thanks to pumpkin spice and gingersnaps.
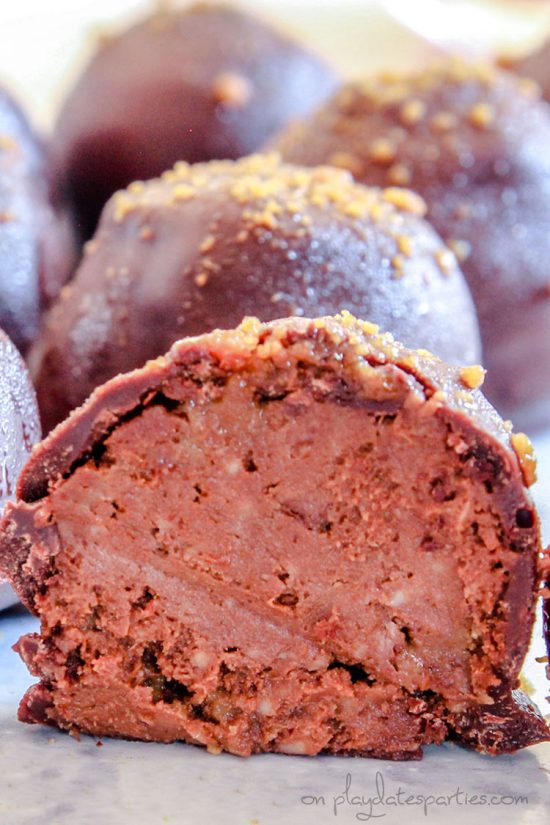
Okay guys, have I got something fun for you today! I first made these chocolate pumpkin truffles back in 2015 and immediately fell in love with the zippy chocolatey treats.
But I will warn you…they’re not for the faint of heart.
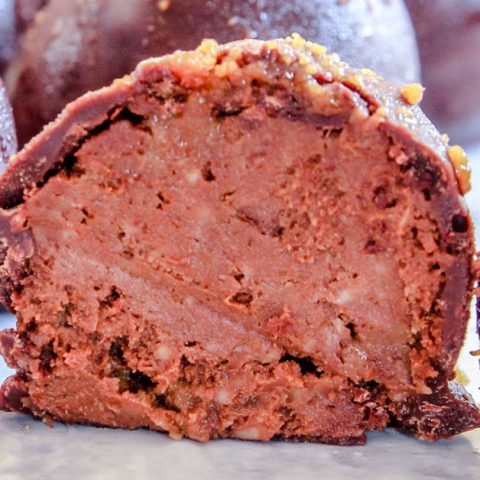
Filled with cinnamon, cloves, and crushed gingersnaps, and then wrapped in a chocolate coated shell, these truffles have a fun kick that most people don’t expect when popping a chocolate treat in their mouth.
No, it’s not a hot chili pepper kind of kick.
It’s a zippy kick you get from plenty of ginger. And it’s fantastic for fall…or Thanksgiving…or why not even keep the fun going for Christmas too?
What You Need to Make Chocolate Pumpkin Truffles:
Ingredients:
- Bittersweet chocolate
- Semisweet chocolate
- Crushed gingersnaps
- Cream cheese, softened
- Canned pumpkin puree (not pumpkin pie filling)
- Powdered sugar
- Orange zest
- Ground cinnamon
- Ground cloves
- Salt
- Crushed gingersnaps and/or
- Finely chopped candied ginger for garnish
Equipment:
- Small Saucepan, approximately 3qt
- Heat-Safe Bowl (to sit on top of the saucepan)
- Parchment paper
- Zester (We love our Microplane)
- Rolling pin or food processor
- Toothpicks
How to Make Chocolate Pumpkin Truffles
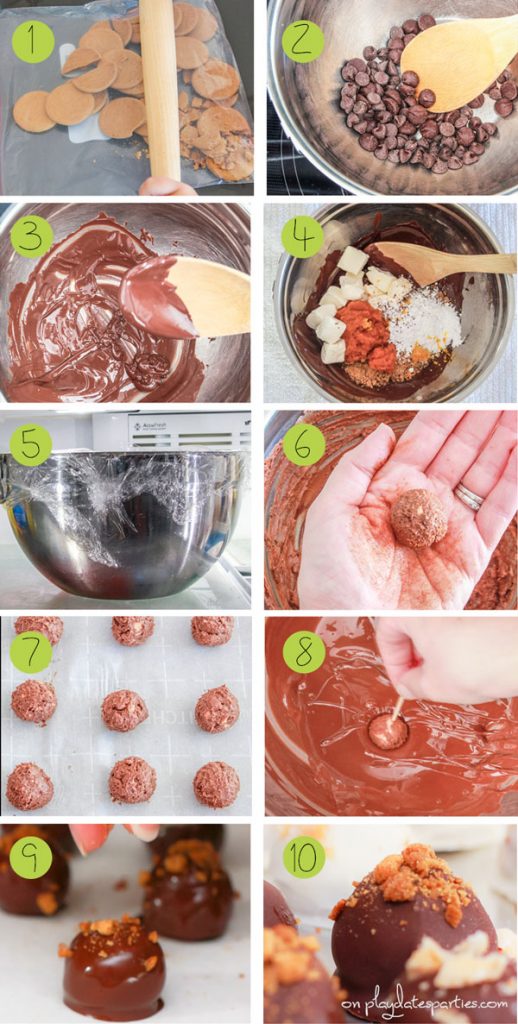
Crush the Gingersnaps
The kids love to get involved by rolling and banging on a gallon size zip-top bag. But you can feel free to use a food processor if you have one.
Don’t forget to save a few of your crumbs for garnish!
Prepare and Chill the Filling
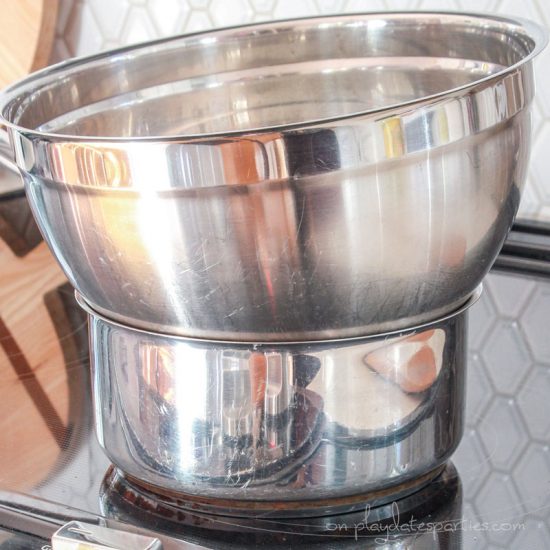
I definitely recommend using a double boiler to melt the chocolate mixture for your chocolate pumpkin truffles.
While you can use a microwave to melt chocolate, you’ll get a more consistent result using a double boiler. (Plus, you can always pop the mixture back on the double boiler for a few seconds if your cream cheese isn’t mixing in properly)
When all the filling ingredients are mixed together, it all gets put in the refrigerator to set.
Roll, Chill and Dip
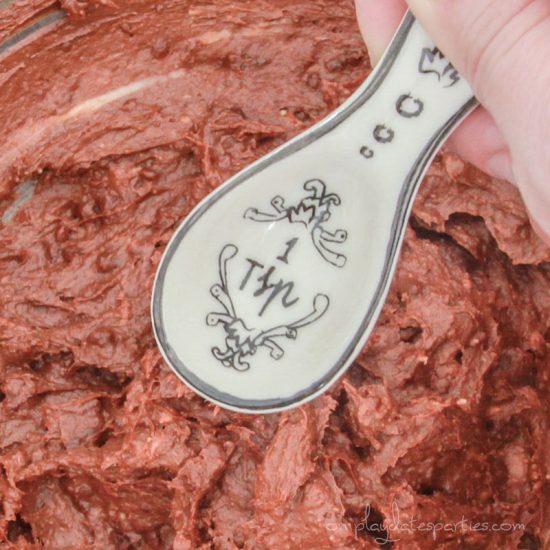
Once the filling is nice and chilled, it’s time to roll your truffle balls! I usually use a 1 teaspoon measure to (try to) keep the sizes nice and consistent.
Then they need to be chilled in the freezer, so you can get a gorgeous chocolate coating on top.
After they’re nice and firm, it’s time to dip them in another batch of melted dark chocolate so you can get the full candy coated goodness. (see below for tips on how to dip your chocolates)
Garnish with a bit of crushed gingersnaps or candied ginger, and you’re good!
Want to avoid spending hours on end preparing food for your party? Click here to download 10 Fast and Easy Party Recipes that don’t take more than 20 minutes of your time to prepare.
Tips and Tricks
So You Don’t Like Spicy Chocolate Pumpkin Truffles?
Okay, I get it. Sometimes you don’t want to be quite so surprised by a chocolate truffle.
If you don’t want all that punchy ginger, then you will probably want to use a mild gingersnap that isn’t spicy. Or you could substitute Biscoff cookies, which would probably be amazing.
Does the filling HAVE to be refrigerated before rolling?
In short, yes. I strongly recommend you refrigerate your filling for at least 1.5 to 2 hours. Otherwise the filling won’t be firm enough to roll into balls for dipping.
How long do pumpkin truffles last?
Ummm…we’ve never had them last long in our house! But in all seriousness, you’ll want to finish them off within a couple weeks.
Note: Because these truffles include cream cheese, they should be refrigerated until you can finish them.
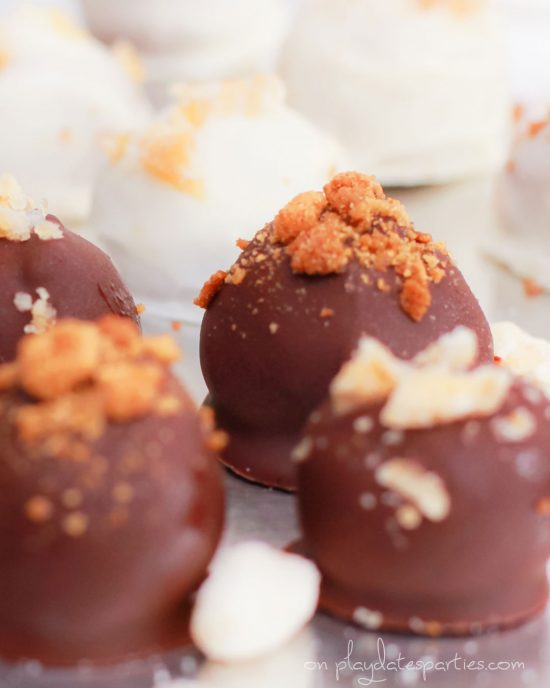
Tips For Dipping Your Chocolate Pumpkin Truffles:
Work In Batches
If possible, keep all the rolled filling balls in the freezer, pulling out no more than 10 at a time to dip.
If your freezer is too small (or too full) to hold a whole tray of truffles, rotate two freezer-safe plates full of truffles, 10 at a time. Just make sure your truffles are frozen for at least 15 minutes before dipping.
Add a little bit of oil
Sometimes a little bit of steam escapes from the double boiler, which can mean disaster for melting chocolate.
Adding a little bit of vegetable oil to your chocolate helps to prevent seizing and promotes a smooth consistency. Be careful not to add to much or your chocolate coating won’t set up properly.
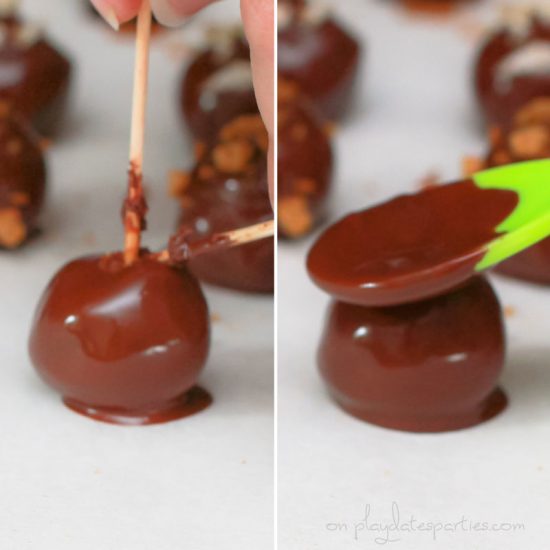
Use Two Toothpicks
Use one toothpick to hold your truffle as you dip, then a second toothpick to help get the truffle off the first one without messing up your chocolate coating.
Baby Spoons are Awesome
…for adding a little bit of chocolate to the inevitable hole that happens from the toothpick.
After you’ve placed your truffle on the parchment, quickly dip the back of a small spoon (I use a baby spoon…it’s the perfect size!) in your dipping chocolate. Then carefully swirl a little bit of that chocolate onto the hole on top of your truffle.
It may take a few attempts, but once you get it, you’ll see how easy it is!
More Creative Pumpkin Recipes to Try:
- Clementine Pumpkins (2 Ways!)
- Pumpkin Pie Bars with Nutella
- Pumpkin Pie Truffles with Cream Cheese and White Chocolate
- Pumpkin Bars with a Gingersnap Crust
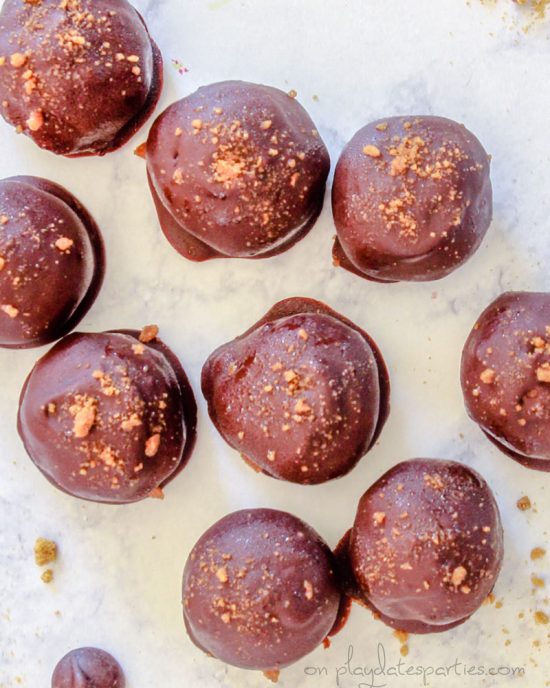
Chocolate Pumpkin Truffles with a Kick!
These aren’t your everyday chocolates! Make chocolate pumpkin truffles when you want a fall treat with a kick, thanks to pumpkin spice and gingersnaps.
Ingredients
- 4 ounces bittersweet chocolate
- 6 ounces semisweet chocolate
- 1/2 C crushed gingersnaps
- 1 3- oz package cream cheese, softened
- 1/3 C canned pumpkin
- 1 T powdered sugar
- 1/2 tsp orange zest
- 1/8 tsp ground cinnamon
- Dash of ground cloves
- Dash of salt
- Crushed gingersnaps and/or finely chopped candied ginger for garnish
Instructions
Prepare the Filling
- Crush gingersnaps in a food processor or in a zip-top bag with a rolling pin.
- Combine bittersweet and semisweet chocolate in a small bowl. Separate 1/2 cup for the filling and set the remaining chocolate aside for the shell.
- Set a metal or heat-safe glass bowl over a double boiler in a small saucepan. Place the ½ cup of chocolate mixture in the bowl and heat until melted and smooth, stirring frequently.
- When chocolate is smooth, remove from heat and stir in ½ cup of crushed gingersnaps, cream cheese, pumpkin, powdered sugar, orange peel, cinnamon, cloves, and salt.
- Cover and chill until firm, about 1.5 to 2 hours.
Roll into Balls
- When mixture is firm, roll into small balls, using about 1 rounded teaspoon for each truffle.
- Place the rolled pumpkin balls onto a freezer-safe tray or plate covered with parchment paper. Freeze for 15 minutes.
Add the Chocolate Coating
- While the balls firm in the freezer, line a fresh baking sheet with parchment paper and set aside.
- Using a double boiler cook and stir the remaining chocolate over medium-low heat until melted and smooth.
- Working in batches, use a toothpick to dip frozen balls, one at a time, into the melted chocolate.
- Place each truffle ball onto the prepared baking sheet and place on the prepared baking sheet. Garnish with crushed gingersnaps or chopped candied ginger. Return to refrigerator to firm for at least an hour before serving.
Nutrition Information:
Yield:
30Serving Size:
1 gramsAmount Per Serving: Unsaturated Fat: 0g
Inspired by BHG
Now It’s Your Turn
Don’t be fooled by all the steps in this recipe, these zesty chocolate pumpkin truffles are an awesome change of pace from your typical fall and Thanksgiving desserts!
Are you up for these spicy chocolate pumpkin truffles?





Candice says
Just found the perfect thing to make for holiday gifts. Love pumpkin anything, but pumkin truffles are other level and I know my friends will enjoy getting a batch of these homemade truffles this year!
Emese says
I love the gingersnap idea. Thanks for the step photos. It seems so easy. I am adding it to my must-have list.
Neha says
So creamy and rich these truffles look! I am loving the idea of crushed gingersnaps here. Can’t wait to try them out.
Tisha says
What a delicious fall treat! Be great for a party or large get together!
Sarah Mitchell says
These look amazing! That was very good advice about the vegetable oil for melting the candy chocolate. When I made cake pops for the first time I ended up with a giant mess because I couldn’t get the candy to melt to smooth consistency.