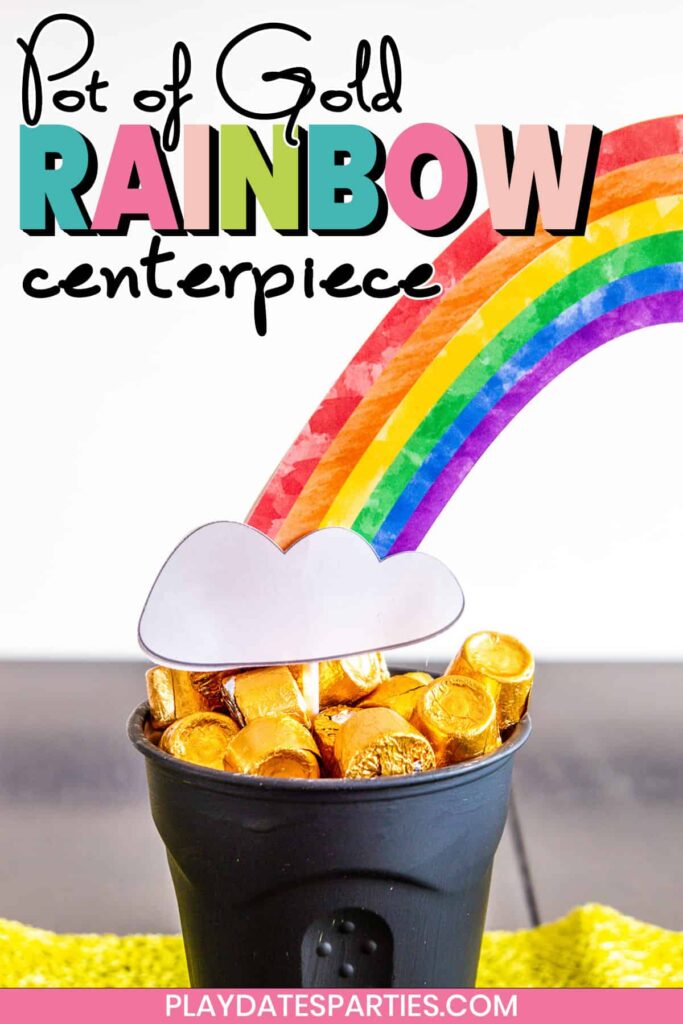
This pot of gold rainbow centerpiece is the perfect addition to your St. Patrick’s Day decorations. Grab your free download and make yours today!
“Well, at least I have the leftovers for another party”
I can’t tell you how many times I fell into the trap of thinking that was okay. And every time I hear someone say it to me, I’m cringing on the inside.
Now, I’m no Marie Kondo. Actually, compared to her I’m practically a hoarder. (Aren’t most crafters?)
But we have five people in our family, crammed into roughly 1,800 square feet of living space. Less than that if you exclude my husband’s office.
That doesn’t leave much room for leftover craft and party supplies.
Pot of Gold Rainbow Centerpiece
Which is why I love crafts like this adorable pot of gold rainbow centerpiece.
In fact, I bet you already have most of the supplies in your house. And if you don’t, they’re easy and inexpensive to find.
Simple Print and cut Cricut Pattern:
First up, no you don’t need a Cricut for this project. A sharp pair of scissors will work well, too.
But, since my husband generously gave me a Cricut Maker for Christmas a couple years ago, I’ve been learning everything I can to make my own projects.
And that’s why I designed this pot of gold rainbow centerpiece pattern to work as a Print and Cut project in Cricut Design Space.
If you have a Cricut and want to use it to make your pot of gold rainbow centerpiece, you’ll need to first convert the file from a PDF to a PNG.
You can see the whole process, with video instructions right here. (Don’t worry, it’s pretty simple.)
Once that’s done, you just need to follow the Design Space print and cut directions

One More Quick Note
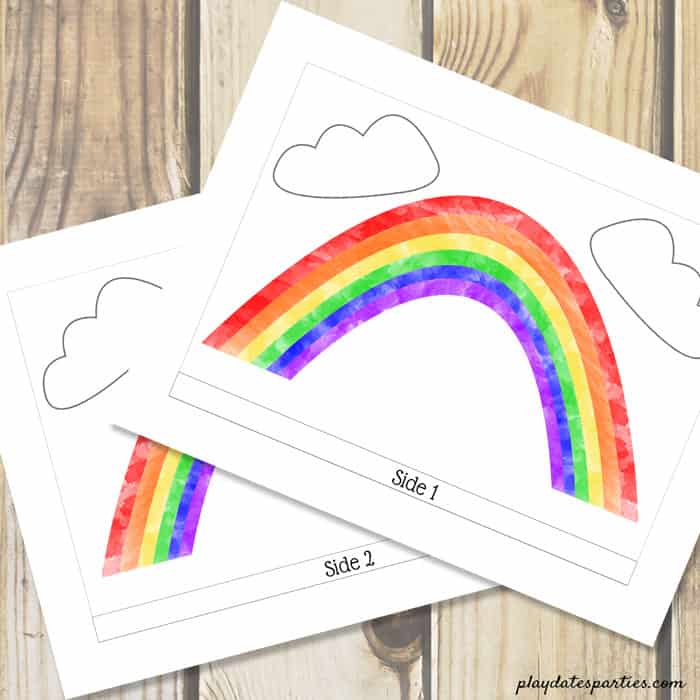
The rainbow itself is completely custom designed, and as a result, it’s not entirely symmetrical. That’s why the download includes a page marked “Side 1” and a page marked “Side 2.”
It doesn’t really matter which side is the front or back. They’re just labeled that way so you can keep track of everything. But please remember that the rainbow won’t line up if you try to print two copies of the same side.
The clouds in the pattern are all identical. Go ahead and mix and match them to your heart’s content. 😊
Now that we have all of that out of the way…let’s get to the fun part!
What You’ll Need
- This printable rainbow and clouds pattern
- Bright white card stock or matte photo paper
- 4 inch lollipop sticks
- Plastic party cups* (I used 18 ounce Solo cups)
- Hot glue gun
- Yellow or gold tissue paper
Optional:
- Black paint
- Foam Paintbrushes
- Wax Paper
- Gold wrapped candy (I used Rolos)
* I already had paint and green party cups on hand, so I chose to paint my cups. But if you don’t want to do that, you can find black party cups right here!
Watch the video tutorial here on YouTube
More Fun Printables and Projects
- Rainbow Cupcake Toppers
- Free Printable St. Patrick’s Day Coloring Pages
- Free Printable St. Patrick’s Day Sign
- Fun & Easy St. Patrick’s Day Party Ideas
How to Make a Pot of Gold Rainbow Centerpiece
This pot of gold rainbow centerpiece is the perfect addition to your St. Patrick's Day decorations. Grab your free download and make yours today!
Materials
- Printable Rainbow and Clouds Pattern
- Bright white card stock or matte photo paper
- 4 inch lollipop sticks
- Plastic party cups* (I used 18 ounce Solo cups)
- Yellow or gold tissue paper
- Black paint
- Gold wrapped candy (I used Rolos)
Tools
- Hot Glue Gun
- Foam Paint Brushes
- Wax Paper
Instructions
Prep Your Materials
- Print out the rainbow pattern on a color printer using the best quality settings you can on bright white card stock or matte photo paper.

- Cut out the rainbow pattern with sharp scissors or with a cutting machine such as a cricket.
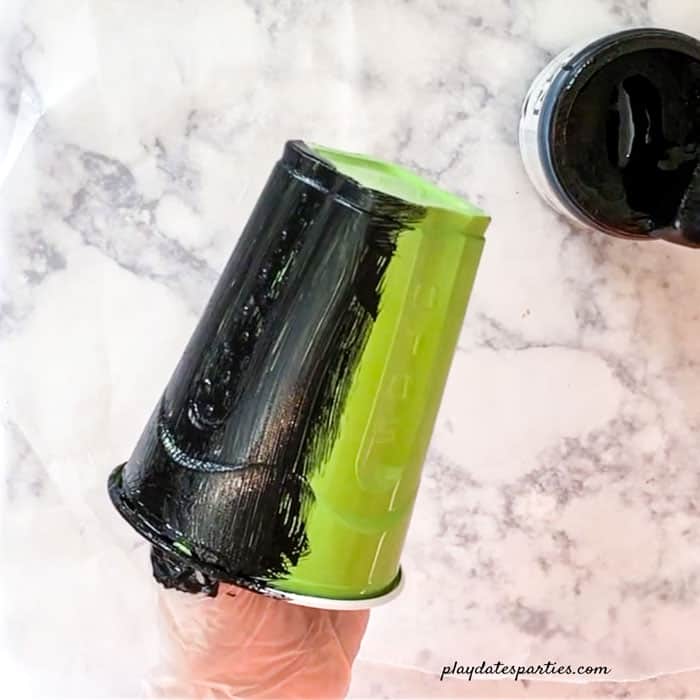
- If you are painting your party cups, prepare a surface with wax paper. This will help prevent any pain to the area from sticking to your surface.
- Using a black foam brush paint your party cups black. Note: I found that I needed three full coats of paint to get good coverage.
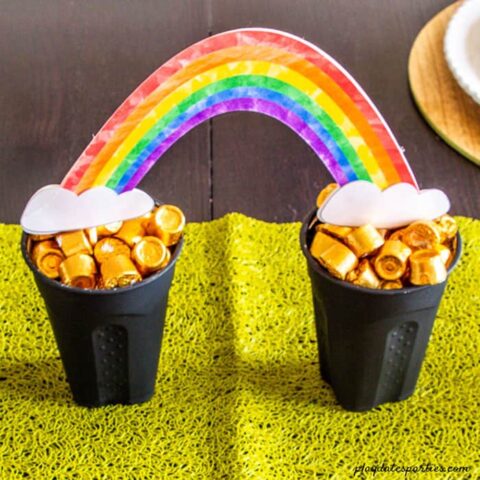
Assemble the Rainbow
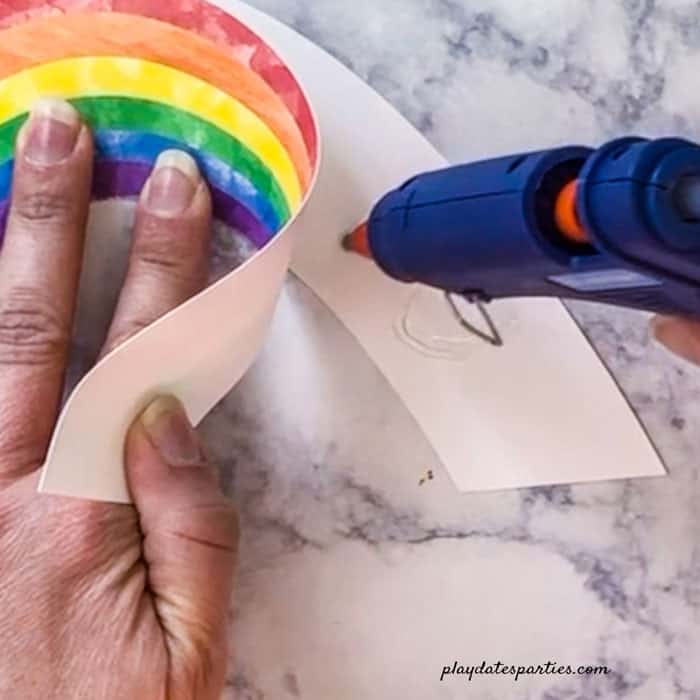
- Lay the side 2 rainbow pattern print side down on a flat surface. Place the side 1 pattern print side up on top of the other piece and make sure everything is aligned properly.
- Using a hot glue gun, glue together the two rainbows, leaving at least 1.5 to 2 inches at each end of the rainbow for the lollipop sticks.
- At one end of the rainbow, hot glue a cloud cutout to the outside of the side 2 print.
- Next, use hot glue to attach a popsicle stick between the ends of the rainbow and onto the bottom half of the cloud
- Align the top cloud image on top of the popsicle stick and glue to the cloud underneath.
- Repeat steps 3-5 on the other end of the rainbow.

Pull it All Together:
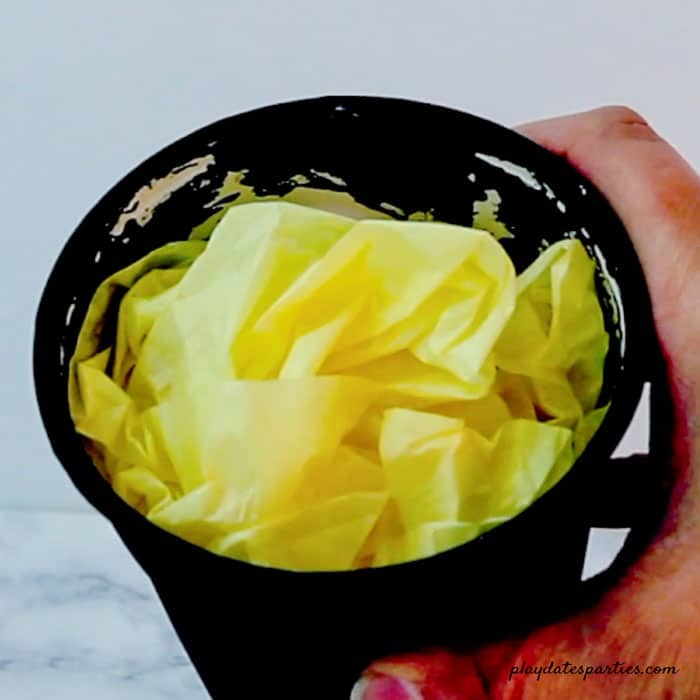
- Stuff a sheet of yellow or gold tissue paper into each black cup. If you have a lot of gold wrapped candy, then you can make the tissue more compact. If you don’t want to use a lot of candy, fluff the tissue paper up.
- Place some gold candy on top of the tissue paper and then insert the lollipop stick into the center of the cup. Adjust as necessary.

Notes
I already had paint and green party cups on hand, so I chose to paint my cups. But if you don’t want to do that, you can find black party cups right here!
Grab Your Free Printable Rainbow Centerpiece Right Here
Ready to get decorating? This printable Rainbow and Clouds pattern is free for newsletter subscribers. All you need to do is add your name and email to the opt-in box below to get the file sent directly to your inbox.
Don’t want to subscribe? No problem. You can also find these and all my St. Patrick’s Day printables here in my shop for a small price.

This post was originally published on February 19, 2021. It has been updated with a printable tutorial card and an opt-in form directly on the page.


JC's Loft says
Happy St. Patrick's Day to you to : )
Paula
Lili says
happy st pattys day, friend!