These Easter egg mason jars are super cute…and a fun craft to make with your kids. Find out how to make them, and all the different ways they can be used!
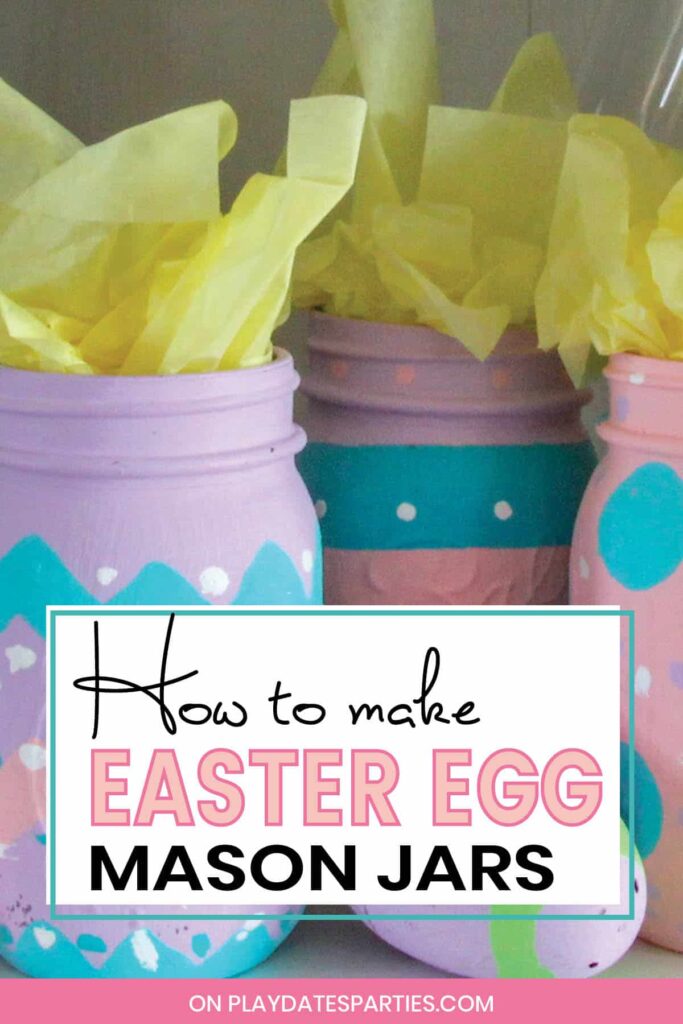
Aren’t these Easter Egg Mason Jars adorable? Originally posted by Mason Jar Crafts Love, it’s no wonder that they’re one of the top results on Pinterest for Easter crafts.
But is this seasonal paint project worth your time?
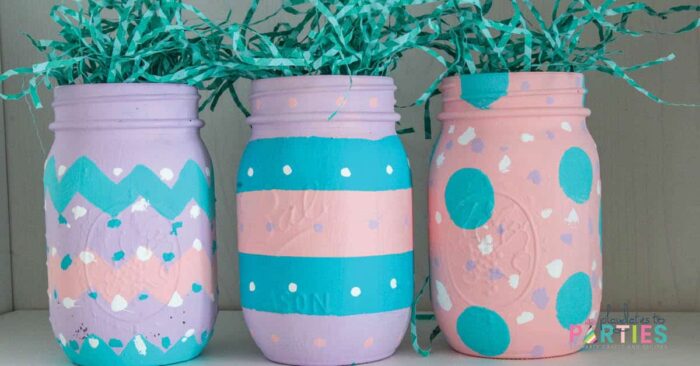
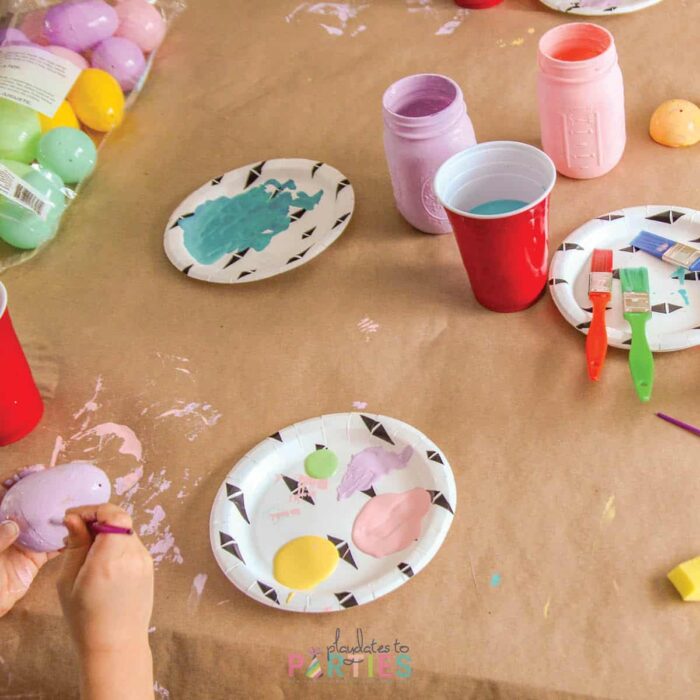
That’s just what my kids and I set to find out when we worked together to make three of our own Easter egg mason jars.
Can you guess which one is mine?
What I Changed:
The original tutorial left out some details, most notably:
- what type of paint to use, and
- whether or not to prep the jars before painting.
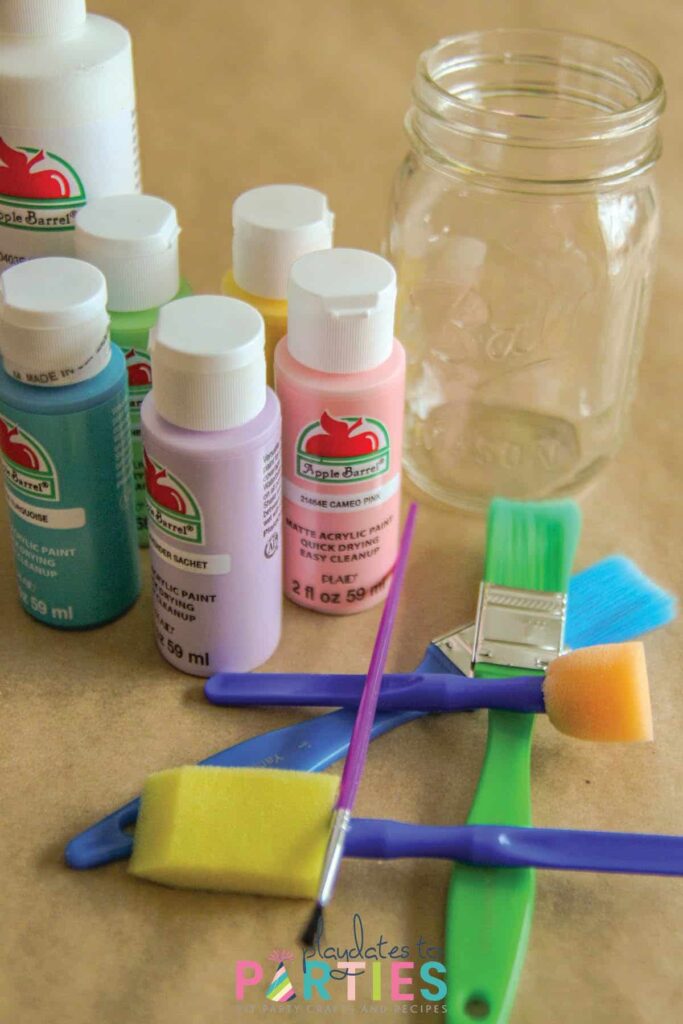
So, I just bought cheap acrylic paint and didn’t do anything to prepare the jars.
2020 Update: Two years since we made the jars and they still look great! Don’t you just love it when you can skip extra steps and expensive products? 😊
How to Use Your Finished Jars:
As you see, we just used them for basic decor pieces, but there are plenty of ways you could show off your handywork:
- Use them to hold napkins or utensils on an Easter buffet
- Display them as centerpieces on your Easter table
- Use them in the bathroom to hold toothbrushes
- Put them on a mantel with a spring flower bouquet. (White daisies would be adorable in them!)
Important Note: Please do not use painted jars for any food application. Most paint is not food safe. Even then, food safe paint typically requires special handling.
Easter Bunny Approved!
Get your Easter hopping along with a sweet selection of printable goodies – including printable games, tags and bag toppers, party decorations, and art prints all designed to to make this Easter more colorful than ever. Check it all out right here.
How Long Did It Take to Make Easter Egg Mason Jars with My Kids?
- Active Time: 55 minutes
- Total Time: 3-7 days
*Sigh* Perhaps I’m just not patient enough. But even though the active time to make this project wasn’t all that long, it took about a week for us to actually finish them.
And since we don’t have a dedicated crafting space right now, that means we were setting up and taking down drop cloths and paint supplies on three separate occasions.
Reusability:
As long as you don’t keep them in extreme hot or cold temperatures, the mason jars should store quite well, which means you can use them year after year.
More Easter Crafts and Projects:
- DIY Felt Easter Egg Busy Board for Kids
- 50+ Totally Awesome (and Free!) Easter Printables
- 13 Adorable Easter Crafts for Kids
- How to Make Marbled Easter Eggs
- How to Make a 3D Jelly Bean Ribbon Trim
What You’ll Need:
- 3 standard size mason jars
- Acrylic Paint in at least three of your favorite Easter colors
- Washi or painter’s tape
- Paint Brushes
- Round foam brushes
- Fine grit sand paper
- Art smocks for kids (if your kids are helping)
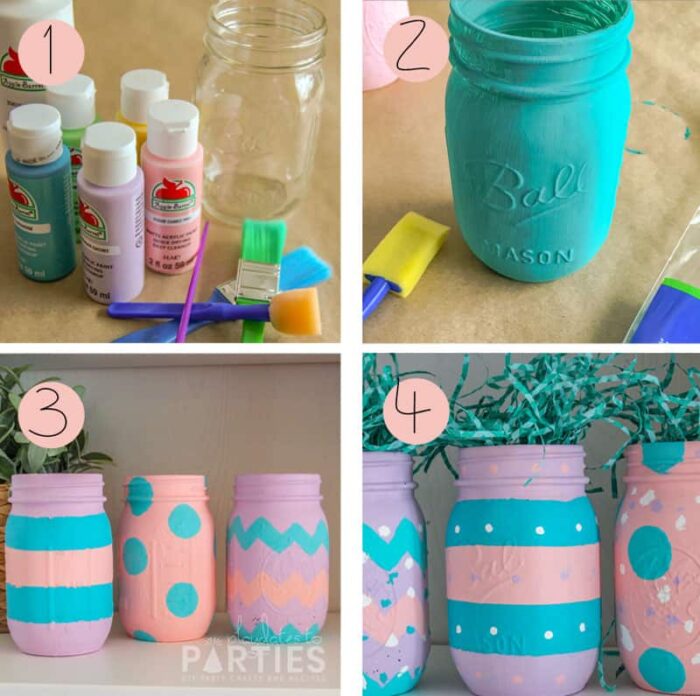
How to Make Easter Egg Mason Jars
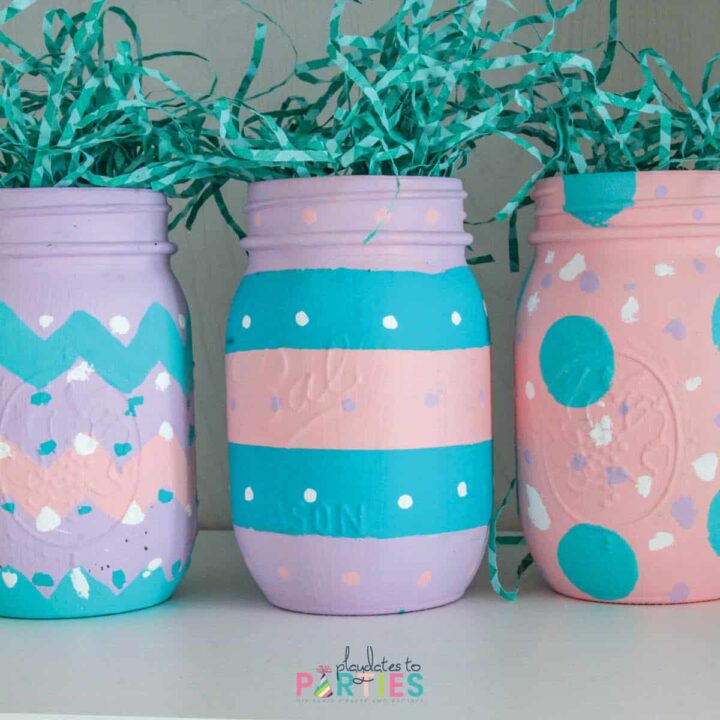
These Easter egg mason jars are super cute...and a fun craft to make with your kids. Find out how to make them, and all the different ways they can be used!
Materials
Tools
- Sandpaper
Instructions
For the Striped and Zig-Zag Easter Egg Mason Jars:
- Apply two coats of your base paint color, allowing the first coat to dry completely between coats.
- Allow the second coat to dry for a full 24 hours, and then use painter's tape (or washi tape) to tape off your stripes or zig-zags.
- Add a contrasting paint color between your taped areas, and allow to dry for another 24 hours.
- After the paint is dry, remove the tape. You may have some areas where the tape pulled off some paint. Use a small paint brush to touch up the paint that bled, or was pulled off by the tape.
- Give the paint another 24 hours to dry.
- Using a small-to-medium tipped paint brush, add small dots in and around your first patterns.
- Allow to dry again for another 24 hours and then lightly distress with fine grit sandpaper.
For Polka Dot Easter Egg Mason Jars:
- Apply two coats of your base paint color, allowing the first coat to dry completely between coats.
- Allow the second coat to dry for a full 24 hours, and then use a foam round brush to add large dots to your jar. Allow to dry for another 24 hours.
- Using a small-to-medium tipped paint brush, add small dots in and around your large dots.
- Allow to dry again for another 24 hours and then lightly distress with fine grit sandpaper.
Now, It’s Your Turn
I love the way these jars turned out, but I’m not sure I’ll be making a second set. Thank goodness we can store them and use them over and over again! If you have a dedicated craft space and plenty of time, try out this Easter egg mason jar craft with your kids, too!
If you love the look, but don’t want to spend so much time on a craft project, Mason Jar Crafts Love sells them in her Etsy shop too!
Do you think it’s worth your time to make a craft like this?
How would you use these mason jar Easter eggs?


Sherry Legan says
Love this looks so fun!. I do hope you’ll come back to the Fabulous Party and link.
I am sorry I did not get the link up on Sunday. But the party has started now over:
https://ourholidayjourney.blogspot.com/2018/02/the-better-late-than-never-fabulous.html
Come and party with us!
esse says
It looks lovable and funny !! thank you for the post !! I loved it!!
Victoria @DazzleWhileFrazzled says
Would look cute with a bunch of these egg mason jars as a tablescape. Great craft for kids as well. Visiting from Nifty Thrifty Sundays.
Mother of 3 says
Those are absolutely adorable! I have a case of mason jars and have been thinking of different ways we could paint the or decorate them. Pinned.
Andrea says
My mom would really love this. She loves decorating for any holiday
Bron @fourtoadoreblog says
These are SO cute! I absolutely love these. The pastels really pop on the glass!
Dear mummy blog says
Would make a great up cycling project. They turned out really well! Love the pastel colours you used x #FamilyFunLinky x
Donna says
I love all of the colours here! Easter is a fantastic time for crafting! #FamilyFunLinky
Karen says
There is always time for a fun craft like this. They are adorable and love the use for putting the daffodils in! Thank you for linking up to the #familyfunlinky
Kreanimo says
I love the colors!
We don’t have those jars here in Belgium! So sad about that, there are so many fun projects to do with them.
I should go looking for an alternative
Sara @ Magical Mama Blog says
Love these! Can’t wait til my little one gets a bit older for some fun crafts like this! Thanks for sharing!
#DIDI
Clare @ Budget Mums says
These are so cute! I’d just put them out as Easter decor or maybe fill them with chocolate eggs, the tiny ones that come wrapped in foil so the paint isn’t an issue. 🙂
Julie @ Back To My Southern Roots says
Such a cute idea!
Teresa says
This looks like a great craft idea for the kids. Thank you for sharing at The Really Crafty Link Party. Pinned!
Milena | Craft Beering says
A great pre-Easter project for littles! I would gladly part take myself. Thank you for posting:)
Catie says
They look great! I think I’d struggle to wait for them to dry and would ruin them. Maybe chalk paint would be a good alternative? #familyfun
Marie Moody says
I remember when my kids were little and how Easter was the time of family & getting together and making dreams come true. Everyone would make up what ever they wanted with the art stuff that was on the table and stuff that wasn’t art stuff. My kids sure had a wild imagination. bwahahahaha HAPPY EASTER & THANKS FOR SHARING! HUGS
Amanda says
I love this idea! Not only is it simple to create, it is also useful and looks like a lot of fun. We’ll take any excuse to get down our bucket of paints.
Jess says
These honestly are just so cute!
I would love for you to share this with my Facebook Group for recipes, crafts, tips, and tricks: https://www.facebook.com/groups/pluckyrecipescraftstips/
Thanks for joining Cooking and Crafting with J & J!
Tiffany says
Great blog! This is such a cute idea. Eastern Sunday is coming next month! Thanks for sharing ♥️ ♥️ By any chance you are interested on doing collaborations, you can connect with amazing brands through the influencer directory of Phlanx.com!
Xoxo,
Tiffany
Roseann Hampton says
These turned out really cute! Great detailed directions! Thanks for linking up with us at The Blogger’s Pit Stop! Roseann from This Autoimmune Life
Marilyn Lesniak says
Congratulations! Your post was my feature pick at #OverTheMoon this week. Each Hostess displays their own features so be sure to visit me on Sunday evening and to see your feature! I invite you to leave more links to be shared and commented upon. Please don’t forget to add your link numbers or post title so we can be sure to visit!
Sheri says
Cute! Love this idea. Thanks for sharing at the To Grandma’s House We Go DIY, crafts, recipes and more link party. Hope to see you next week!
Kathryn Griffin says
These are so pretty! Thank you for sharing. You are one of the features at the Make it Pretty Monday party at The Dedicated House. Here is the link to this week’s bash: https://www.thededicatedhouse.com/make-pretty-monday-week-245/ Have a gorgeous week ahead! Toodles, Kathryn @TheDedicatedHouse
The Pramshed says
Wow these look amazing! Although if I let my toddler name and paint these they would look nothing like yours. Thanks for linking up at #fortheloveofBLOG. Claire x
Janine Huldie says
You know I love mason jars for all sorts of DIY projects. And yours so perfect for Easter and/or spring time. Totally pinned and will be trying now here. Thanks!! 🙂
Echo says
These would look so cute on my mantle! Great DIY!