Get all the tips and tricks to make your first DIY balloon arch; including frequently asked questions and a step by step tutorial.
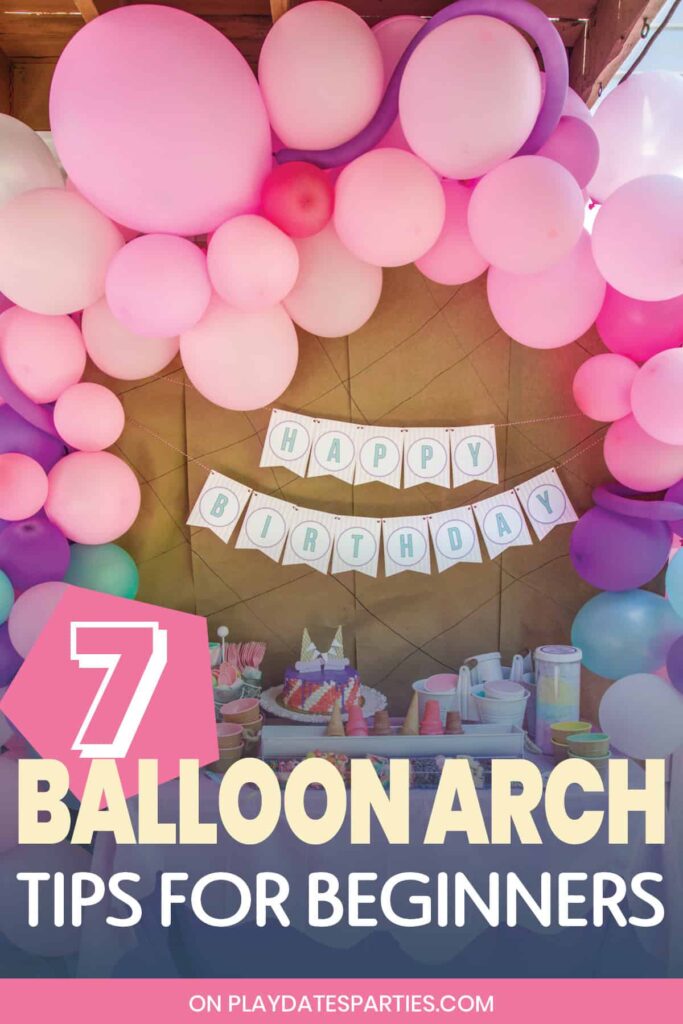
When you’re a first-timer, the idea of making a balloon arch can seem pretty daunting.
There are so many questions to ask. Which method is best? How many balloons? How far in advance can they be put up? And on and on.
At least, that’s how I felt when I tried my hand at my very first balloon arch for my daughter’s ice cream party blowout.
As a rookie, I looked through all the tips and tricks I could find, and put them to the test. And now I’m compiling everything I learned here for you, so you don’t have to spend as much time preparing as I did.
Balloon Arch FAQs:
What is the best backdrop frame to use?
I used my DIY backdrop frame for this arch. It was definitely sturdy enough to handle the job, which was awesome. (I’ve also got this store-bought backdrop frame that I can’t wait to test out…we just need an opportunity to do it)
If you don’t want to use a stand for a balloon arch, you can also use command strips attached to a wall. Just make sure they’re sturdy enough to handle some jostling as you’re putting the arch together.
What size balloons do you need?
You’ll want a variety of balloon sizes to make it look more interesting – with your largest balloons around 8-10 inches. I definitely noticed that balloons much bigger than that were difficult to fit between other balloons and were also more prone to popping out of the balloon tape.
How many balloons do you need?
This is dependent on several factors:
- How big you make your balloons,
- How long your balloon arch will be,
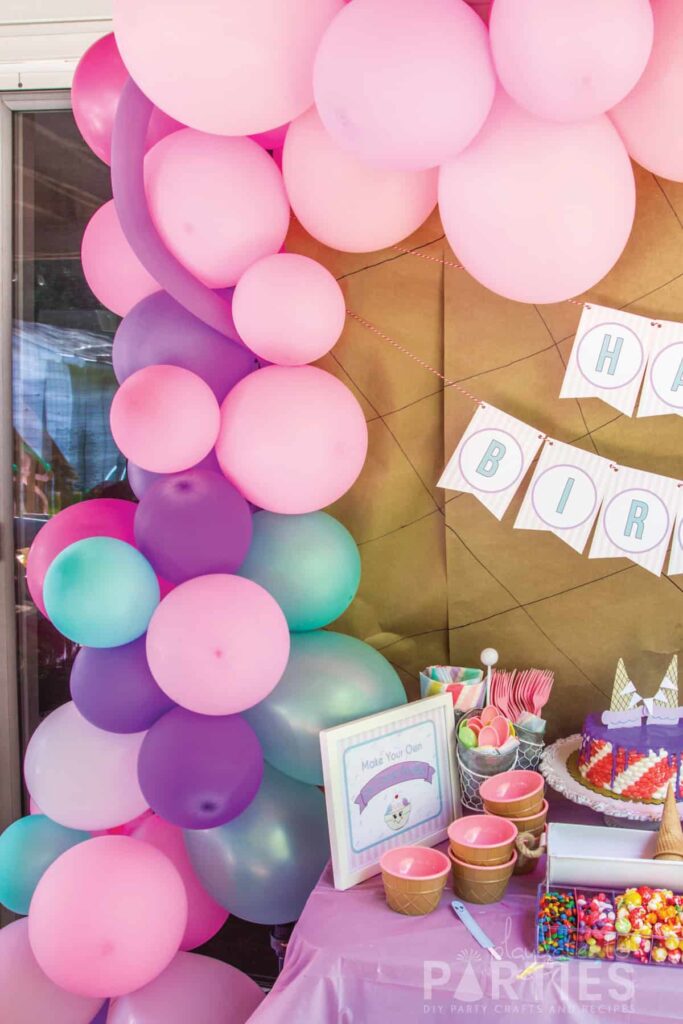
For the arch you see in this post, I blew up over 80 balloons, and used about 70 of them.
Can I make a balloon arch the night before?
If your balloon arch is indoors, then go for it. However, if it will be set up outside, I recommend waiting until the day of the event to set up. (see below)
How long do balloon arches last?
I’ve been at events where balloon arches were set up and stayed looking fantastic for up to four days, and have heard reports from other party planners that they can last up to a month. 😲 The trick is to use high quality balloons, keep them out of sunlight, and in controlled temperatures.
That said, I took photos of our balloon arch for three days following the party. Here’s what it looked like:
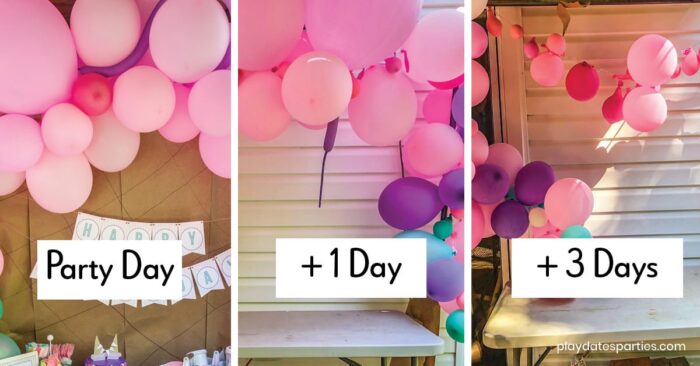
I thought our balloons were decent quality, but I guess not. And it definitely wasn’t out of the suns rays or summer heat. 🤣
Can I reuse the balloon arch tape?
Yes, and no. Once you’ve used the tape, the openings stretch out and they don’t hold the balloons as well. That said, I cut a short section of the strip from this DIY balloon arch and used it for a small balloon garland the very next weekend.
Tips & Tricks:
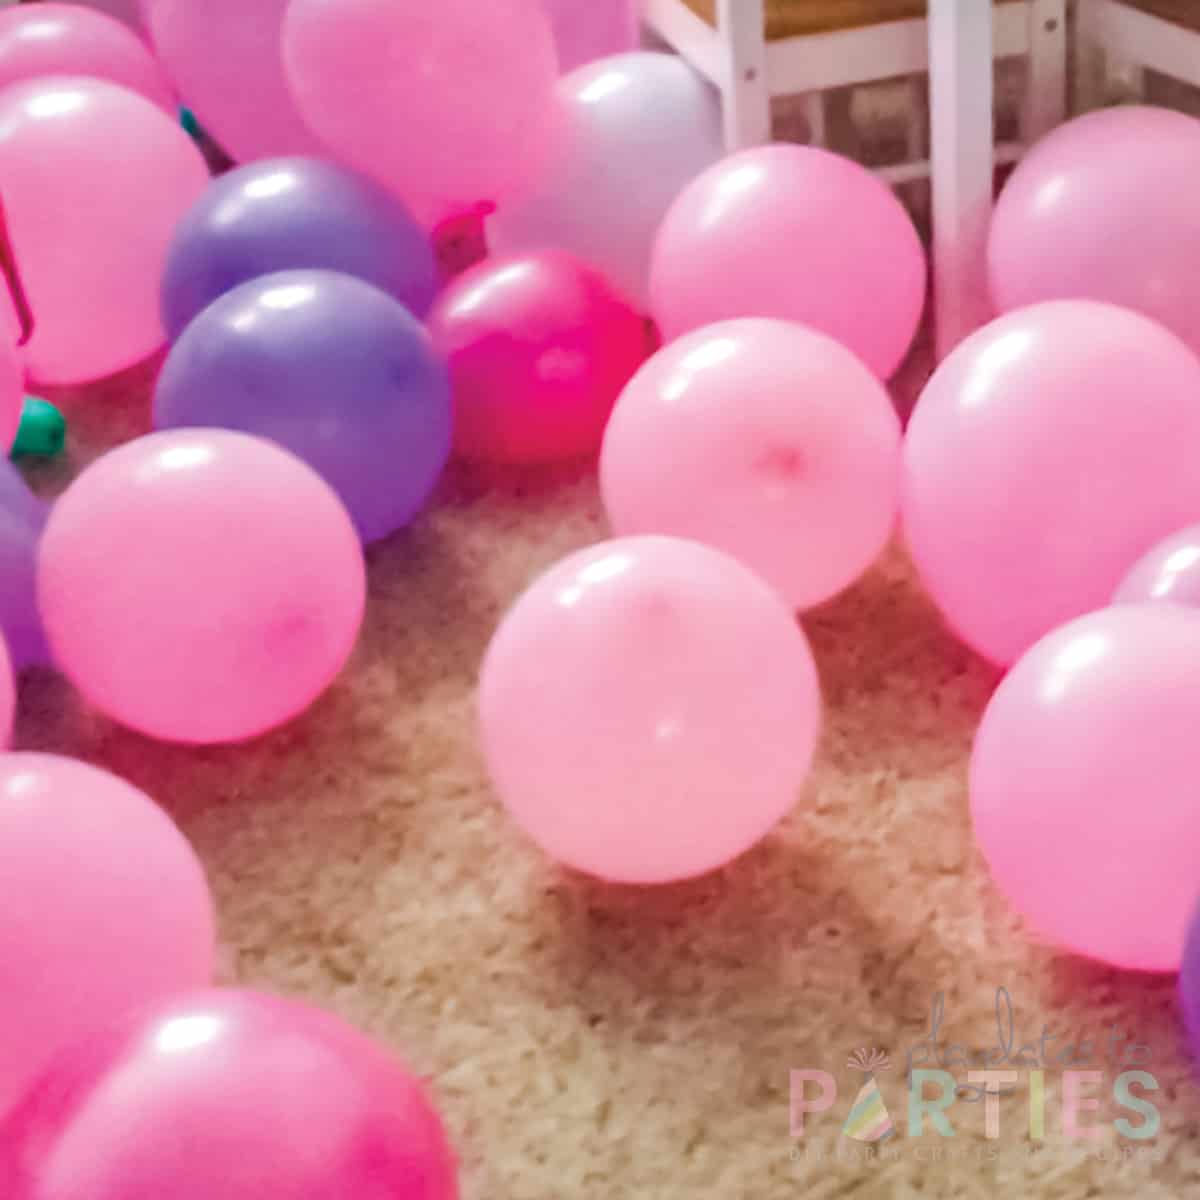
- Using trash bags to hold inflated balloons didn’t work for us. Perhaps the balloons were inflated too large, but not many balloons would fit in each bag. So it just became easier to let them float around the room for a night.
- Alternate the side of the strip where you place the balloons. For example, put one balloon facing out from the strip and the next balloon facing the opposite direction
- The glue dots began to fail after a couple hours. It could have been due to the heat and humidity, but I hear a cool glue gun or double sided tape works too.
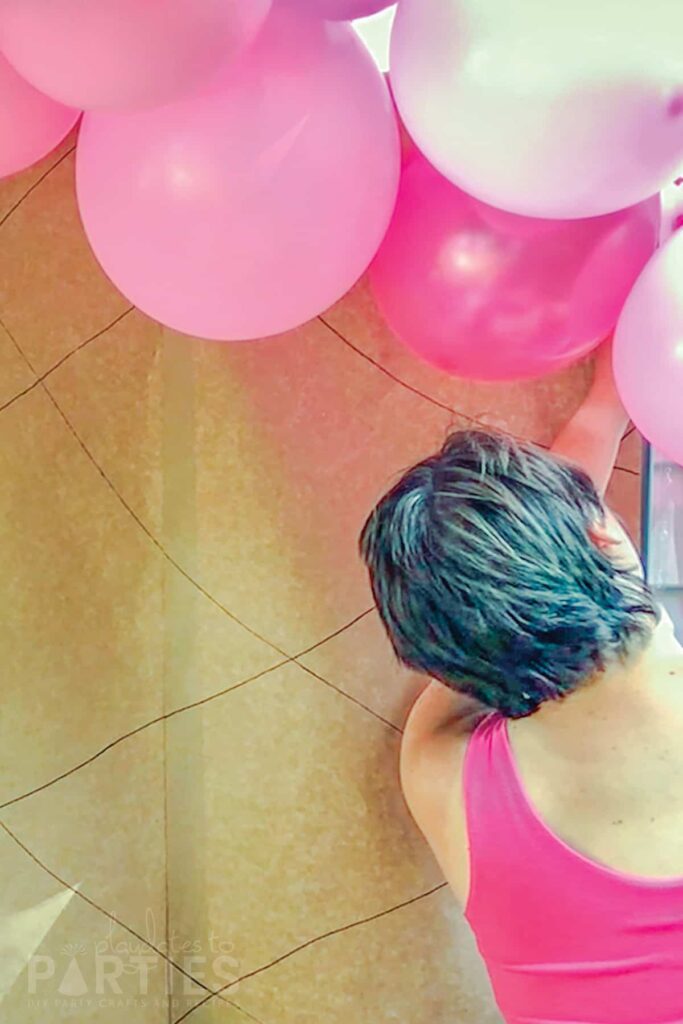
- Start adding your balloons where you want the focal point to be. In our case, that was the top, center.
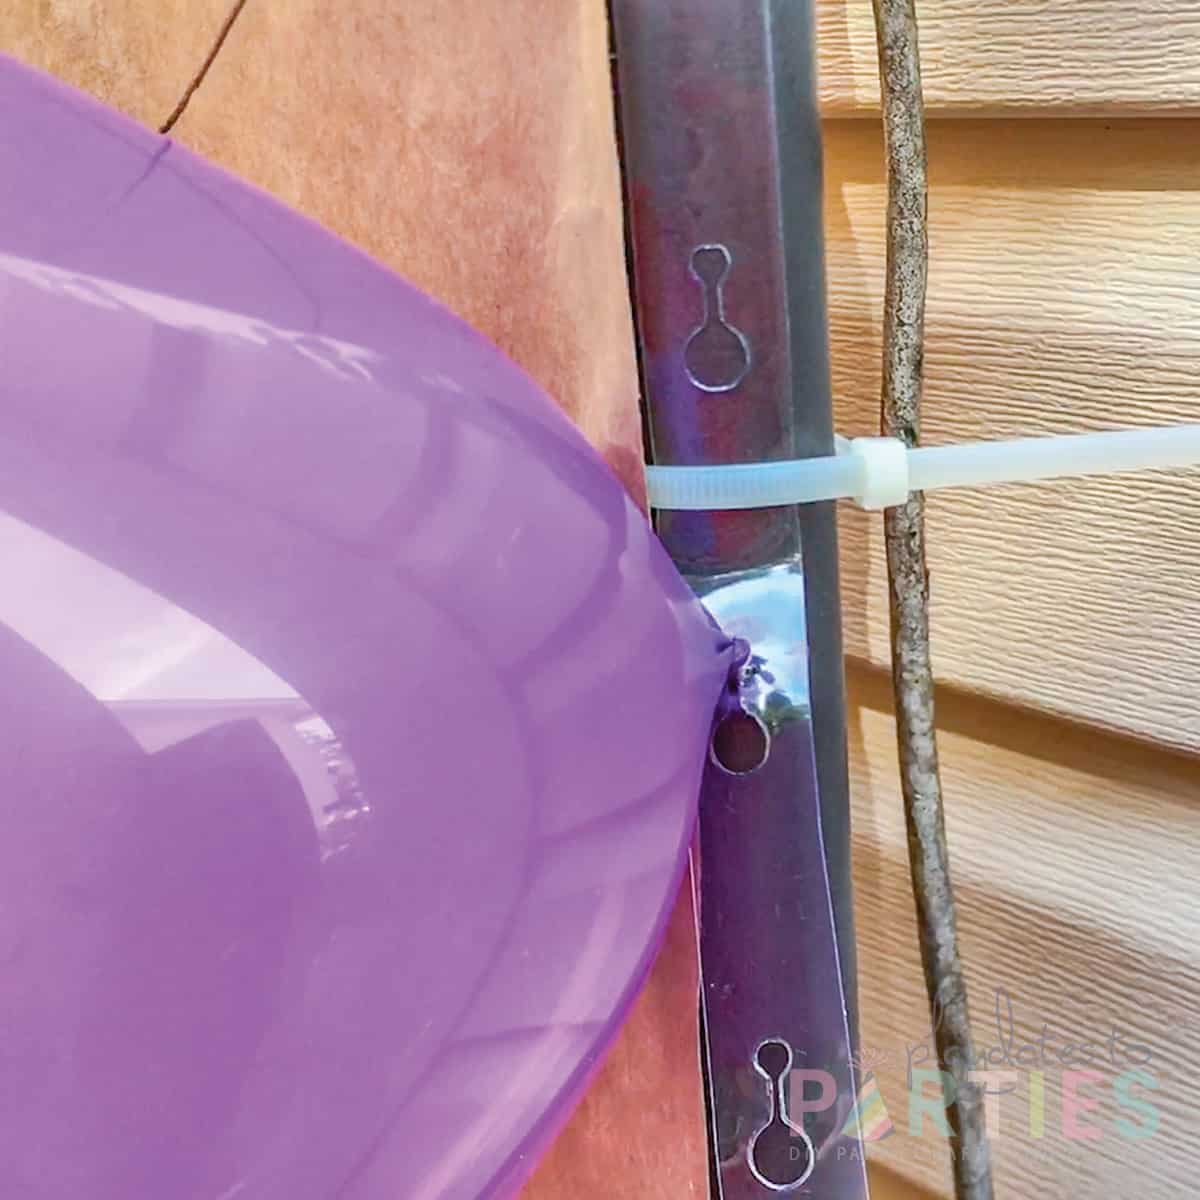
- Once you start adding balloons it can make the strip slip out of the zip ties. To counteract this, you’ll want to add a zip tie to the center of your upright posts on your frame, and then add a balloon directly beneath the zip tie.
- You may want to find a place to hang the balloon arch strip for a few days to help it uncurl.
How Long Does It Take to Set Up?
Including an hour to blow up the balloons (made so much easier with this awesome tool), the arch took about 3.5 hours to pull together.
More DIY Party Decorations
- Ways to decorate with balloons without helium
- How to make tissue paper pom poms (and when to buy instead)
- How to make waterproof bottle labels
- How to Build a DIY Backdrop Frame
What You’ll Need:
- Balloon arch kit
- About 60-100 balloons
- Backdrop frame or command strips
- Zip Ties
- Recommended: Air compressor
- Recommended: Balloon sizer
Watch the complete video tutorial for the DIY balloon arch right here:
DIY Balloon Arch

Get all the tips and tricks to make your first DIY balloon arch; including frequently asked questions and a step by step tutorial.
Materials
- Balloon Arch Kit
- Balloons
- Zip Ties
Tools
- Backdrop Frame or Command Strips
- Balloon sizer
- Air Compressor
Instructions
Advance Preparations:
- Hang the balloon arch strip up about a week before the party to help it uncurl.
- Inflate your balloons the day before assembly. Using an air compressor makes it much easier to finish the balloons quickly.
Attach the balloon arch strip to the frame:
- Find the center of the balloon arch strip by holding the ends in one hand, and then sliding the strip through your hand until you get to the center loop.
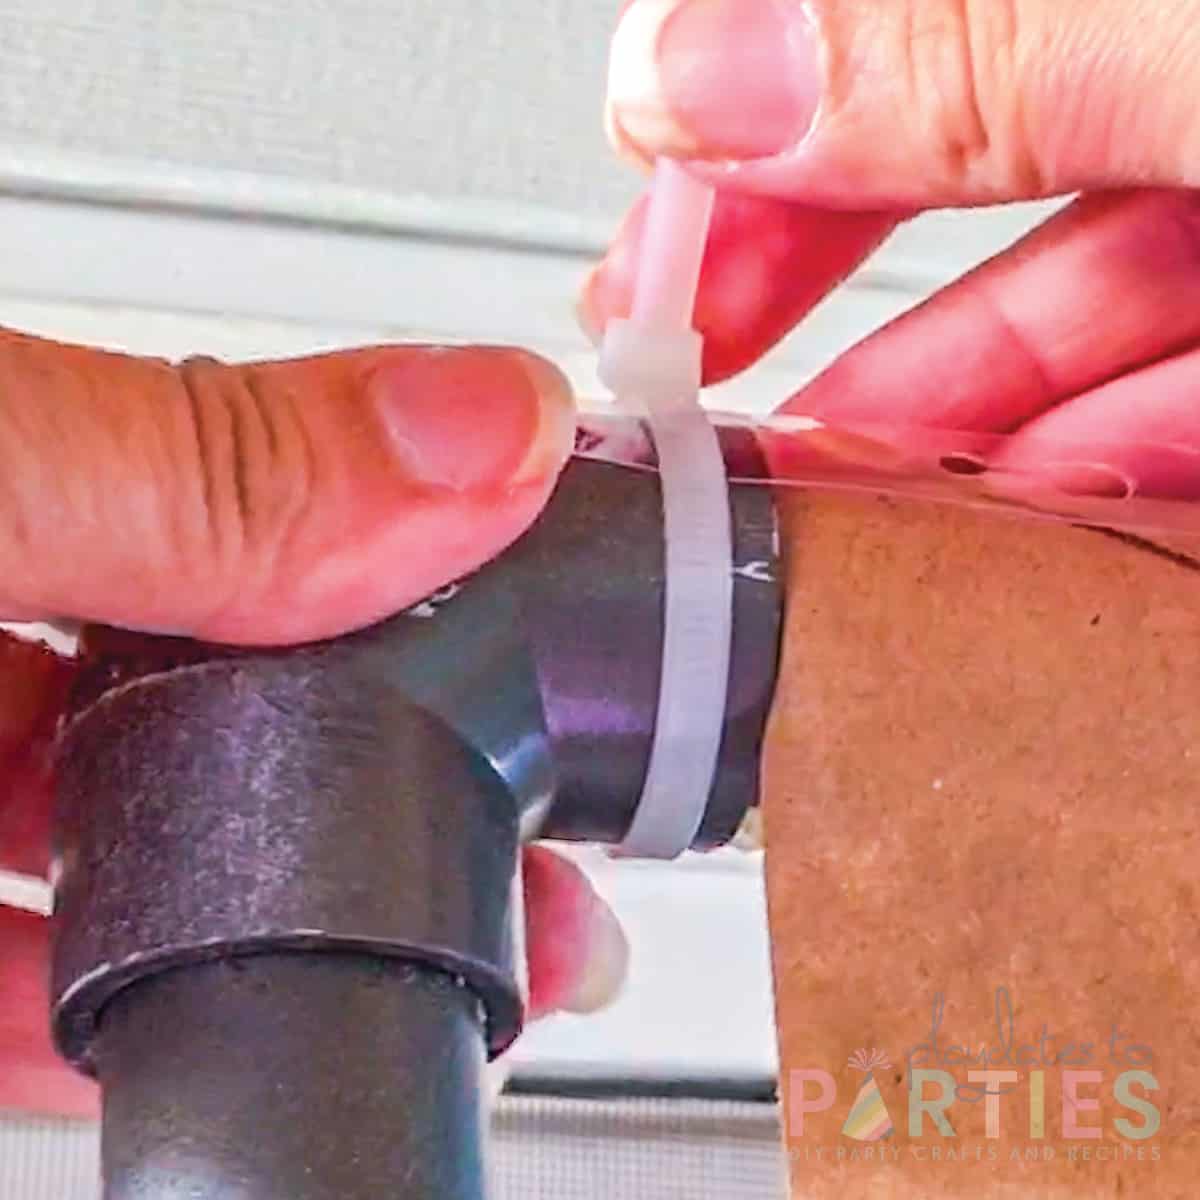
- Use zip ties to attach the strip to the frame at the corners, making sure it stays centered.
Add the Balloons:
- Start attaching balloons at your focal point (ours was the top of the arch)
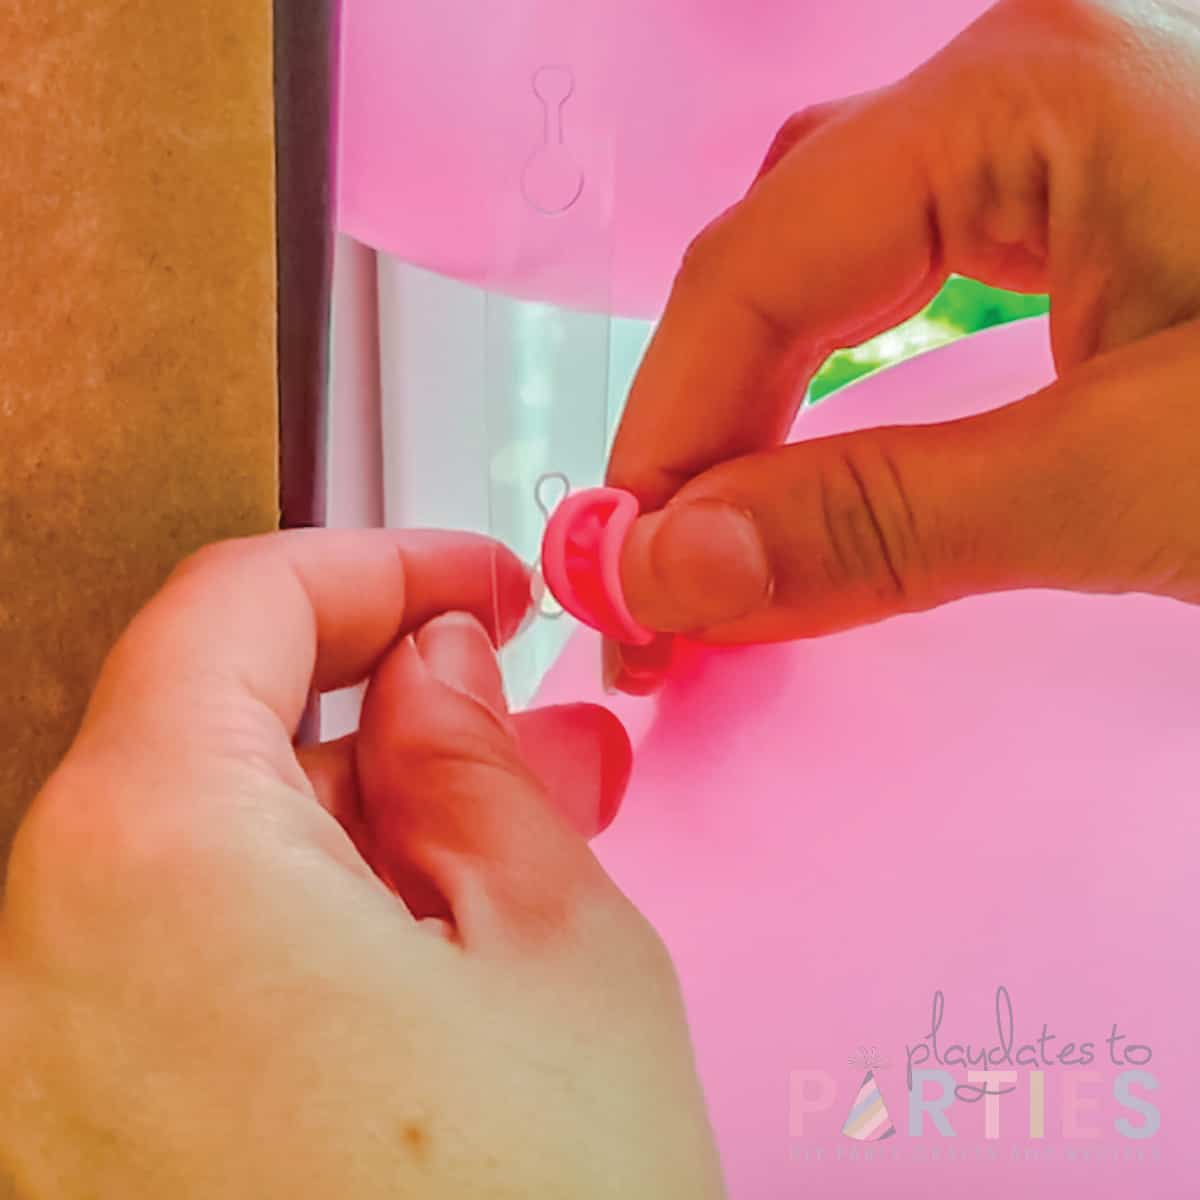
- Attach balloons to the strip by pushing the knotted end through an opening in the strip. Then pull the balloon up so it is in the smaller of the two circles.
- Continue adding balloons to the strip, alternating balloons pushed through the front and the back of the strip. Don’t forget to also alternate colors as you work.
- You may want to add zip ties to the sides of your backdrop frame with a balloon inserted just below the zip ties, to keep the strip from sliding around.
- Move from side to side as you add balloons to ensure that the garland stays balanced.
Add Interest:
- Twist long, skinny (animal making) balloons around the balloons on your arch to make it more interesting.
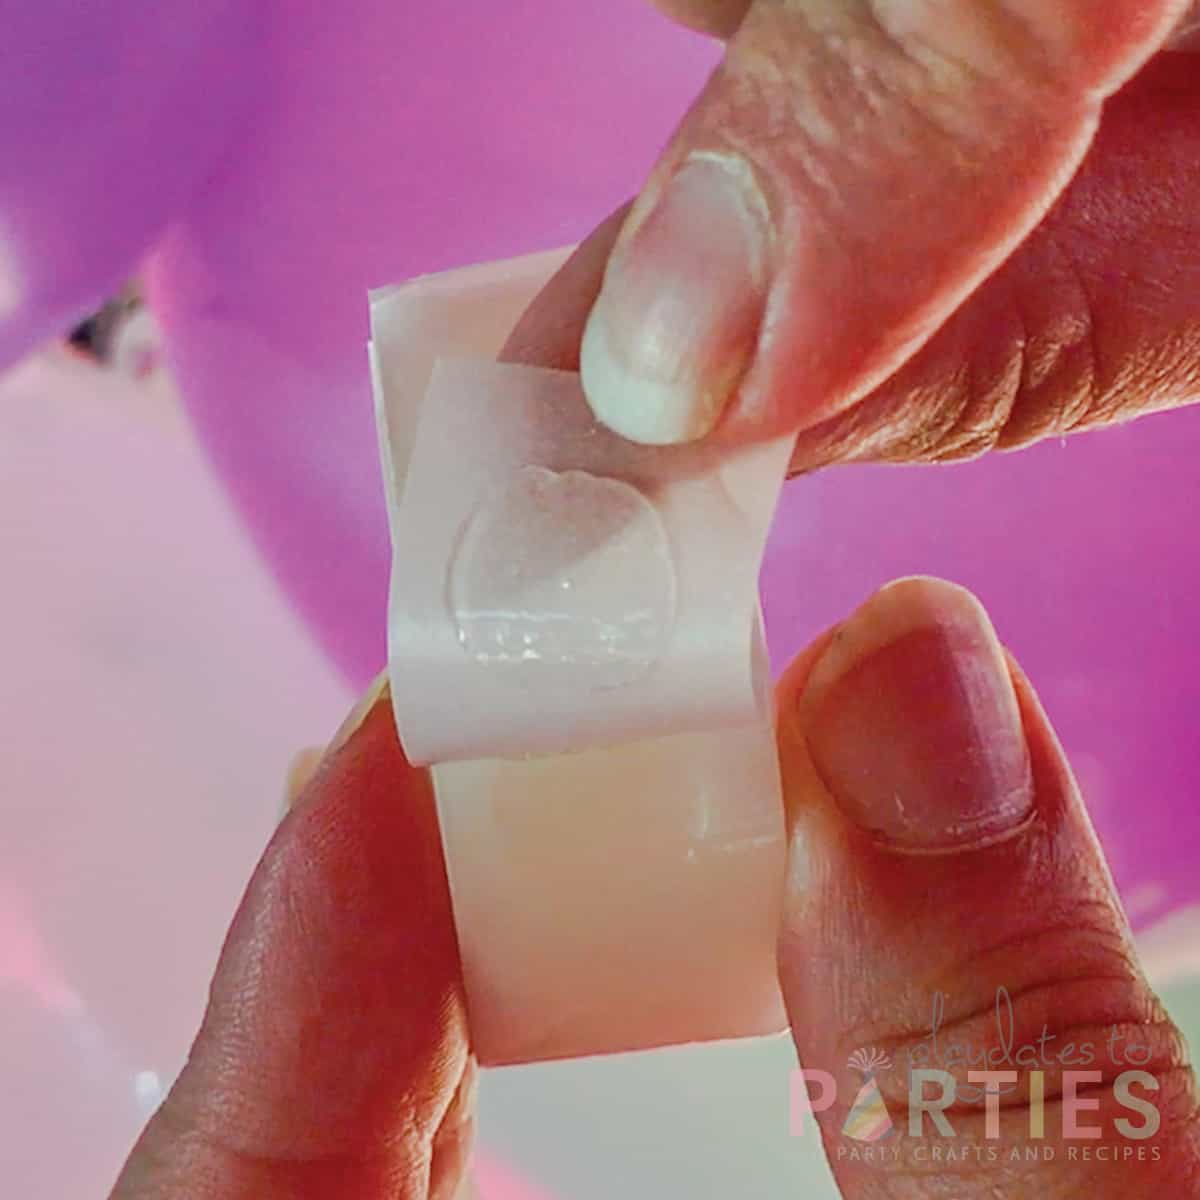
- Use the glue dots (or a cold glue gun or double stick tape) to add small balloons to bare spots or areas where you want to fill in the arch.
Notes
- Using trash bags to hold inflated balloons didn’t work for us. Perhaps the balloons were inflated too large, but not many balloons would fit in each bag. So it just became easier to let them float around the room for a night.
- Alternate the side of the strips where you place the balloons. For example, put one balloon facing out from the strip and the next balloon facing the opposite direction
- The glue dots began to fail after a couple hours. It could have been due to the heat and humidity, but I hear a cool glue gun or double sided tape works too.
- Start adding your balloons where you want the focal point to be. In our case, that was the top, center.
- Once you start adding balloons it can make the strip slip out of the zip ties. To counteract this, you’ll want to add a zip tie to the center of your upright posts on your frame, and then add a balloon directly beneath the zip tie.
- You may want to find a place to hang the balloon arch strip for a few days to help it uncurl.


BloonAway says
I liked your in-depth guide to make the first DIY balloon arch. Your efforts in gathering such vast information are commendable. You nailed it, Leslie!!
April says
Hi Leslie,
I want to help a nephew who is somewhat introverted to start a business and look at a balloon that he can do himself. I have lots of questions and I found this blog helpful. Thank you for this!
April
Pam says
Hi great help with showing how to do a balloon arch , any ideas on a balloon arch without the frame , as I need to build one going into a door way as an entrance to a party room.
Rachelle says
Thanks for the helpful DIY guide to setting up a balloon arch. I’ve done this time after time and, while everyone probably has a slightly different process, this is very similar to my old process when I made balloon arches for friends and family.