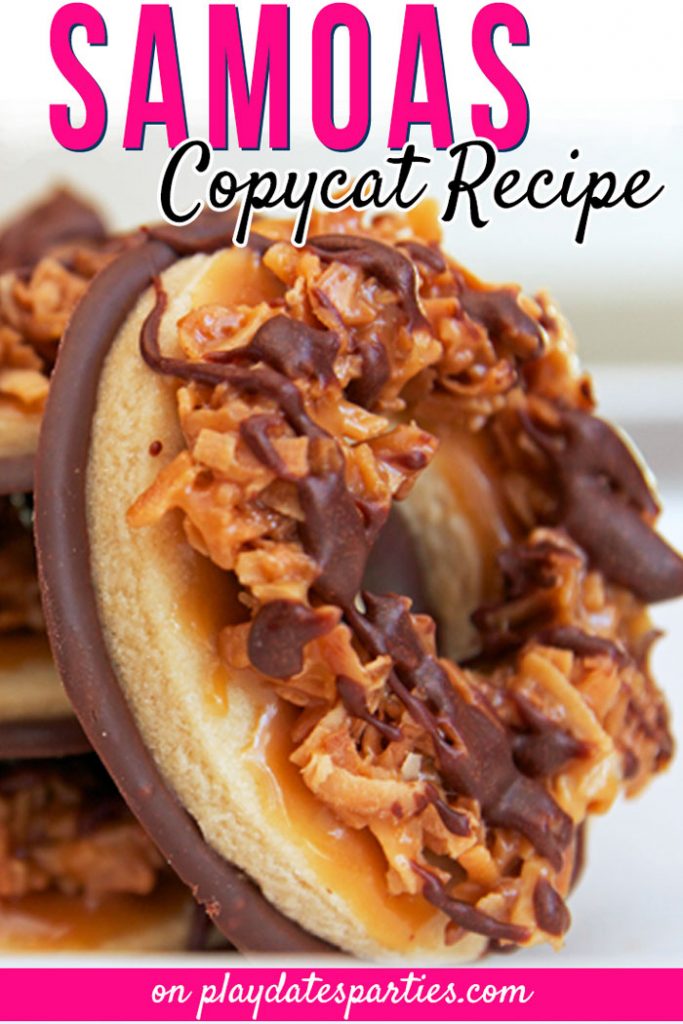
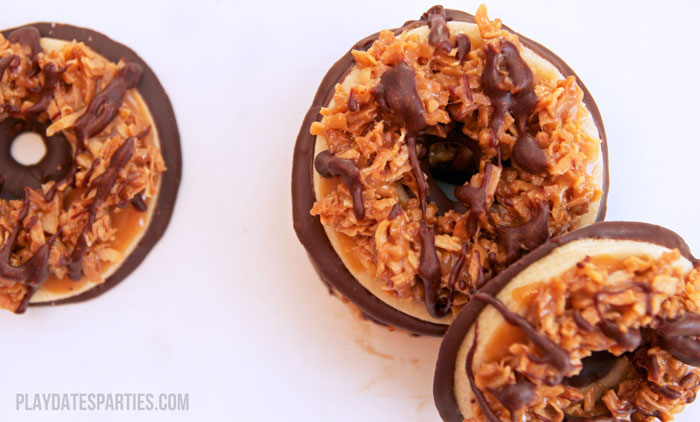
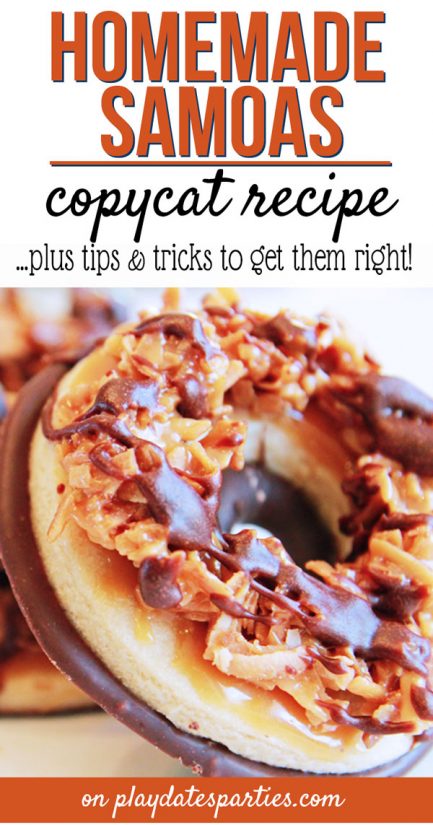
No more waiting for those special boxes every spring. This Samoas copycat recipe tastes just like everybody’s favorite Girl Scout Cookie!
Every spring, when I should be getting into shape for bathing suit season, my nemesis comes out.
Girl Scout cookies.
Between the little entrepreneurs at the grocery store, or their ‘helpful’ parents at the office, they’re nearly impossible to resist.
And my absolute favorites are Samoas.
Seriously. I can’t resist buying at least two boxes every year. They’re just so darn good!
But this winter, one of my co-workers asked me to try making a Samoas copycat recipe…and what an adventure it was.
Let’s just say I now have a newfound appreciation for the machinery and employees that put these treats together.
Full disclosure: this Samoas copycat recipe takes several hours to make.
I’ve made cakes that literally take days to assemble. But these were the most time consuming cookie I’ve ever made. They are NOT a last minute treat.
The recipe comes from Instructables, and if you’re the kind of person who likes to see step-by-step pictures, there is a beautiful tutorial over at Just a Taste.
RELATED>>>> Make a whole tray of cookies in 40 minutes!
[clickToTweet tweet=”Samoas all year round? Yes, please! ? #recipes #yum #cookies Find out how… via @PlayDatesParty” quote=”Samoas all year round? Yes, please! ? #recipes #yum #cookies Find out how… “]
Samoas CopyCat Recipe

No more waiting for those special boxes every spring. This Samoas copycat recipe tastes just like everybody's favorite Girl Scout Cookie!
Ingredients
Step 1 Ingredients (cookies)
- 1 cup 2 sticks butter, softened
- 1/2 cup white sugar
- 2 cups all-purpose flour
- 1/4 teaspoon baking powder
- 1/2 teaspoon salt
- 1/2 teaspoon vanilla extract
- 2 tablespoons milk
Step 2 Ingredients (Topping)
- 3 cups 1 bag shredded unsweetened coconut, toasted
- 15- oz soft caramels, approximately 15 - 20 caramels
- 1/4 tsp salt
- 3 tbsp milk or cream
Step 3 Ingredients (Drizzle)
- 8 oz. dark or semisweet chocolate
Instructions
Step 1 - Make the cookies:
- Preheat your oven to 350F.
- Cream together butter and sugar in a stand mixer with the paddle attachment. You’ll know it’s done when the butter and sugar are well combined and the mixture is light and fluffy.
- In a large bowl, combine dry ingredients (flour, baking powder, salt). Whisk to combine. Add the flour mixture to the creamed butter in small increments, scraping the sides of the bowl if necessary.
- Add milk and extract. Mix at low to medium speed until the dough is combined.
- Pat the dough into one or two discs (separating the dough into two disks ensures that half of it stays chilled while the other half is being rolled out and cut). Refrigerate for 1-2 hours, until firm.
- Roll the dough out until 1/8 inch thick. (Tip rolling between two sheets of parchment paper, wax paper, or even plastic wrap is a lot less messy than using flour!) Cut out doughnut shaped cookies…use whatever you’ve got on hand. The tops of glasses and small bottle tops are great alternatives to cookie cutters. Aim for 2 inches for the wide cutter and 3/4 to 1-inch for the small cutter. Transfer cut cookies to a parchment lined baking sheet.
- Bake for 10 to 12 minutes until just turning golden brown around the edges. Cool completely before topping.
Step 2 - Make the Topping:
- If using pre-toasted coconut flakes, skip to step 2. Preheat your oven to 350F. Toast coconut flakes on a parchment lined baking sheet in a thin layer. Stir frequently to avoid burning. Remove when coconut is a golden brown, but not burnt, about 10 minutes. Cool completely.
- Place the caramels in a double boiler (aka, put a medium to large metal pot over top of a medium saucepan that has about an inch of simmering water). As the caramels begin to melt, add the cream and salt, stirring to incorporate until smooth. Separate 3/4 of caramel mixture; combining it with the toasted coconut. Reserve 1/4 of the caramel mixture in the large pot.
- Using the back of a small spoon, spread reserved caramel on the top of the cookies. You may need to reheat the caramel from time to time if it gets too cool to spread.
- Press the coconut mixture onto the caramel-coated cookies. This part is messy, but so worth it! Be careful not to press too hard or the cookies may break.
Step 3 - Add the chocolate
- Melt chocolate either by using the double boiler method described above or in the microwave. To melt in the microwave: place chips in a microwave safe bowl and microwave on high for 30 seconds. Stir with a fork. Continue microwaving in 15 second intervals, stirring in between until chocolate is smooth.
- Lay out wax paper on a cool surface. Dip bottoms of cookies in melted chocolate and place on wax paper.
- Using a fork, drizzle or flick chocolate over top cookies. Let cool completely
Notes
- The recipe walks you through toasting the coconut flakes in your oven, but it's very easy to burn. If you can find it, I highly recommend getting pre-toasted coconut. (You can also order it on Amazon here!)
- Unwrapping the caramels is also a painstaking process. This is the perfect way to get the kids to help, or you can buy caramel nuggets made just for melting.
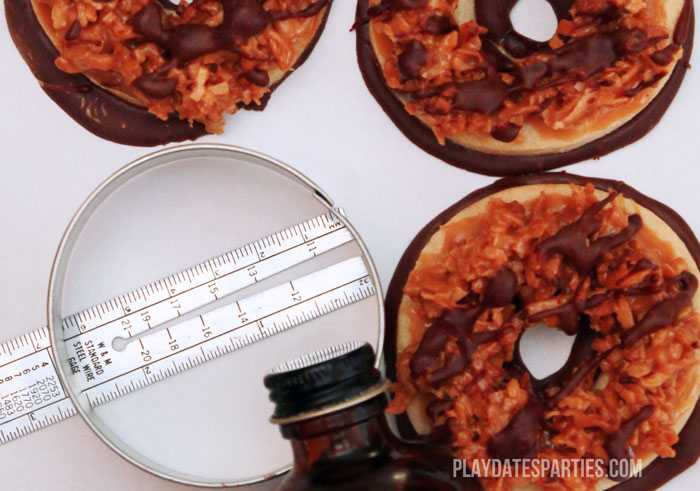
- Kelly used a doughnut cookie cutter to get the right outer and inner sizes. I recommend getting a set of round cookie cutters. They're much more versatile in the long run. Use a 2 to 2.5 inch wide circle for the cookie, and then a 1/2 inch wide cutter for the center. (My cookie cutter set didn't have a 1/2-inch cutter, so I used the lid of our vanilla extract bottle. It worked perfectly!)
- Splurge on melting wafers. By the time you get to dipping and drizzling the chocolate, you won’t want to dirty another two dishes. Melt them slowly in a microwave safe dish, and then flick a fork back and forth over the cookies on parchment paper.
- Store in an airtight container in the refrigerator with wax paper between layers to prevent sticking.
Nutrition Information:
Serving Size:
1 gramsAmount Per Serving: Unsaturated Fat: 0g
RELATED>>>> Oatmeal Cookies Made with Beer (so chewy and delicious!)
Samoas Copycat Recipe Tips & Tricks:
- The recipe walks you through toasting the coconut flakes in your oven, but it’s very easy to burn. If you can find it, I highly recommend getting pre-toasted coconut. (You can also order it on Amazon here!)
- Unwrapping the caramels is also a painstaking process. This is the perfect way to get the kids to help, or you can buy caramel nuggets made just for melting.
- Kelly used a doughnut cookie cutter to get the right outer and inner sizes. I recommend getting a set of round cookie cutters. They’re much more versatile in the long run. Use a 2 to 2.5 inch wide circle for the cookie, and then a 1/2 inch wide cutter for the center. (My cookie cutter set didn’t have a 1/2-inch cutter, so I used the lid of our vanilla extract bottle. It worked perfectly!)
- Splurge on melting wafers. By the time you get to dipping and drizzling the chocolate, you won’t want to dirty another two dishes. Melt them slowly in a microwave safe dish, and then flick a fork back and forth over the cookies on parchment paper.
- Store in an airtight container in the refrigerator with wax paper between layers to prevent sticking.
Now It’s Your Turn
Once you’re done, take a deep breath, grab a glass of milk (or wine…you deserve it!) and enjoy the fruits of your labor.
And try not to think about bathing suit season. You can worry about that next spring….
What is the most difficult thing you ever made?
Have you ever made a Samoas copycat recipe?
Did you like this recipe? Don’t forget to save it on Pinterest for later!
Subscribe via
Bloglovin, Facebook, and Twitter
to get more updates!
SaveSave




Beth says
They look so good! I love girl scout cookies too! Such dedication on your part to figure out this recipe for us! Thank you!
Heidy says
Wow, these look Amazingly delicious. I swear I am in love with Girl Scout cookies! I almost don’t mind putting the time in for these bad babies.
Sandi says
These are my very favorite cookies. Caramel and coconut…so yummy together!
Daniela says
These are my absolute favorite cookies and now I know how to make them! Thank you for the great recipe!
Catherine says
These samoas looks fabulous! They are family favorite and now I can make my own! Perfect!
Pam says
I admire your perseverance in figuring this out. Samoas are indeed to good to only get one time of year. They are my absolute favorites too!
Monica | Nourish & Fete says
I am with you – samoas are my diet nemesis, and these look amazing! A total labor of love, and so worth it!
Helen at the Lazy Gastronome says
Those were my favorite GS cookies – Thanks for sharing at the What’s for Dinner party – have a great week!
Maria | passion fruit, paws and peonies says
I have never heard of these cookies! But they sound really delicious! xx
Daydreams of a mum says
Wow this is a complex bake!!! Look worth the hard work though #familyfunilnky
Michele says
Samoas are my favorite Girl Scout Cookies! These look amazing! Pinning!
Spectrum Mum says
These look absolutely delicious but I fear that the recipe would be beyond me. I’ve only just mastered scones ? #FamilyFun
Lee MacArthur says
This recipe looks so good. I’m going to have to try it and I agree Samosas are absolutely the best, thank you for sharing.
Amy says
Who can resist a Samoa Cookie? This recipe sounds so good and I love how you went into detail to explain the tips and tricks. Thank you for sharing at Tickle My Tastebuds.
Tracy Albiero says
These are my fav cookies those little pushers sell! I can free myself and make them at home. THANK YOU! #wonderfulwednesday
Rosey says
Somoas are a personal fave. I’d love to try the copycat recipe.
Julie @ Back To My Southern Roots says
Oh my goodness, these look so good. Samoas are my favorite Girl Scout cookies! Thanks for sharing on Foodie Friday!
Carissa Nelson | Spoonful of Easy says
Samoas are my absolute favorite Girl Scout Cookie! And thank you for not calling them Caramel DeLites – or whatever th rebrand was. These look amazing!
Jann Olson says
These are my fav, and they look so delicious! Thanks for sharing the recipe with SYC.
hugs,
Jann
KareN says
Yummy!
Life Diet Health says
I misread this as samosas and only clicked because I was confused that the picture didn’t match! I’m guessing as I’ve never heard of samoas my brain was reading what it thought it should say! I’m so glad I read this recipe! These sound so delicious and I’m very excited to veganize them! Thanks so much for sharing such a great recipe at Fiesta Friday.
Leslie says
Oh goodness, that is definitely a misread! I look forward to seeing how you veganize them, and hope you enjoy the recipe!