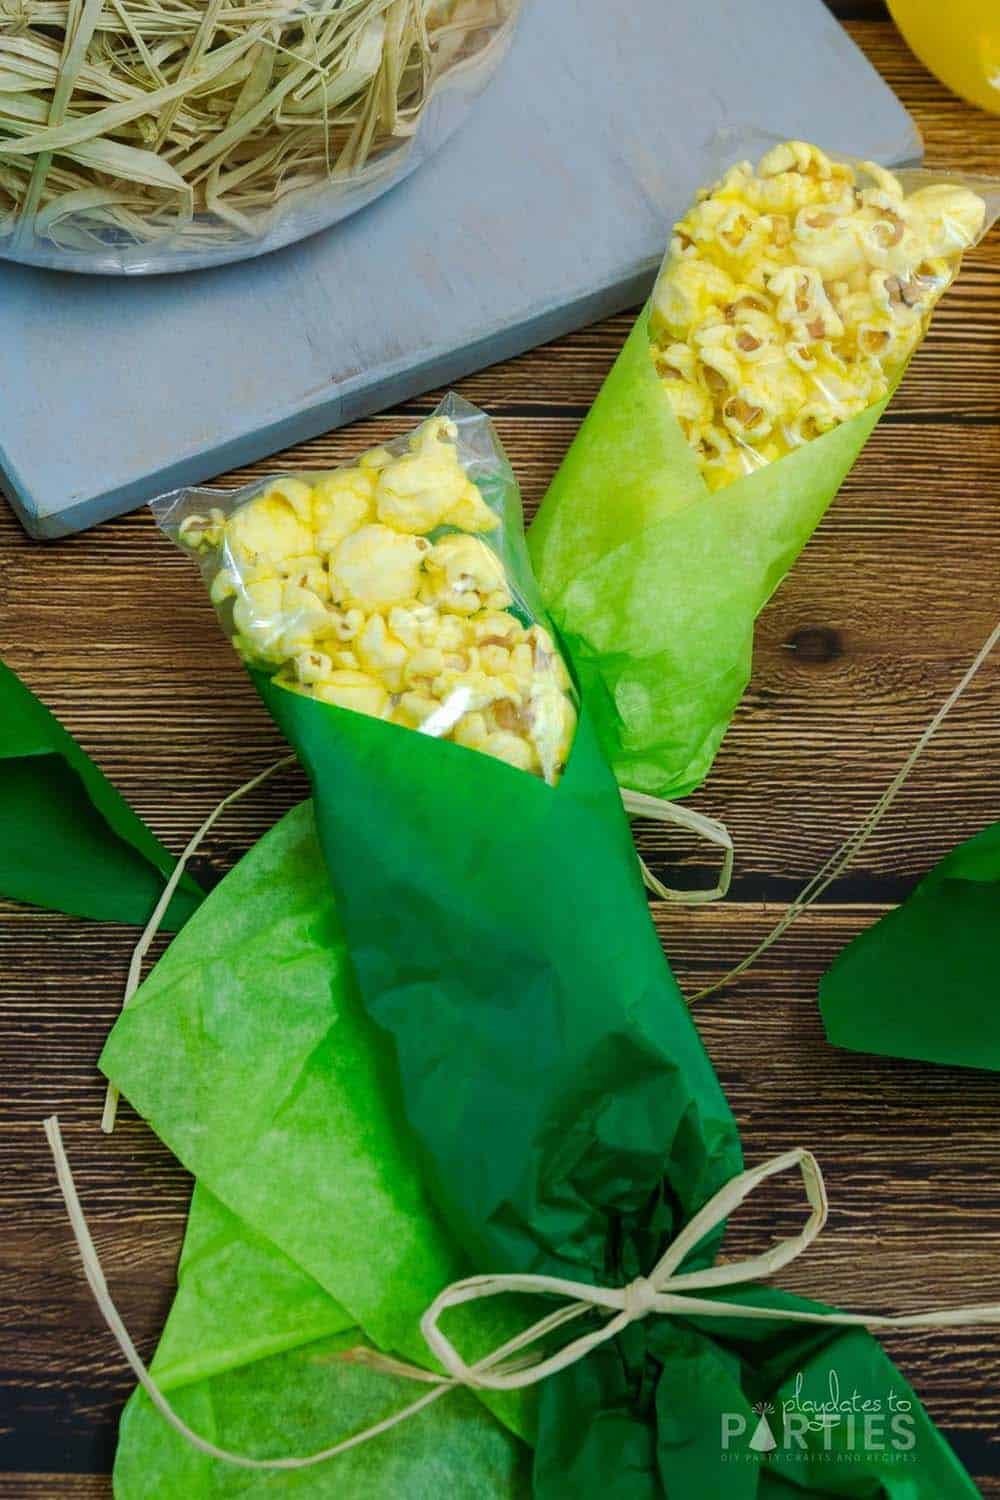
Popcorn corn on the cob favor bags are a fun and easy treat that the kids will love. And they’re not just for fall.
Keep reading to learn all the tips and tricks you need to make your own corn on the cob lookalike favors and plenty of party themes where they’re sure to be a hit.
Why make these Popcorn Corn on the Cob Favors:
- They’re super cute – kids and adults will love them.
- Affordable! You can get up to 4 favors per sheet of tissue paper, and homemade popcorn is cheap and easy to make – meaning that each of these favors costs less than a dollar.
- Easy to make: You don’t need special tools, and if you can wrap a piece of tissue paper around a bag, then you can make these favors.
- They work for so many different themes – everything from circus parties to Thanksgiving.
Full disclosure: I can’t actually take credit for this idea. It originally out from the Martha Stewart crew several years ago. Unfortunately, I can’t find the original tutorial anymore, so I thought I’d share my tips after making a couple dozen on my own.
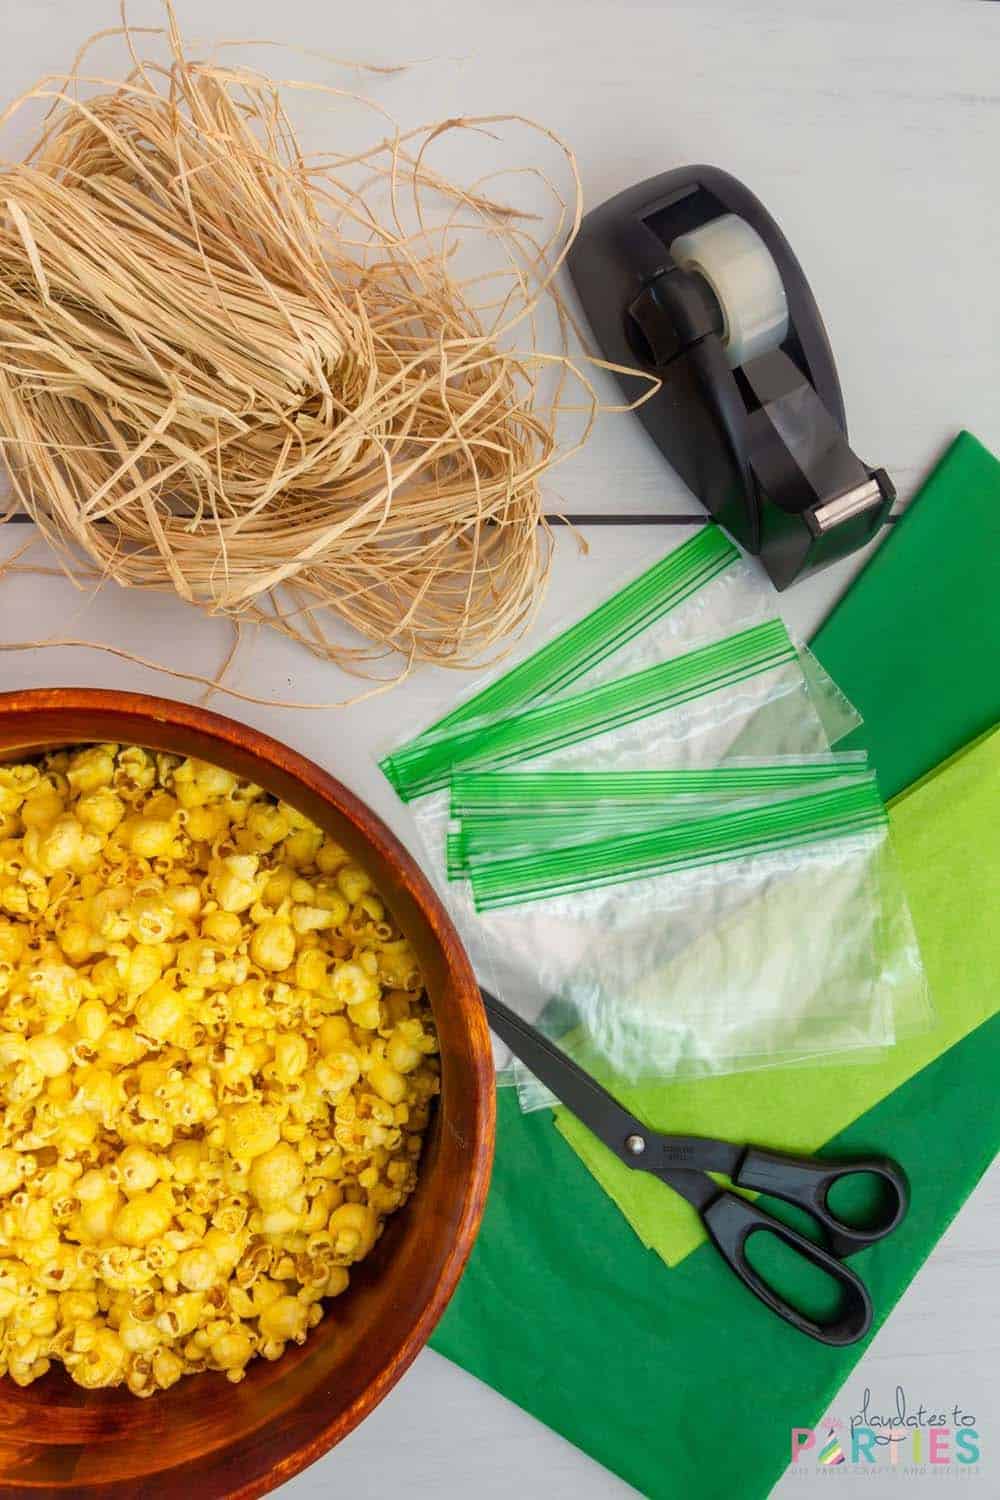
What You’ll Need:
- Raffia
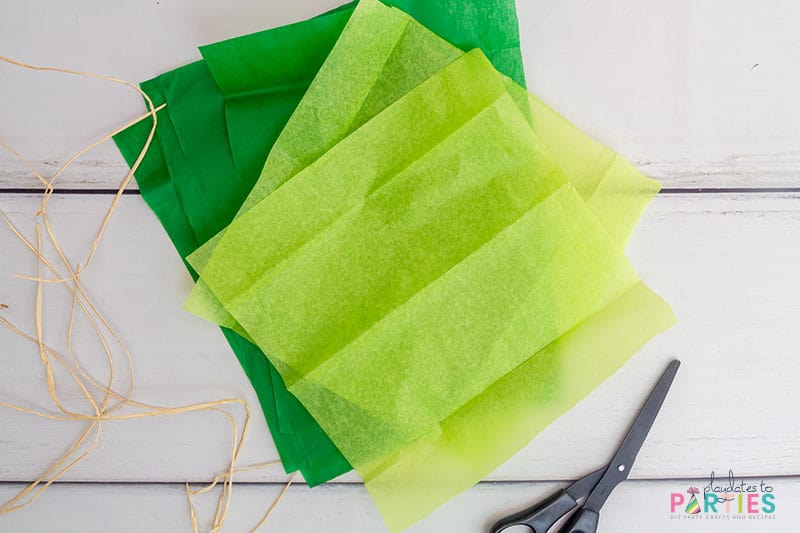
- 2 sheets green tissue paper
- 8 zip top snack sized bags
- Clear tape
- 5 – 6 cups popped popcorn
- Scissors
A few notes about the supplies:
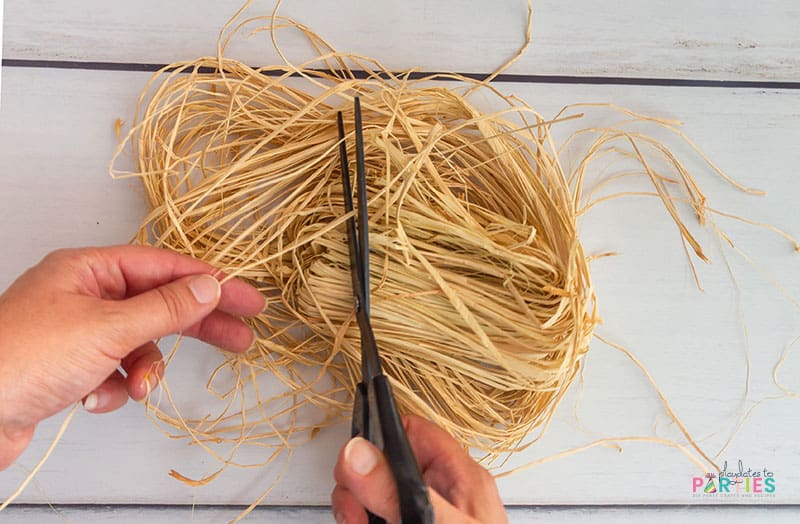
Raffia is a ribbon-like product made from the raffia palm tree. It looks a lot like straw and is often used for packaging and crafts.
The small size of snack sized zip top bags are best suited to this craft.
Regular clear office tape works better for this craft than double sided tape.
I love the bright yellow of the butter popcorn shown here. But we’ve also made them with plain popcorn and caramel corn. Someday, I’d love to try them with rainbow popcorn too. How cute would that be?
Step-by-Step Directions:
To make things easy for you, I’ve got a step-by-step tutorial with photos at the bottom of this post. Don’t forget to leave a rating and print out your copy of the instructions!
Essential Tips and FAQs:
Don’t skip these tips – read them before starting to avoid any potential mistakes.
Use More than one shade of green tissue paper:
I used leftover tissue paper for this craft, and was pleasantly surprised at how welll the different shades of green worked together. It really gives the favors more depth and interest.
Don’t overfill your bags
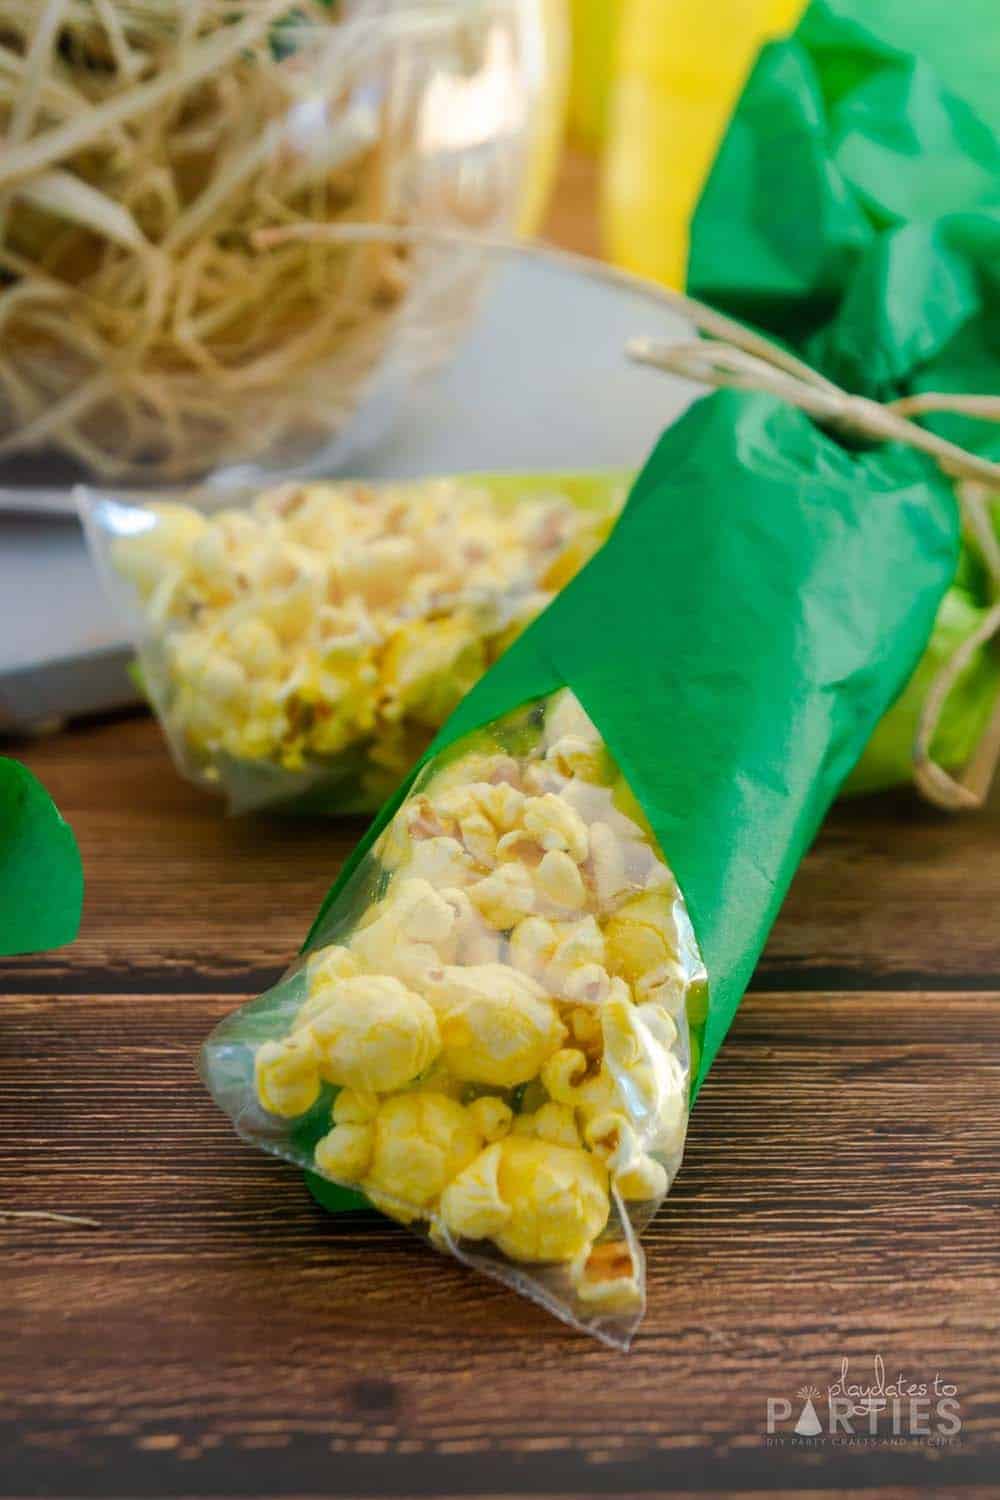
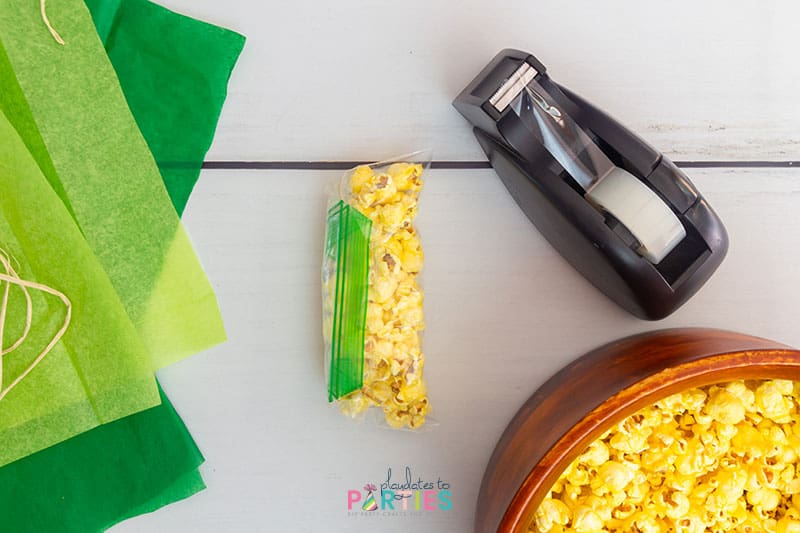
Hiding the zip top behind the popcorn is what makes these work so well. You need to make sure that you leave enough space in the bag to fold down the corners in order to make sure the top is fully hidden.
Don’t twist the tissue paper
It’s tempting to twist the tissue paper before tying it with raffia, but when I tested it, the tissue paper just ended up ripping and looking messy.
You don’t need to cut off the extra tissue paper
You can if you want to, but I prefer to leave the tissue paper attached.
If you do choose to cut off the bottom, make sure to leave at least an inch or so of tissue paper so the raffia doesn’t fall off.
When to Make these Popcorn Corn on the Cob Favors
Now, it may seem like this these have pretty limited applications, but take a look at all the times these would fit perfectly:
- Harvest themed parties
- Thanksgiving
- County fair and Carnival parties
- Farm and Barnyard themed parties
- Cowboy or cowgirl parties
- Crab feasts
- Summer cookouts
- Fall school parties
How to Display Your Popcorn Corn on the cob
I love the look of these corn on the cob favors when they’re piled together, but there are plenty of fun ways you can show yours off:
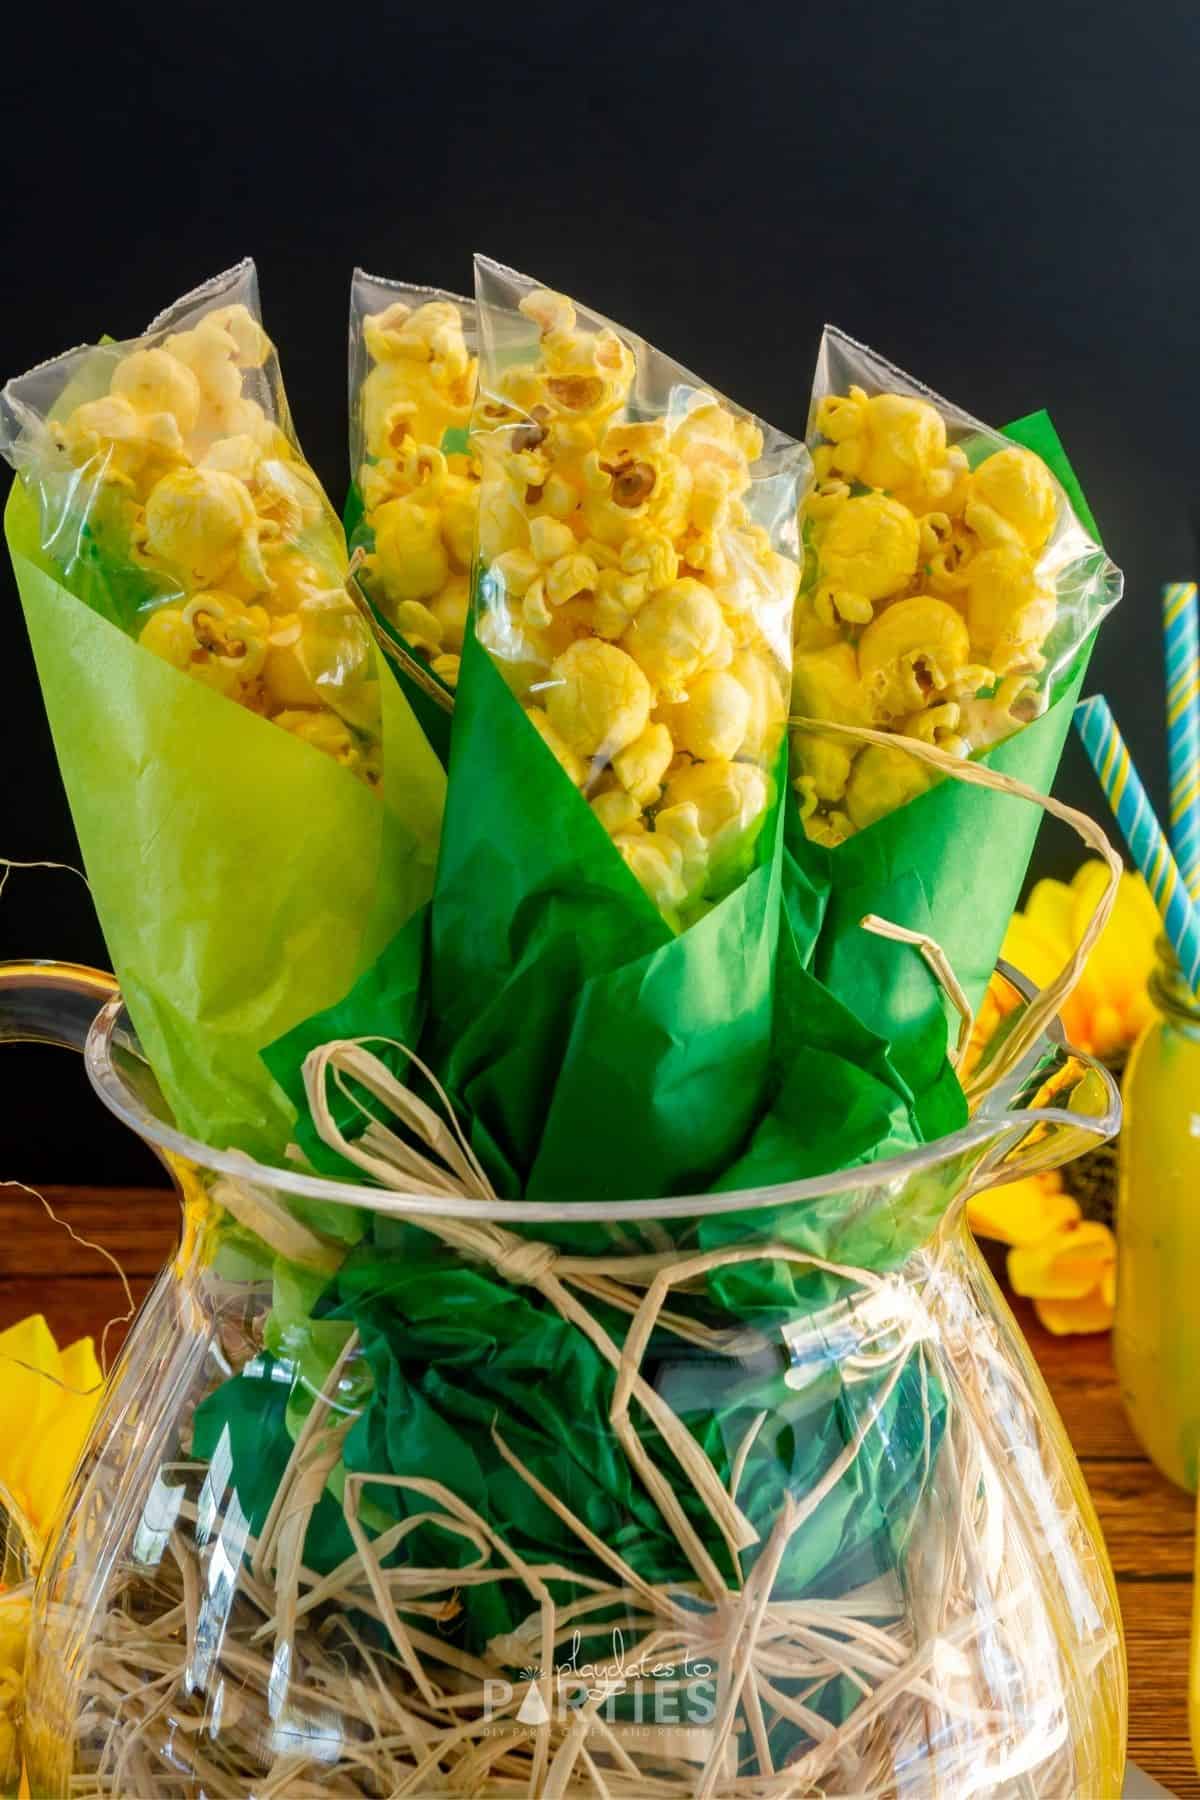
- I love the way they look in this clear plastic pitcher with the extra raffia stuffed in the bottom.
- Stuff the bottoms in a bushel basket for an authentic look. (Use some paper towels or styrofoam to fill the bottom of the basket and raise up the favors)
- Place them in rows in a shallow wire basket for another cute farmhouse look.
- Lay them at each place setting on the kids table at Thanksgiving.
- Don’t forget to add a cute printable tag to your favors too.
If you liked this party craft, you’ll also love these easy Thanksgiving turkey pudding cups. They’re the perfect school-friendly treat that even my 12-year-old called ‘genius’.
Or you can check out all my party crafts right here.
Popcorn Corn on the Cob Favor
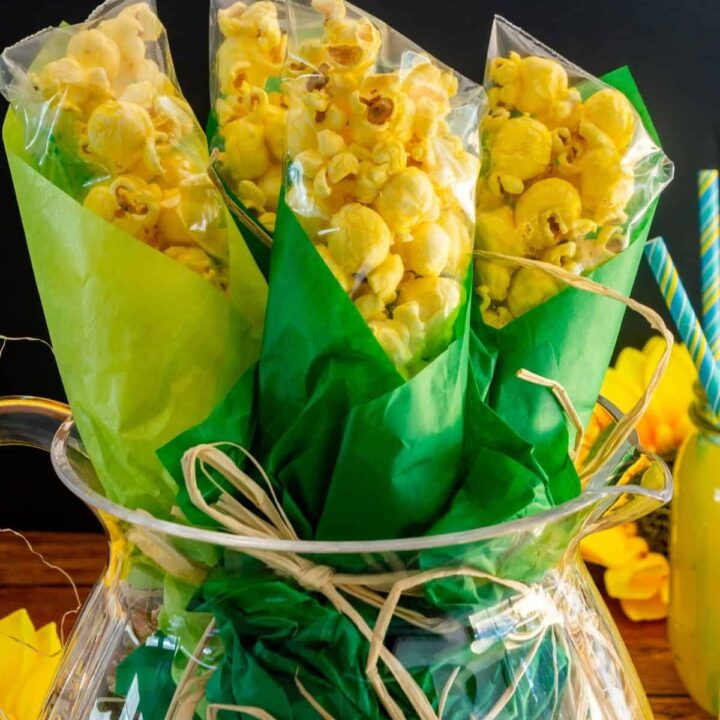
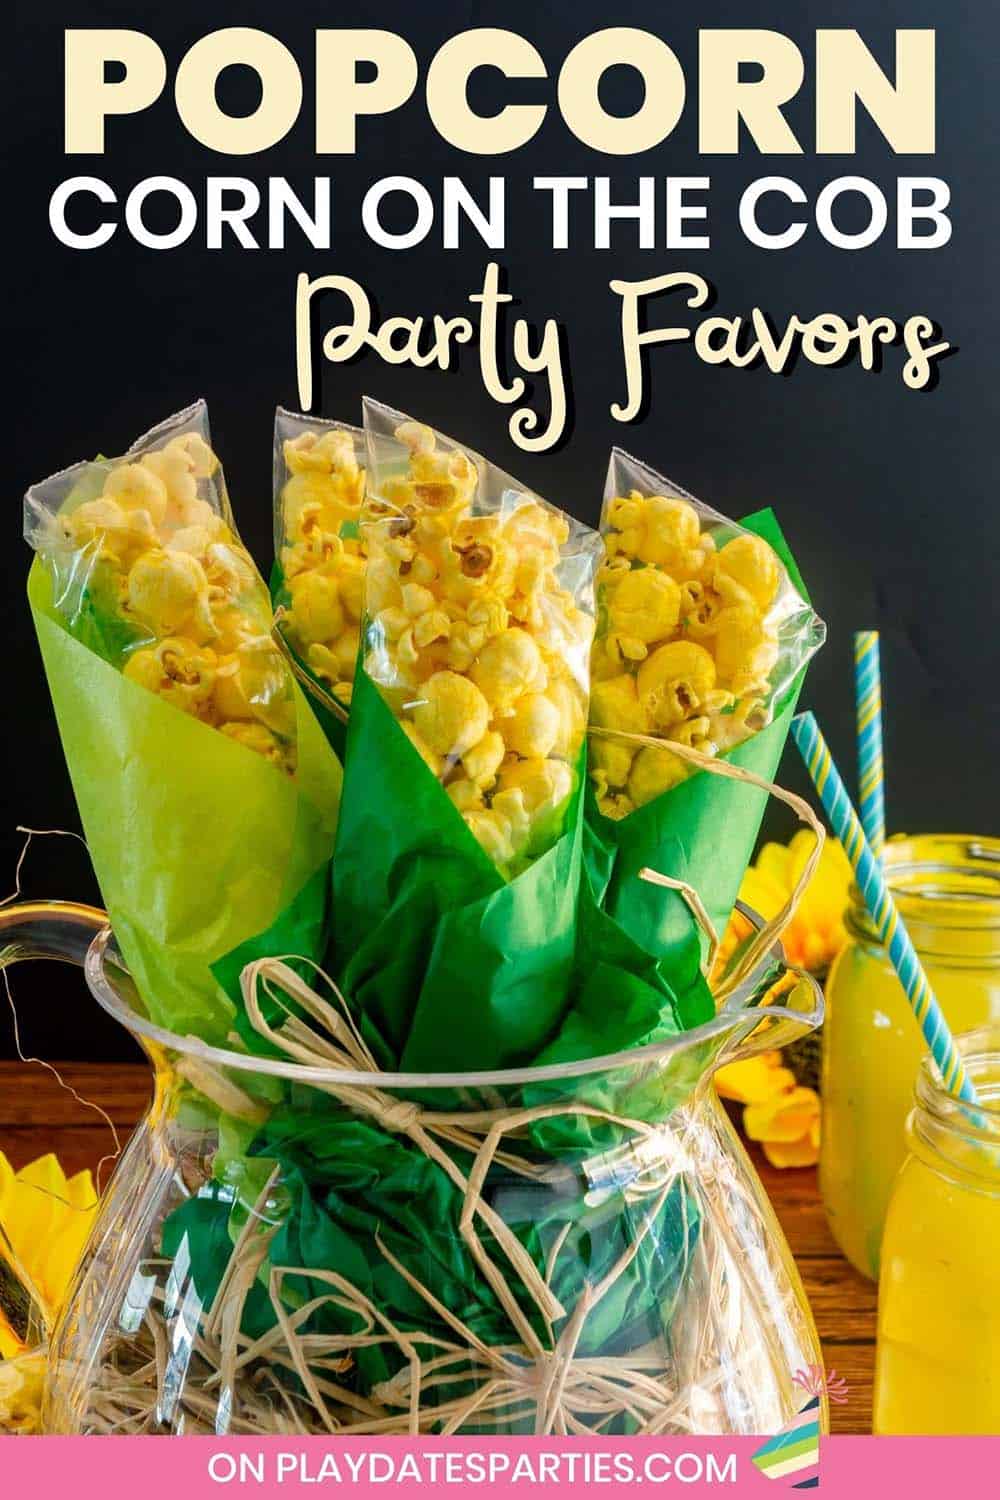
How cute are these popcorn corn on the cob favor bags? Learn all you need to know to make this fun budget friendly craft for your fall parties.
Materials
- Raffia ribbon
- 2 sheets green tissue paper
- 8 zip top snack sized bags
- 5 - 6 cups popped popcorn
Tools
- Scissors
- Clear Tape
Instructions
- Cut eight 12-inch lengths of raffia ribbon.
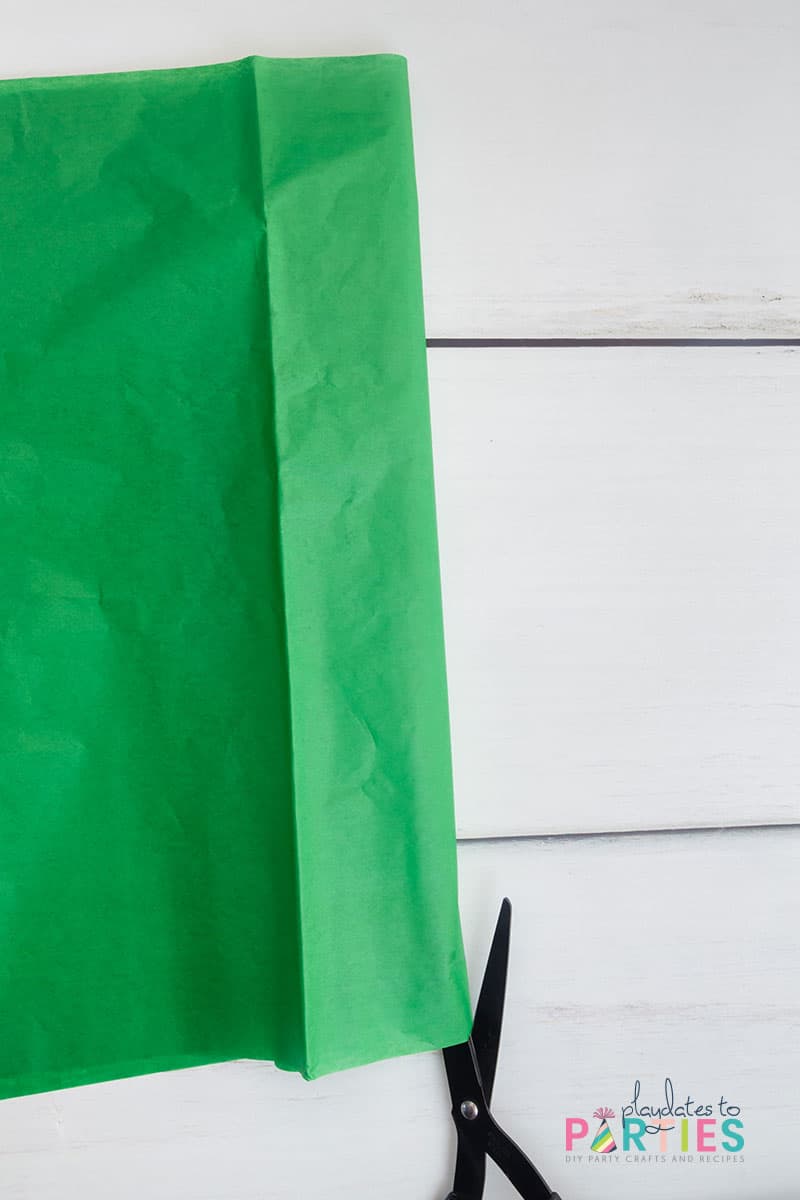
- Lay a sheet of green tissue paper out on a table. Fold the tissue paper in half lengthwise and cut along the fold.
- Layer the two tissue paper together, fold in half lengthwise and cut along the fold again. Repeat steps 1 and 2 with the other sheet of tissue paper.
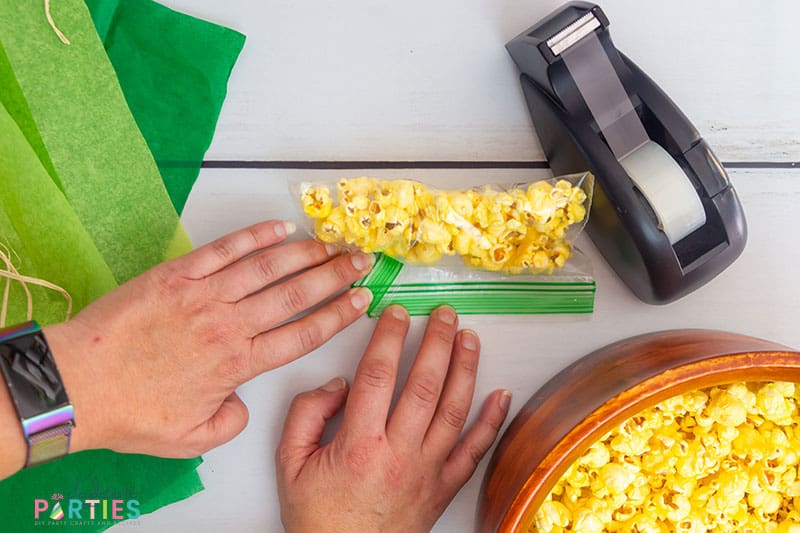
- Measure about 2/3 cup of popcorn into a zip top snack bag and seal tightly. Lay the snack bag on a table, and fold in the corners of the zip-top. Use clear tape to hold the corners down.
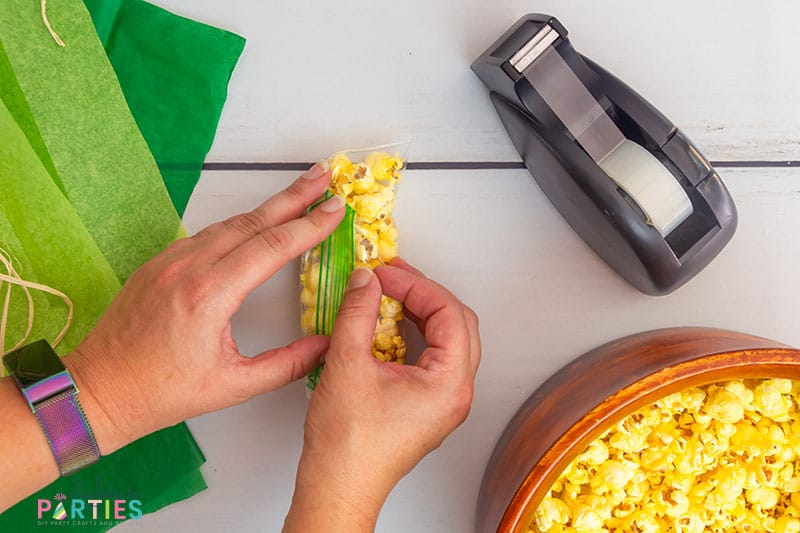
- Fold the zip top over around the popcorn to create a cylindar shape and use clear tape to hold the top against the bag. Repeat steps 4-6 with remaining popcorn and zip top bags.
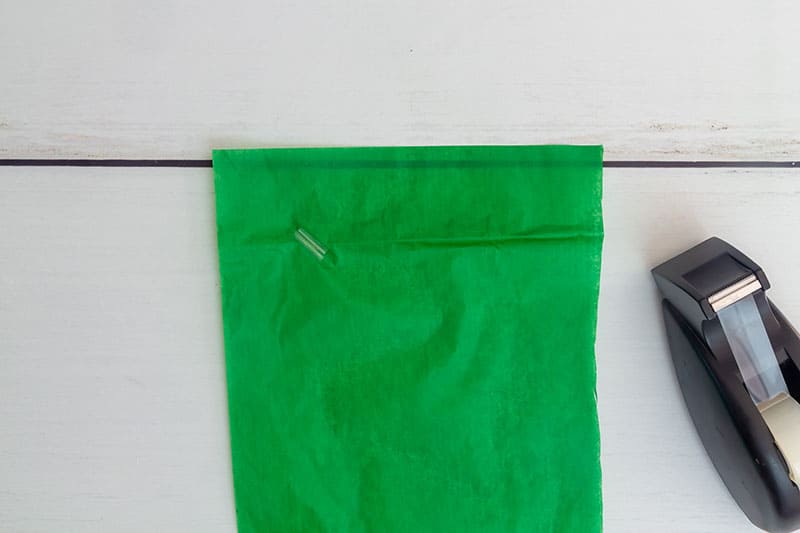
- Lay one square of tissue paper flat on a table. Create a loop of clear tape and place it about two inches inside the top corner of the tissue paper.
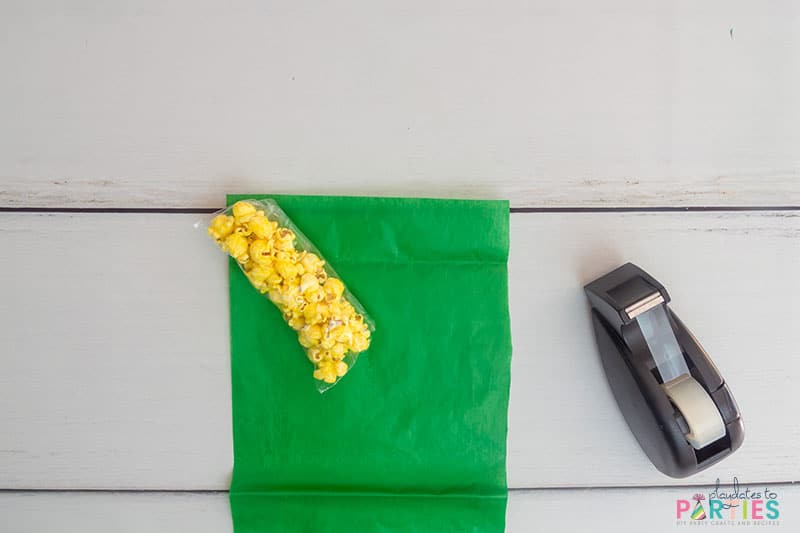
- Place a prepared bag of popcorn on the corner of the tissue paper where the tape loop is. Make sure to align the popcorn bag so the corner of the tissue paper is slightly visible from the top of the popcorn bag.
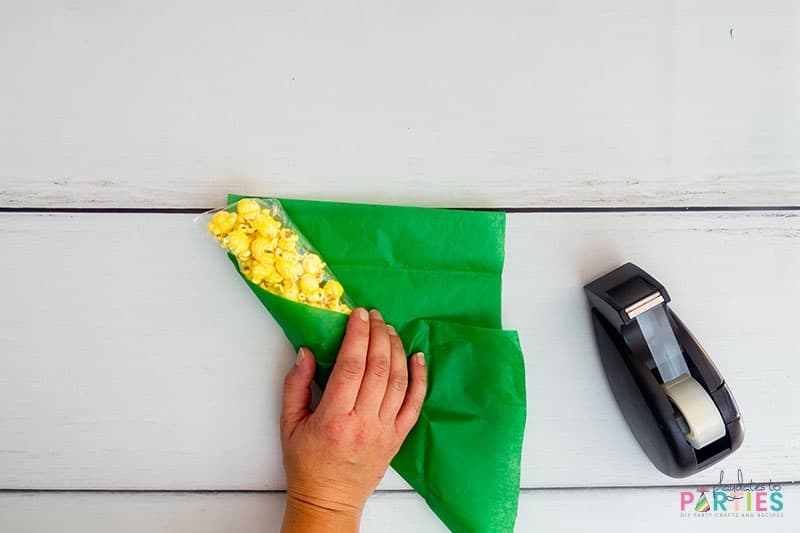
- Wrap the sides of the tissue paper around the popcorn bag to create the corn husk effect.
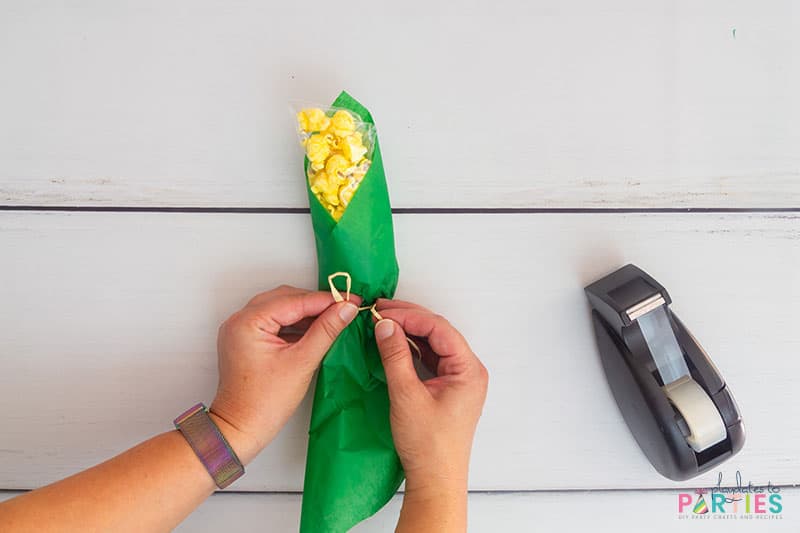
- Tie the tissue paper together at the base of the popcorn bag with a length of raffia. Repeat with the remaining popcorn bags and tissue paper.
Notes
Remember, the tips and FAQ in the tutorial post are there to help you if you feel stuck at any point.
- This is a great mix-and-match craft if you have more than one shade of green tissue paper lying around.
- Be careful not to overfill your snack bags.
- Don't twist the tissue paper before tying it off.



Cindy Peirce says
WOW Leslie!! I love all your postings:) They make me so happy. Thanks.
Leslie says
Thank you so much Cindy. There’s nothing better than being able to inspire others. Have a wonderful day!
Heather Sizemore says
Thank you, Thank you! It may be a simple process but I am so very Thankful for you taking the time to break it down step by step for me! I am going to make these for my Twin boys First Birthday! It’s Farm/ Cowboy theme!! 🤠