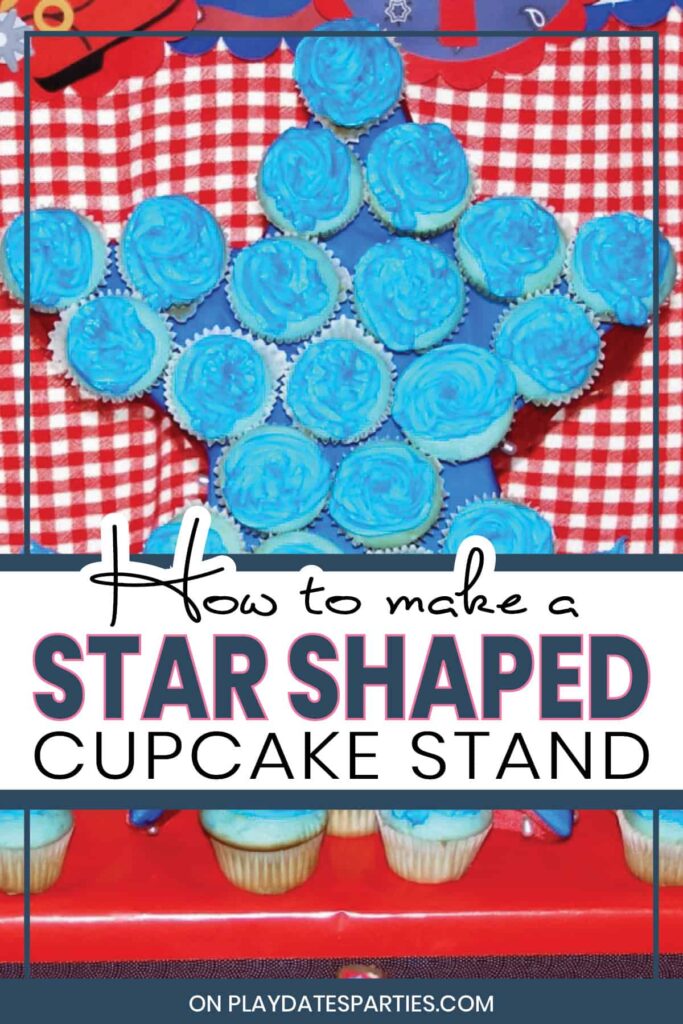
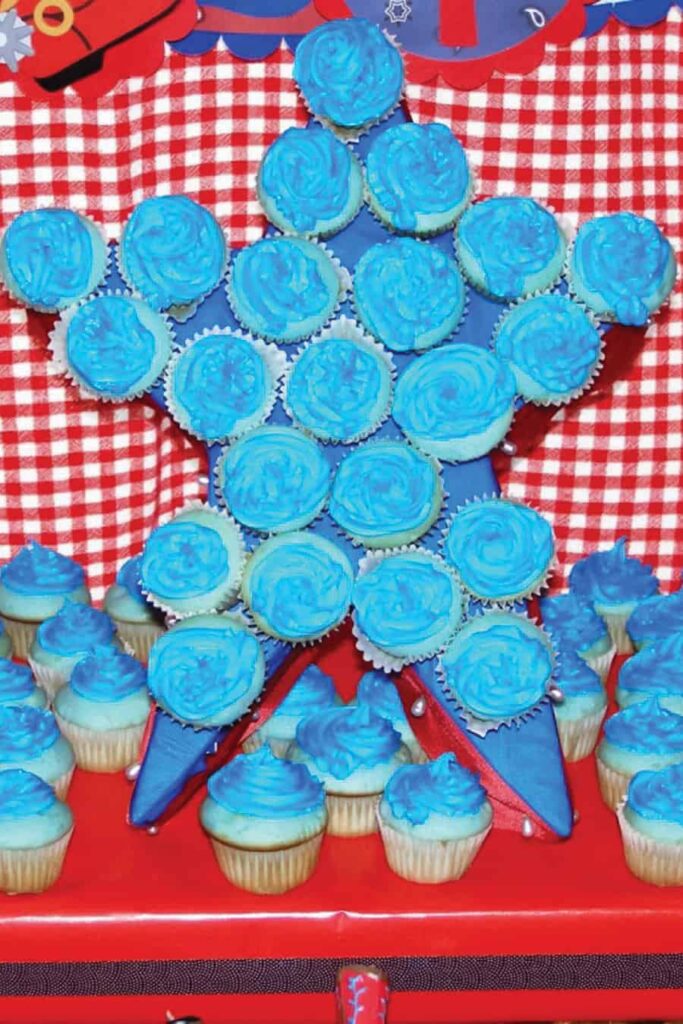
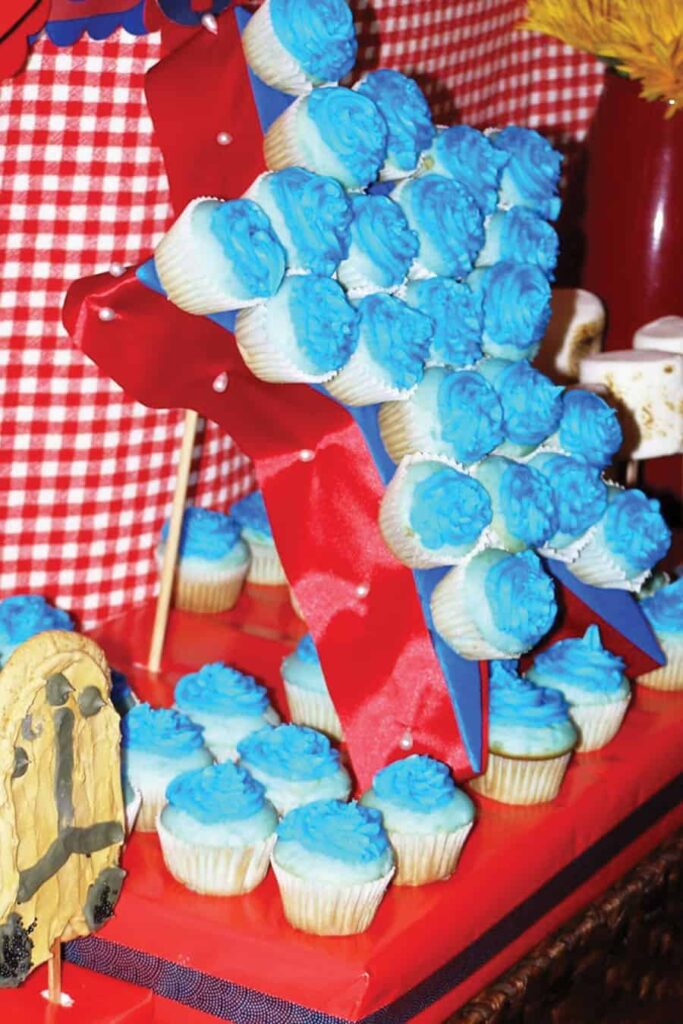
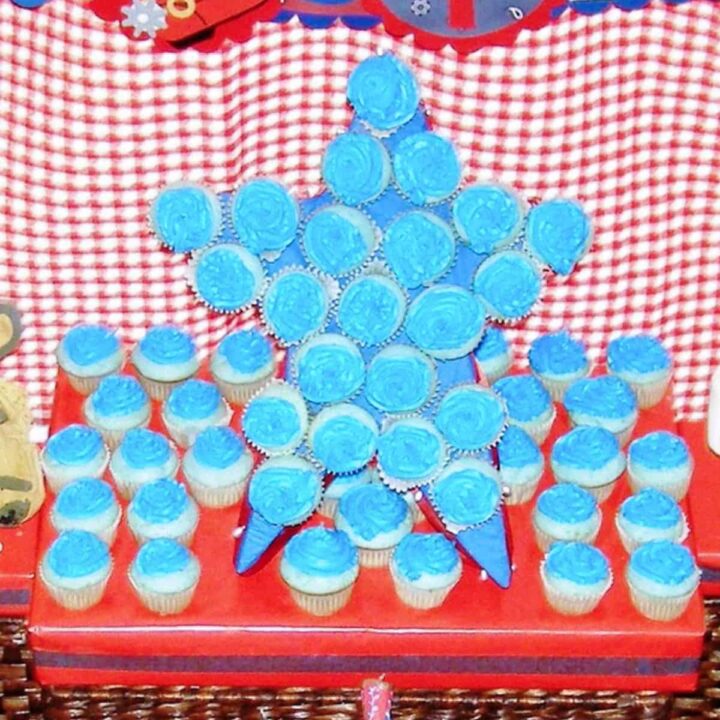
Make this star shaped cupcake stand for your kids superhero party, a cowboy party, or for an amazing July 4th celebration.
There’s been a lot of pruning and updating of old stuff around here lately, and when I looked back and saw this post, I just new it needed to be resurrected.
This tutorial was originally written several years ago by Paula – owner of the Etsy shop Party Like Paula. She originally made the star shaped cupcake stand for her son’s birthday party, but it would be equally amazing on a 4th of July dessert table.
A printer-friendly tutorial is shared at the bottom of the post, but don’t forget to check out Paula’s fantastic tips beforehand. They might just save your bacon!
What You’ll Need:
-
Piece of floral foam about 12 inches square and 2 inches thick (color doesn’t matter)
-
Star shaped template in the size you want your cupcake stand to be
-
Blue plastic tablecloth
-
2 inch thick red ribbon
-
Toothpicks
-
Dowel Rod
-
A sturdy base for your cupcake stand made with foam (e.g. a wrapped piece of floral foam or a container with foam inside)
Tips to Remember:
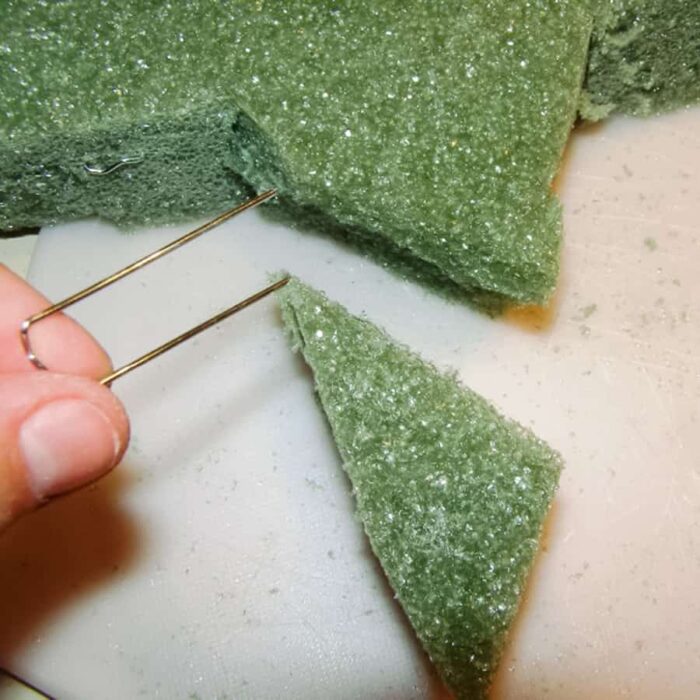
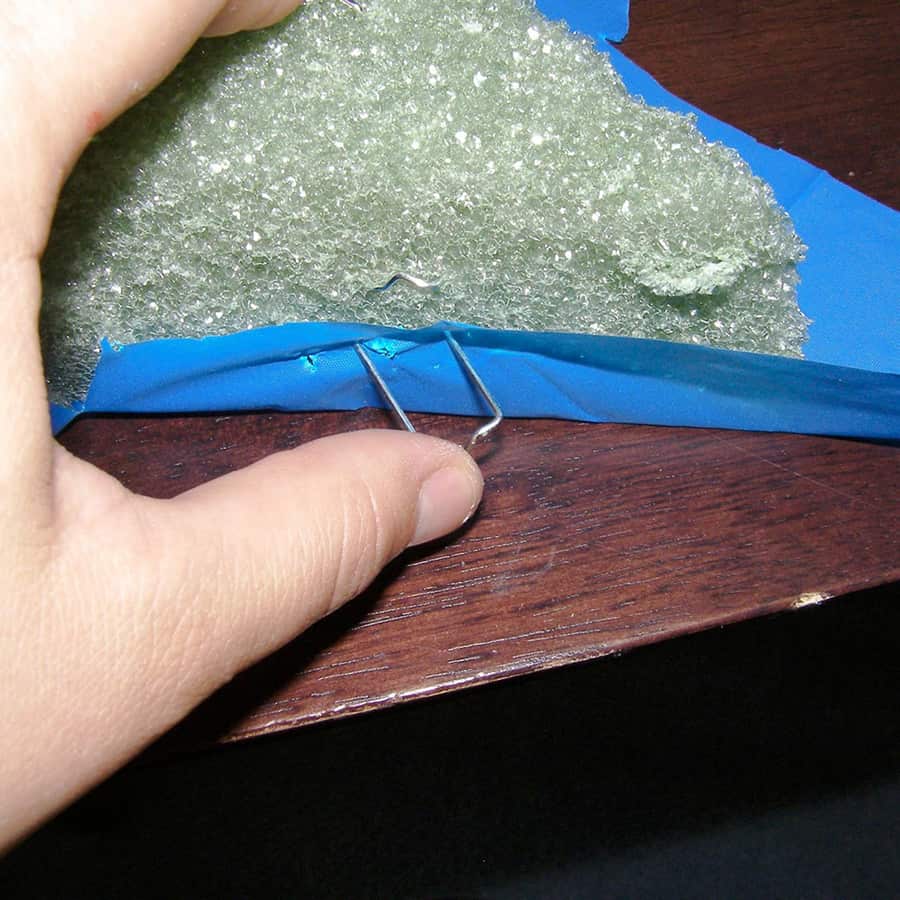
- Foam breaks really easily so don’t fret if you break it. To fix your cupcake stand, just take a metal u-shaped floral pin and pin it back together.
- You may want to add two toothpicks to a few of the the cupcakes near the bottom, as they will bear some of the weight of the cupcakes up higher.
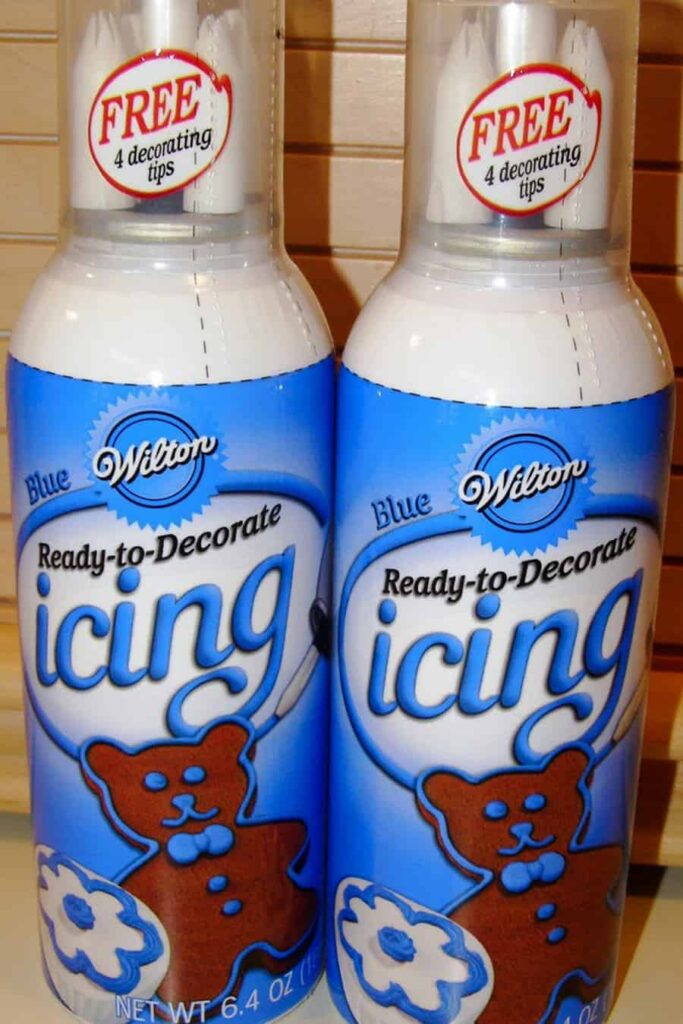
- I usually color my own icing, but when I saw this blue icing in a can with 4 different shaped tips I grabbed it and ran! And it worked like a charm with NO MESS!
More Independence Day Inspiration
- Easy Patriotic Snack Mix
- Free July 4th Party Printables
- Patriotic 4th of July Dessert Recipes
- Strawberry Basil Granita
How to Make a Star Shaped Cupcake Stand
Make this star shaped cupcake stand for your kids superhero party, a cowboy party, or for an amazing July 4th celebration.
Materials
- Piece of floral foam about 11 inches square and 2 inches thick (color doesn't matter)
- Star shaped template in the size you want your cupcake stand to be
- Blue plastic tablecloth
- 2 inch thick red ribbon
- Toothpicks
- Dowel Rod
- U-shaped floral pins
- A sturdy base for your cupcake stand made with foam (e.g. a wrapped piece of floral foam or a container with foam inside)
Tools
- knife
- scissors
Instructions
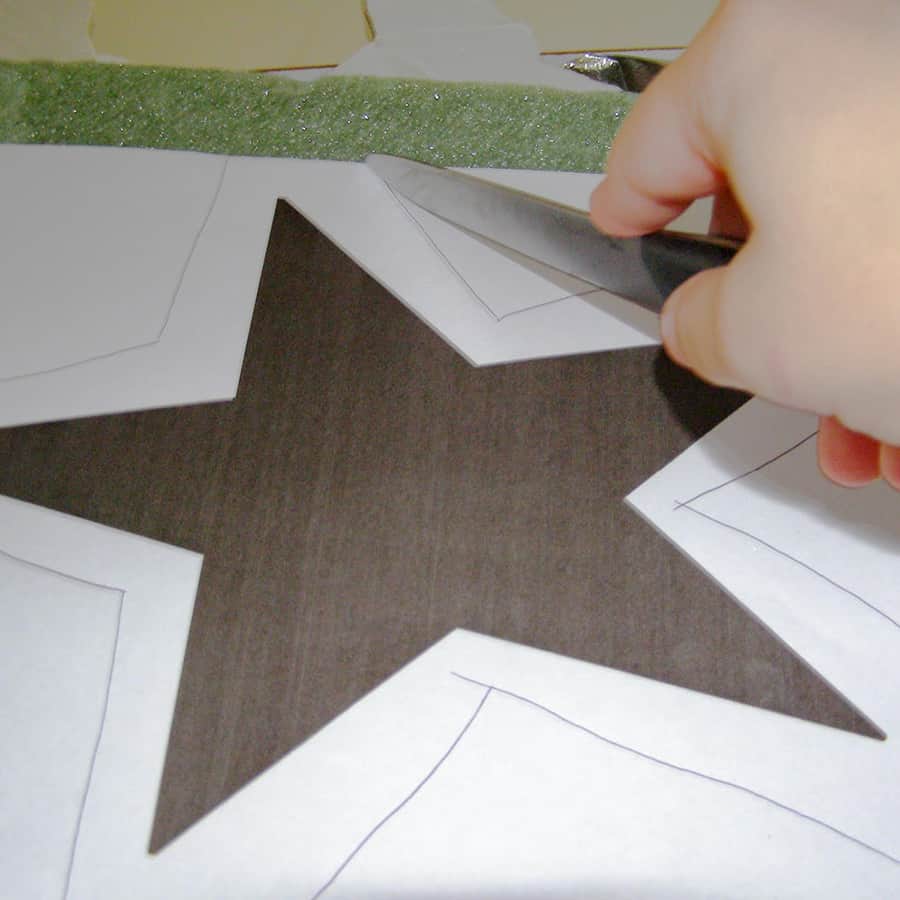
- Place your image on top of the floral foam, making sure that all five corners of the star are within the size of the foam.
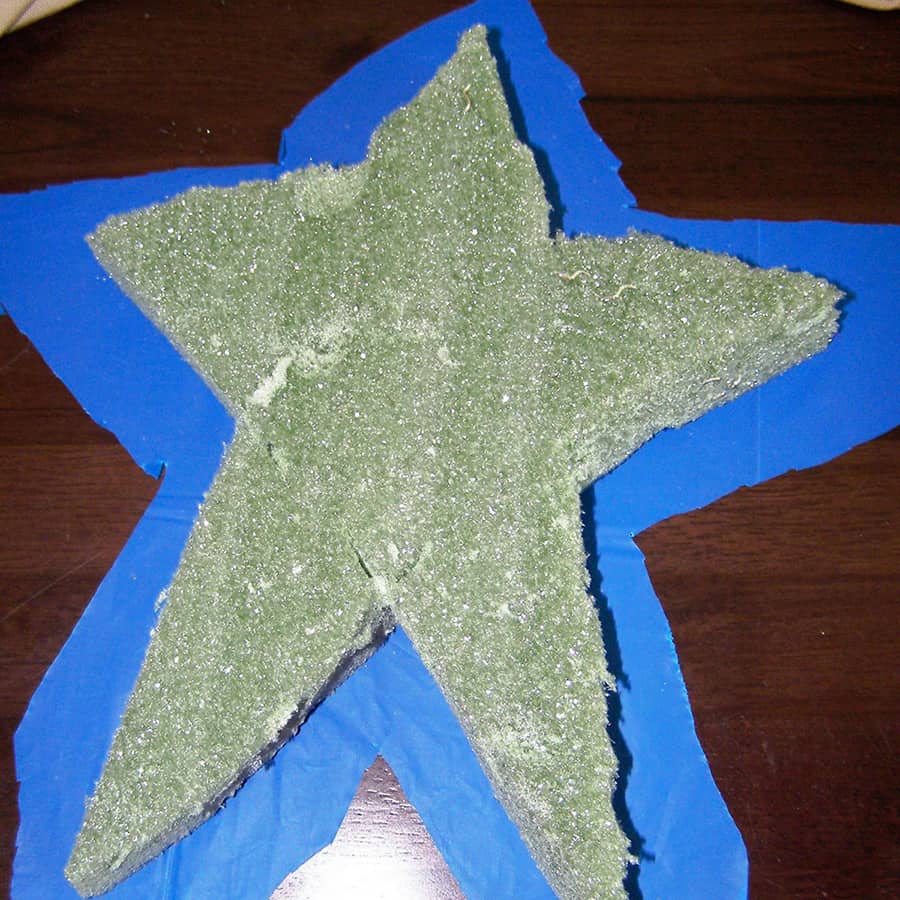
- Using a knife, carefully trace a shallow cut of your template into the foam.
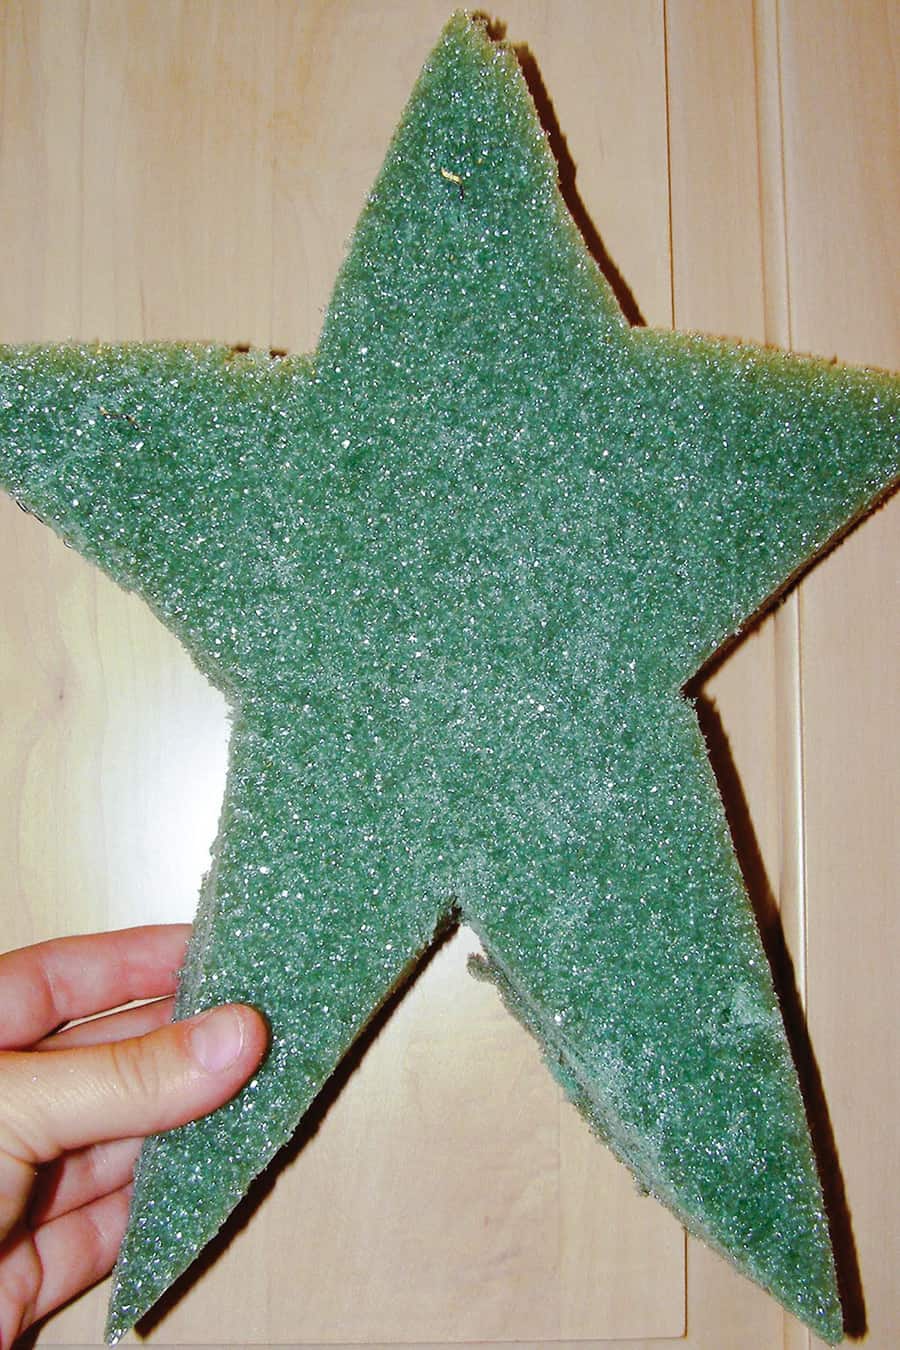
- When you're satisfied with your tracing, remove the paper and cut the foam all the way through using your traced image.
- Now you should be left with a star in floral foam. It doesn’t matter if the star isn't perfect…the cupcakes will hide it!
- Next, cut a star out of plastic table cloth twice the size of your foam star.
- Use U-shaped floral pins to pin the table cloth to the sides of your foam star.
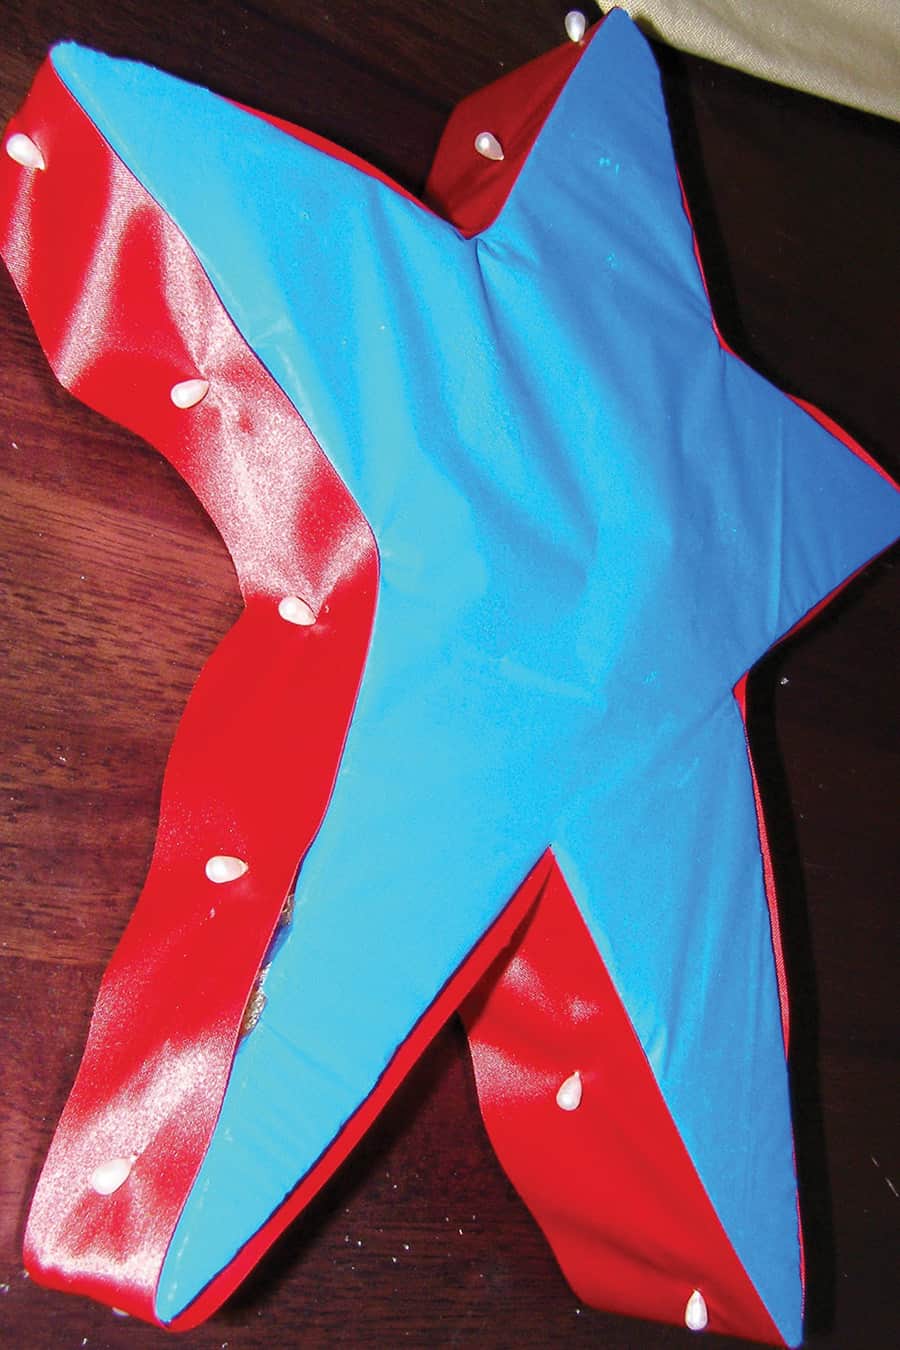
- Add 2 inch ribbon to the sides of the foam star to cover any rough edges. Keep the ribbon in place with pearl headed pins.
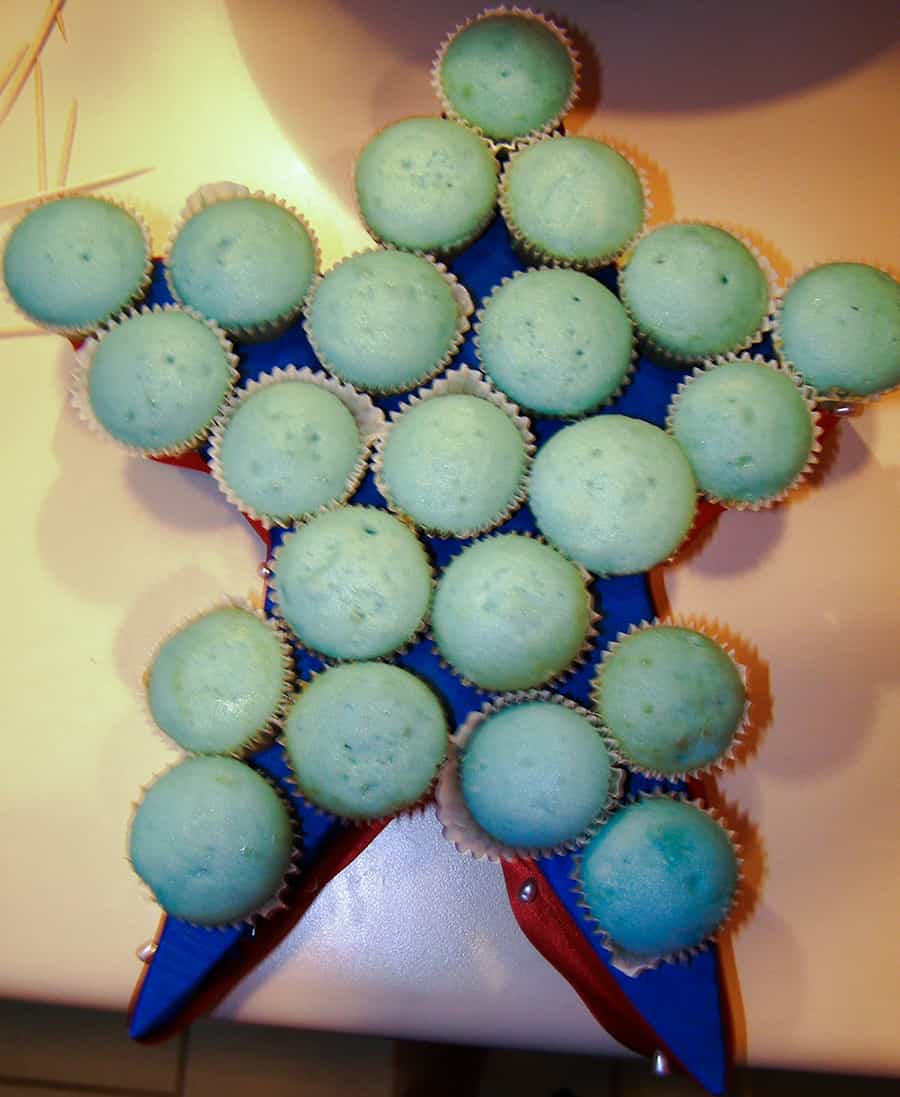
- Arrange your unfrosted mini cupcakes on the foam star
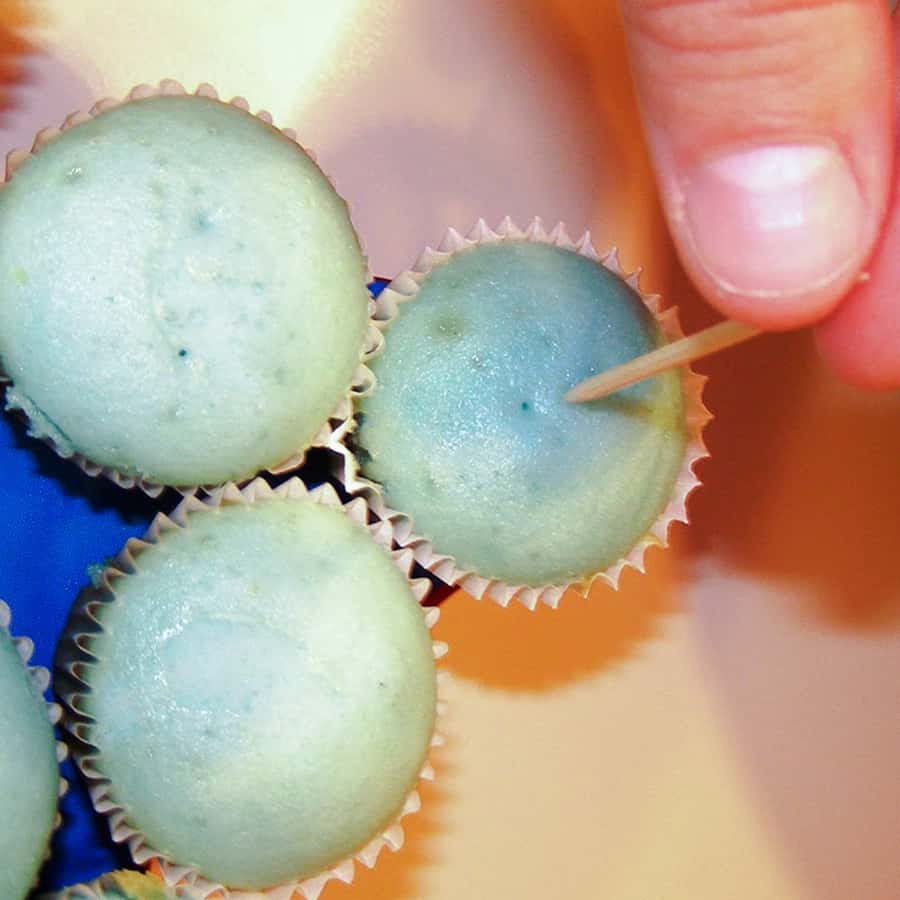
- When you're satisfied with their arrangement, take a toothpick and pierce the top of the cupcake, pushing all the way until you can feel it enter the foam. The tip of the toothpick will show…no biggie. We’ll cover it with icing in a bit!
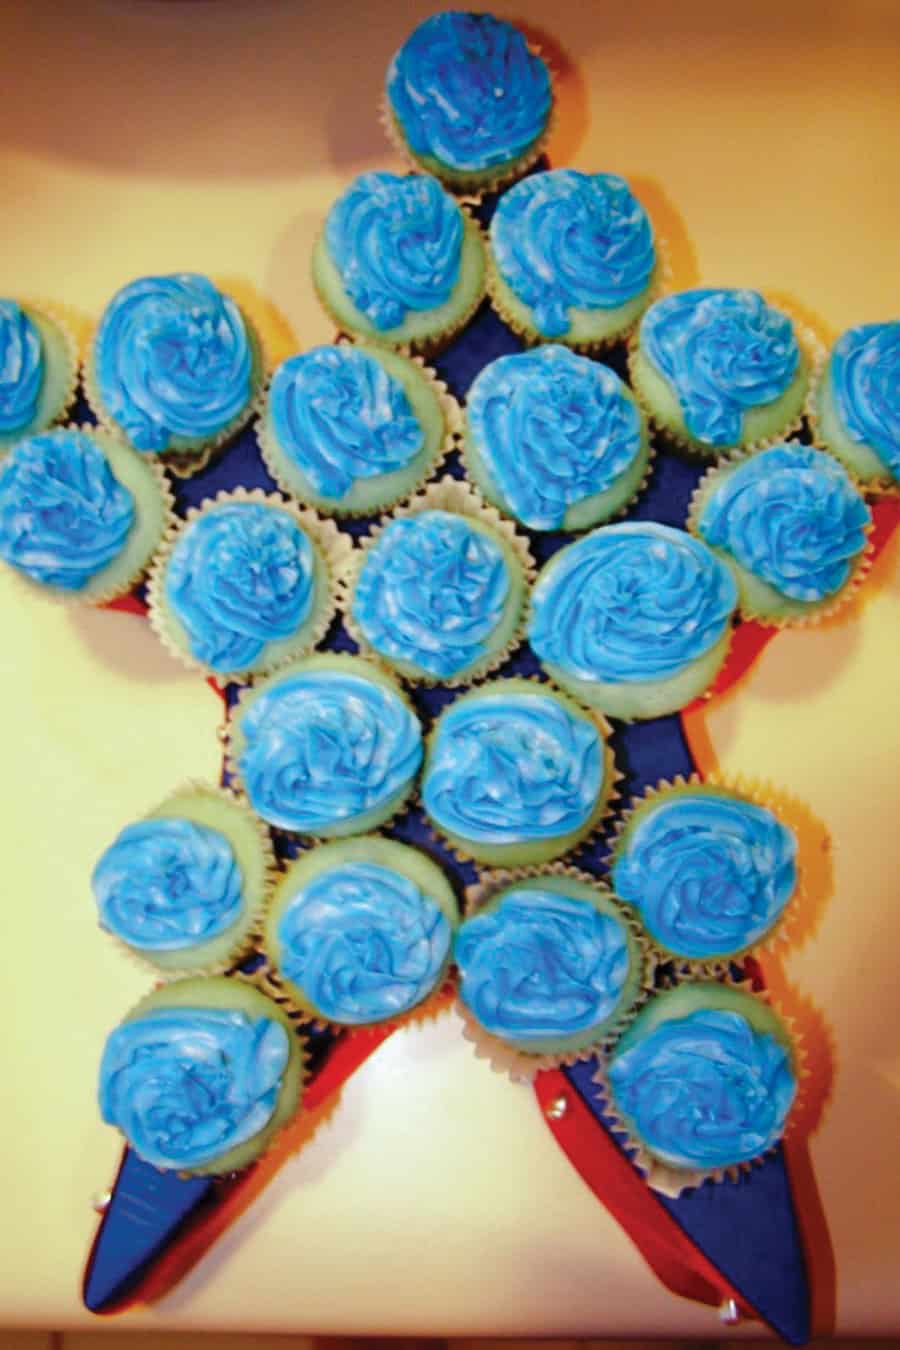
- Next, pipe your colored frosting on top of the cupcakes using either a piping tip or prepared canned frosting.
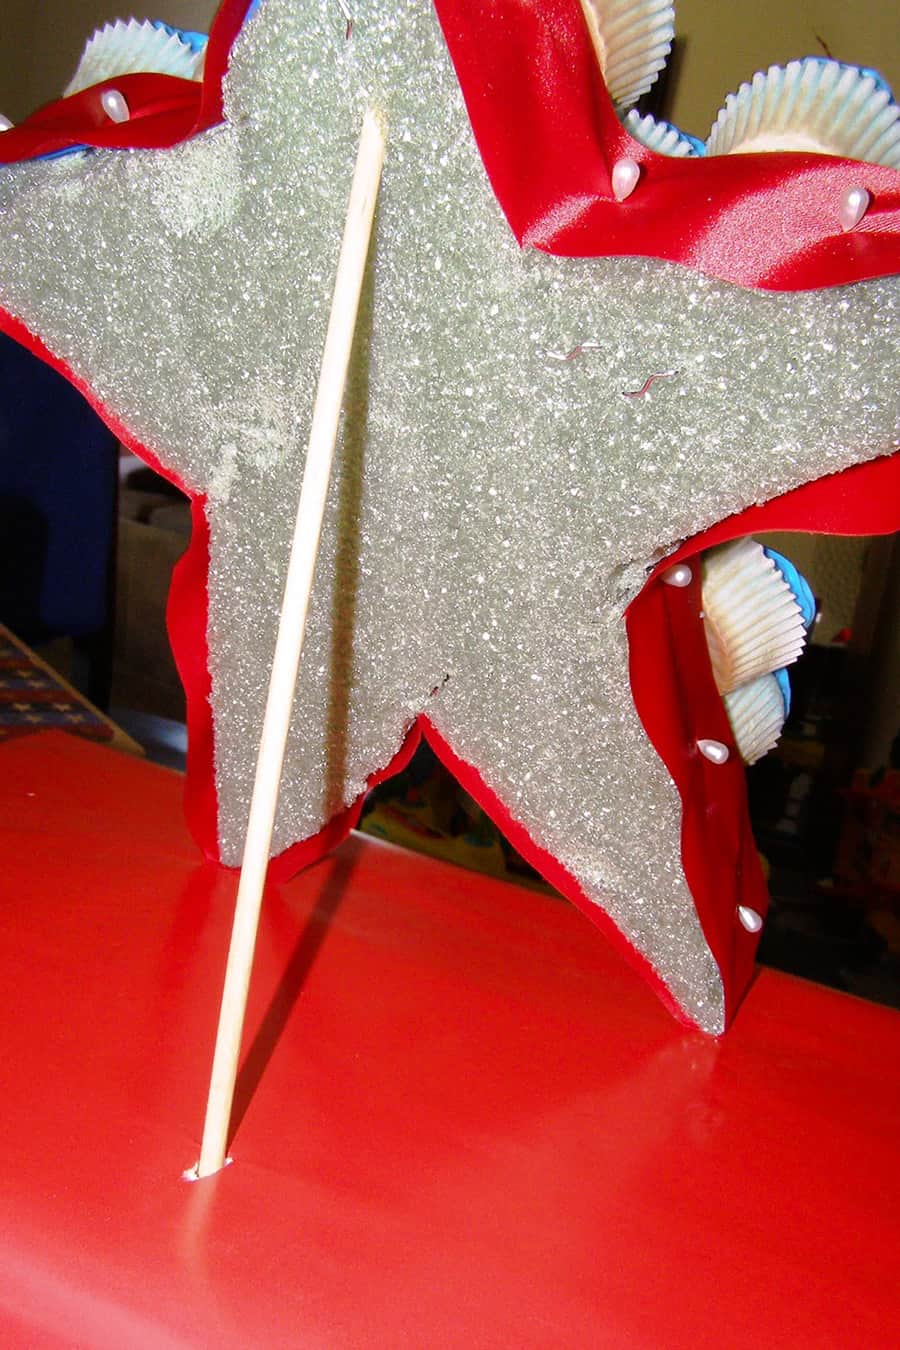
- Ok now here’s the tricky part…you need to stick your dowel rod at the correct angle into your base and CAREFULLY push the back of your shape onto the dowel rod. I would suggest waiting until right before the party to do this part because it makes transporting it easier!
Notes
- Foam breaks really easily so don’t fret if you break it. To fix your cupcake stand, just take a metal u-shaped floral pin and pin it back together.
- You may want to add two toothpicks to the cupcakes near the bottom, as they will bear some of the weight of the cupcakes up higher.
- I usually color my own icing, but when I saw this blue icing in a can with 4 different shaped tips I grabbed it and ran! And it worked like a charm with NO MESS!







JC's Loft says
Thanks for having me : )
Paula