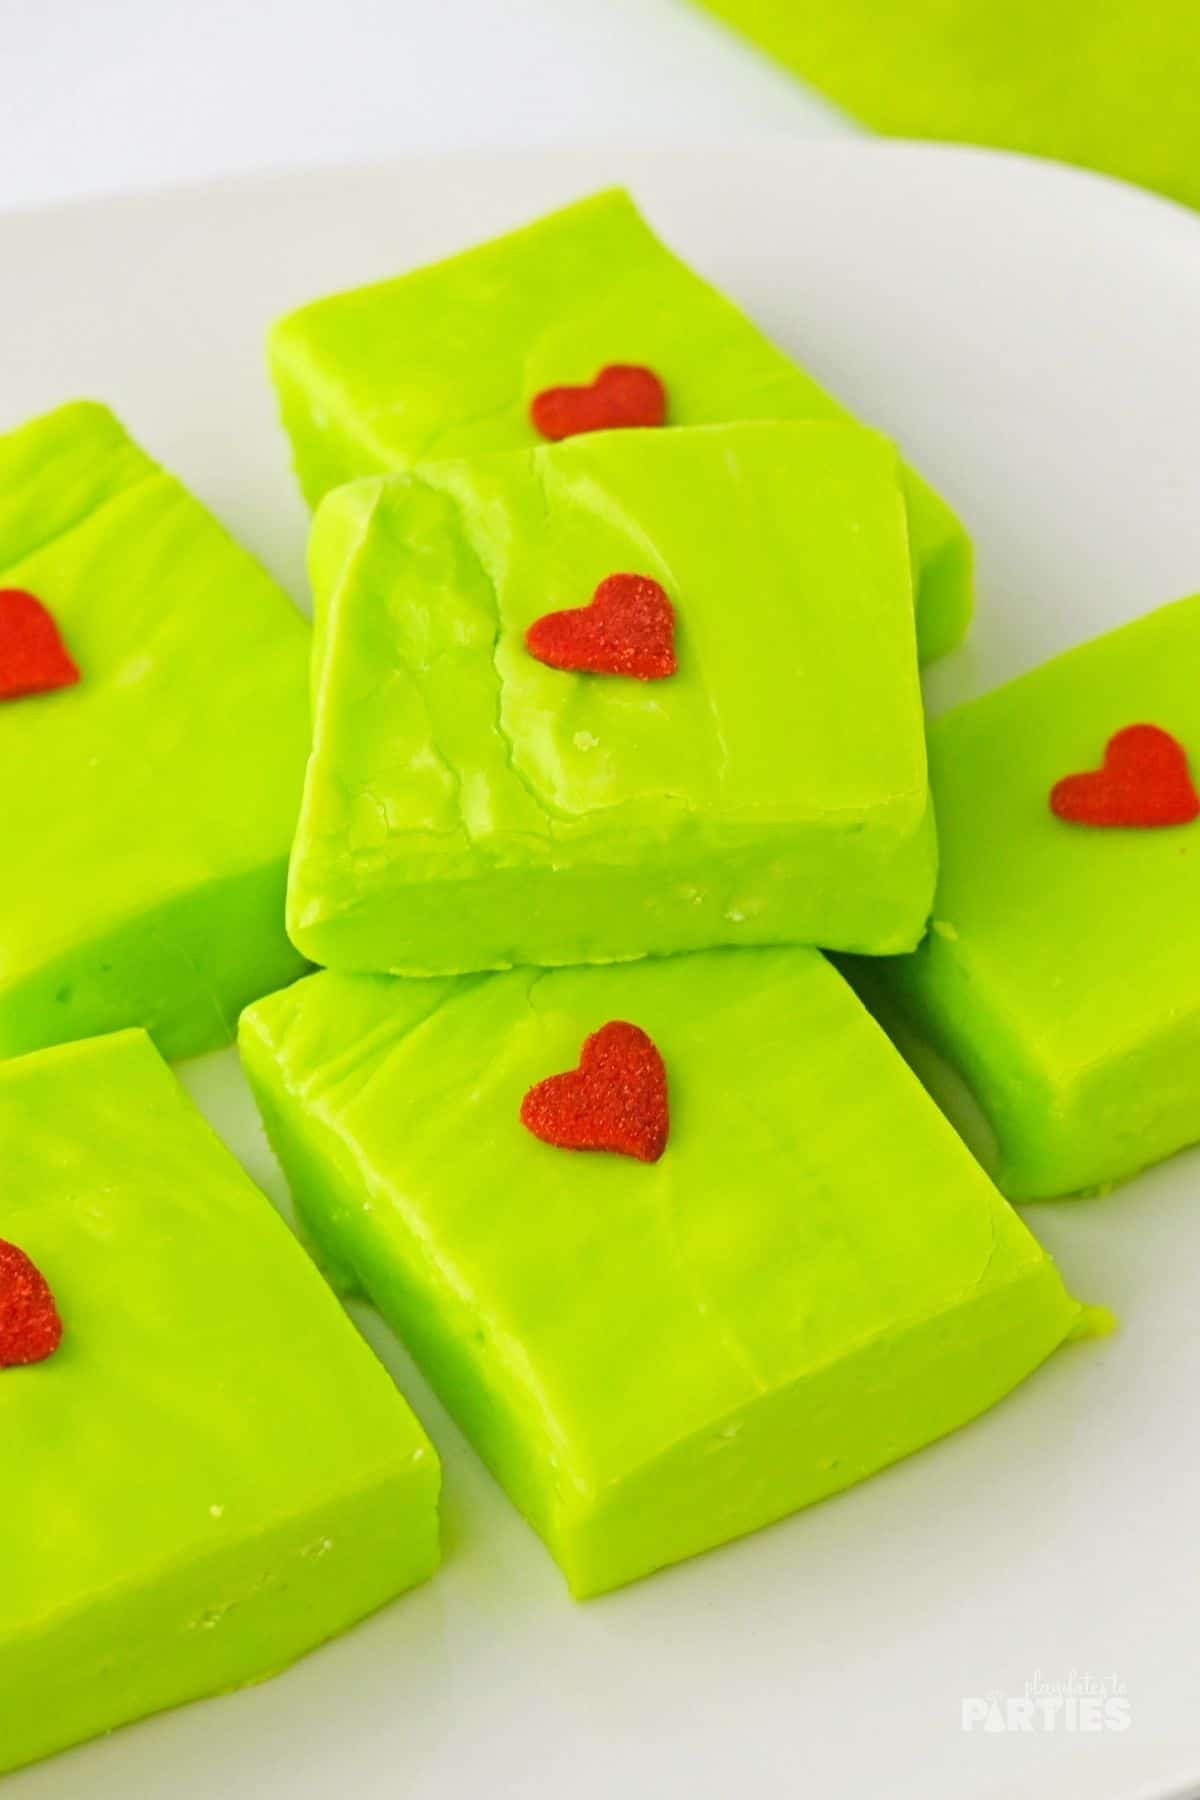
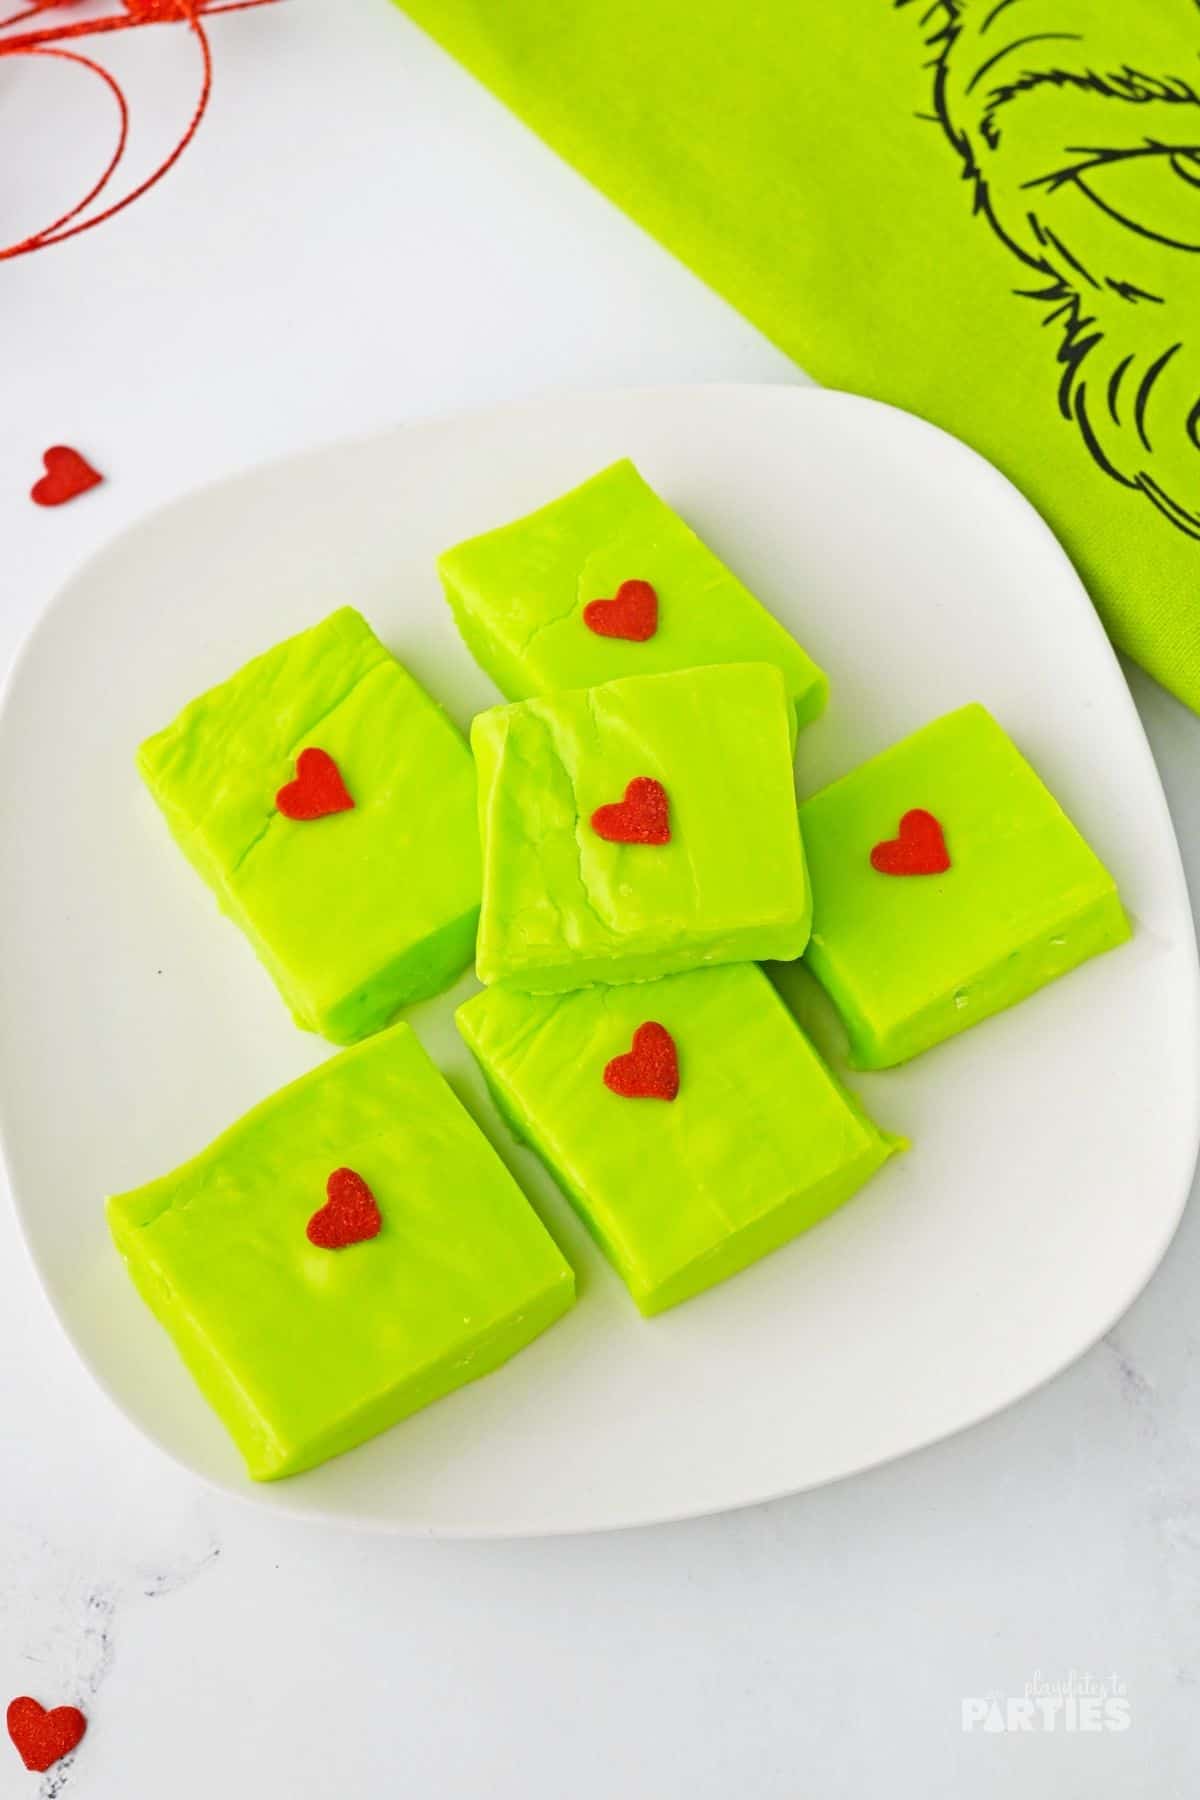
If you’re on the hunt for the most whimsical, heartwarming confection on this side of Whoville, look no further. Grinch Fudge – a delightfully green treat inspired by Dr. Seuss’ most lovable grump is as foolproof as it is fun.
With its vibrant green hue, topped off with a charming heart sprinkle, this fudge is not just a dessert – it’s a centerpiece! So grab your spatula, channel your inner Who, and get ready to make merry with the sweetest addition to your Grinch party or Christmas dessert spread.
Why You’ll Love This Grinch Fudge Recipe
- A festive and unique dessert idea that’s perfect for Grinch-themed parties or any Christmas celebration.
- Simple enough that you can get the kids involved (with plenty of supervision, of course.)
- The vibrant green color and adorable heart sprinkle will bring Dr. Seuss’ beloved character to life on your dessert table.
- Smooth and creamy texture with a deliciously sweet flavor that will satisfy any sweet tooth.
What You’ll Need:
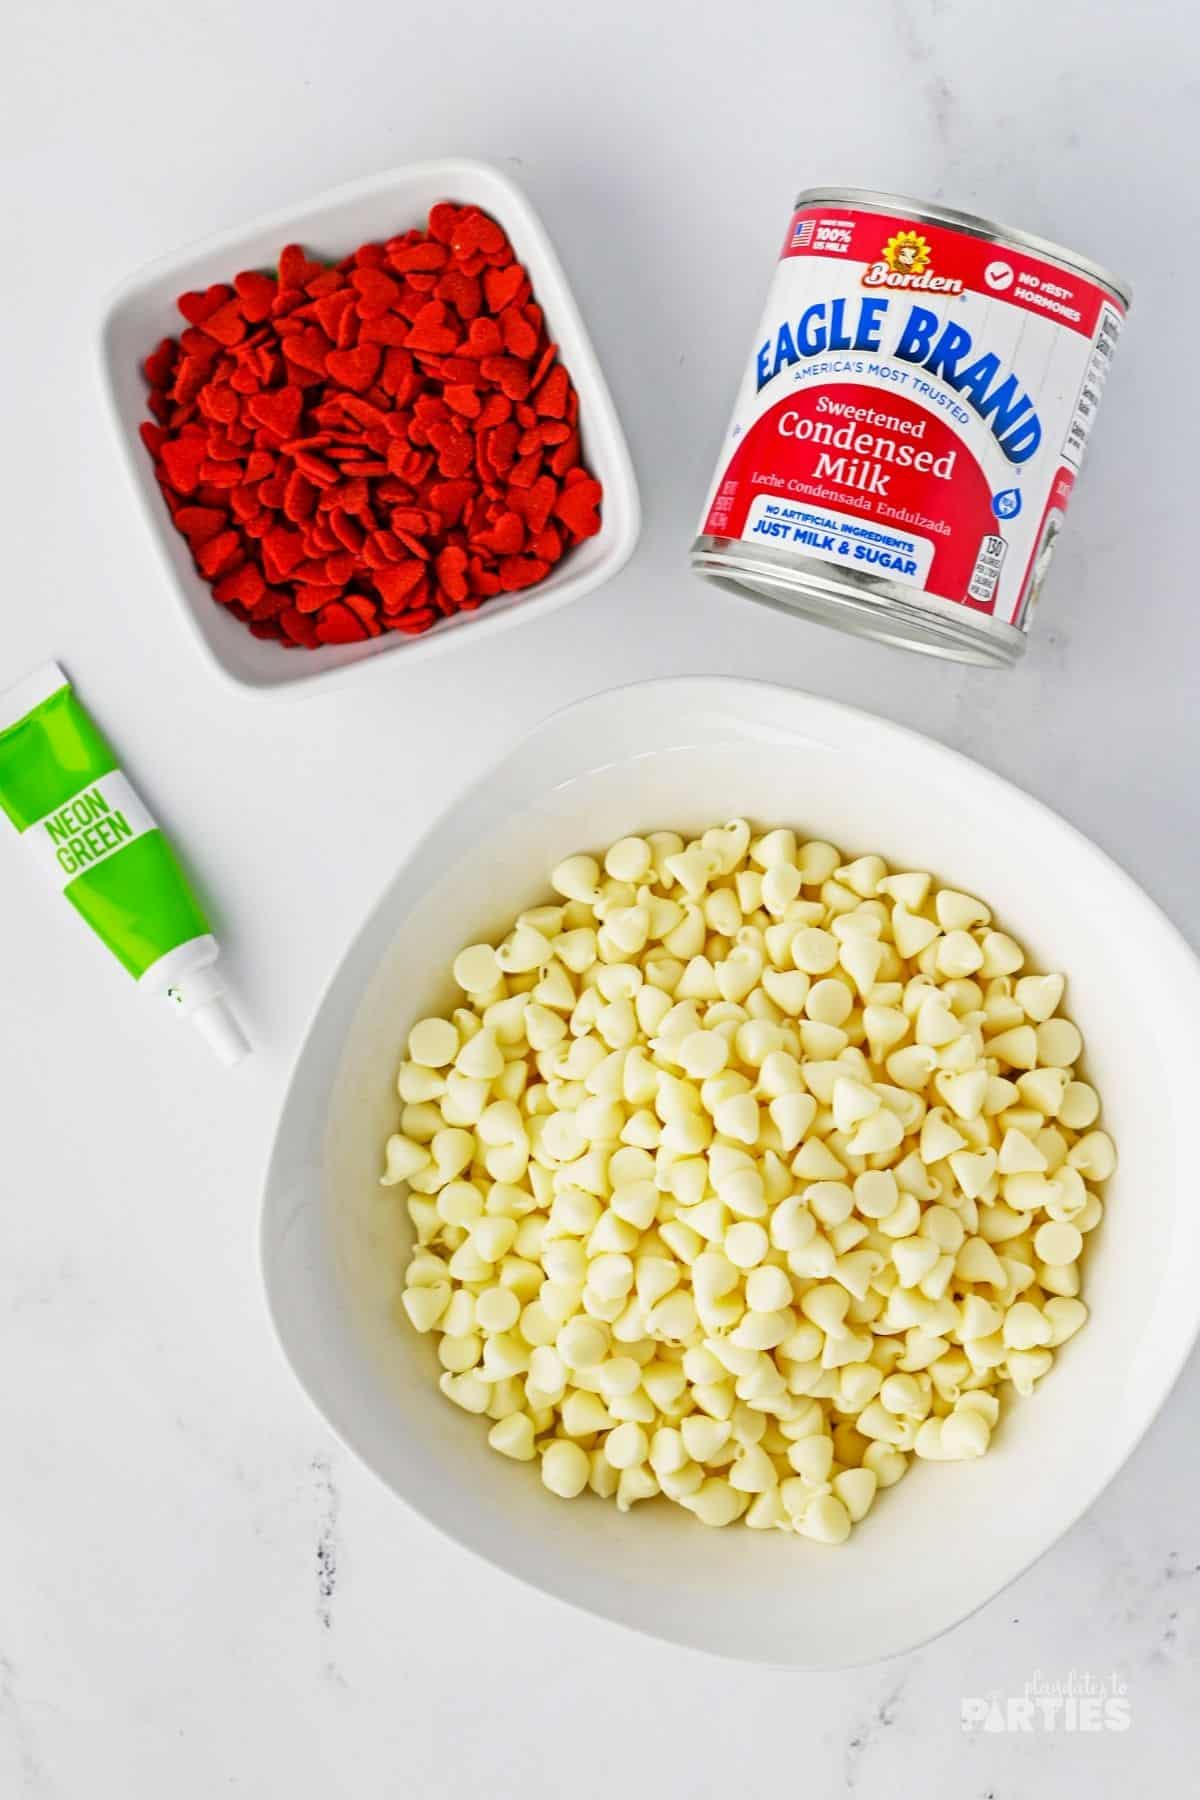
Ingredients:
- White chocolate chips
- Sweetened condensed milk
- Salt, optional
- Neon green food coloring
- Jumbo heart sprinkles
Equipment:
- 8×8 baking dish
- Parchment paper
- Double boiler, or a pot and a heat-safe mixing bowl
- Silicone spatula
- Sharp knife
How to Make Grinch Fudge
To make things even easier for you, I created a simple step-by-step photo guide below. For all measurements and a more detailed guide, check out the recipe card at the bottom of this page.
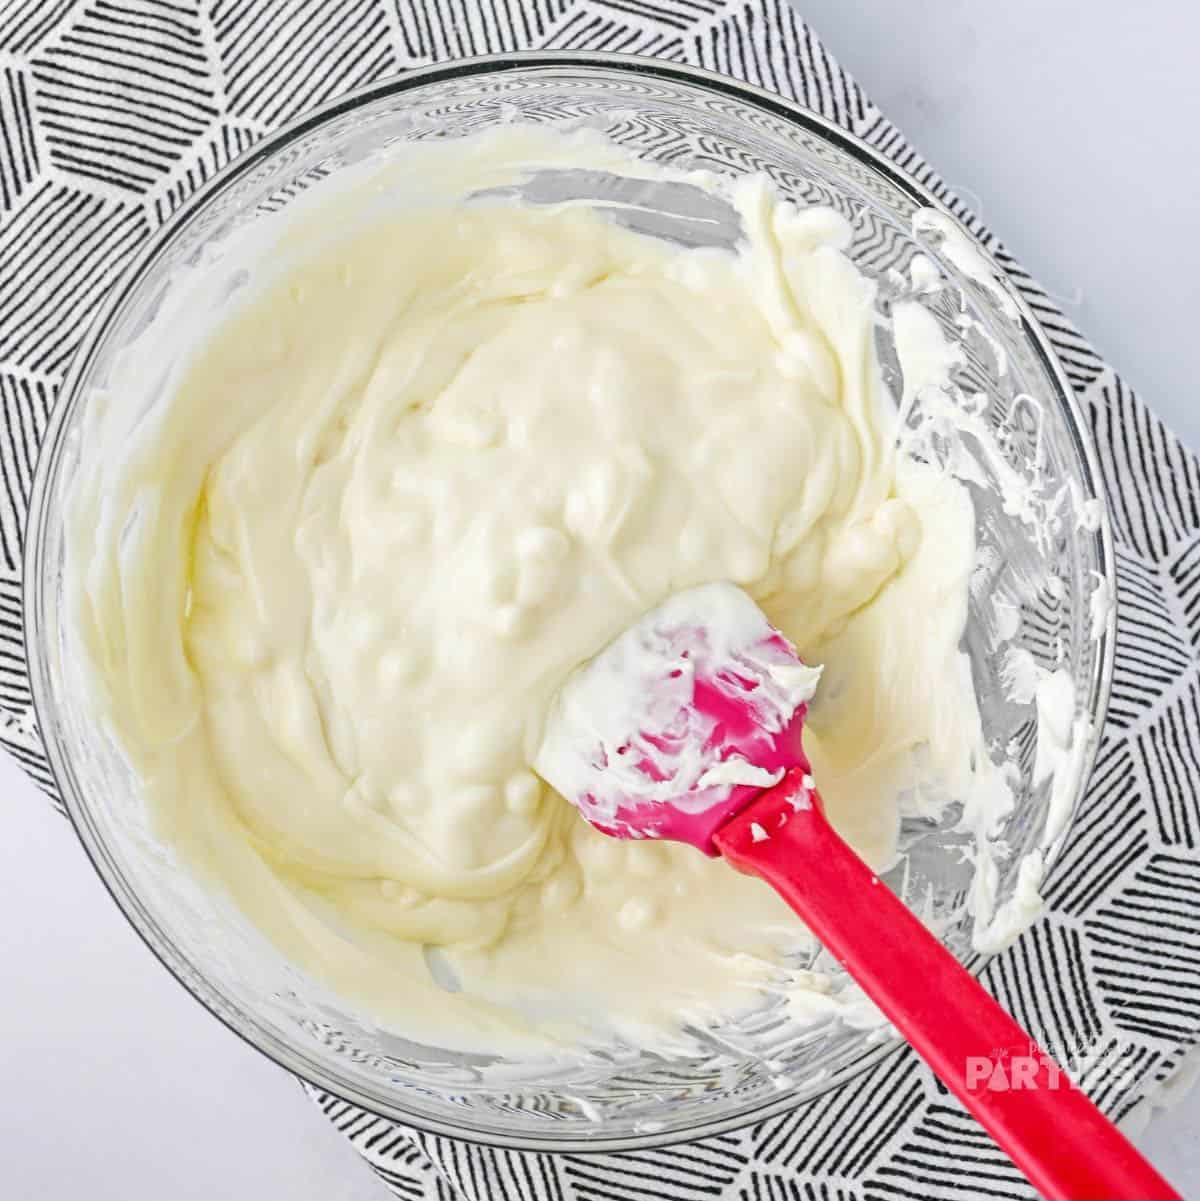
Step 1 – Over a double boiler, gently melt the white chocolate, stirring frequently.
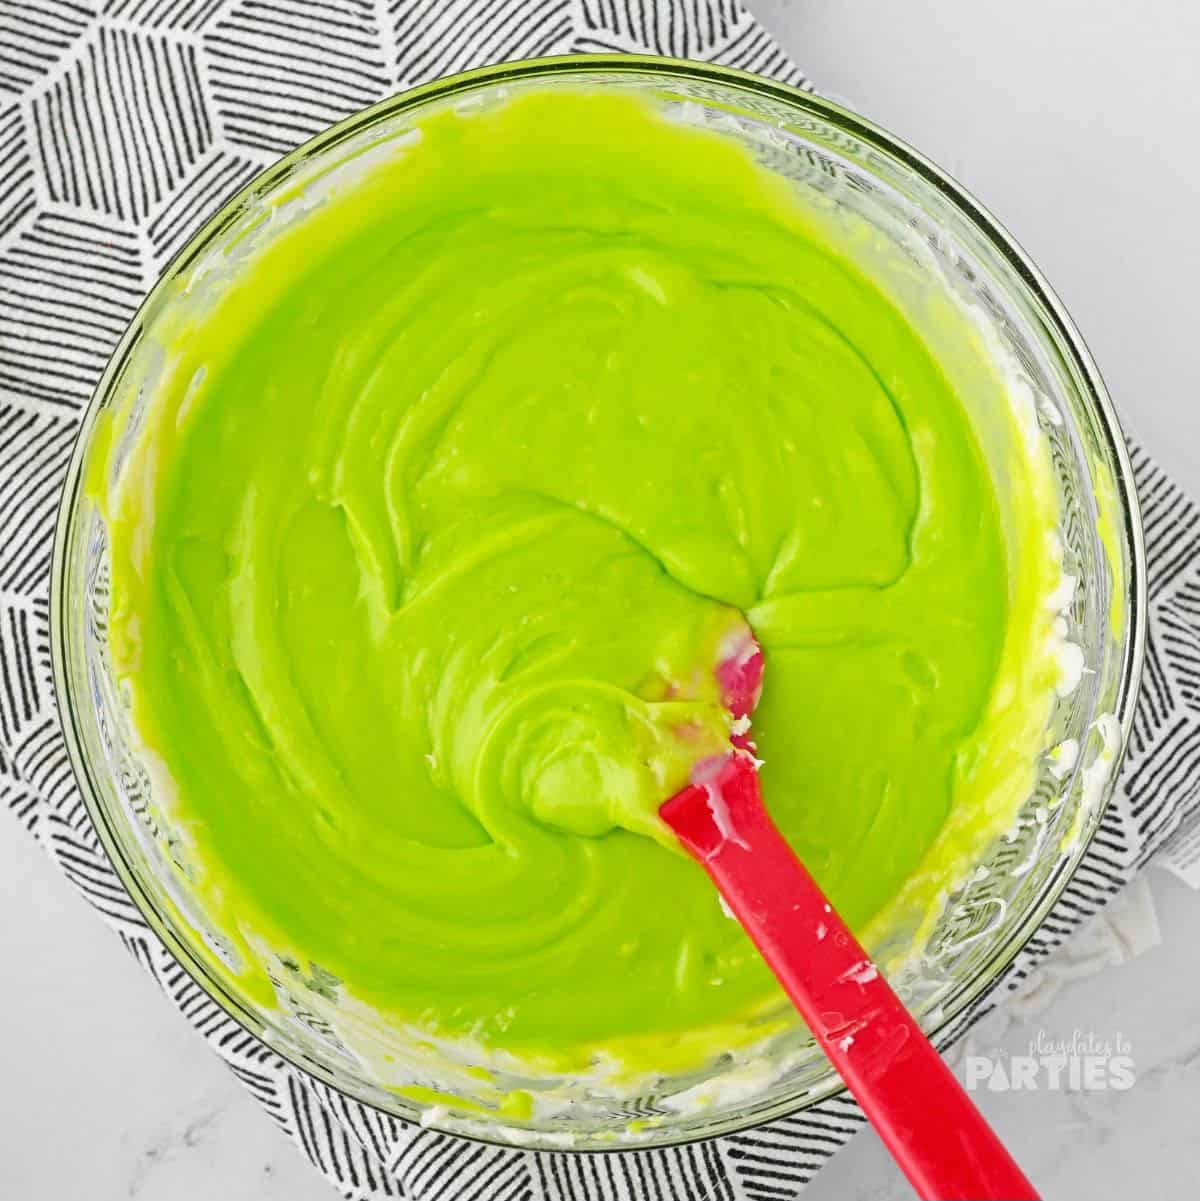
Step 2 – When the chocolate is melted and smooth, add the sweetened condensed milk and 1/4 teaspoon food coloring. Stir well to combine and distribute the green color evenly. Add more food coloring if necessary.
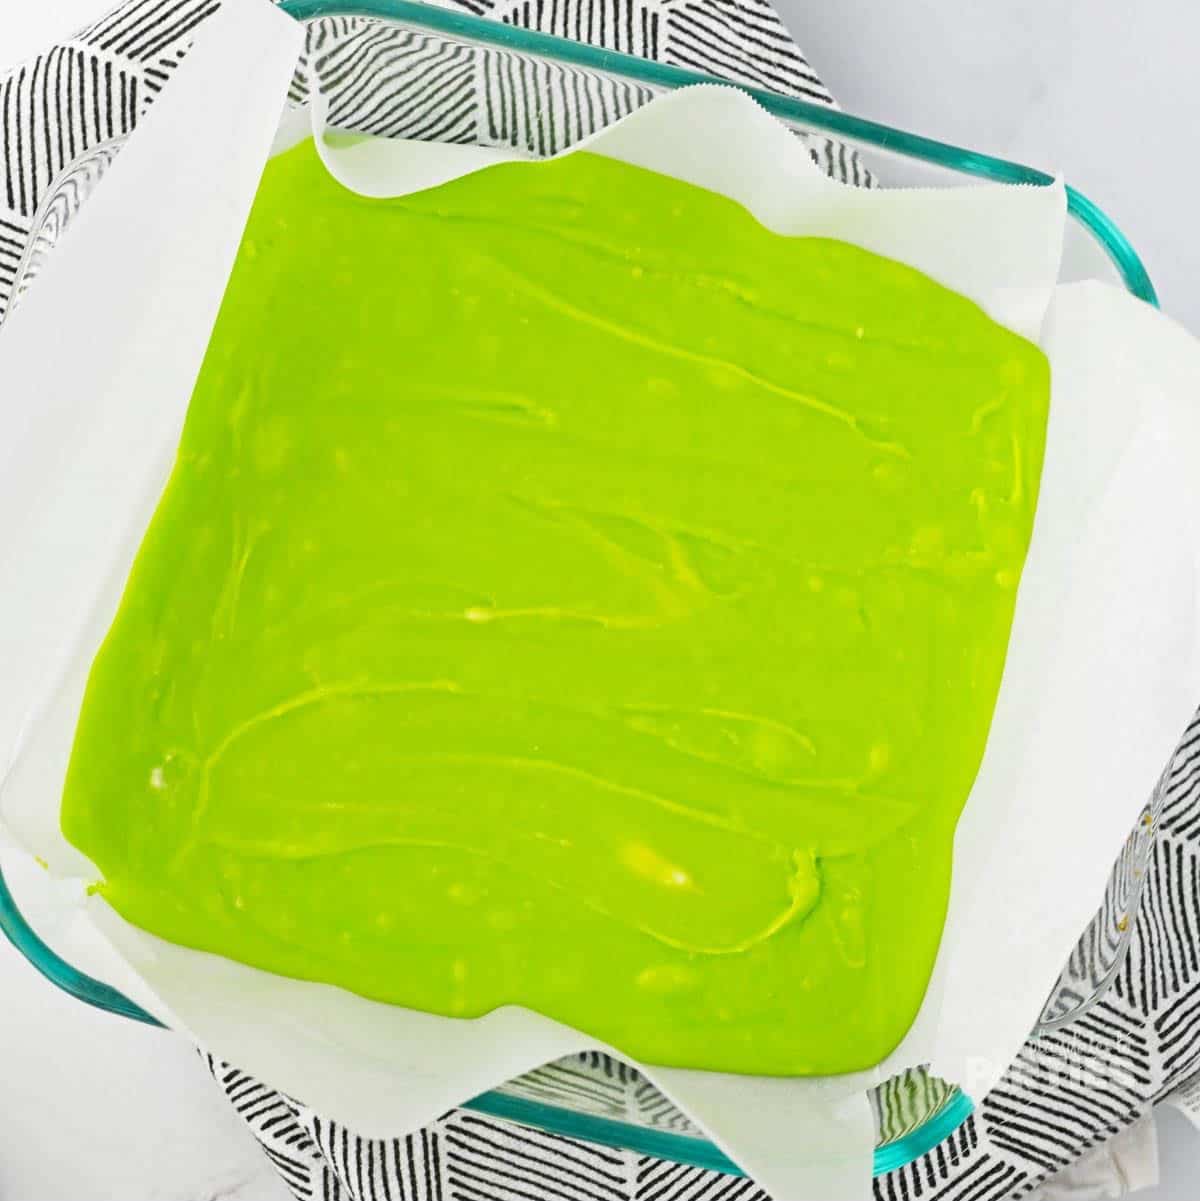
Step 3 – Immediately pour the fudge into a pan prepared with parchment paper. Gently tap the pan on the counter 3 or four times. into the baking dish, and tap it gently on the counter a few times to knock out any air bubbles and level off the mixture. Allow the fudge to cool down to room temperature before moving it to the refrigerator. Chill until set, about 4 hours.
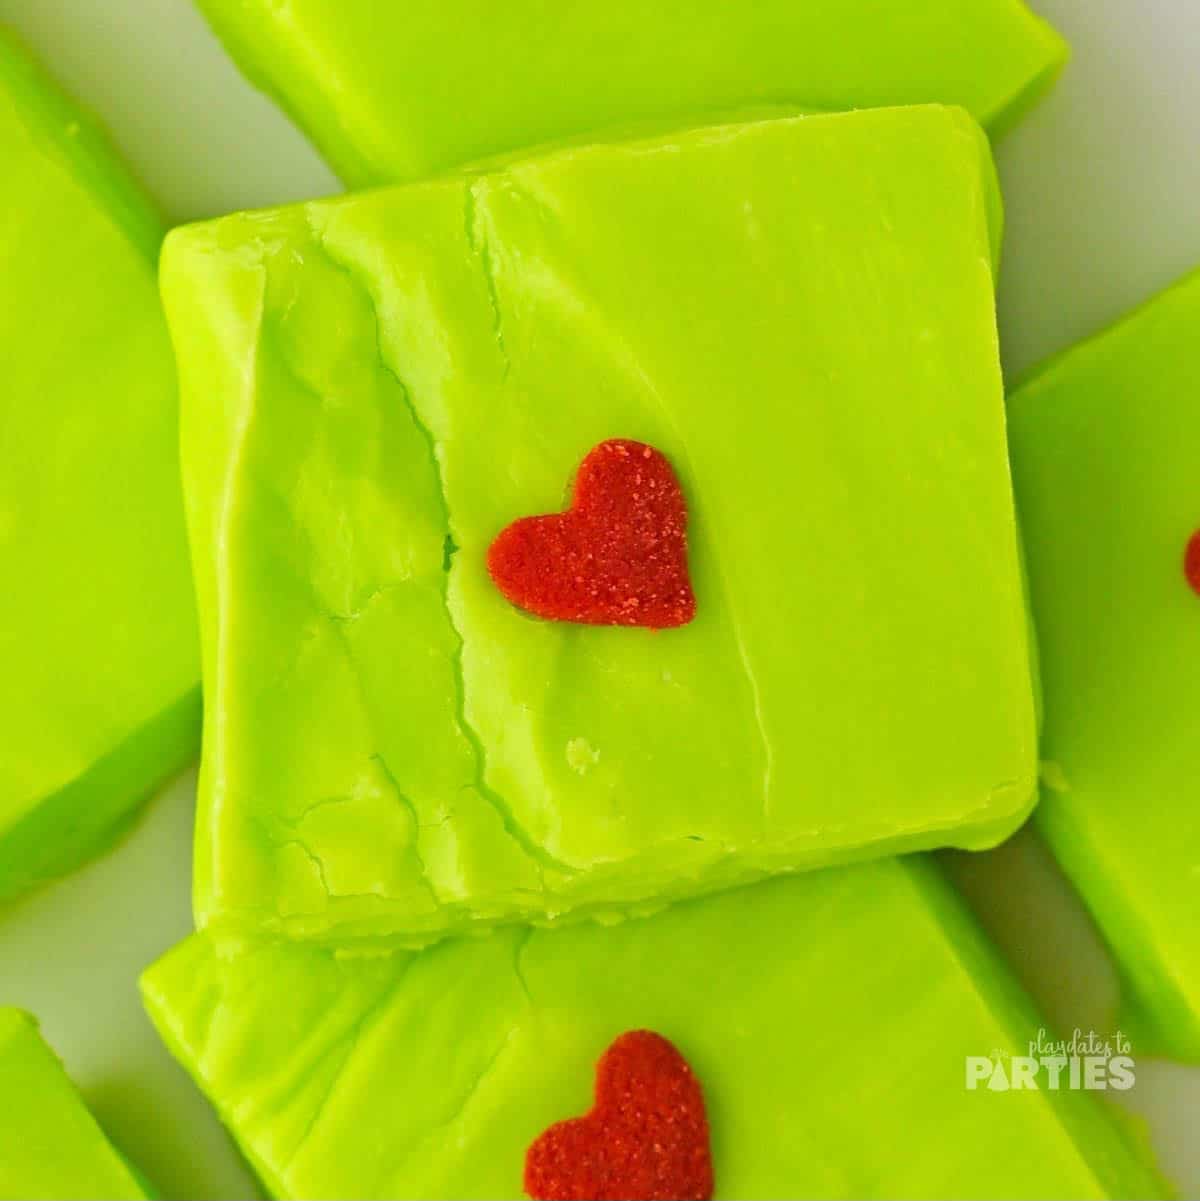
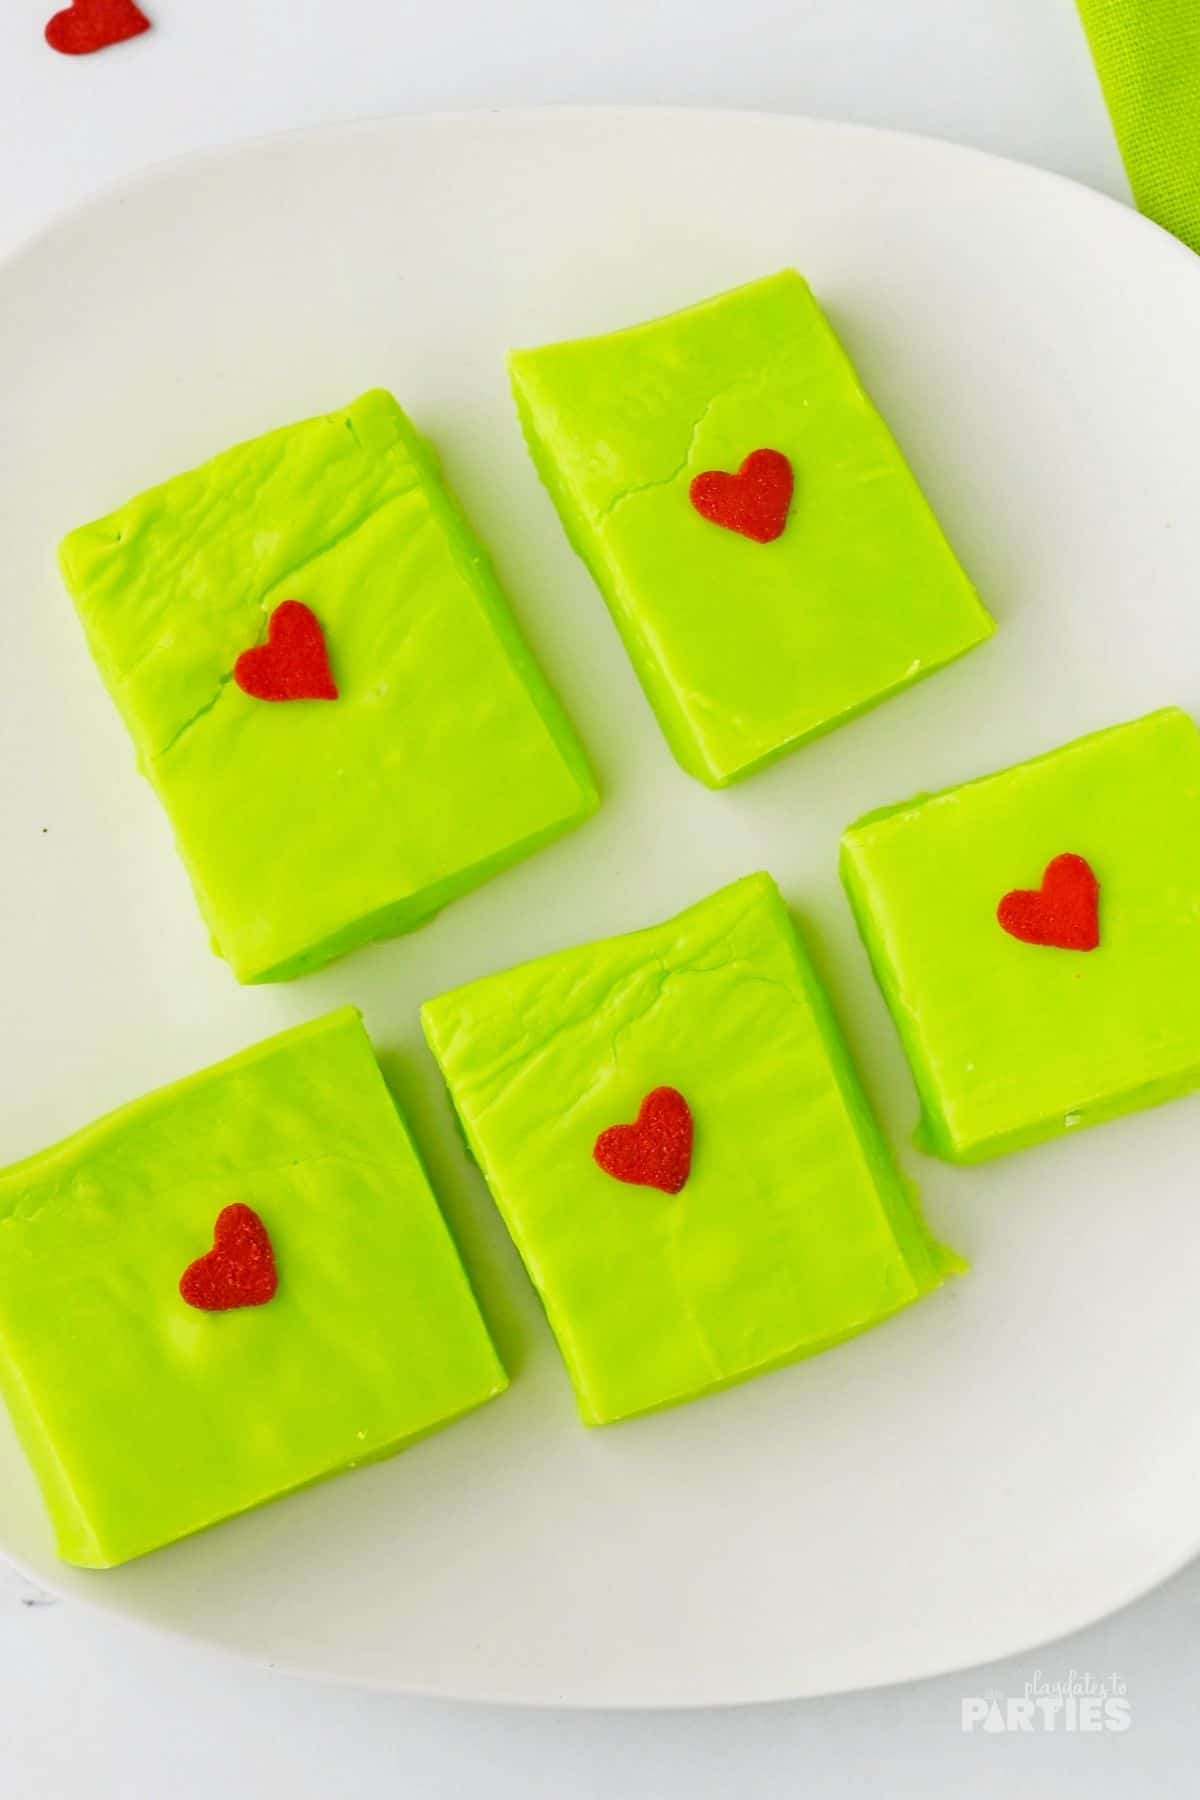
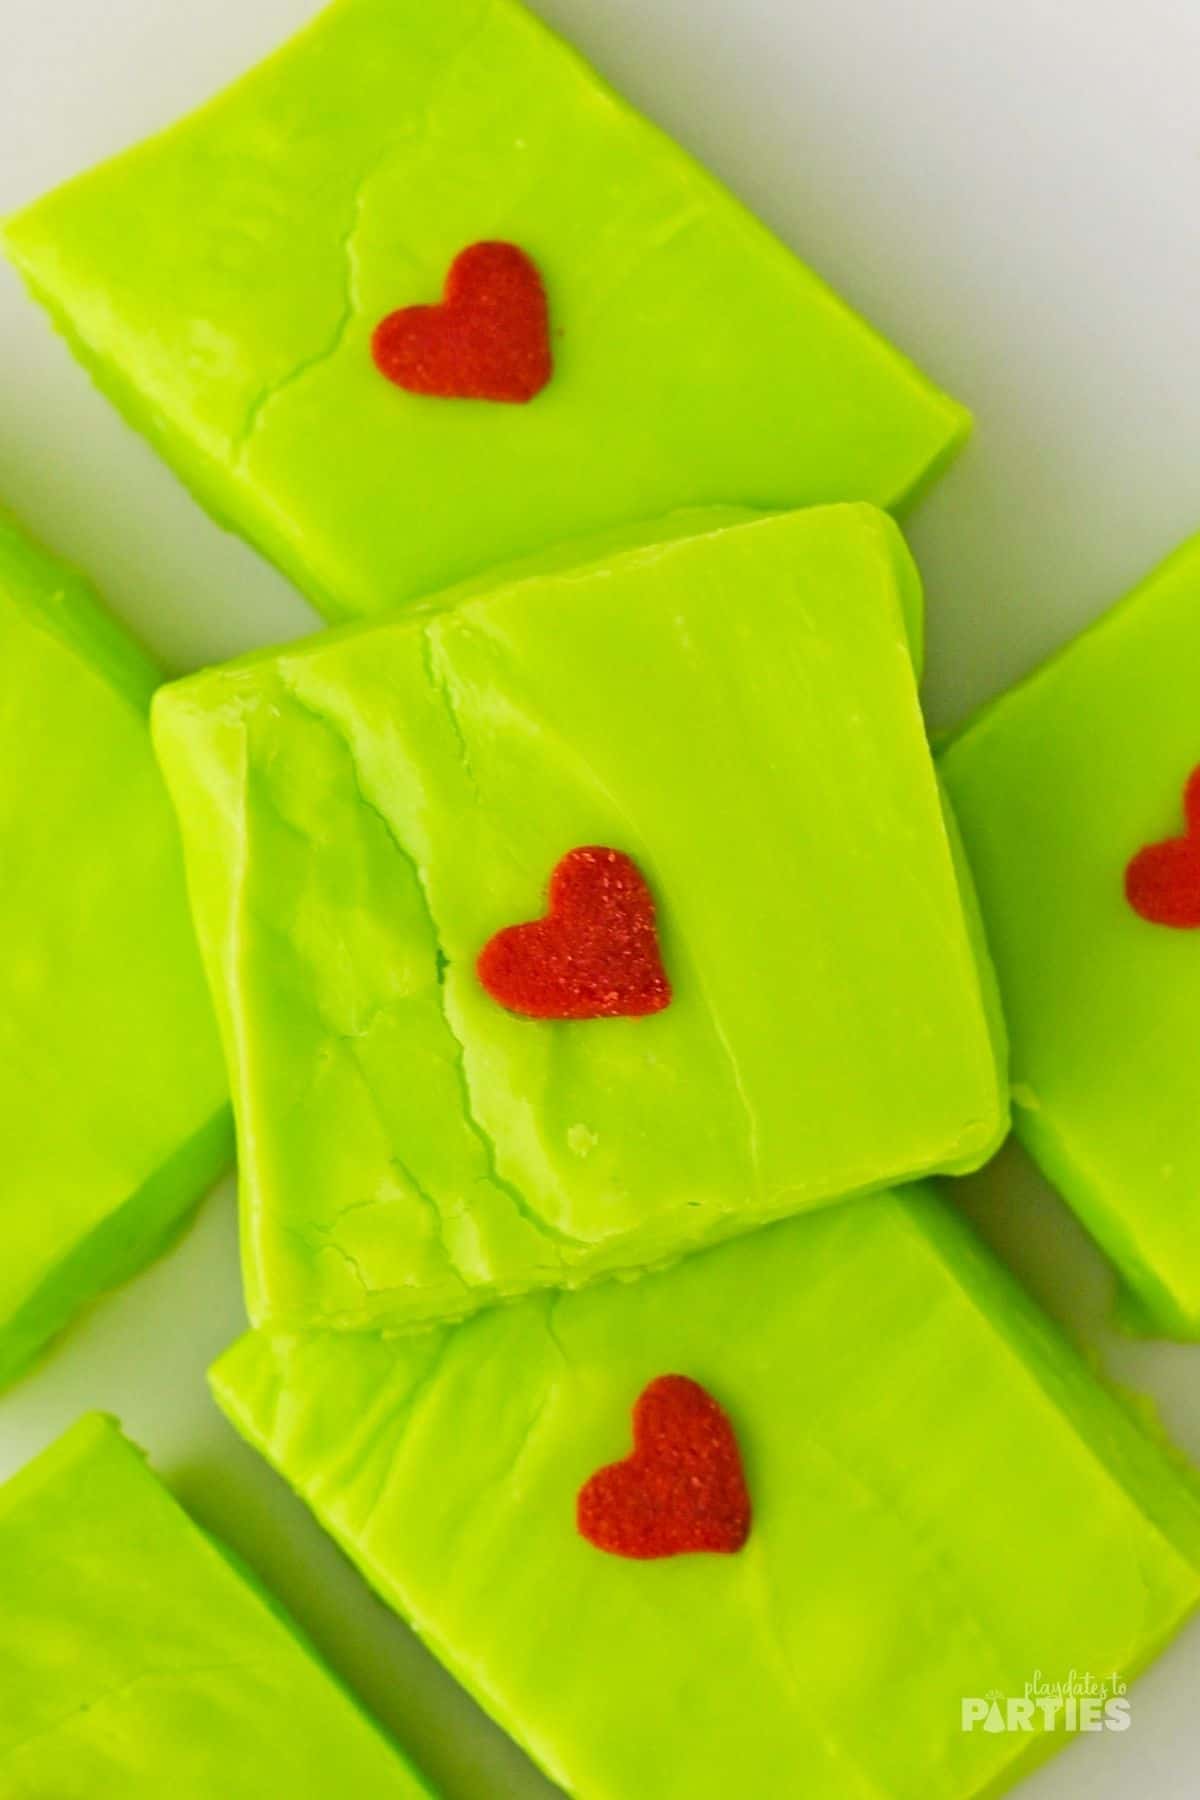
Step 4 – Use a sharp knife to cut the fudge into 1-inch squares. Press a jumbo heart sprinkle into each piece before serving.
Essential Tips:
Don’t skip these tips – read them before starting to avoid any potential mistakes.
- While you can use liquid food coloring, gel food coloring will produce a more vibrant result.
- Don’t skip tapping the pan on the counter. Tapping the pan releases air bubbles and helps the fudge level out in the pan so you get nice and even slices.
- Don’t overheat your chocolate mixture or it can seize up and become unusable. Stir frequently and keep an eye on the temperature. (Learn more about how to melt chocolate)
Frequently Asked Questions:
While I typically only recommend oil-based food coloring when working with chocolate, this is one of those wonderful times you can use regular gel food coloring. Why? There’s enough sweetened condensed milk in the recipe to prevent the chocolate from seizing up.
Don’t panic! You can fix this pretty easily. Pop it in the freezer for about 10-20 minutes to help firm it up. Just be careful not to leave it in there too long
For future reference, this usually means that there was too much moisture in your recipe. This can be due to a difference in the amount of paraffin in the chocolate chips, or if your sweetened condensed milk is thinner than usual. If your milk appears to be too thin, you can add about a quarter cup extra chocolate chips when mixing to help firm things up a bit.
Make sure you use a sharp knife and press down directly from above. It can also help to run the knife under hot tap water between cuts to warm up the blade. Just remember to wipe the blade dry with a paper towel before cutting.
Fun Grinch Party Ideas
Whether you’re hosting a Grinch movie viewing, a Grinch themed holiday party, or just want a bit of Grinchy goodness to the Christmas potluck, there are plenty of ways to thaw even the coldest of hearts:
- Presentation: Pour a layer of red heart sprinkles, or red jimmies on the platter and then place the fudge on top.
- Themed Decorations: Go all out with a red and green tablecloth backdrop, or keep it simple with Grinch themed paper napkins and green paper straws
- Grinch-y Activities: Play ‘Pin the heart on the Grinch’ or have a gingerbread house decorating competition using green icing and other Grinchy toppings.
- Grinch inspired treats: Serve some Grinch fruit kabobs, Grinch nougat, or even Grinch cinnamon rolls to make everyone’s hearts grow three sizes bigger.
Remember, the whole point of a party is to have fun. As the Grinch himself found out, Christmas doesn’t come from a store, Christmas, perhaps, means just a little bit more!
How to Store Grinch Fudge
Make ahead: Make up to 3 days in advance and store in an airtight container in the refrigerator.
Leftovers: The fudge will keep for up to 2 weeks in the fridge, but it’s best enjoyed within a week or so. Just make sure to store it in an airtight container.
To Freeze: Before adding the heart sprinkles, wrap the fudge tightly in plastic wrap, then store it in a large freezer bag or airtight container for up to 3 months. Thaw at room temperature and use light corn syrup to add heart sprinkles before serving.
If you liked my Grinch Fudge, you’re going to love my Red Velvet Cookies with Cake Mix. They’re even more vibrant and fun for the holiday season.
Or you can check out all my Christmas desserts recipes here.
Grinch Fudge
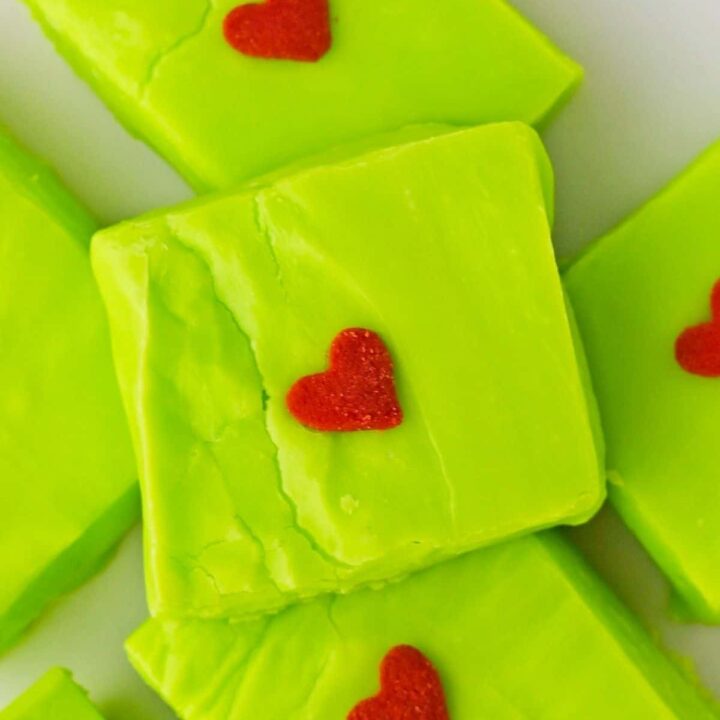
Learn how to make sweet, silky, green Grinch Fudge. Full of heart, this easy recipe is perfect for all Christmas and Grinch themed parties.
Ingredients
- 16 ounces Nestle white chocolate chips
- 14 ounces sweetened condensed milk
- Pinch of salt, optional
- 1/4 teaspoon Neon green food coloring,
- Jumbo heart sprinkles
Instructions
- Line an 8x8 square baking pan with parchment paper. Set aside.
- Over a double boiler, gently melt the white chocolate, stirring frequently.
- When the chocolate is melted and smooth, add the sweetened condensed milk and 1/4 teaspoon food coloring. Stir well to combine and distribute the green color evenly. Add more food coloring if necessary.
- Immediately pour the fudge into the prepared baking pan. Gently tap the pan on the counter 3 or four times. into the baking dish, and tap it gently on the counter a few times to knock out any air bubbles and level off the mixture.
- Allow the fudge to cool down to room temperature before moving it to the refrigerator. Chill until set, about 4 hours.
- Cut the fudge into 1-inch squares. Press a jumbo heart sprinkle into each piece before serving
Notes
Remember, the step-by-step photos and FAQ in the recipe post are there to help you if you feel stuck at any point.
- While you can use liquid food coloring, gel food coloring will produce a more vibrant result.
- Don't skip tapping the pan on the counter. Tapping the pan releases air bubbles and helps the fudge level out in the pan so you get nice and even slices.
- Don’t overheat your chocolate mixture or it can seize up and become unusable. Stir frequently and keep an eye on the temperature.
- If you have any trouble with the chocolate, you might want to check out this guide to melting chocolate. It's got all the tips and tricks I've learned from nearly 30 years of baking.
Recommended Products
As an Amazon Associate and member of other affiliate programs, I earn from qualifying purchases.






Leave a Reply