Making a painted jack-o-lantern can quickly get complicated – especially for those of us who struggle to paint a straight line.
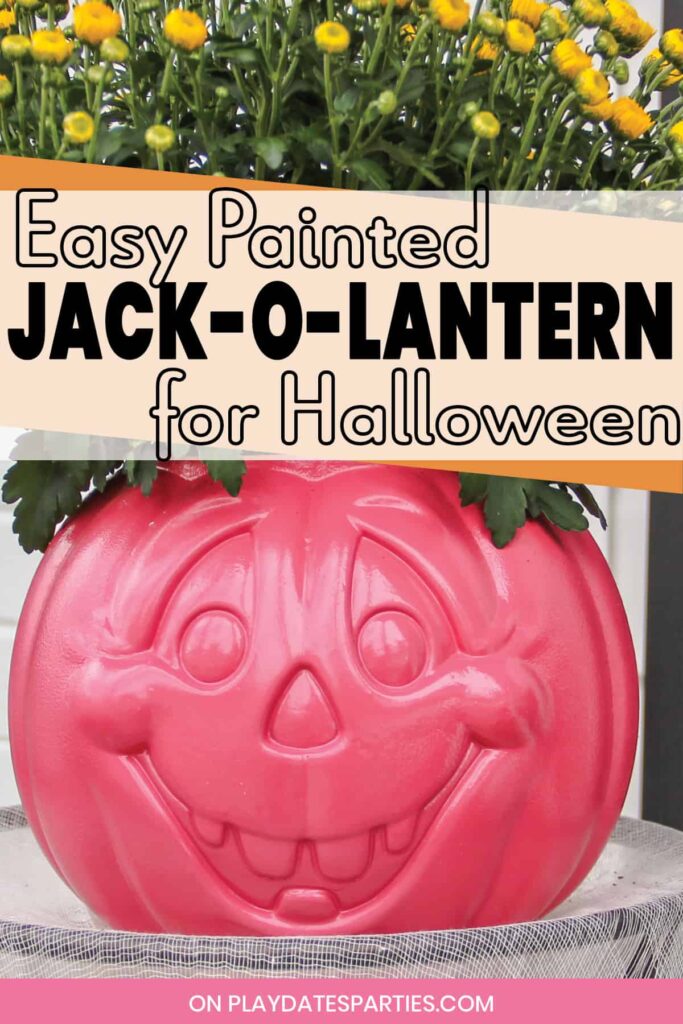
But with this simple Halloween hack, you can have make an easy DIY painted jack-o-lantern that is cute enough for all the kids in your neighborhood.
It only takes 4 supplies and barely a half hour of actual effort – which means it’s perfect for busy families.
Several years ago, I was challenged by the CSI Project to come up with a ‘painted Halloween’ project.
Immediately I knew that I would have to use my favorite paint method of all time: spray paint.
(Seriously, back then I was juggling a full-time job, a toddler, this blog, and picking up the slack while my husband went to night school. There was no extra time for silly things like cleaning paint brushes)
Plus, I always have a gigantic stash of spray paint on hand, anyway. Score one for frugality.
But the biggest challenge was to make sure I created something that wasn’t too scary. Because, at that time, my daughter was horribly afraid of anything that might be considered even moderately scary.
Now, she’s a full blown 11-year-old tween. So, we’re past the fear and onto other challenges. 🙄

So when I saw these plastic Halloween buckets with their cute faces, I immediately knew what I was going to do. Does anybody else remember these classics from the 80’s?
I don’t think my childhood buckets had this much personality, though. These things are so sweet and happy with their smiling faces.
Important Tips to Remember:
Tip: #1 Use the Right Paint
If you’ve ever spray-painted plastic, you know how it has a tendency to chip off.
These days there are dozens of options for plastic-safe paint, but back then the best choice was Krylon Fusion paints for plastic.

Tip #2: If You’re Struggling to find the right color…
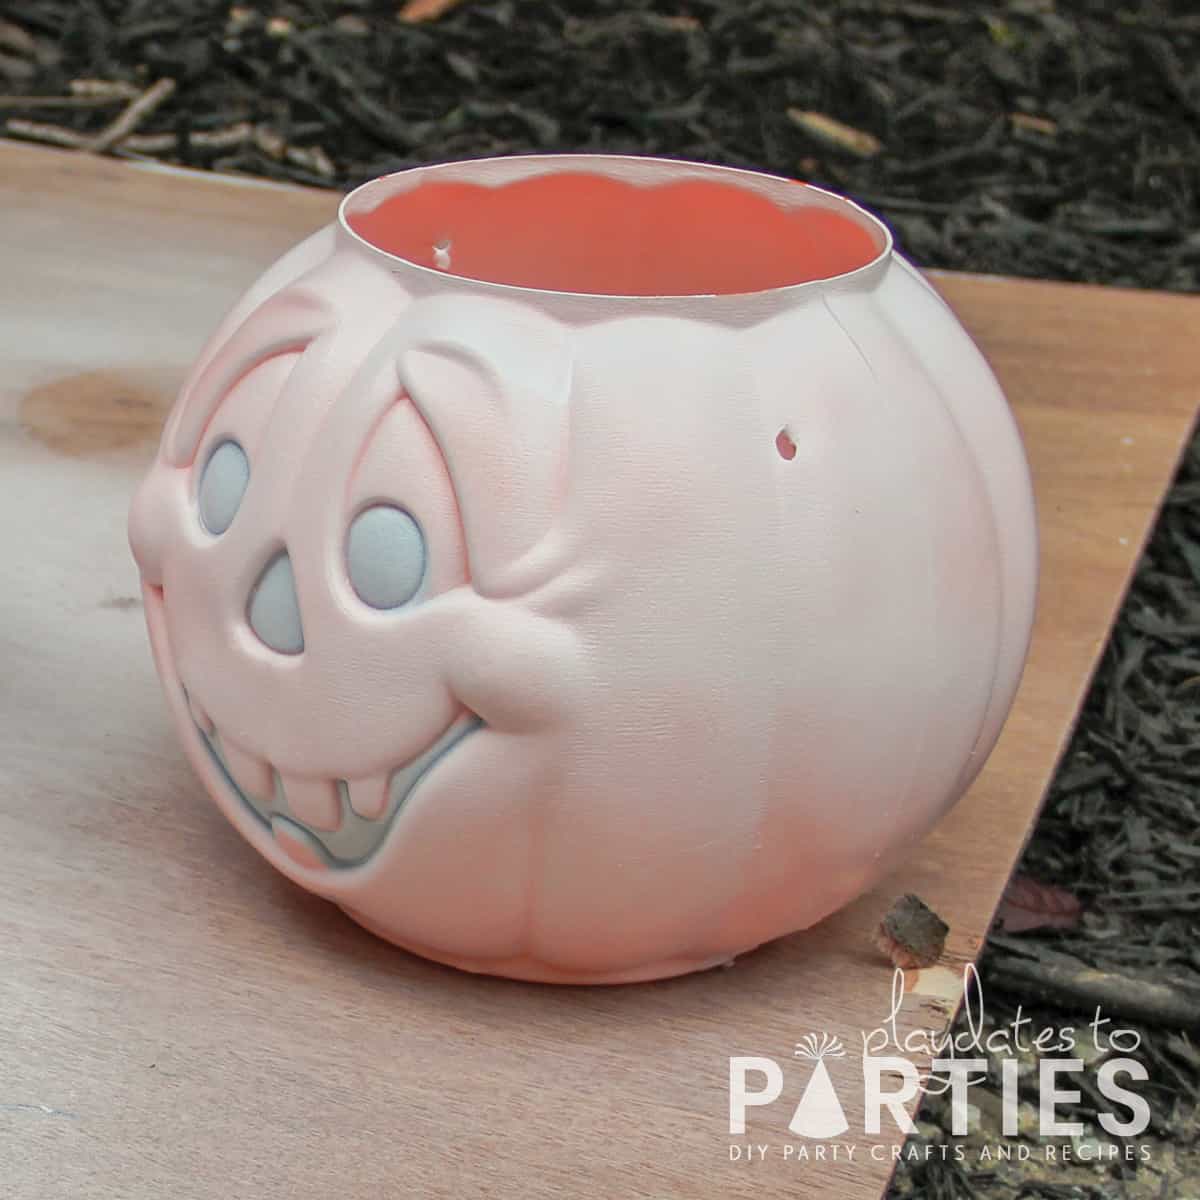
A coat or two of white plastic-safe primer is all you need. Then you can add whatever spray paint color you want on top.
If you can’t find white spray primer for plastic, use a lighter color of plastic-safe spray paint as a primer and use regular spray paint on top.
Tip #3: Remember to Spray lightly
I’m just as guilty of anyone else of being impatient and spray painting too much at one time.
But this isn’t the project for being impatient.
If you overdo it, then you’ll get drips of spray paint in the details of the face, and that just wouldn’t be cute at all.
So remember to paint several layers and to keep them light.

Tip #4: Forget using electric tea lights
I originally wanted to use these painted jack-o-lanterns as pathway lights between our azalea bushes, but the tea lights didn’t show through all the layers of plastic and paint.
Bummer.
That said, you might be able to use LED strip lights, or an LED puck light inside.
Tip #5: Don’t forget to get creative with the way you display your painted Jack-o-Lanterns
You can have your painted jack-o-lantern just sitting on your front porch, but it’s also great for other purposes:
- Use it as a candy bowl at a party
- Put a food safe bowl inside and use it to serve punch at your party
- Use it to hold seasonal plants (we used chrysanthemums)
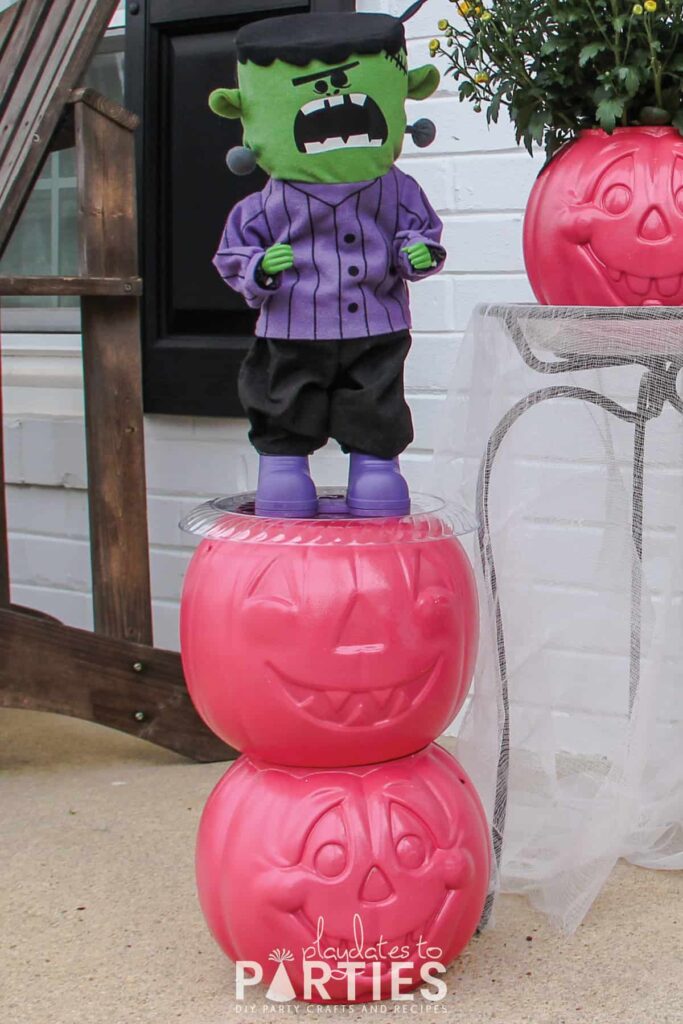
- Stack them up to create a jack-o-totem
As you can see, we painted ours bright pink in honor of our little girl. And they still bring a smile to my face when I see them
More Halloween Ideas to Love:
- Printable Halloween games for kids of all ages
- Chocolate Halloween Monster Munch Popcorn Mix with Free Printable Bag Toppers
- Easy Mummy Dogs for Halloween
- 15 Simply Gourd-geous Halloween parties for kids
How to Make an Easy DIY Painted Jack o Lantern

With this fun Halloween hack, learn how to make an easy DIY painted jack o lantern that is cute enough for all the kids in your neighborhood.
Materials
- Plastic-safe spray primer
- Plastic jack o lantern candy tubs
- Spray paint in your final color
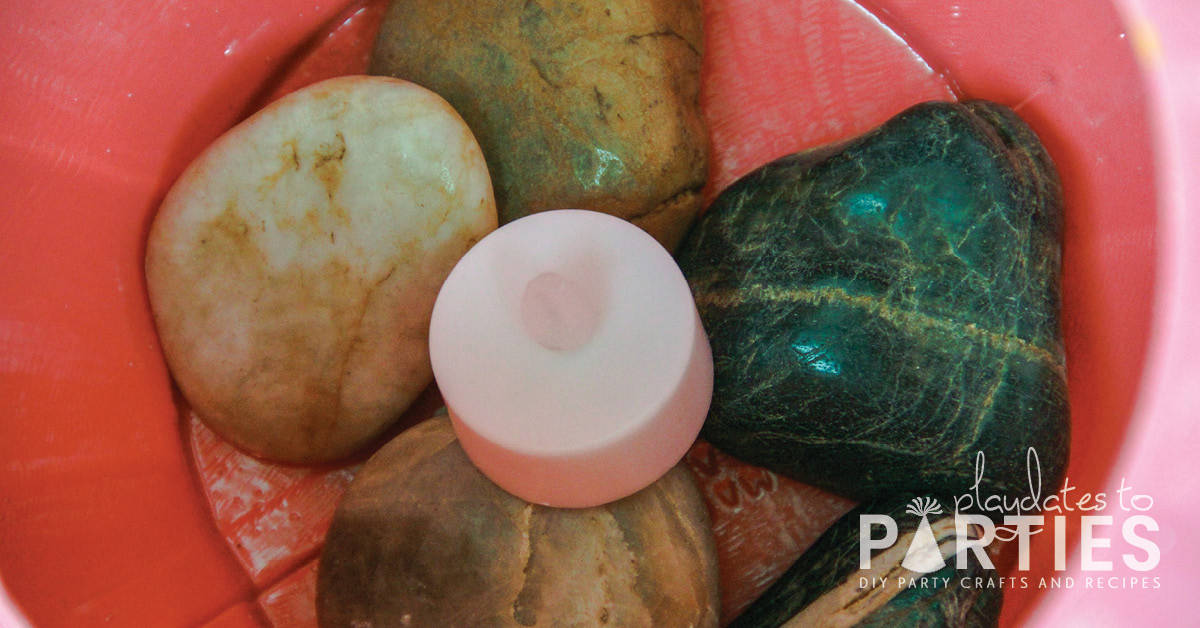
- Sand or heavy rocks
Tools
- Heavy duty scissors, or snips
- Drop cloth or cardboard box
Instructions
- Remove the handle from the jack o lantern tubs. If they don’t pull right out, you can use heavy duty scissors or snips to cut them off.
- Place the jack o lantern candy tubs on a drop cloth or in a cardboard box to protect your surfaces from overspray. (I used a spare sheet of plywood)

- Lightly spray the jack o lantern tubs with plastic-safe primer. Remember not to overdo it or you’ll get drips.
- Let the primer dry according to the instructions on the can and repeat another 2 times.
- When your pumpkins have decent coverage with primer, go ahead and spray on your final paint color, again spraying lightly and using several coats.
- When they’re finally finished getting painted, let the spray paint cure for at least 24 hours.

- Then, add something heavy to stabilize the pumpkins (like play sand or large rocks) and set them out to decorate! (See notes below for ideas)

Notes
Use the Right Paint: I used Krylon Fusion paints for plastic to prime the pumpkins and then regular spray paint for the bright pink color
Remember to Spray lightly: If you apply too much paint at once you’ll get drips of spray paint in the details of the face, and that just wouldn’t be cute at all. So remember to paint several layers and to keep them light.
Forget using electric tea lights: We tried using electric tea lights in the pumpkins, but they weren't bright enough to show through. That said, you might be able to use a LED strip lights or an LED puck light inside.
Get creative with the way you display them: You can have your painted jack o lantern just sitting on your front porch, but it’s also great for other purposes:
- Use it as a candy bowl at a party
- Put a food safe bowl inside and use it to serve punch at your party
- Use it to hold seasonal plants (we used chrysanthemums)
- Stack them up to create a jack-o-totem
This post was originally published on October 19, 2011 and has been updated for content, step-by-step instructions, and clearer photos.


Kelly Kimmell says
How adorable and creative! I will have to do this for Halloween! I found your blog on the Tuesday with a Twist, I’m #82. I am following along and can’t wait to see more.
Leslie says
I hope you do! Thanks so much for stopping by!
Leanna says
These are adorable. I have never come across coloured pumpkins. I will be on the lookout, those bright pink pumpkins are adorable.
Leslie says
They are definitely a bright and happy addition to Halloween decorations. Thanks for stopping by!
Carrie says
I am definitely trying this in the fall. I love this! I have been meaning to do so, and then I forget! Yours look great!
Leslie says
Definitely hope you do try it. Thanks so much for stopping by!
Hollie Ramsey says
Super cute idea! I’d like to try it with gold or mirror silver!
Jelica says
A really cute idea for the kiddos – and, of course, spray paint is a simple solution to getting things done quickly!
Elise Cohen Ho says
I love it. It is easy and adorable.
Leslie says
Isn’t it so cute?!
Sedna says
I have never come across colored pumpkins. I love this! I have been meaning to do so, and then I forget. I am following along and can’t wait to see more. I even incorporated my bright pink plastic pumpkin planter that I made a couple of weeks ago.