Who needs a special occasion to enjoy tasty treats? Not us! Get ready to fall head over heels for these delectable Red Velvet Cake Pops. Moist, rich red velvet cake, rolled into bite-sized balls of joy, and cloaked in a crisp, white chocolate shell – YUM!
But wait, there’s more! Even non-bakers can whip up these tasty, bite-sized treats with the magic of the mug cake! Perfect for satisfying a sweet tooth or as a fun baking project. So, let’s get poppin’ and make this easy cakes pops recipe – your taste buds will thank you!
Why you’ll love these Red Velvet Cake Pops
- Quick and Easy: Say goodbye to the hassle of baking a full cake. This small batch recipe is perfect for quick cravings or last-minute parties.
- Deliciously Decadent: Who says size matters? These mini cake pops pack a punch with their rich, velvety flavor.
- Fun and Festive: Perfect for holidays – just change up the sprinkles to add a pop of color to any event.
- Made from scratch: So you know exactly what goes into each bite, and can customize to your liking.
What you’ll need:
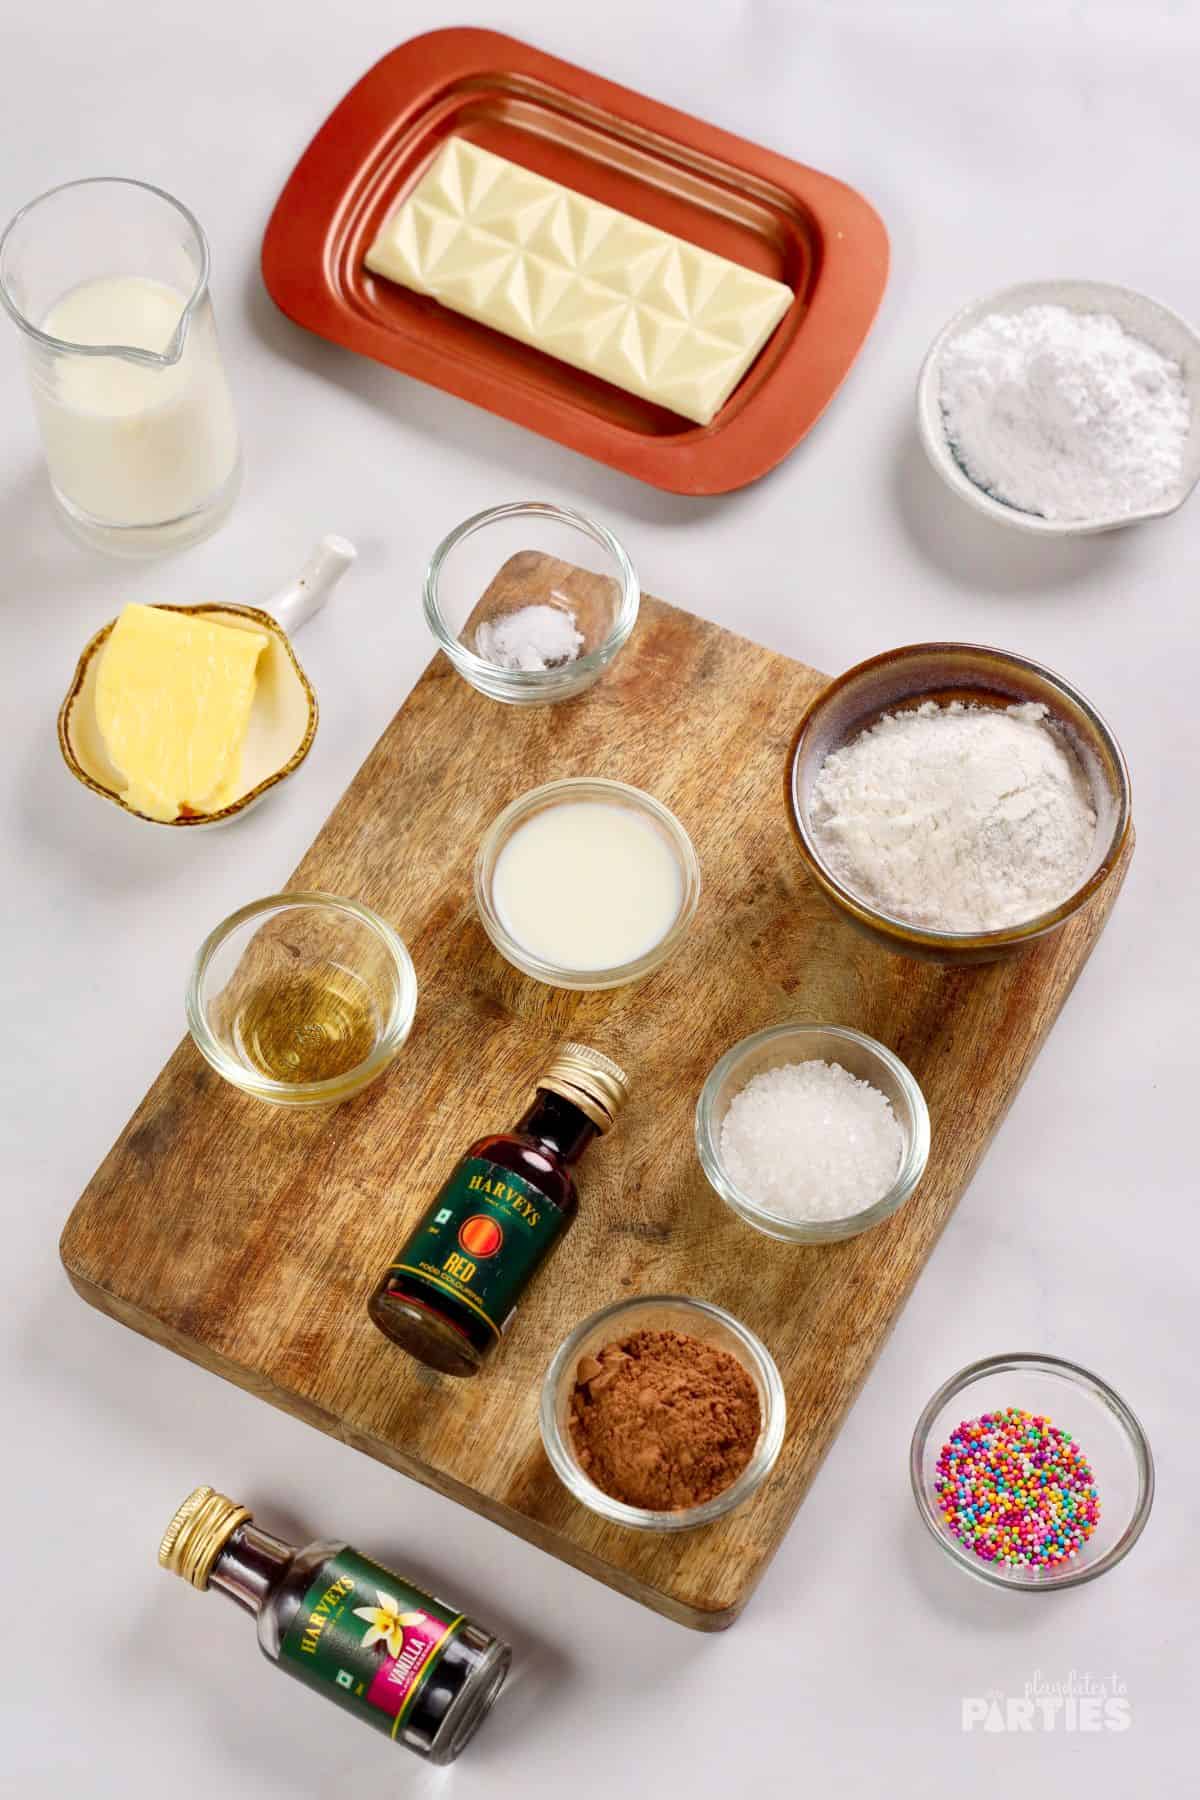
Ingredients:
For the Red Velvet Cake
- All-purpose flour
- Sugar
- Cocoa powder
- Baking powder
- Milk
- Apple cider vinegar
- Butter
- Red food coloring
Frosting & Decorations
- Powdered Sugar
- Butter
- Milk
- Vanilla extract
- White chocolate
- Sprinkles
Equipment:
Step-by-step instructions:
To make things even easier for you, I created a simple photo showing you exactly how to make these cake pops. For all measurements and a more detailed guide, check out the recipe card at the bottom of this page.
Make the Red Velvet Mug Cake
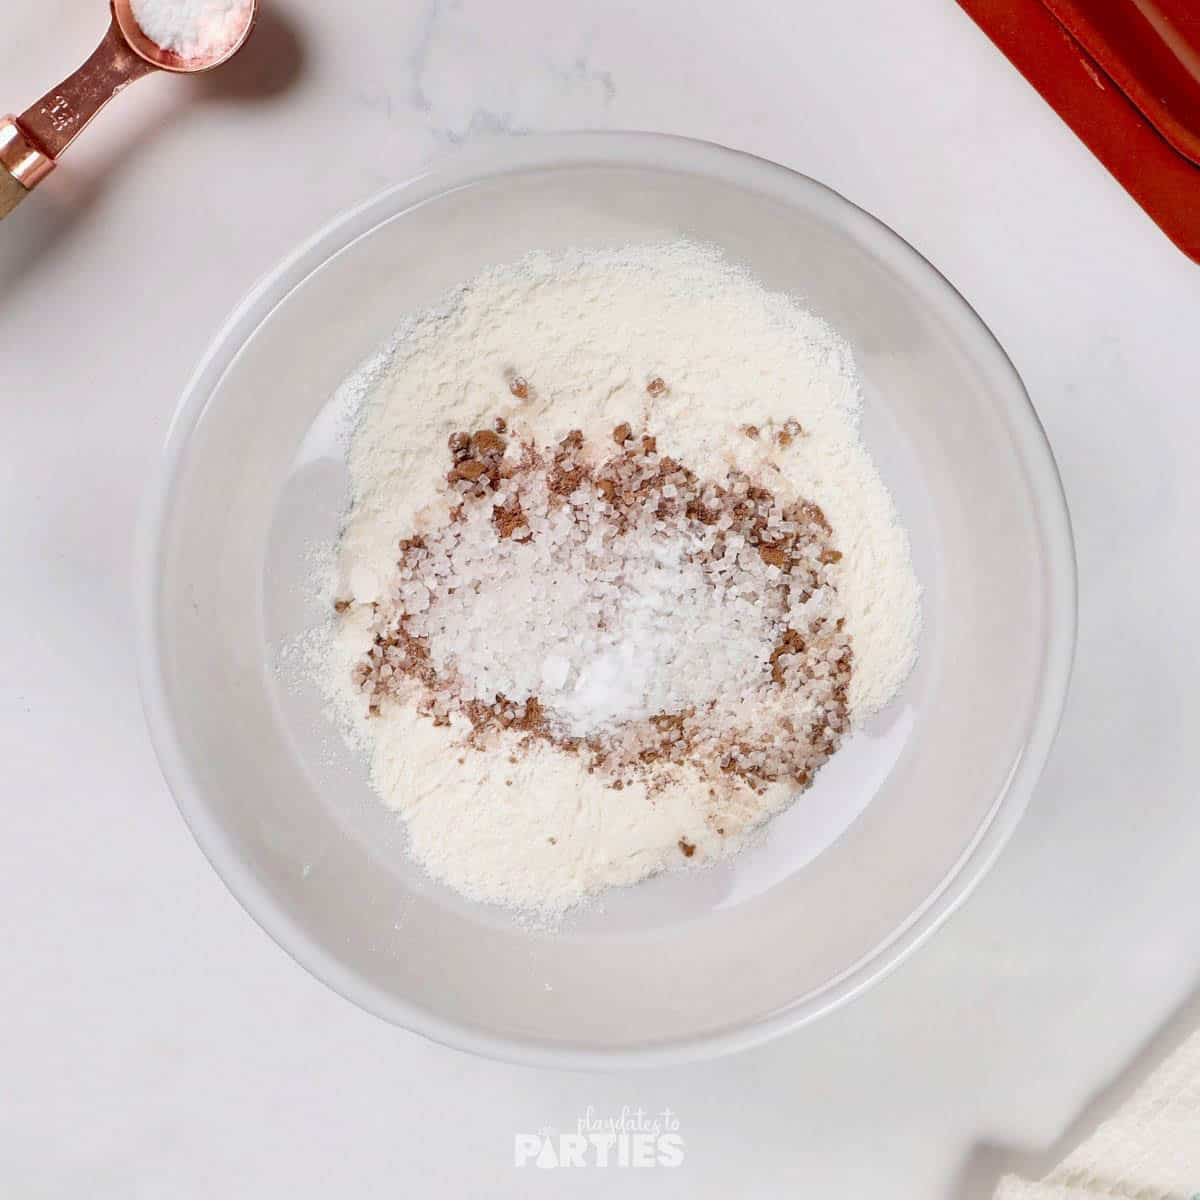
Step 1 – In a medium bowl, whisk together the flour, sugar, cocoa powder, and baking powder.
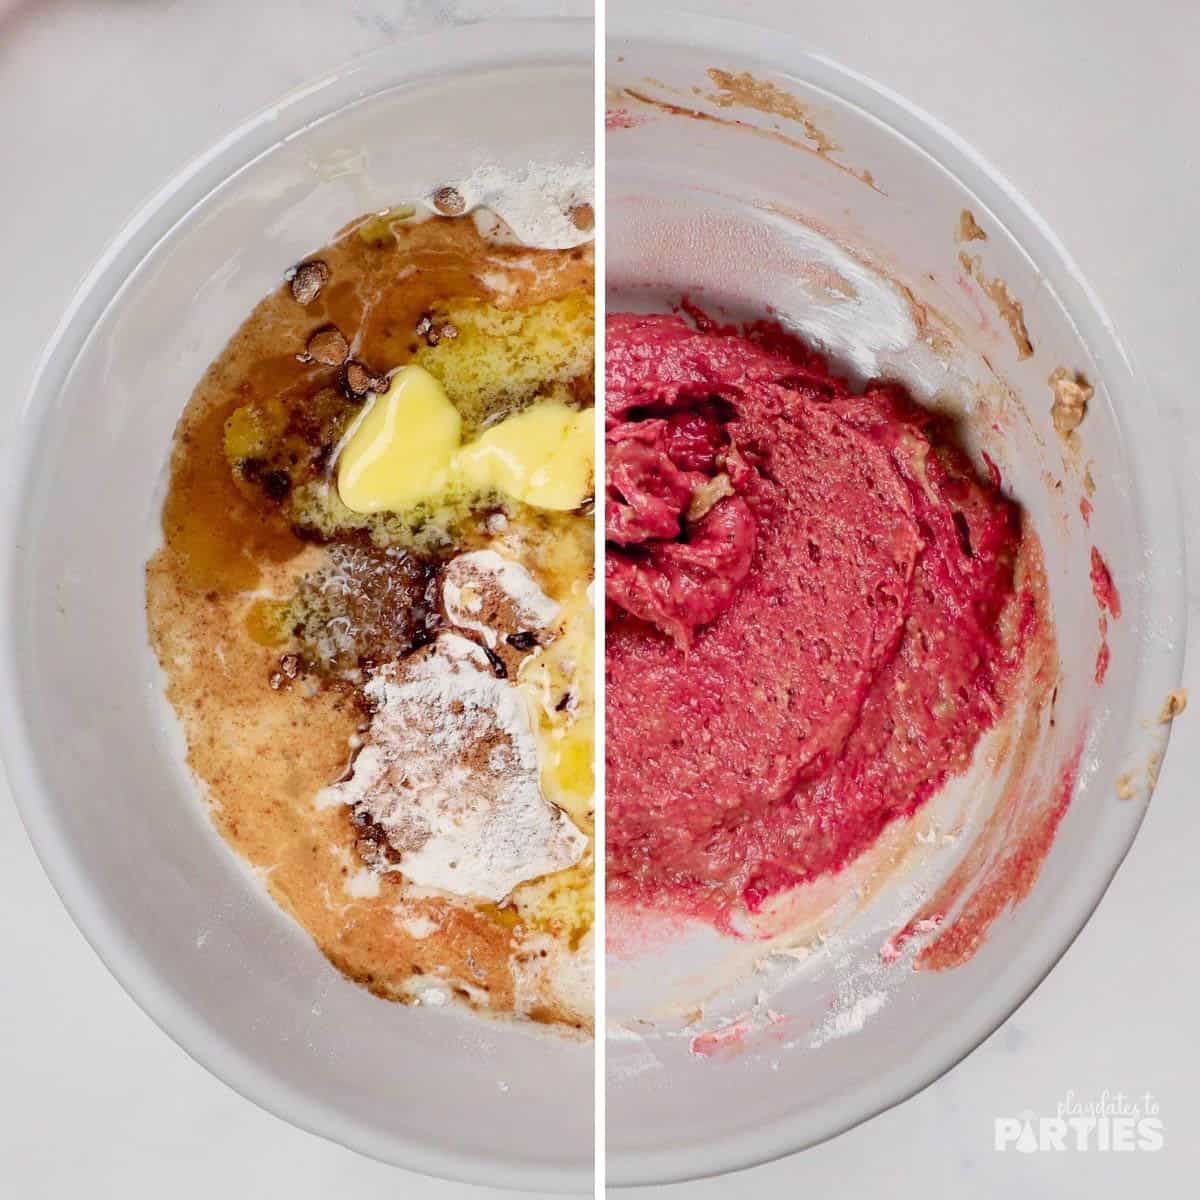
Step 2 – Add the milk, apple cider vinegar, melted butter, and food coloring. Stir to combine. The batter should be thick.
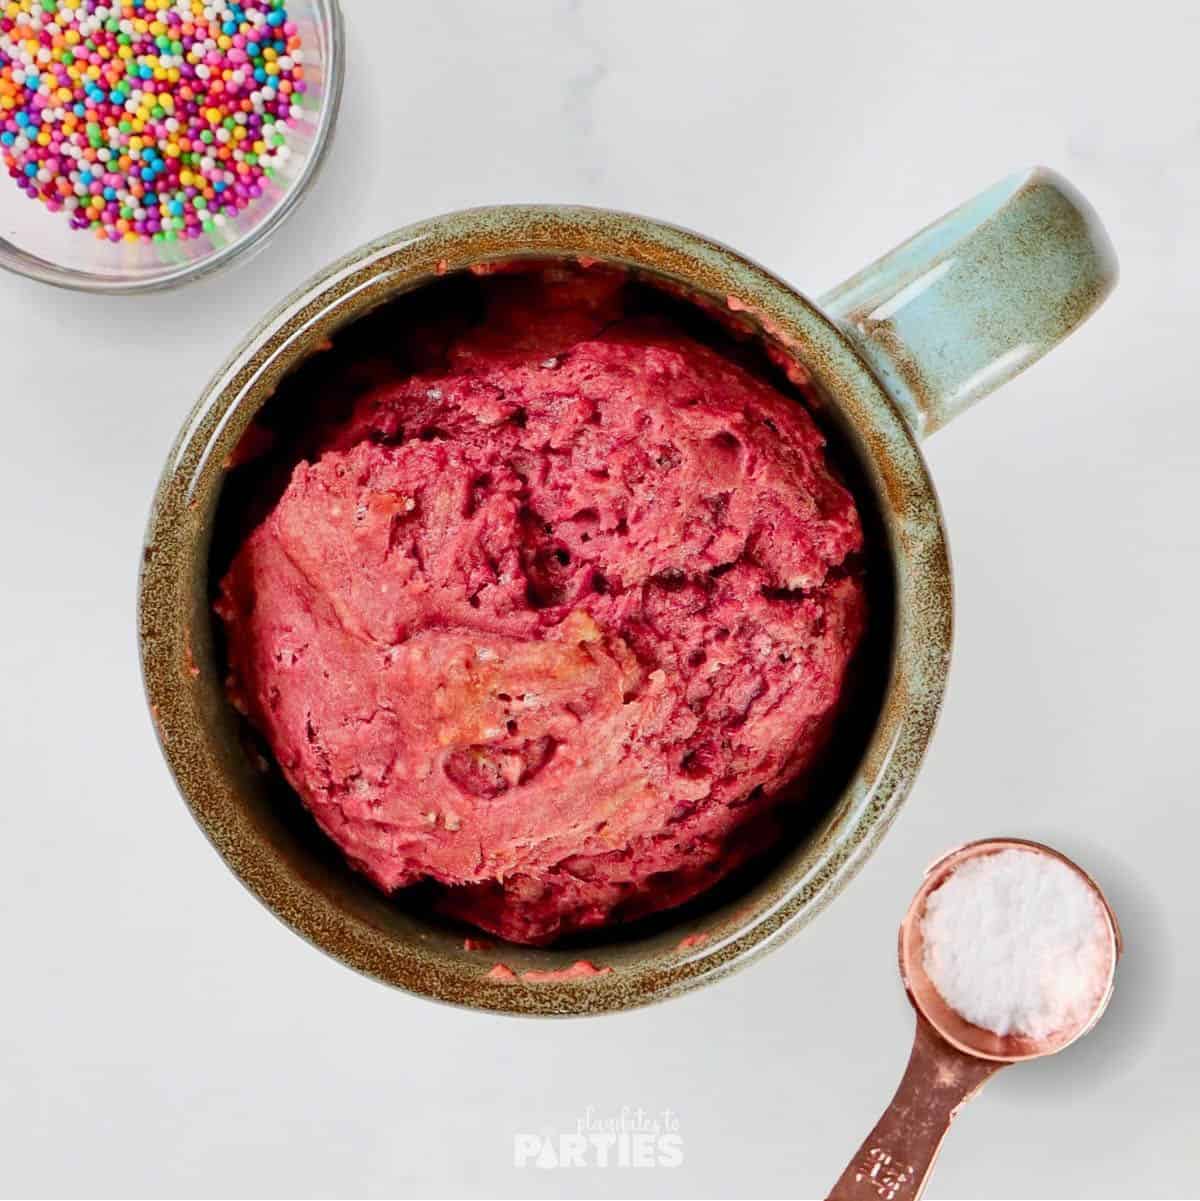
Step 3 – Transfer the batter to a microwave friendly mug. Microwave for 60-70 seconds or until you see the cake rise. Remove from the microwave and let the cake cool until it’s at room temperature.
Make the Buttercream Frosting
Prepare the buttercream while the cake cools down.
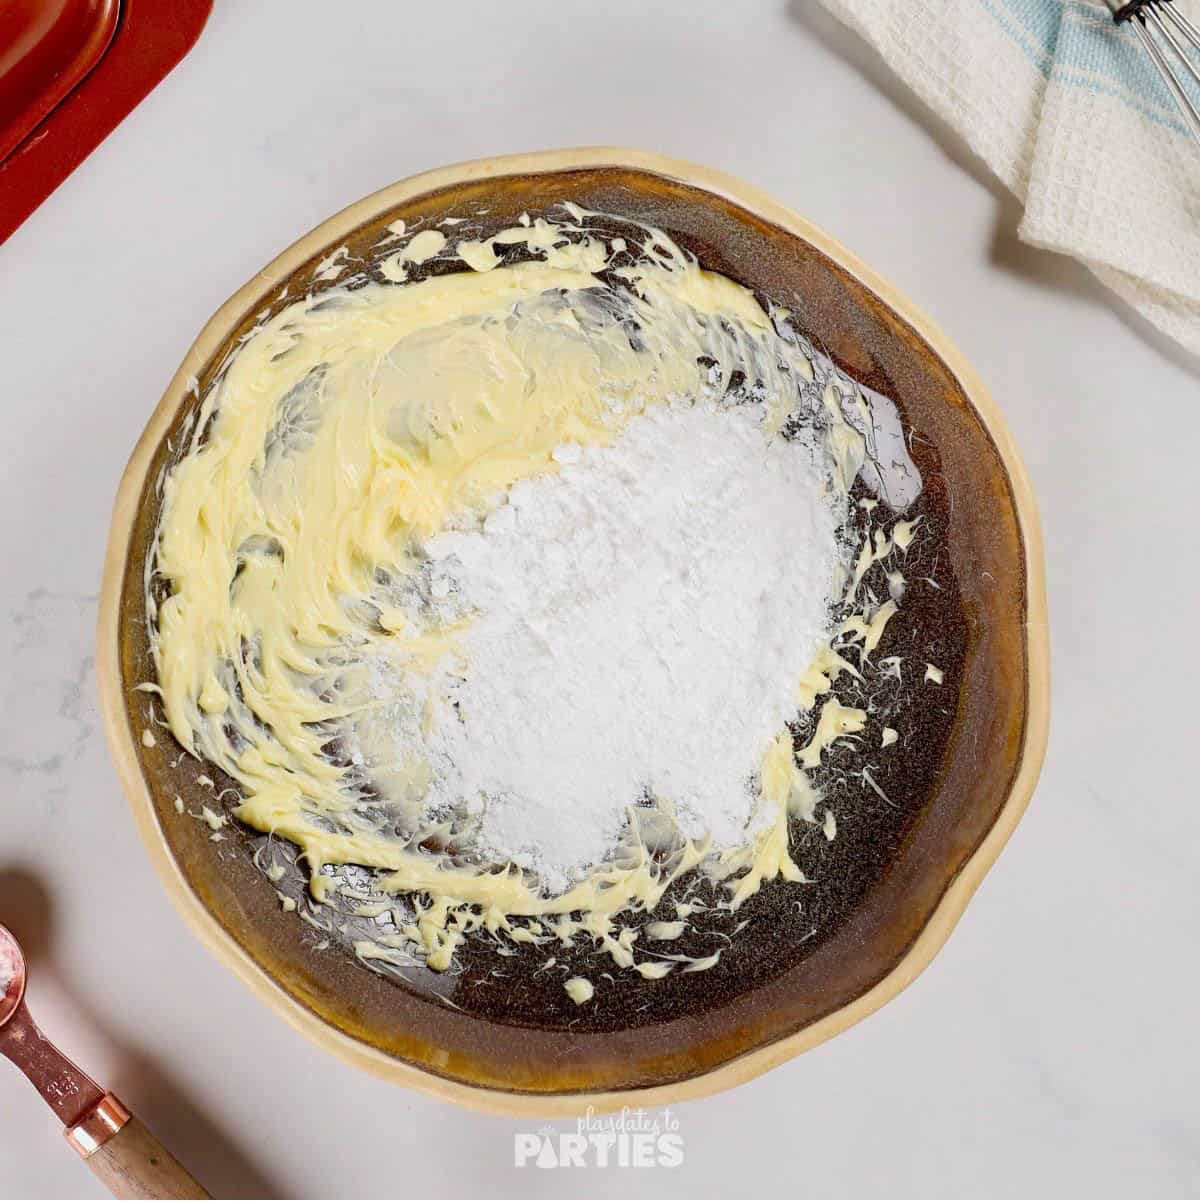
Step 4 – In a medium bowl, cream the butter until it starts to form peaks, about 5 minutes by hand, or 2-3 minutes with an electric mixer. Add the powdered sugar and continue to whisk until smooth.
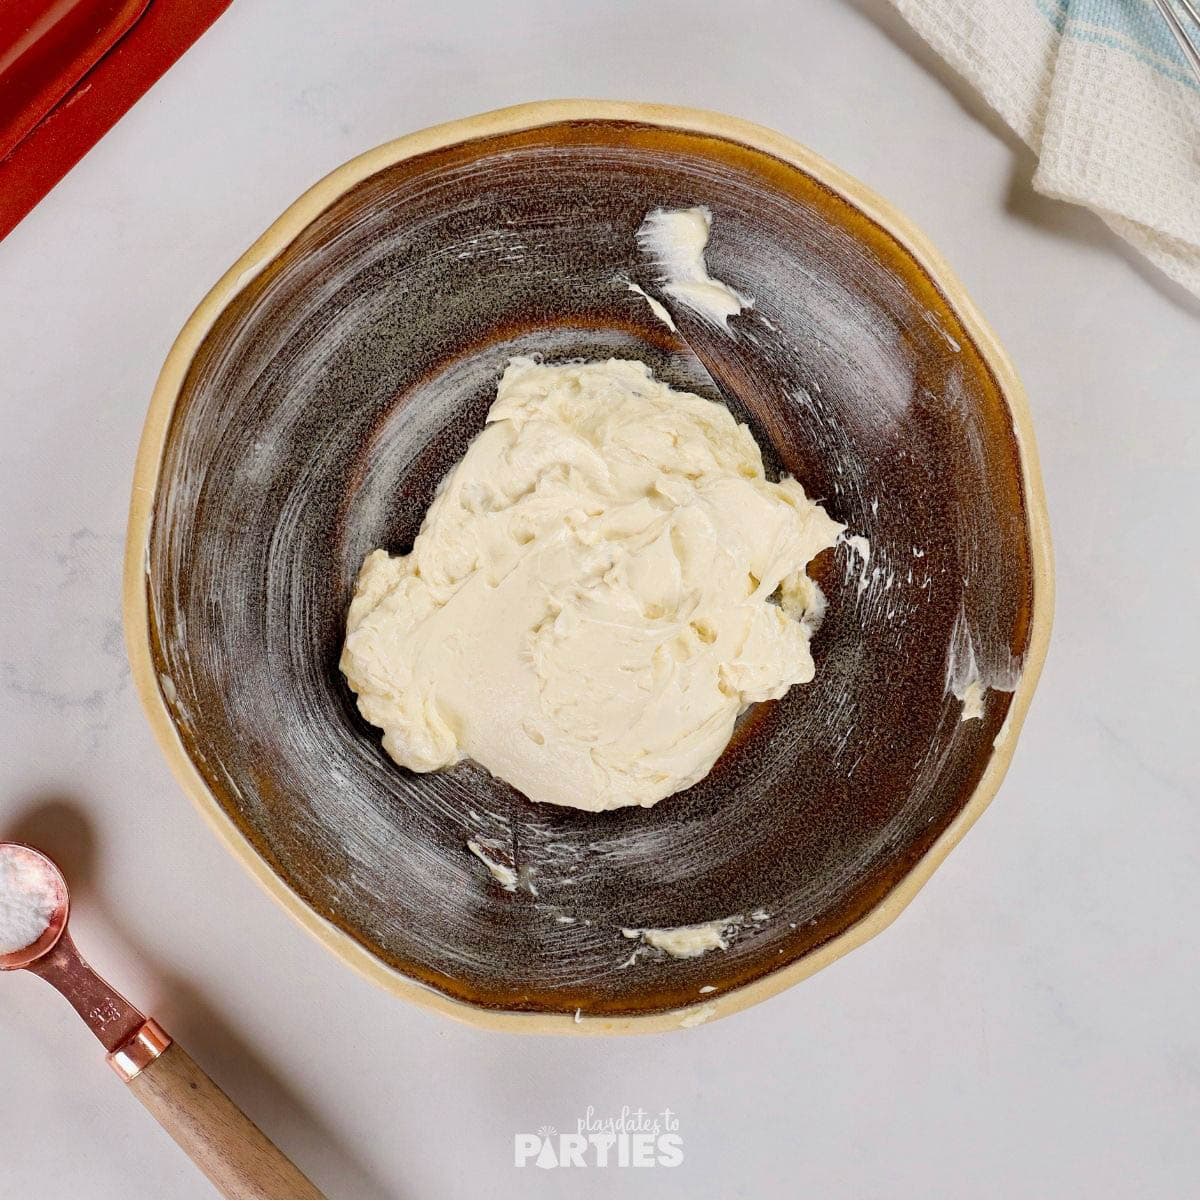
Step 5 – Pour in the milk and vanilla extract. Whisk again until the frosting is smooth and creamy.
Assemble and Dip the Cake Pops
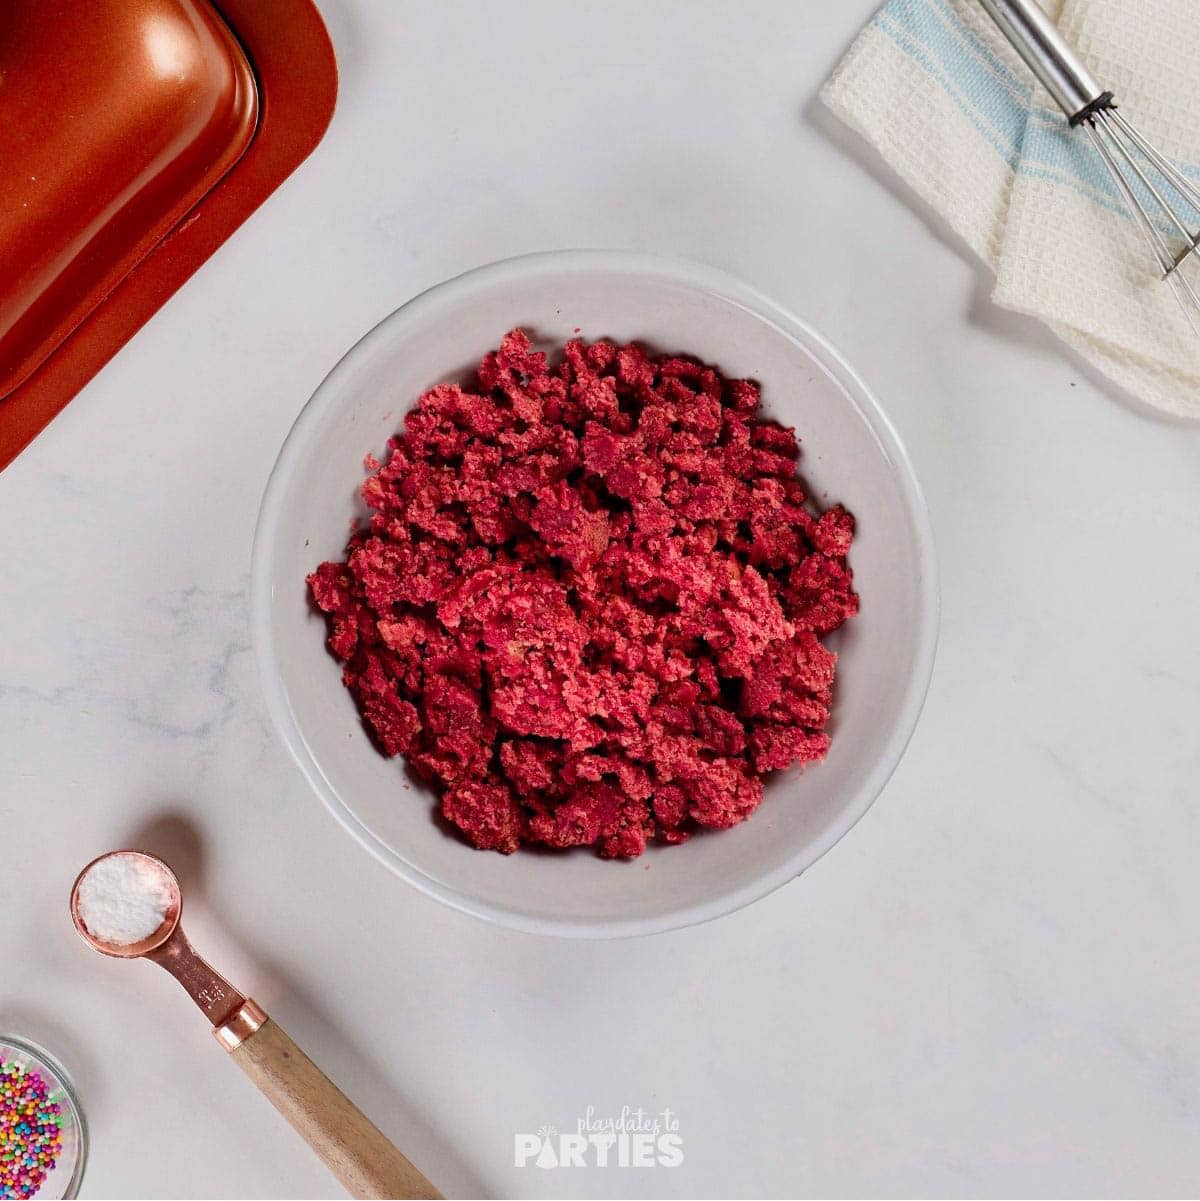
Step 6 – Move the cooled cake from the mug into a medium sized mixing bowl. Use your hands to break the cake into large crumbs.
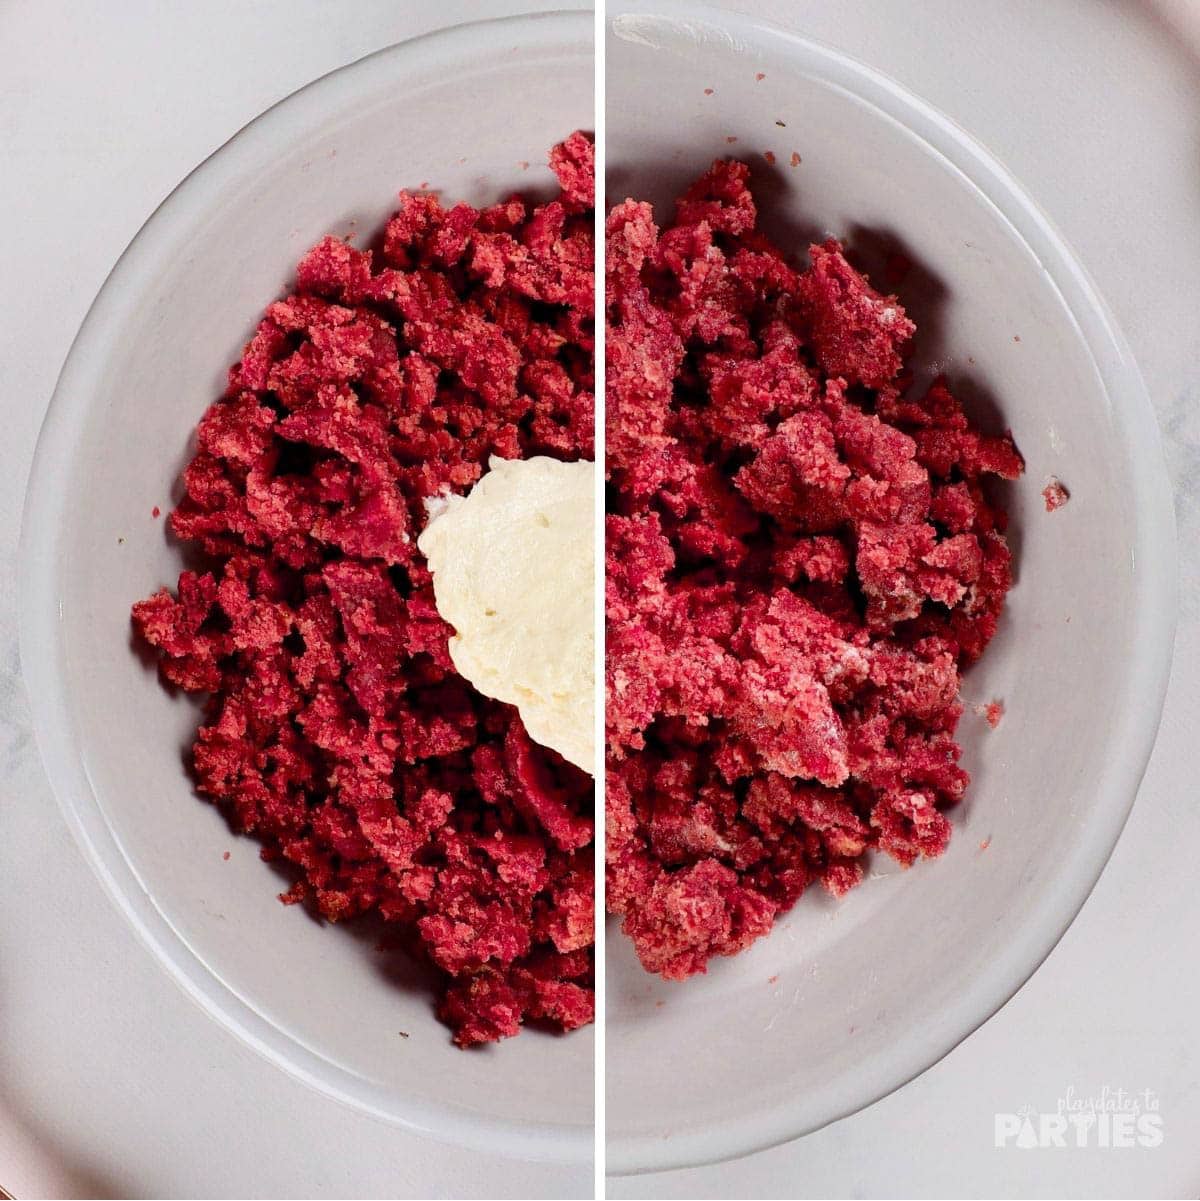
Step 7 – Add buttercream frosting and mix until well combined.
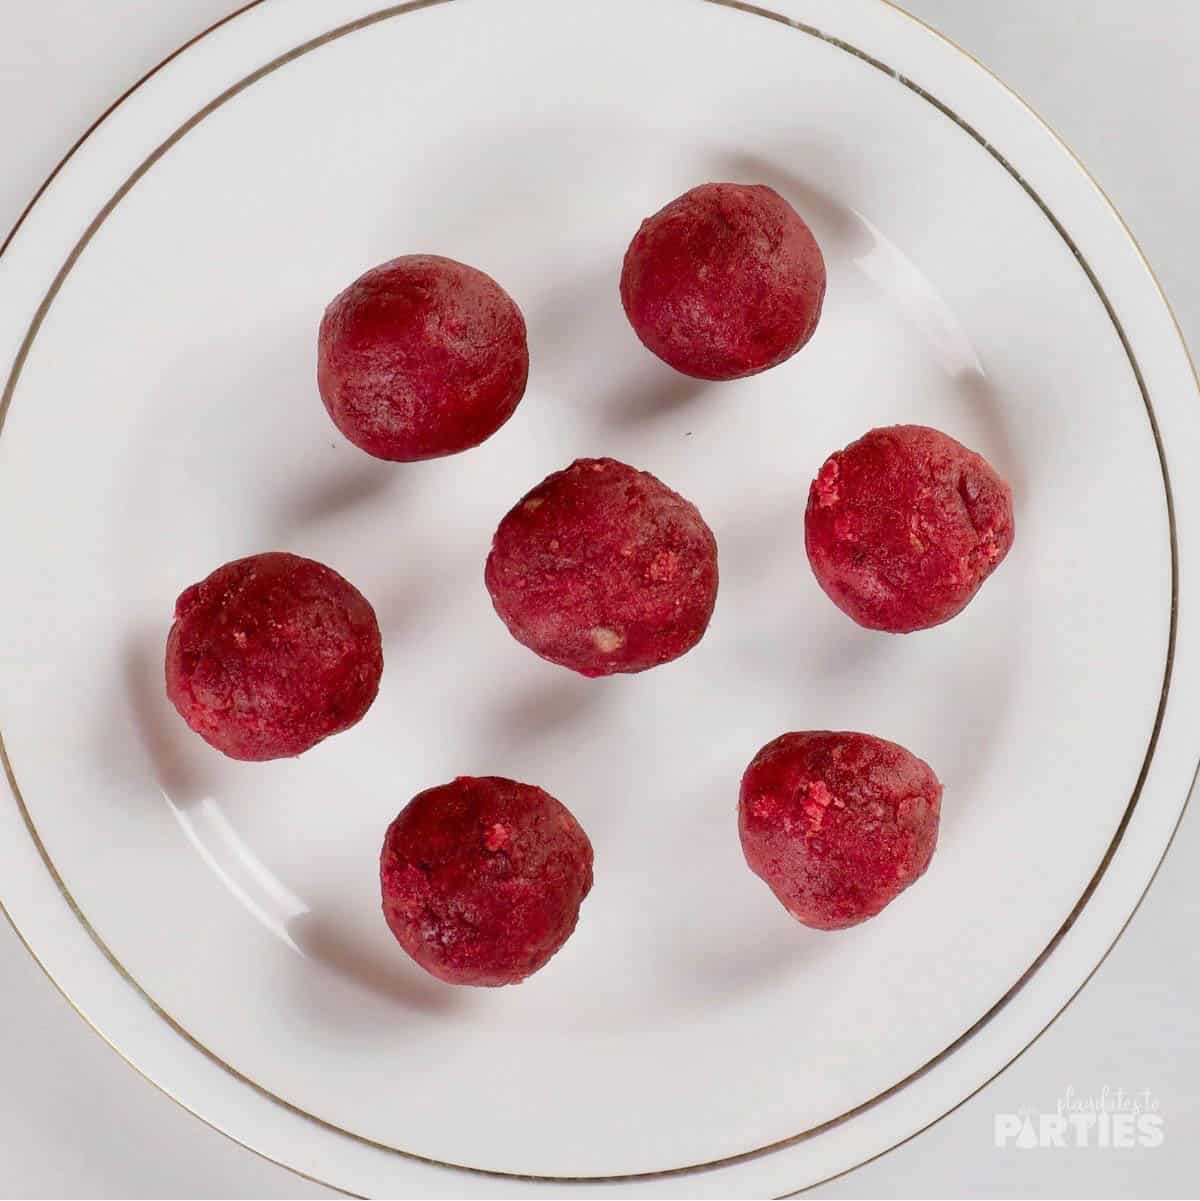
Step 8 – Use a small cookie scoop to scoop the dough, then roll it in your hands to make round balls.
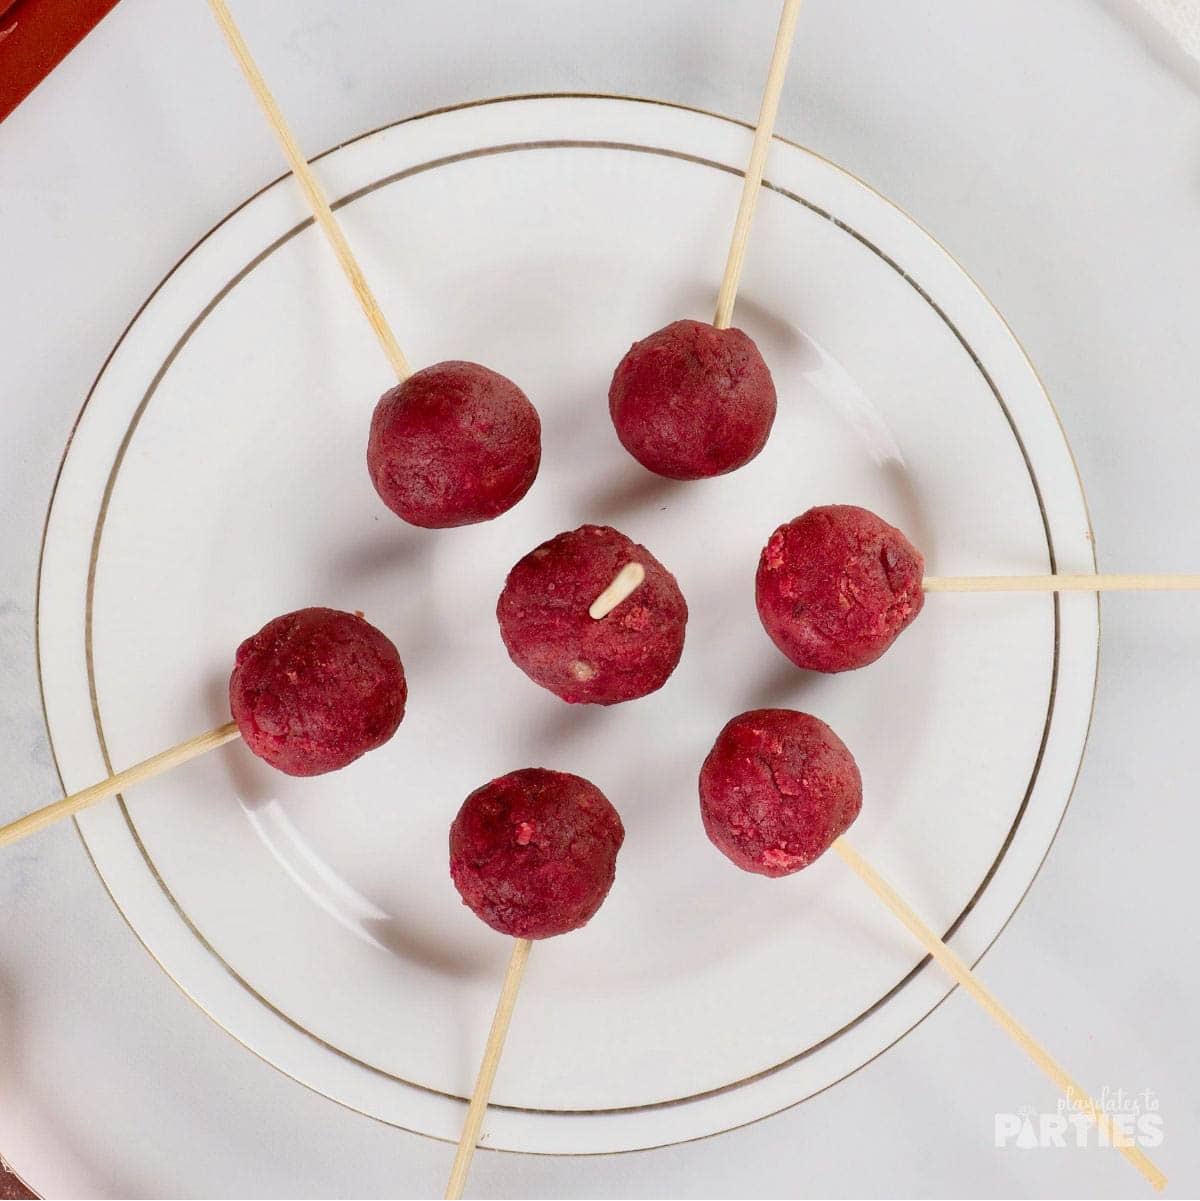
Step 9 – Insert lollipop sticks into the cake balls. (see tips) Freeze for at least 10 minutes, or until the cake pops are solid.
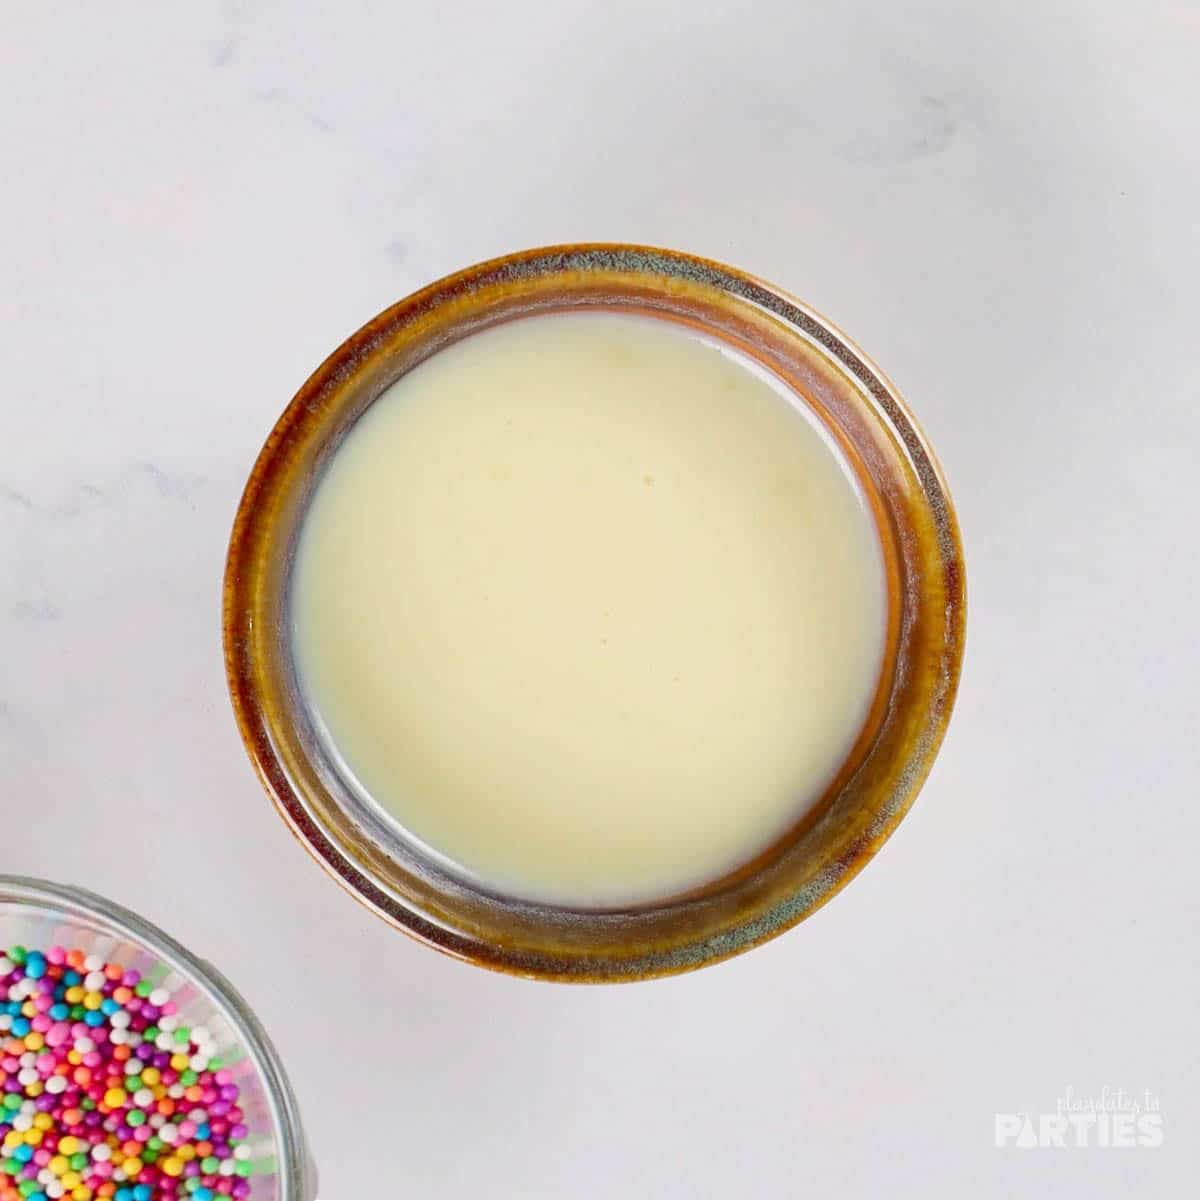
Step 10 – Remove the cake pops from the freezer and let them warm up for about 5 minutes. While the cake pops soften, melt the white chocolate until smooth.
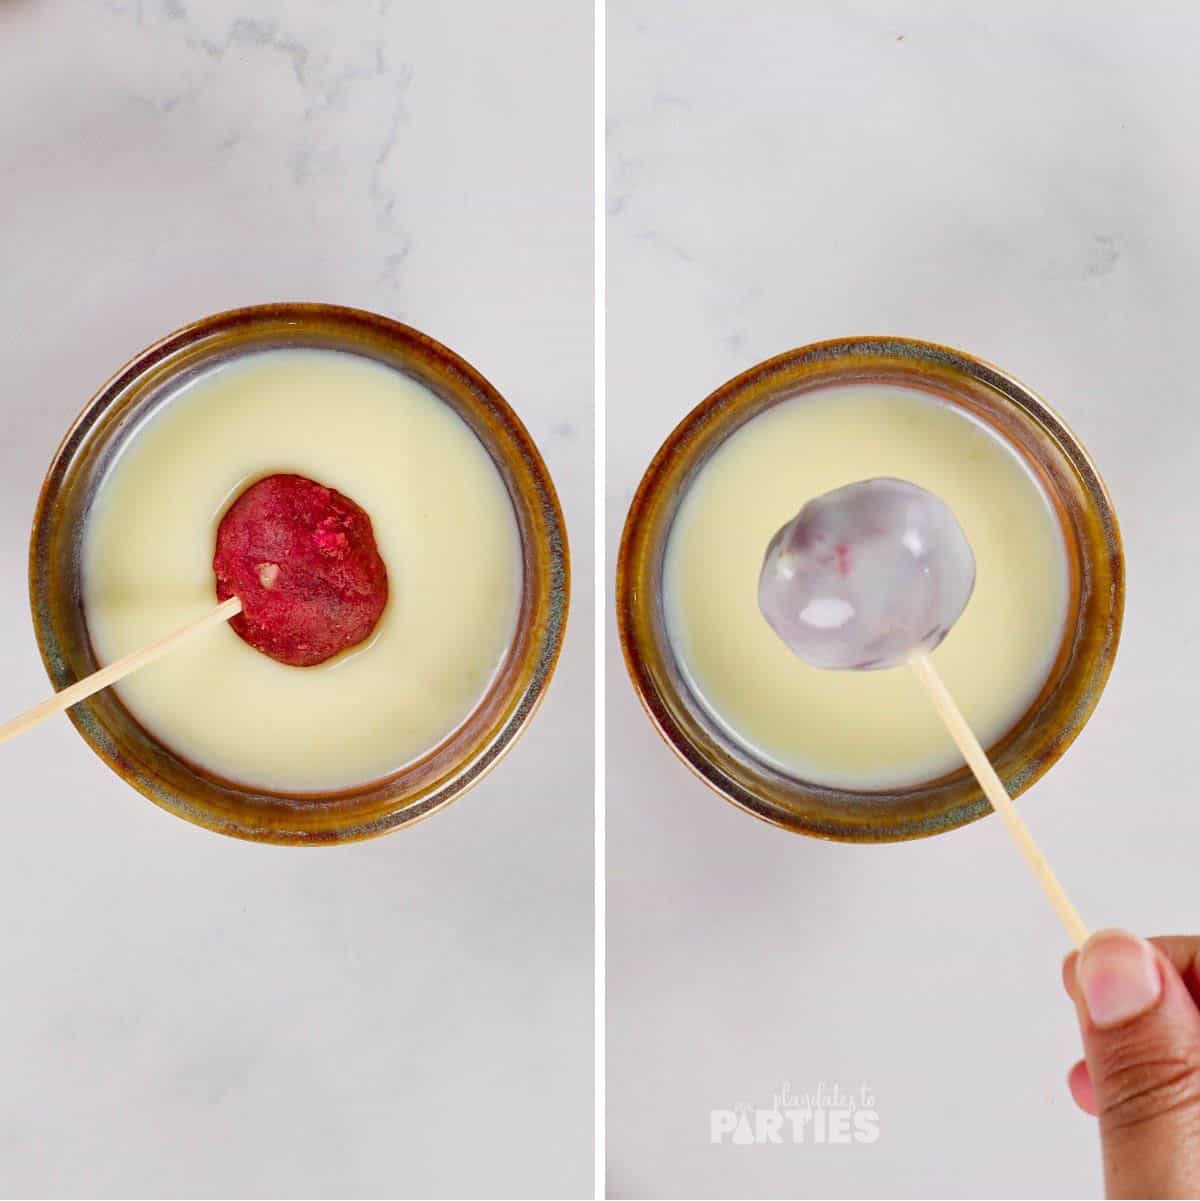
Step 11 – Carefully dip each of the cake balls into the melted chocolate, gently tapping the stick on the side of the container to let excess chocolate drip off.
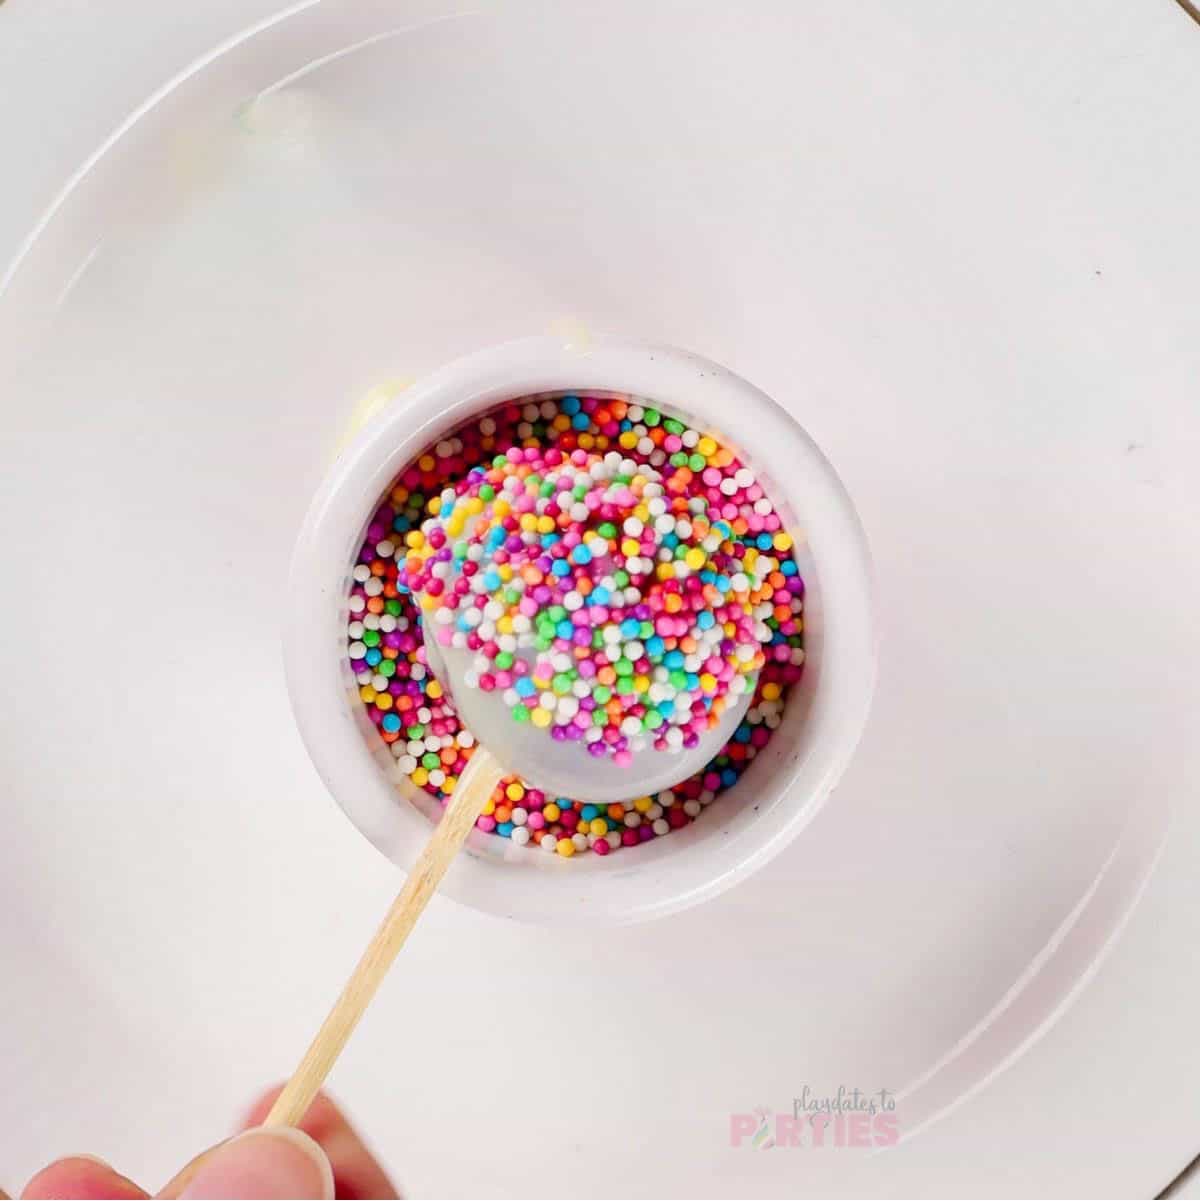
Step 12 – Immediately dip into a small bowl of sprinkles for garnish. Place cake pops in a vertical container to keep them upright until the chocolate is set. (see tips)
Essential tips:
Don’t skip these tips – read them before starting to avoid any potential mistakes.
- Make sure you don’t overmix the cake batter! If you do, the cake might not rise as fluffy and could end up dense.
- Use a cookie scoop to get evenly sized cake pops. Just make sure to use a small one (we like the smallest in this set), otherwise the cake pops will be too be and are more likely to fall off the stick.
- Dip your cake pop sticks into melted chocolate before inserting them into the cake pops. This will help add stability to your cake pops so they are more likely to stay on the stick.
- If your chocolate begins to harden while dipping the cake pops, simply microwave in 10 second intervals until smooth again.
- An inexpensive block of styrofoam is the easiest way to hold cake pops while the chocolate dries.
Decorate your cake pops for almost any occasion:
I used rainbow sprinkles here, but red velvet is fantastic all year long. Here are a few ideas:
- New Year’s Eve: Use both dark and white chocolate for dipping, then garnish with silver luster dust or edible gold sprinkles
- Valentine’s Day: Red and pink sprinkles are easy, or you can get really fancy with a drizzle of red candy melts.
- Memorial Day / July 4th / Labor Day: Drizzle with dark blue candy melts, add star shaped sprinkles, or keep it simple with red and white jimmy sprinkles
- Halloween: Add a red chocolate drizzle with candy eyeballs to look like a bloodshot eye.
Frequently asked questions:
For a small batch like this, the simplest option is to use a microwave safe bowl or canning jar that’s deep enough for dipping. Make sure you read up on the best tips for melting chocolate so you don’t end up with a chocolatey mess.
Red Velvet cake is essentially a chocolate-flavored cake. The cocoa powder gives an extra depth of flavor and the red food coloring gives it that classic red color we know and love.
Sure! Make sure you transfer the batter to an oven safe container, then bake in a 350˚F oven for 15 to 20 minutes or until a toothpick inserted into the center of the cake comes out clean.
Yes! You can make these cake pops ahead of time and store them in an airtight container for up to 3 days. Just be sure to let the chocolate set completely before storing them. You can also freeze the cake pops if you want to make them even further in advance.
See details in the storage tips below for more information
Making these for a party?
Want to give these cake pops to some people you love? Wrap each cake pop in a cellophane wrapper, then add a pretty tag like this or like these.
How to Store Red Velvet Cake Pops
To Make Ahead or Store Leftovers:
Once the chocolate shell is set, transfer the cake pops to an airtight container, or wrap each cake pop individually in plastic wrap or a cellophane bag.
Keep the stored cake pops at room temperature for up to 3 days.
To Freeze:
Wrap each individual cake pop tightly with plastic wrap. Place the wrapped cake pops in a hard sided, freezer safe storage container and freeze for up to 3 months.
Thaw the cake pops at room temperature for 24 hours before serving.
Pro Tip: Room temperature generally refers to ambient temperatures around 70˚F. If your home is significantly warmer than that the chocolate shell may get too soft.
If you liked my Red Velvet Cake Pops, you’re going to love my Make Ahead Mug Cake Packs. They’re perfect for last minute cravings or small gifts.
Or you can check out all my desserts recipes here.
Red Velvet Cake Pops

Bite-sized, delicious, and fun to make, this easy red velvet cake pops recipe is the perfect small batch treat to satisfy a sweet tooth.
Ingredients
For the Red Velvet Cake
- ¼ cup all-purpose flour
- 2 tablespoon granulated sugar
- 1 teaspoon cocoa powder
- ¼ teaspoon baking powder
- ¼ teaspoon milk
- ½ teaspoon apple cider vinegar
- 1.5 tablespoon butter (melted)
- 1 teaspoon red food coloring
For the buttercream frosting
- ¼ cup powdered sugar
- 3.5 tablespoons butter (room temperature)
- 1 tablespoon milk
- ½ teaspoon vanilla extract
- sprinkles to garnish
Instructions
Make the Mug Cake
- In a medium bowl, whisk together the flour, sugar, cocoa powder, and baking powder.
- Add the milk, apple cider vinegar, melted butter, and food coloring. Stir to combine. The batter should be thick.
- Transfer the batter to a microwave friendly mug. Microwave for 60-70 seconds or until you see the cake rise. Remove from the microwave and let the cake cool until it's at room temperature.
Make the Buttercream Frosting
Prepare the buttercream while the cake cools down.
- In a medium bowl, cream the butter until it starts to form peaks, about 5 minutes by hand, or 2-3 minutes with an electric mixer. Add the powdered sugar and continue to whisk until smooth.
- Pour in the milk and vanilla extract. Whisk again until the frosting is smooth and creamy.
Assemble and Dip the Cake Pops
- Move the cooled cake from the mug into a medium sized mixing bowl. Use your hands to break the cake into large crumbs.
- Add buttercream frosting and mix until well combined.
- Use a small cookie scoop to scoop the dough, then roll it in your hands to make round balls.
- Insert lollipop sticks into the cake balls. (see tips) Freeze for at least 10 minutes, or until the cake pops are solid.
- Remove the cake pops from the freezer and let them warm up for about 5 minutes. While the cake pops soften, melt the white chocolate until smooth.
- Carefully dip each of the cake balls into the melted chocolate, gently tapping the stick on the side of the container to let excess chocolate drip off.
- Immediately dip into a small bowl of sprinkles for garnish. Place cake pops in a vertical container to keep them upright until the chocolate is set. (see tips)
Notes
Remember, the step-by-step photos and FAQ in the recipe post are there to help you if you feel stuck at any point.
- Make sure you don't overmix the cake batter! If you do, the cake might not rise as fluffy and could end up dense.
- Use a cookie scoop to get evenly sized cake pops. Just make sure to use a small one (we like the smallest in this set), otherwise the cake pops will be too be and are more likely to fall off the stick.
- Dip your cake pop sticks into melted chocolate before inserting them into the cake pops. This will help add stability to your cake pops so they are more likely to stay on the stick.
- If your chocolate begins to harden while dipping the cake pops, simply microwave in 10 second intervals until smooth again.
- An inexpensive block of styrofoam is the easiest way to hold cake pops while the chocolate dries.
Recommended Products
As an Amazon Associate and member of other affiliate programs, I earn from qualifying purchases.







Leave a Reply