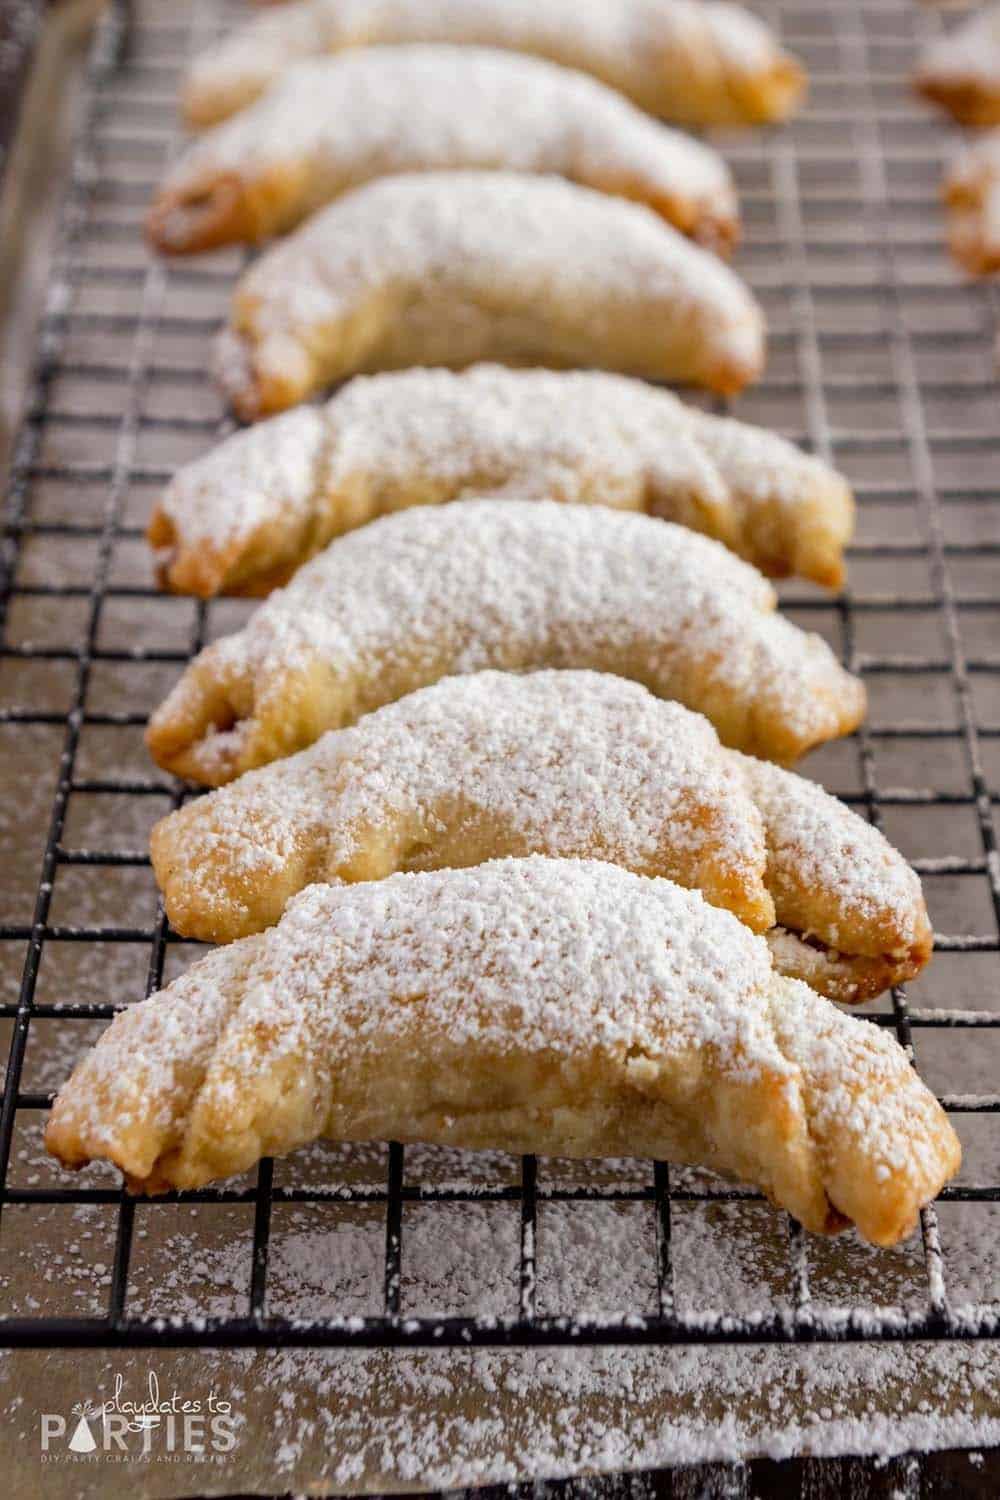
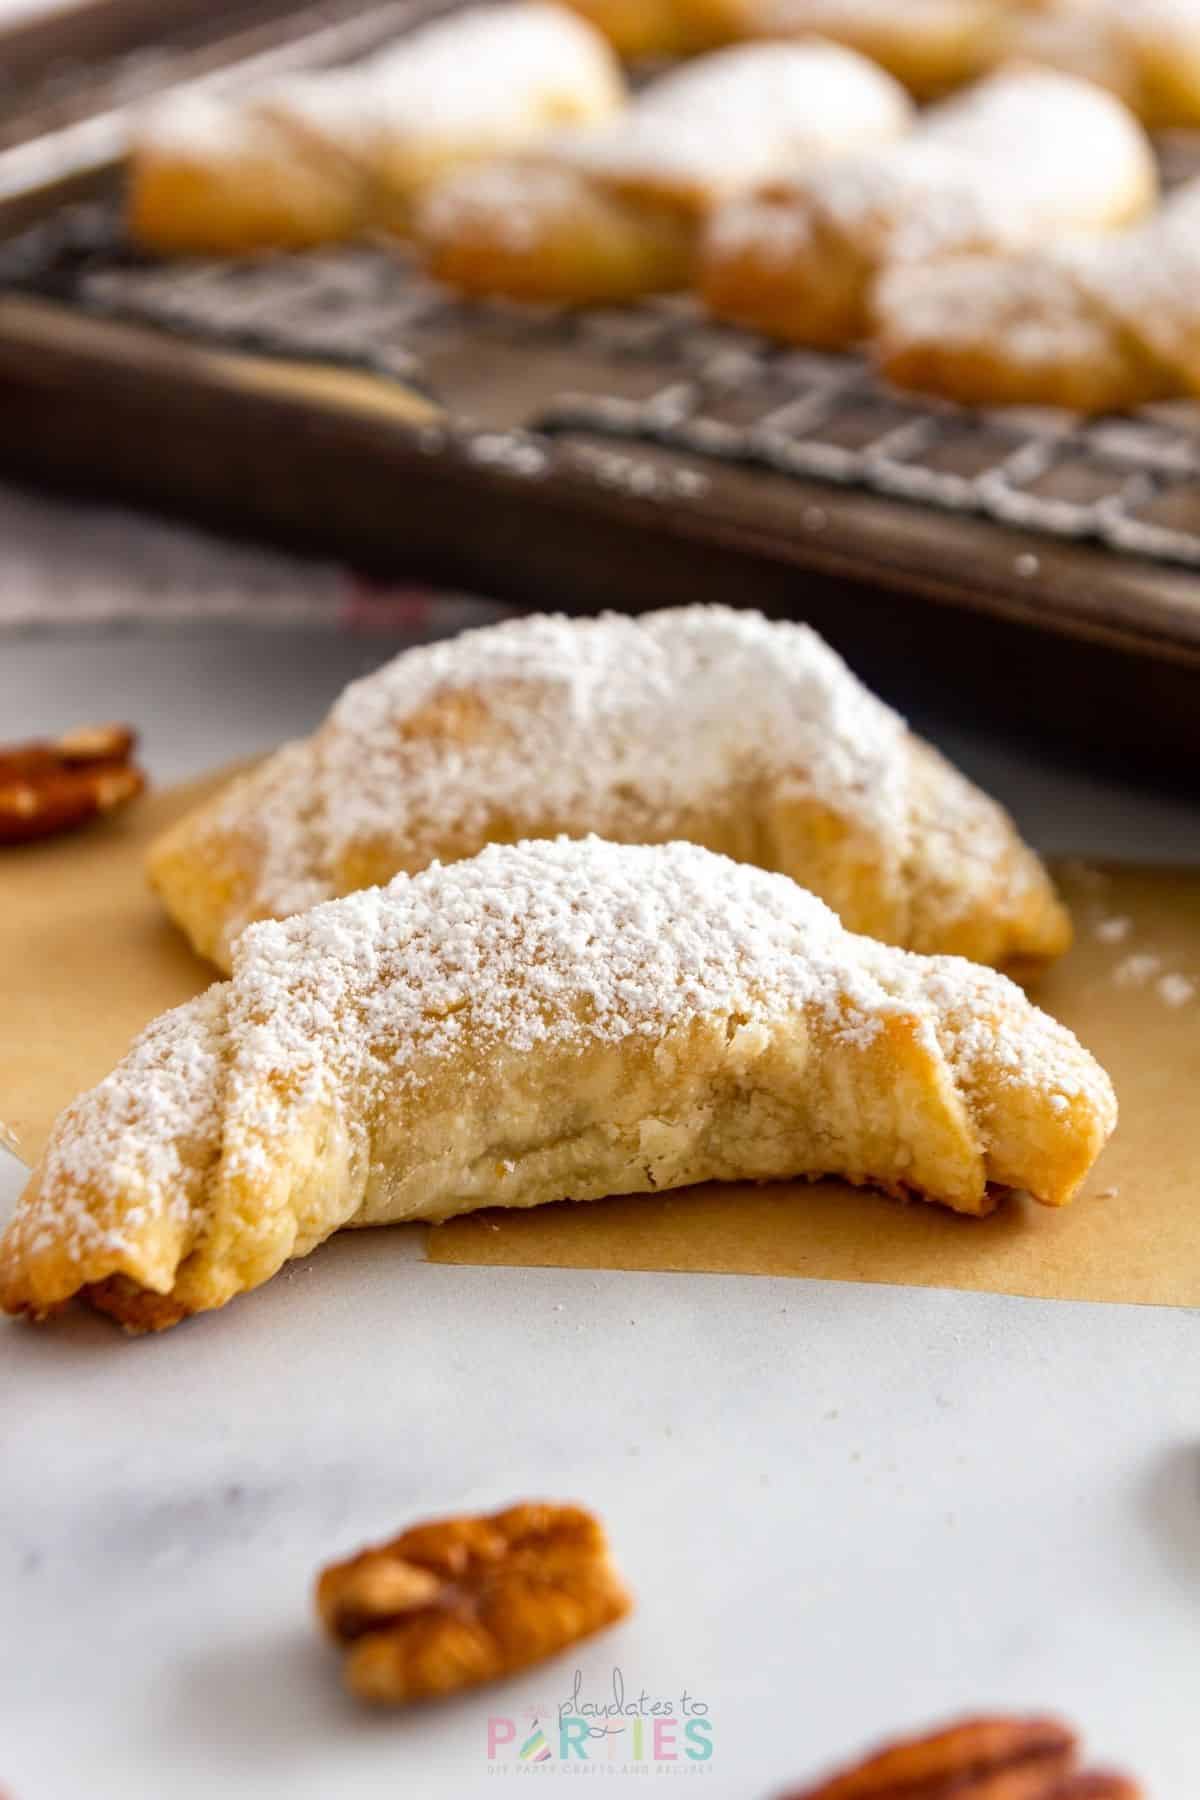
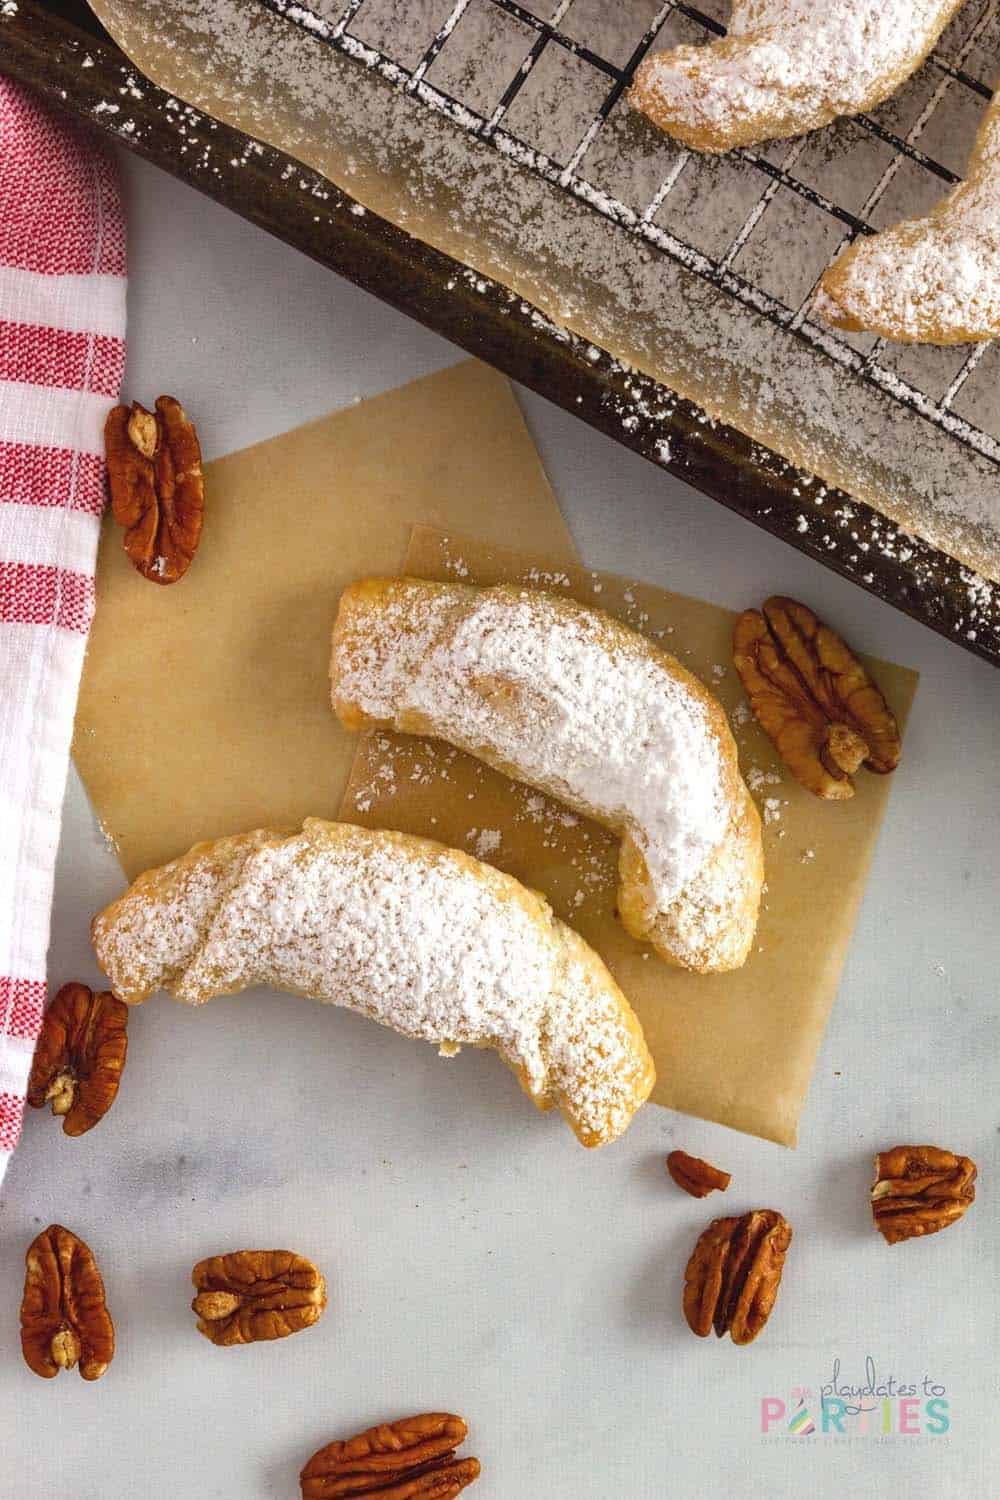
This pecan crescent cookies recipe is a deliciously delicate, flakey treat. It’s made with a cottage cheese dough, filled with ground pecans, and dusted with powdered sugar.
Passed down in our family from my stepfather’s little old Italian mother, we call them “Christmas Horns” – and I’ve never found a cookie that’s just like it. They’re an instant hit with anyone who tries them, and I hope you and your family love them as much as we do.
Why we love these pecan crescent cookies:
- They only use 8 simple ingredients that you can find anywhere.
- The powdered sugar coating and crescent shape makes them gorgeous on a holiday platter.
- If you like snowball cookies…you’ll love these. With a lighter, flakier consistency, they’re kind of like snowball cookies’ older, more sophisticated big sister.
- I won’t lie, they’re time consuming. But they’re also worth all the effort.
- If you prep a big batch of dough, you can freeze the dough balls and filling, which saves so much time when you’re ready to start holiday baking.
What You’ll Need:
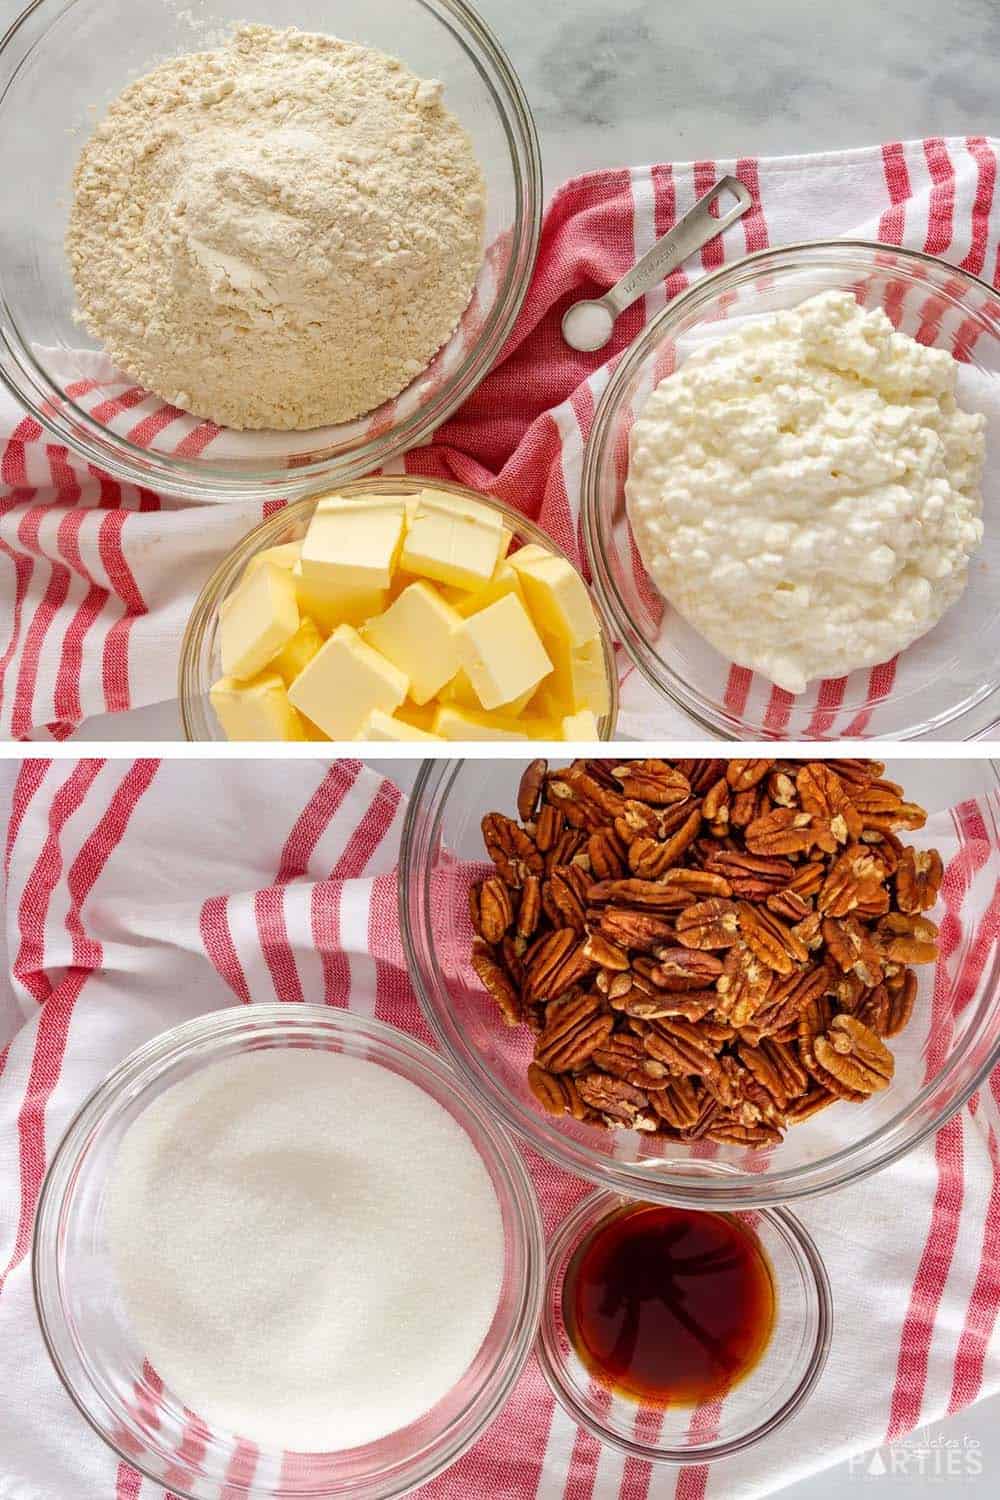
Ingredients:
- Unsalted butter, slightly softened
- Cottage cheese
- All purpose flour
- Salt
- Pecans
- Granulated sugar
- Vanilla extract
- Powdered sugar, for dusting
Supplies:
- Stand Mixer (I use a 6 quart size by Kitchen Aid)
- Metal Paddle Attachment
- Small cookie scoop
- Large bowl
- Pastry mat
- Rolling pin
- Baking sheets
- Parchment paper
- Sifter
A Few Notes about the Ingredients/supplies:
Cottage cheese gives these cookies a light, flakey texture that is simply to die for. Full fat cheese is best for this recipe.
We use pecans for their buttery flavor, but you could also try walnuts if you already have them on hand.
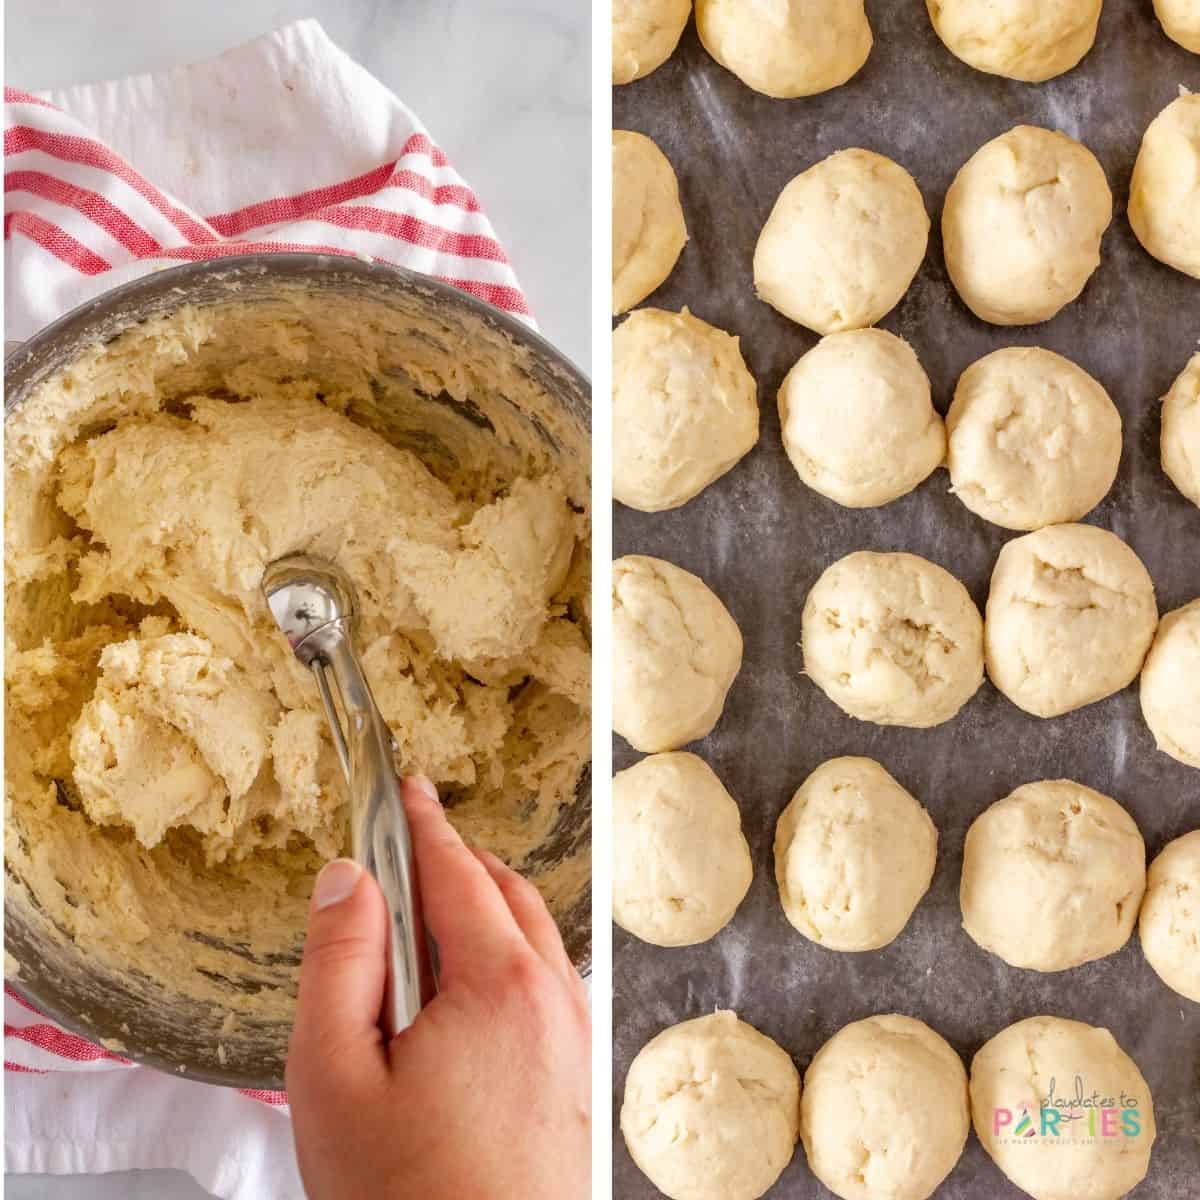
A cookie scoop is optional, but helps to make sure your dough balls aren’t too big, and are all evenly sized.
How to Make Pecan Crescent Cookies:
To make things even easier for you, I created a simple photo guide below. For all measurements and a more detailed guide, check out the printable recipe card at the bottom of this page.
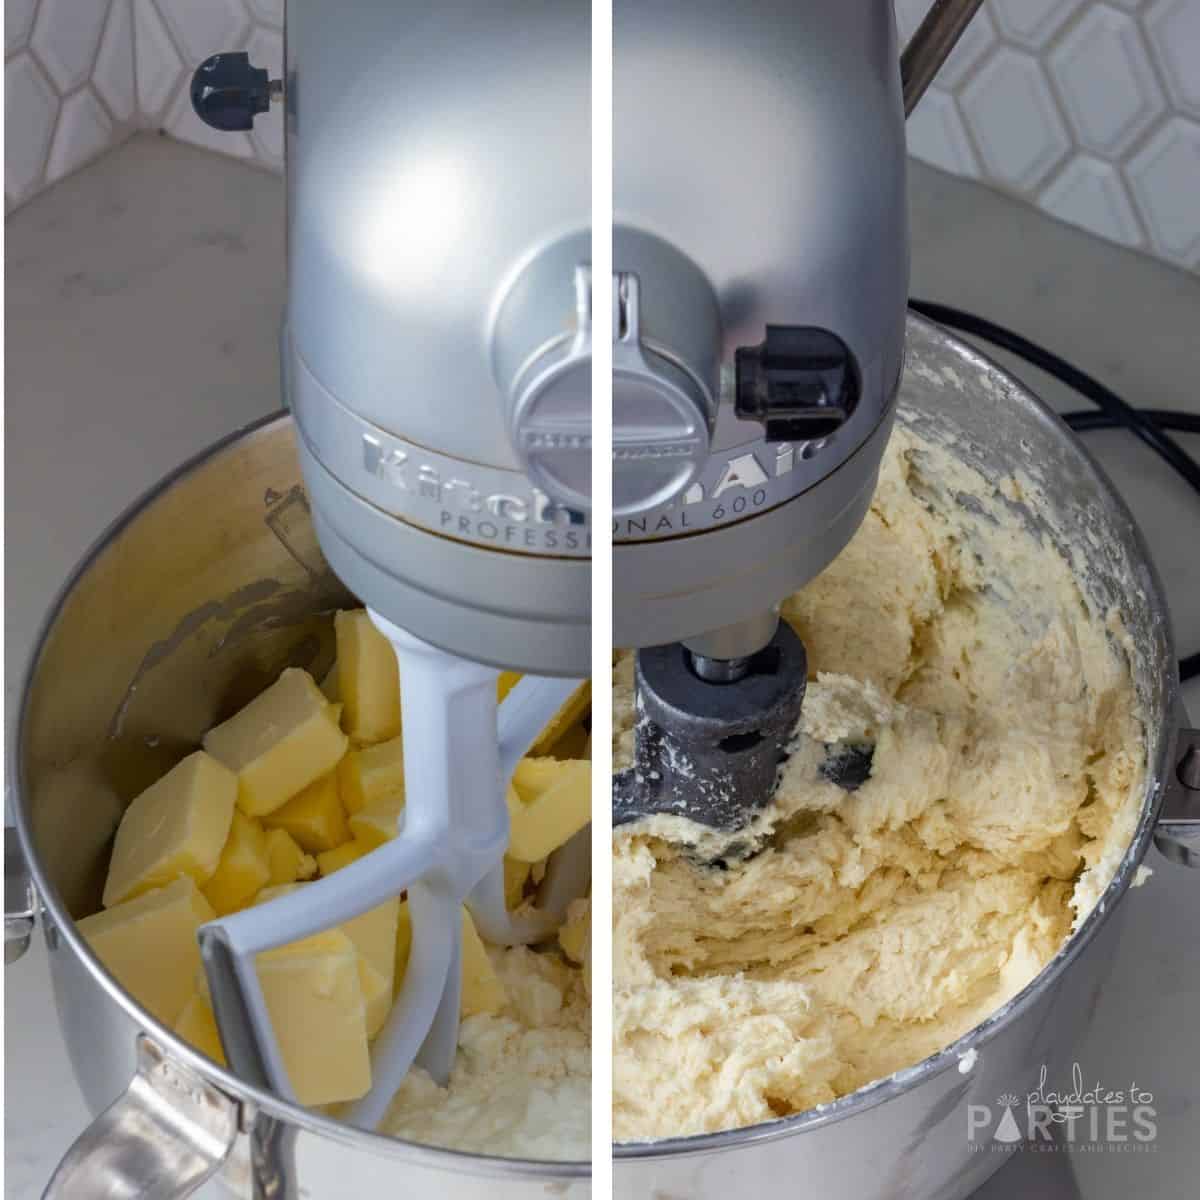
Step 1 – In a stand mixer fitted with the paddle attachment, add butter, cottage cheese, flour, and salt.
Step 2 – Turn the mixer to low and mix together until well combined. The dough will be very stiff. (see tips and FAQ for details)
Step 3 – Scoop the dough into evenly sized balls. Refrigerate for at least 3 hours, or overnight.
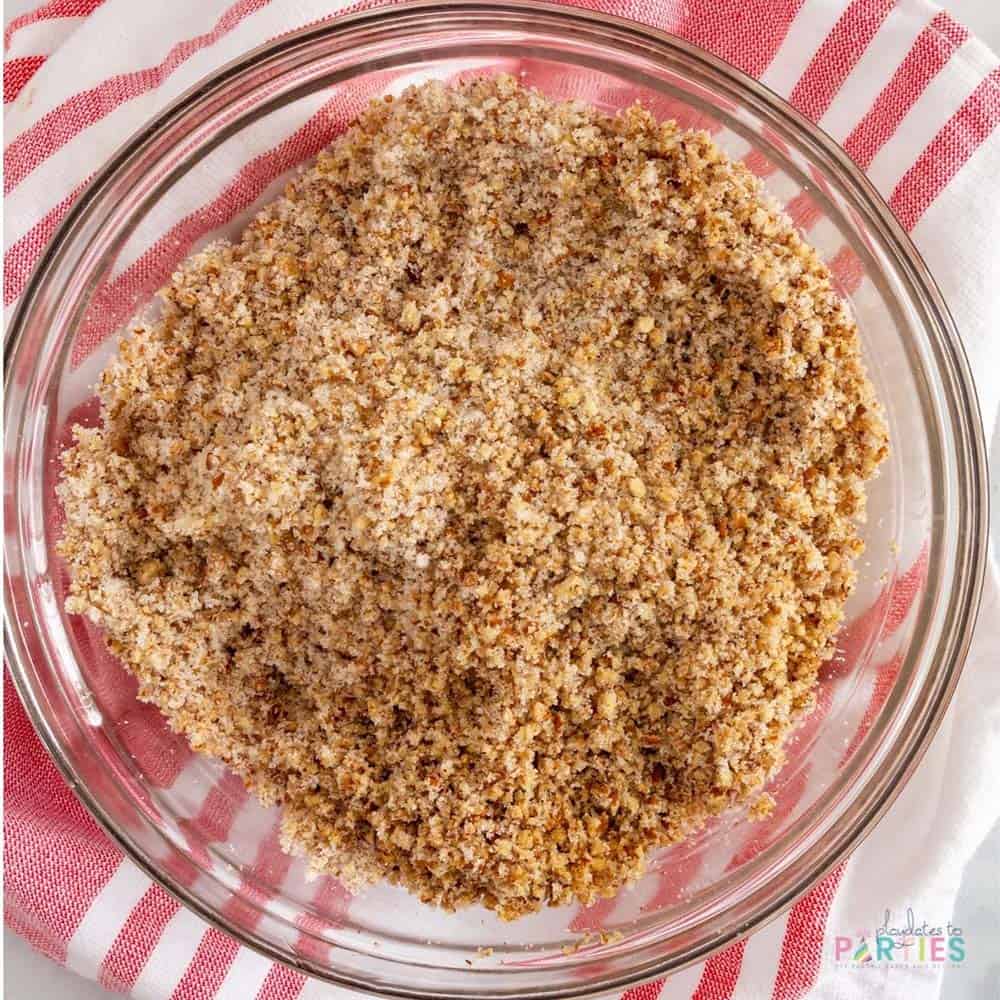
Step 4 – In a large bowl, combine ground pecans, and sugar. Set the filling mixture aside until the dough balls are refrigerated.
Step 5 – After the dough balls are well refrigerated, preheat your oven to 375˚F and prepare a surface and rolling pin with plenty of flour.
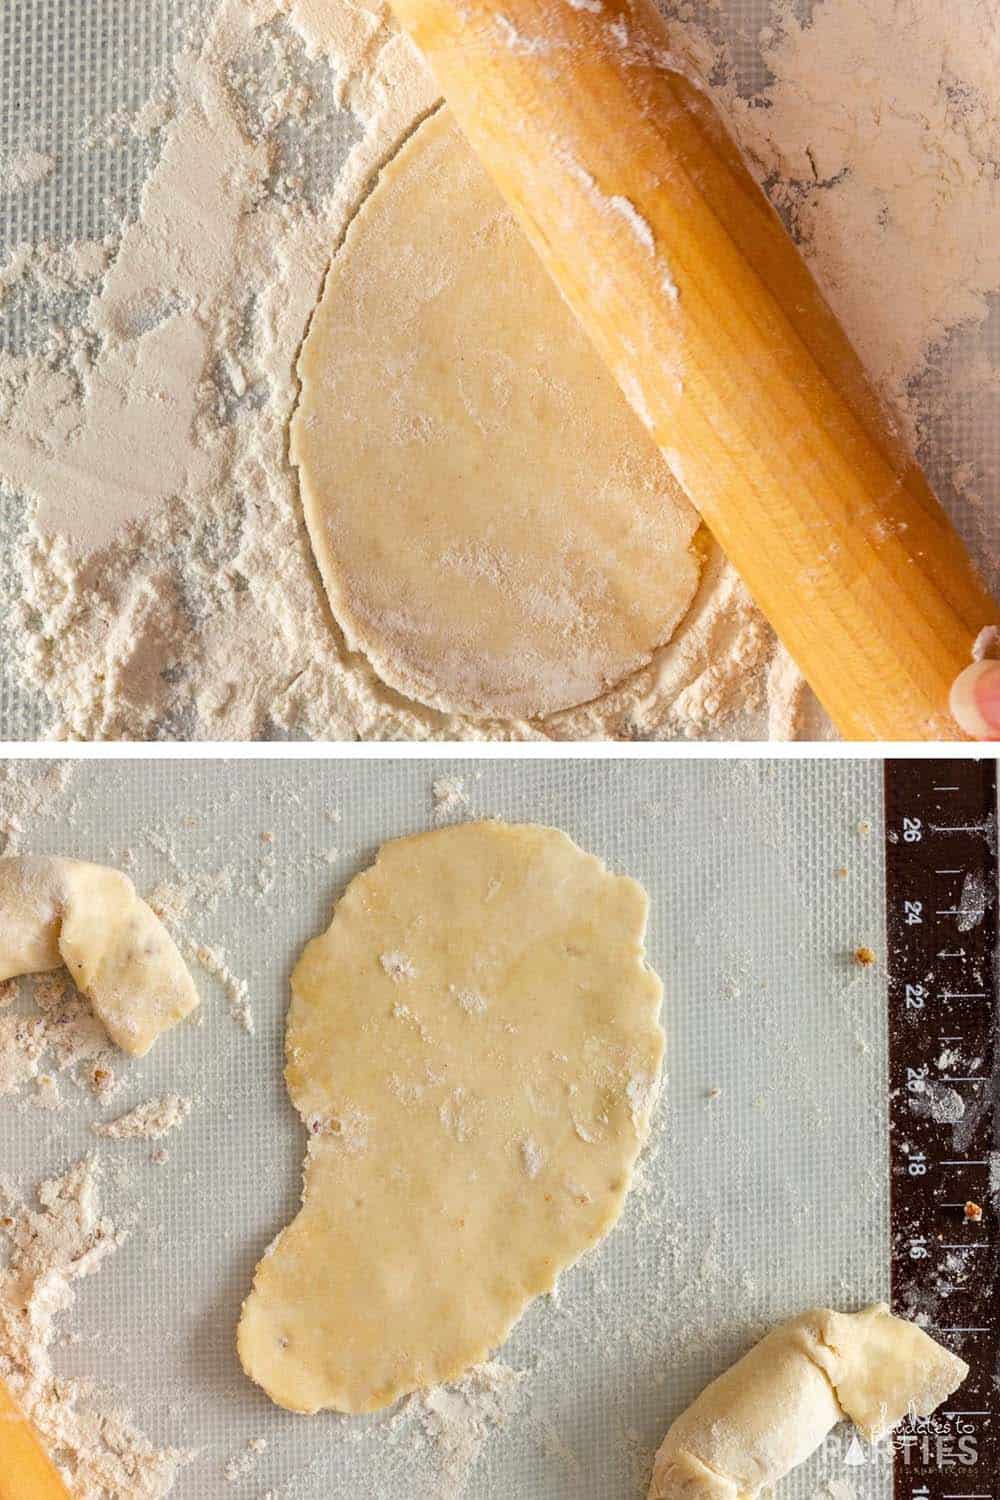
Step 6 – Roll one of the dough balls into a slightly oval shape.
Step 7 – Continue rolling the dough into a thin, lopsided crescent shape.
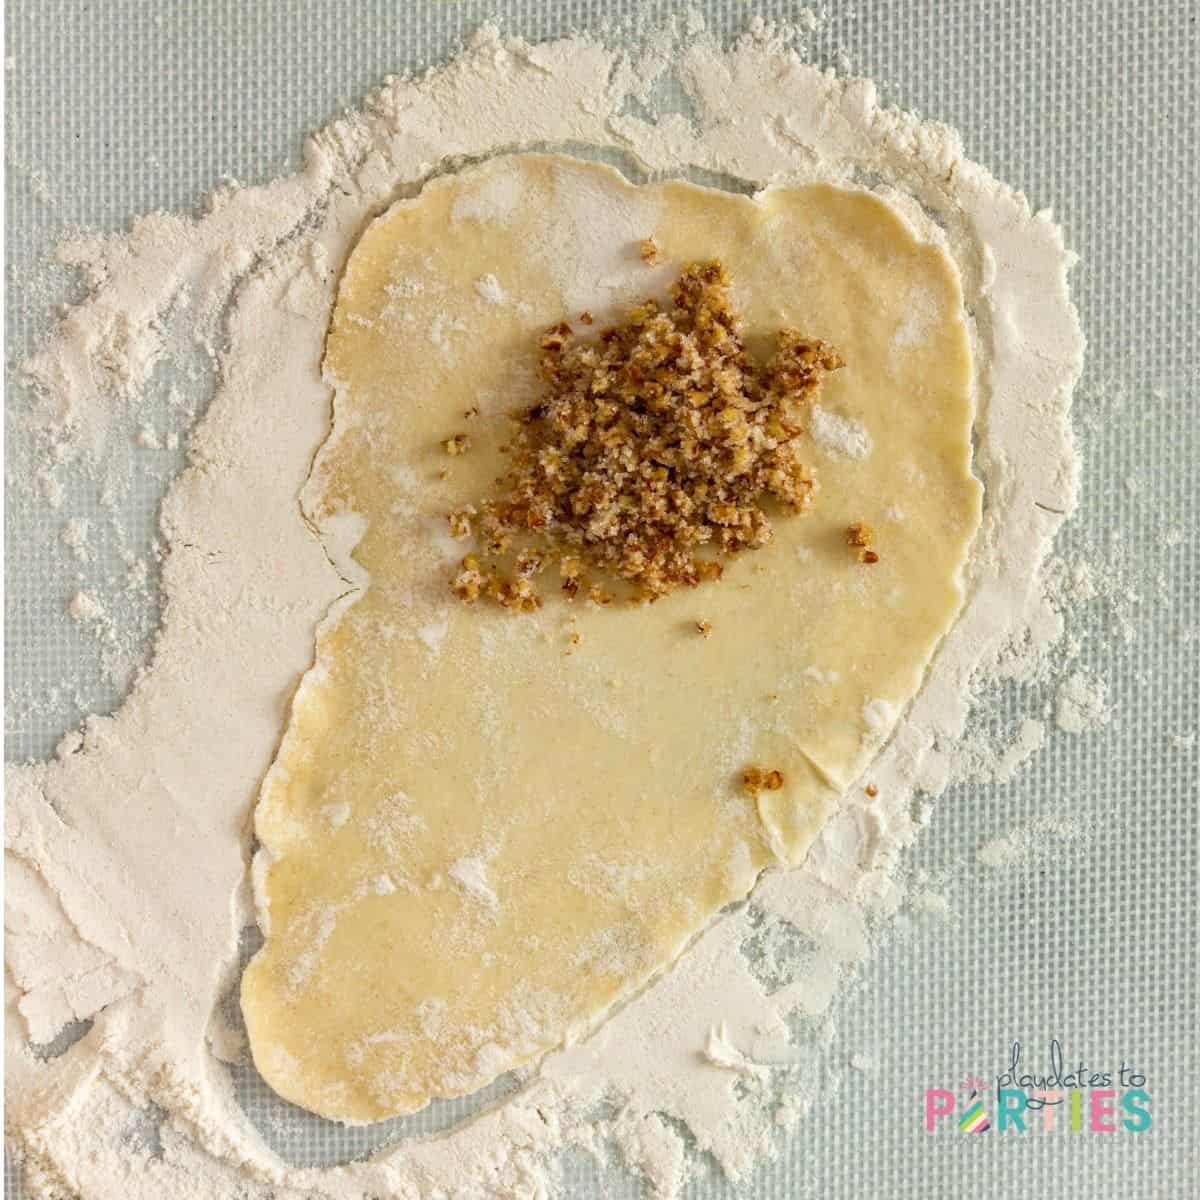
Step 8 – Place 1/2 to 1 teaspoon of the filling mixture into the large side of the crescent.
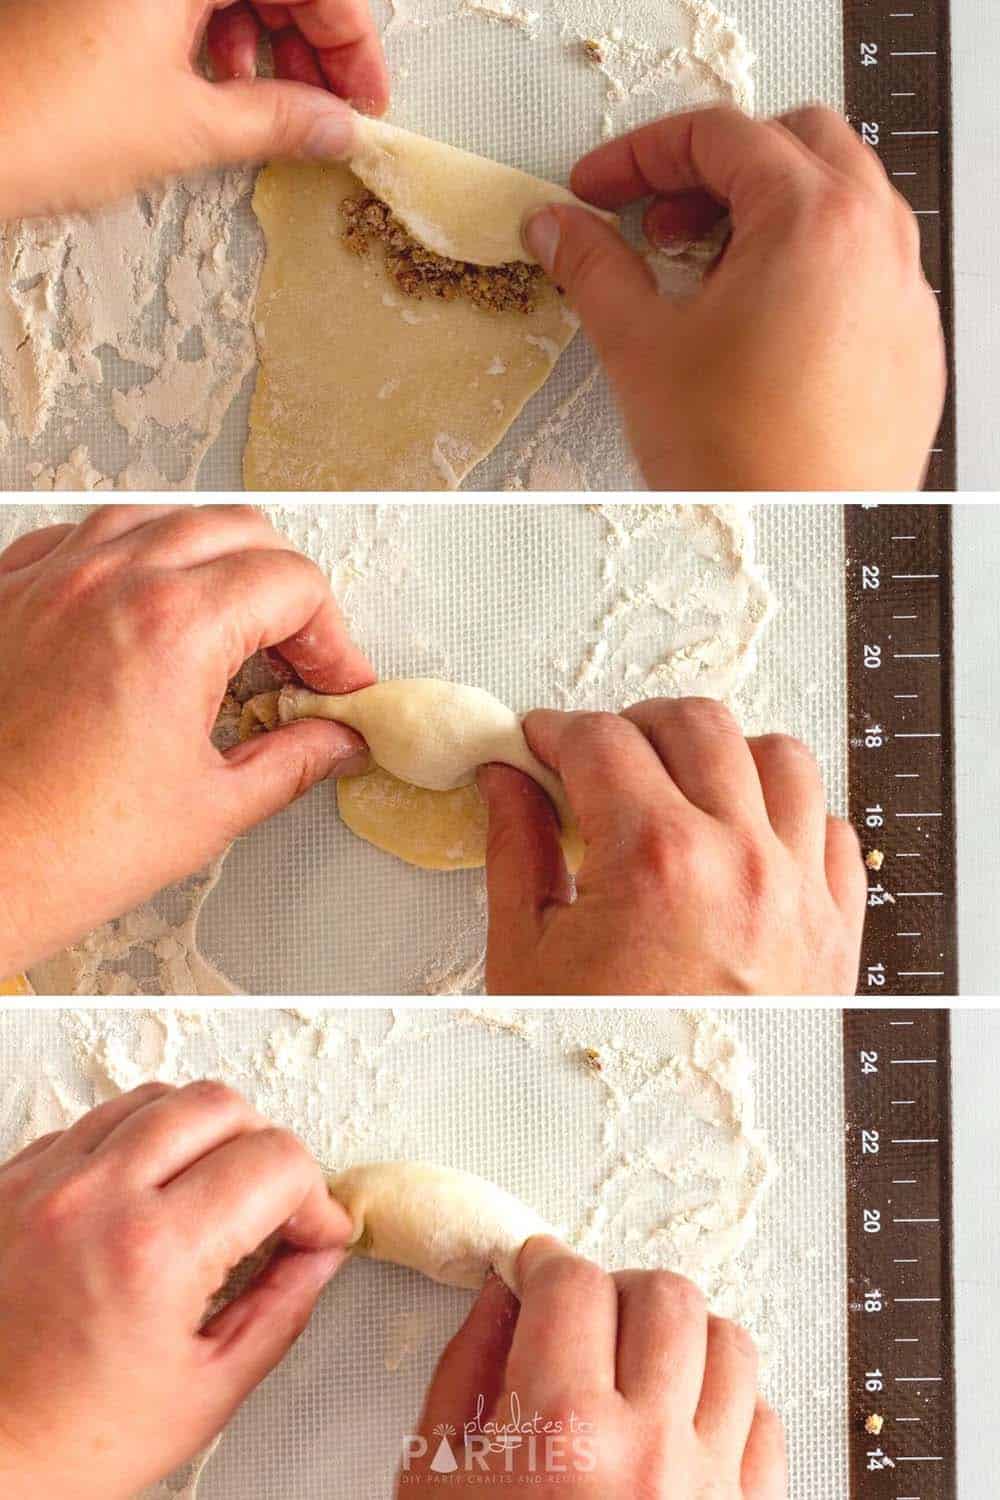
Step 9 – Roll up the dough, starting with the side with the filling. Pinch the sides once or twice while rolling to help seal in the filling.
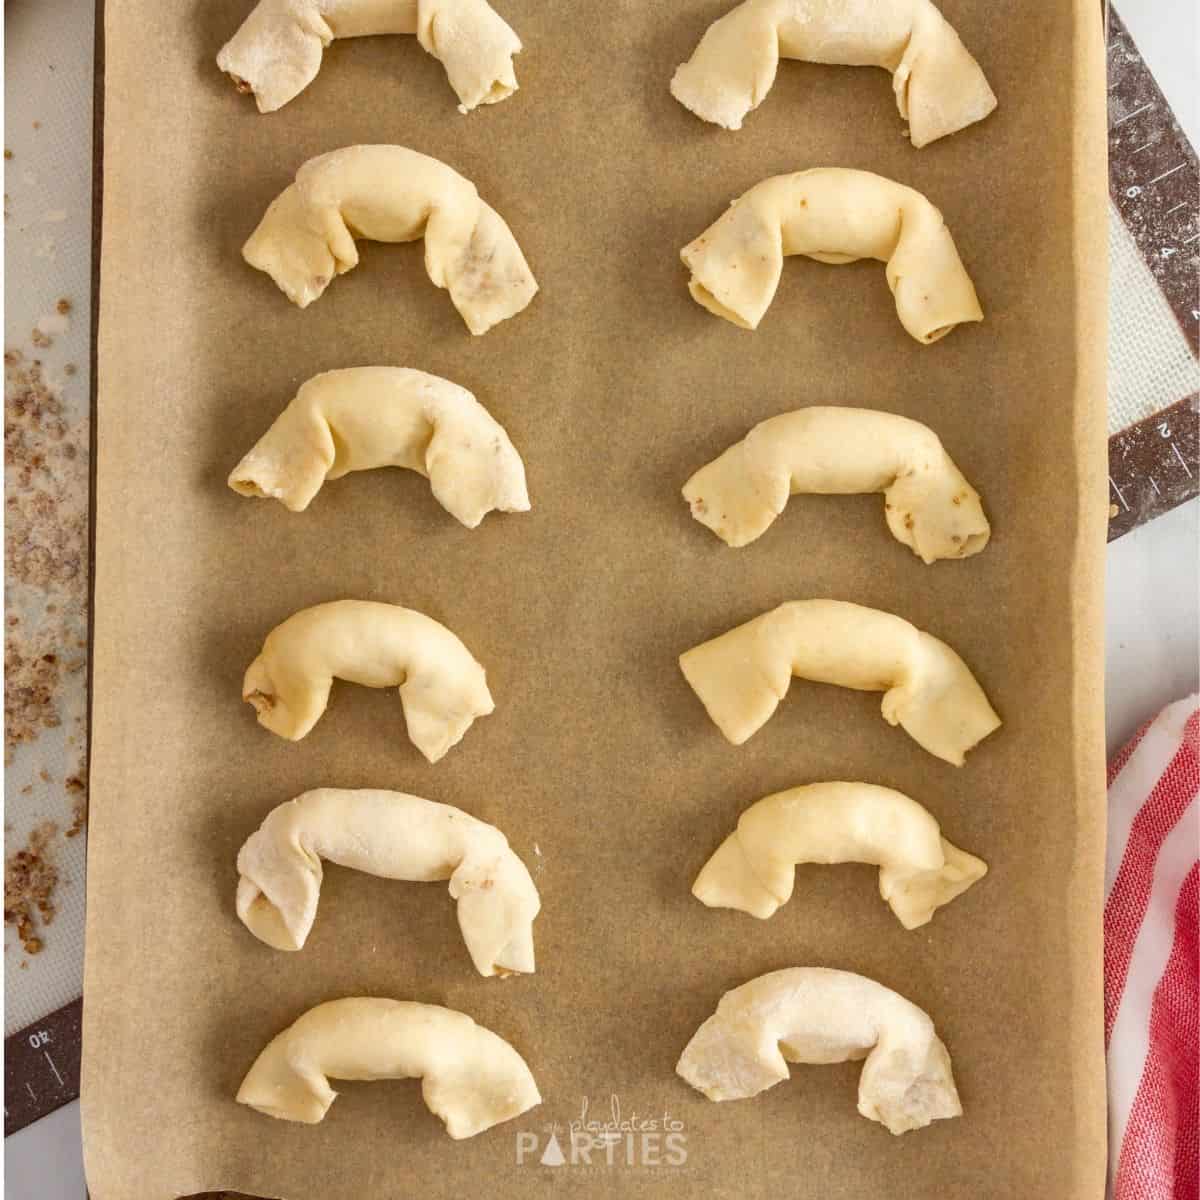
Step 10 – When you reach the end of the dough, fold the ends over to create a little crescent shape.
Step 11 – Bake the cookies at 375˚F until golden brown, between 10-20 minutes.
Step 12 – When cooled, dust with powdered sugar and enjoy!
Essential Tips:
Don’t skip these tips – read them before baking to avoid any potential mistakes.
Yes, You need a stand mixer – and the metal paddle attachment
I can still smell the burnt motor from the year my mom tried to make these with a hand mixer. (a whopping 30 years ago!)
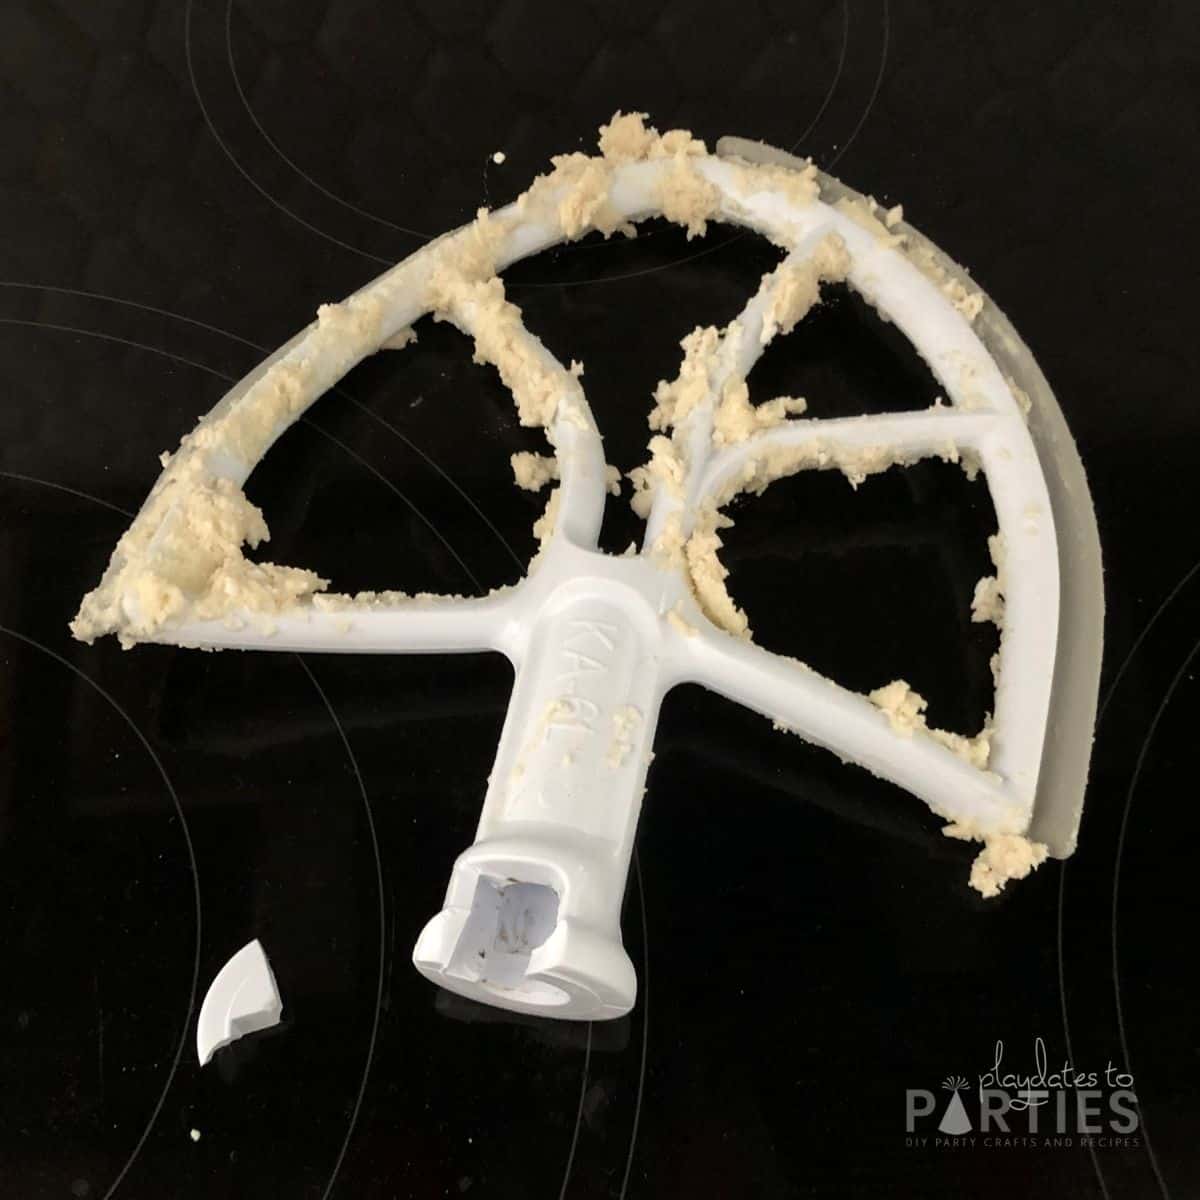
And, did you notice the paddle switcheroo in the process shots above?
…Yep. My beloved scraper dough attachment didn’t survive this recipe.
But that just shows how stiff this dough is. It’s incredibly flaky and flavorful, but if you use the wrong tools, you’ll end up with an expensive replacement bill.
So break out your KitchenAid and grab the metal paddle attachment that came with it.
Don’t use pre-ground pecans
Mom warned me: store bought ground pecans aren’t fine enough for this recipe.
But did I listen? Nope, not the first time I made these cookies. And I regretted it. Which is why I haven’t made the same mistake twice.
Don’t be like me. Grind your nuts yourself to get the best results.
If you don’t, the filling won’t have the right consistency and you might even risk tearing the dough as you roll them up.
How many cups of whole nuts will I need?
I usually grind 3 cups of whole pecans to get 4 cups of finely ground nuts. 30-60 seconds in the food processor is all you need to get the right consistency.
Only remove a few chilled dough balls at a time
Resist the urge to take out all the dough balls at once after they’ve chilled. Rolling the dough out takes some time, and you need the dough to stay nice and cold for the cookies to bake up properly. Which is why I recommend you only pull out about 6-8 dough balls at a time while you roll them up.
I recommend a silicone pastry mat
One of the biggest concerns when rolling dough in flour is that you’ll need so much flour you end up with tough cookies. To make matters worse, these cookies need to be rolled out very thin to get that light, flakey texture.
A silicone pastry mat helps to keep the dough from sticking to your surface so you don’t need to use too much flour. You also get the added bonus that it keeps your counters a tiny bit cleaner.
Giving these away as gifts?
Pecan crescents are so unique and tasty, you’ll want to make extra for all your friends and family. Just be sure to put them in a tin or hard sided container so they don’t fall apart.
Don’t forget to add a cute printable tag to your tin so everyone will know that you made these amazing cookies.
If you liked my Pecan Crescent Cookies, you’re going to love my Easy Candied Pecans. They take only 6 ingredients and are ready to eat in just 45 minutes!
Or you can check out my other Christmas cookie recipes here.
Pecan Crescent Cookies (aka. Christmas Horns)

Friends and family ask for these pecan crescent cookies (aka Christmas horns) every year, with their flakey crust and sweet pecan filling.
Ingredients
Dough:
- 1.5 pounds unsalted butter, slightly softened
- 24 ounces full fat cottage cheese
- 3.75 cups all purpose flour
- 1/2 teaspoon salt
Filling:
- 4 cups finely ground pecans (3 cups whole)
- 2 cups granulated sugar
- 4 Tablespoons vanilla extract
Topping:
- 1/2 cup powdered sugar for dusting
Instructions
- In a stand mixer fitted with the paddle attachment, add 1.5 pounds unsalted butter, 24 ounces full fat cottage cheese, 3.75 cups all purpose flour, and 1/2 teaspoon salt.
- Turn the mixer to low and mix together until well combined. Dough will be stiff.
- Form dough into balls between 3/4 and 1 inch in diameter. Refrigerate for at least 3 hours, or overnight.
- In a large bowl, combine 4 cups finely ground pecans, 2 cups granulated sugar. Set the filling mixture aside until dough balls are refrigerated.
- After the dough balls are well refrigerated, preheat your oven to 375˚F and prepare a surface and rolling pin with plenty of flour.
- One at a time, roll each dough ball into a slightly oval shape.
- Continue rolling the dough into a thin crescent shape.
- Place 1/2 to 1 teaspoon of the filling mixture into the large side of the crescent.
- Roll up the dough crescent, starting with the side with the filling. Pinch the sides once or twice while rolling to help seal in the filling.
- When you reach the end of the dough, fold the ends over to create a little crescent shape.
- Bake the cookies at 375˚F until golden brown, between 10-20 minutes.
- When cooled, use a sifter to dust the cookies with powdered sugar and enjoy!
Notes
Remember, the step-by-step photos and FAQ in the recipe post are there to help you if you feel stuck at any point.
- Make sure you use a stand mixer with a metal paddle attachment for the dough. It's too stiff to use with a hand mixer.
- 3 cups whole nuts ground for 30 seconds in the food processor should give you about 4 cups finely ground nuts
- Use a cookie scoop to make sure your dough balls are all evenly sized.
- Your rolled crescents should be about 4 inches long and 3(ish) inches wide.
Recommended Products
As an Amazon Associate and member of other affiliate programs, I earn from qualifying purchases.
This post was originally published on January 2, 2012. It has been updated with new photos, a printable recipe card, and more descriptive details of the process.






Leave a Reply