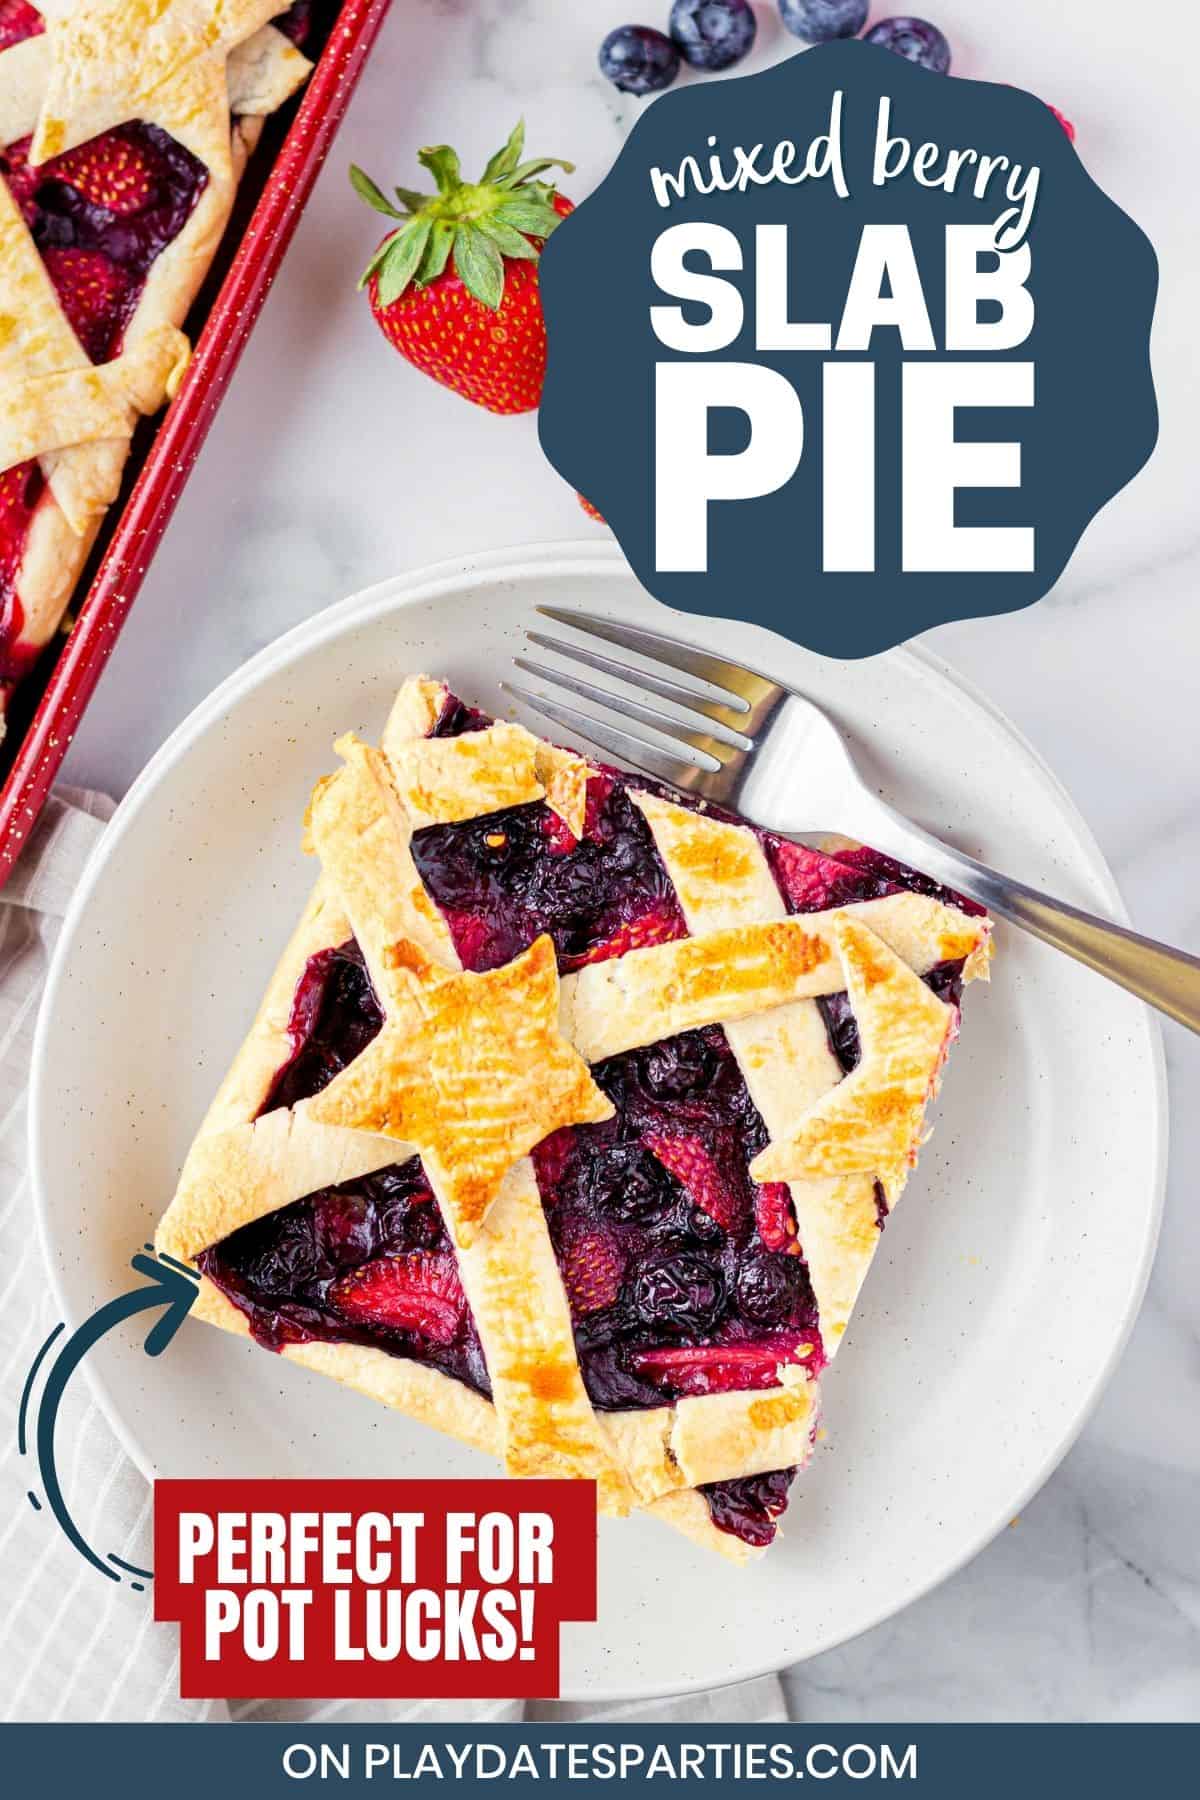
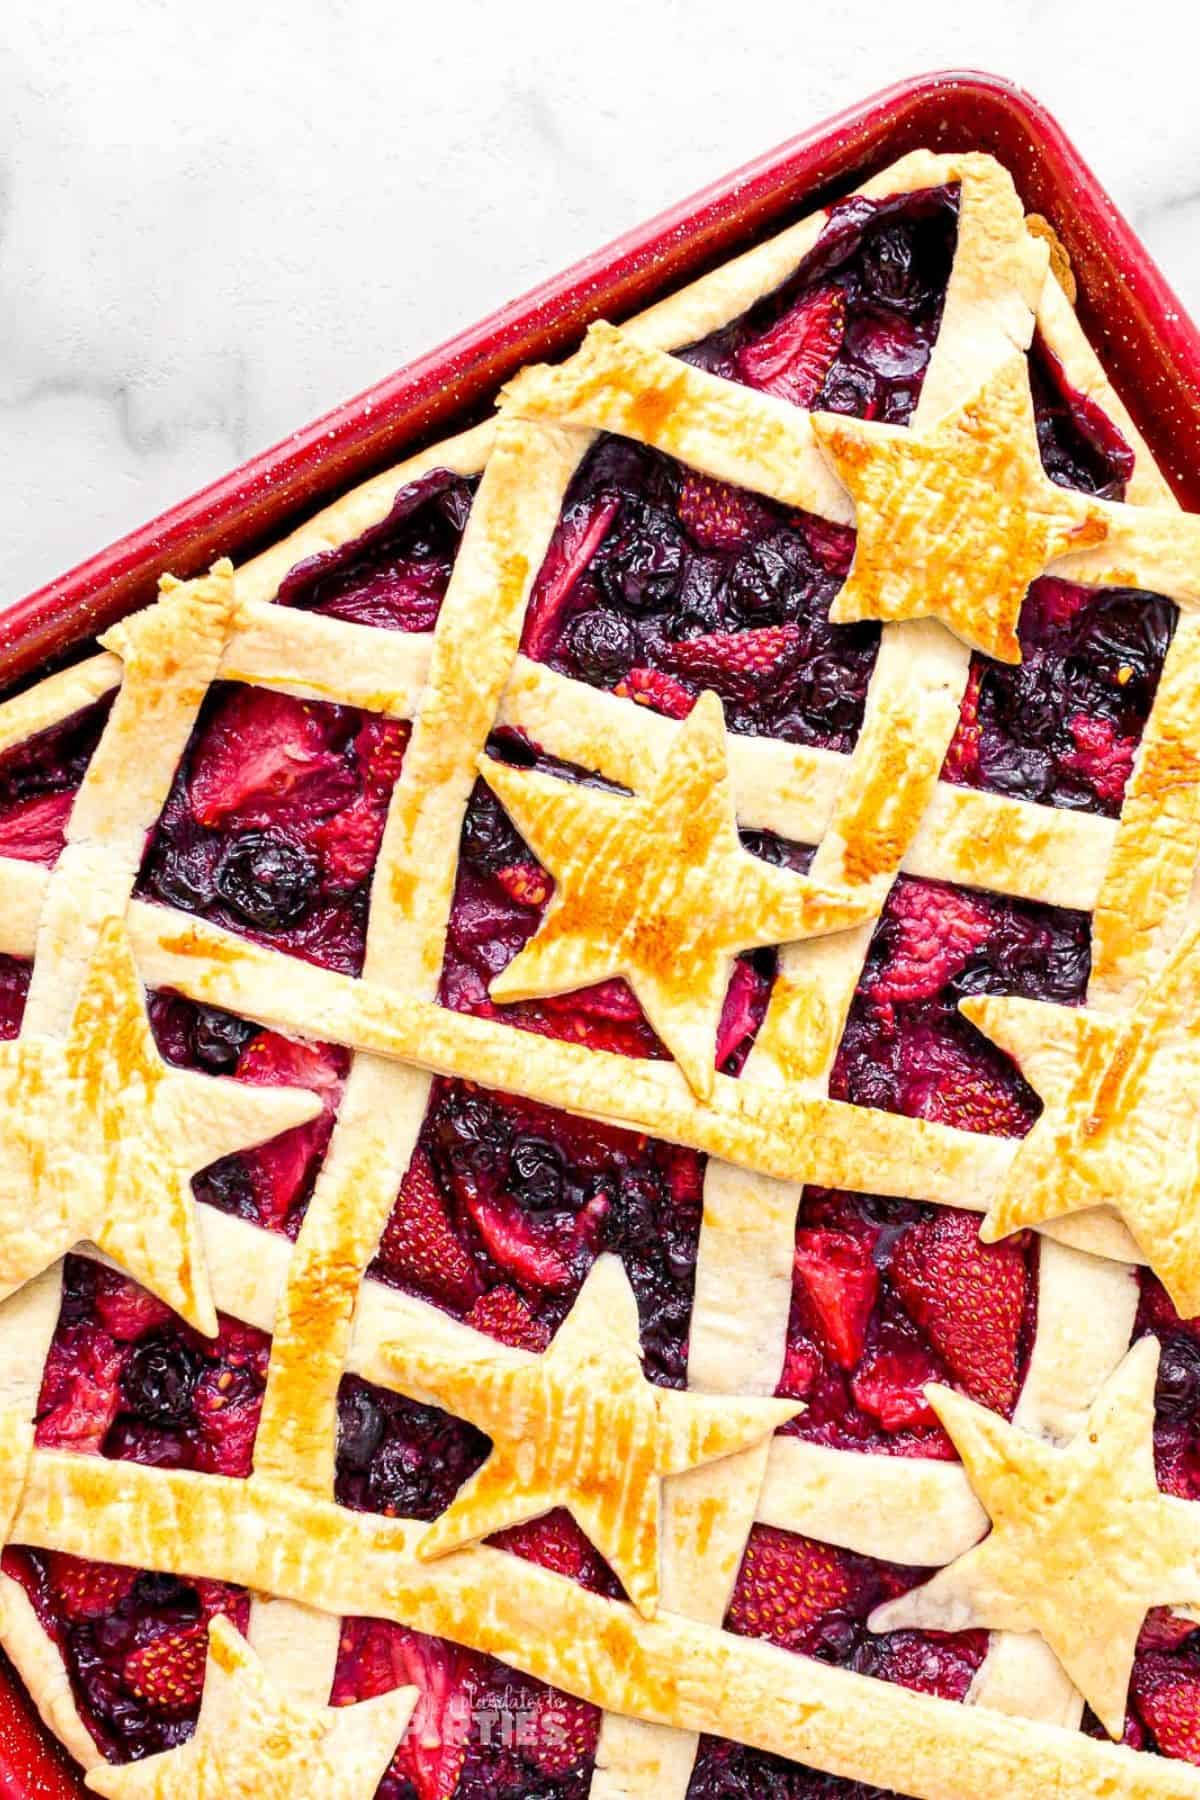
Summer barbecues are the go-to way to celebrate-whether it’s for Memorial Day, July 4th, or Labor Day. And if you want to bring a patriotic dessert that’s as easy as it is impressive, then you have to make this mixed berry slab pie.
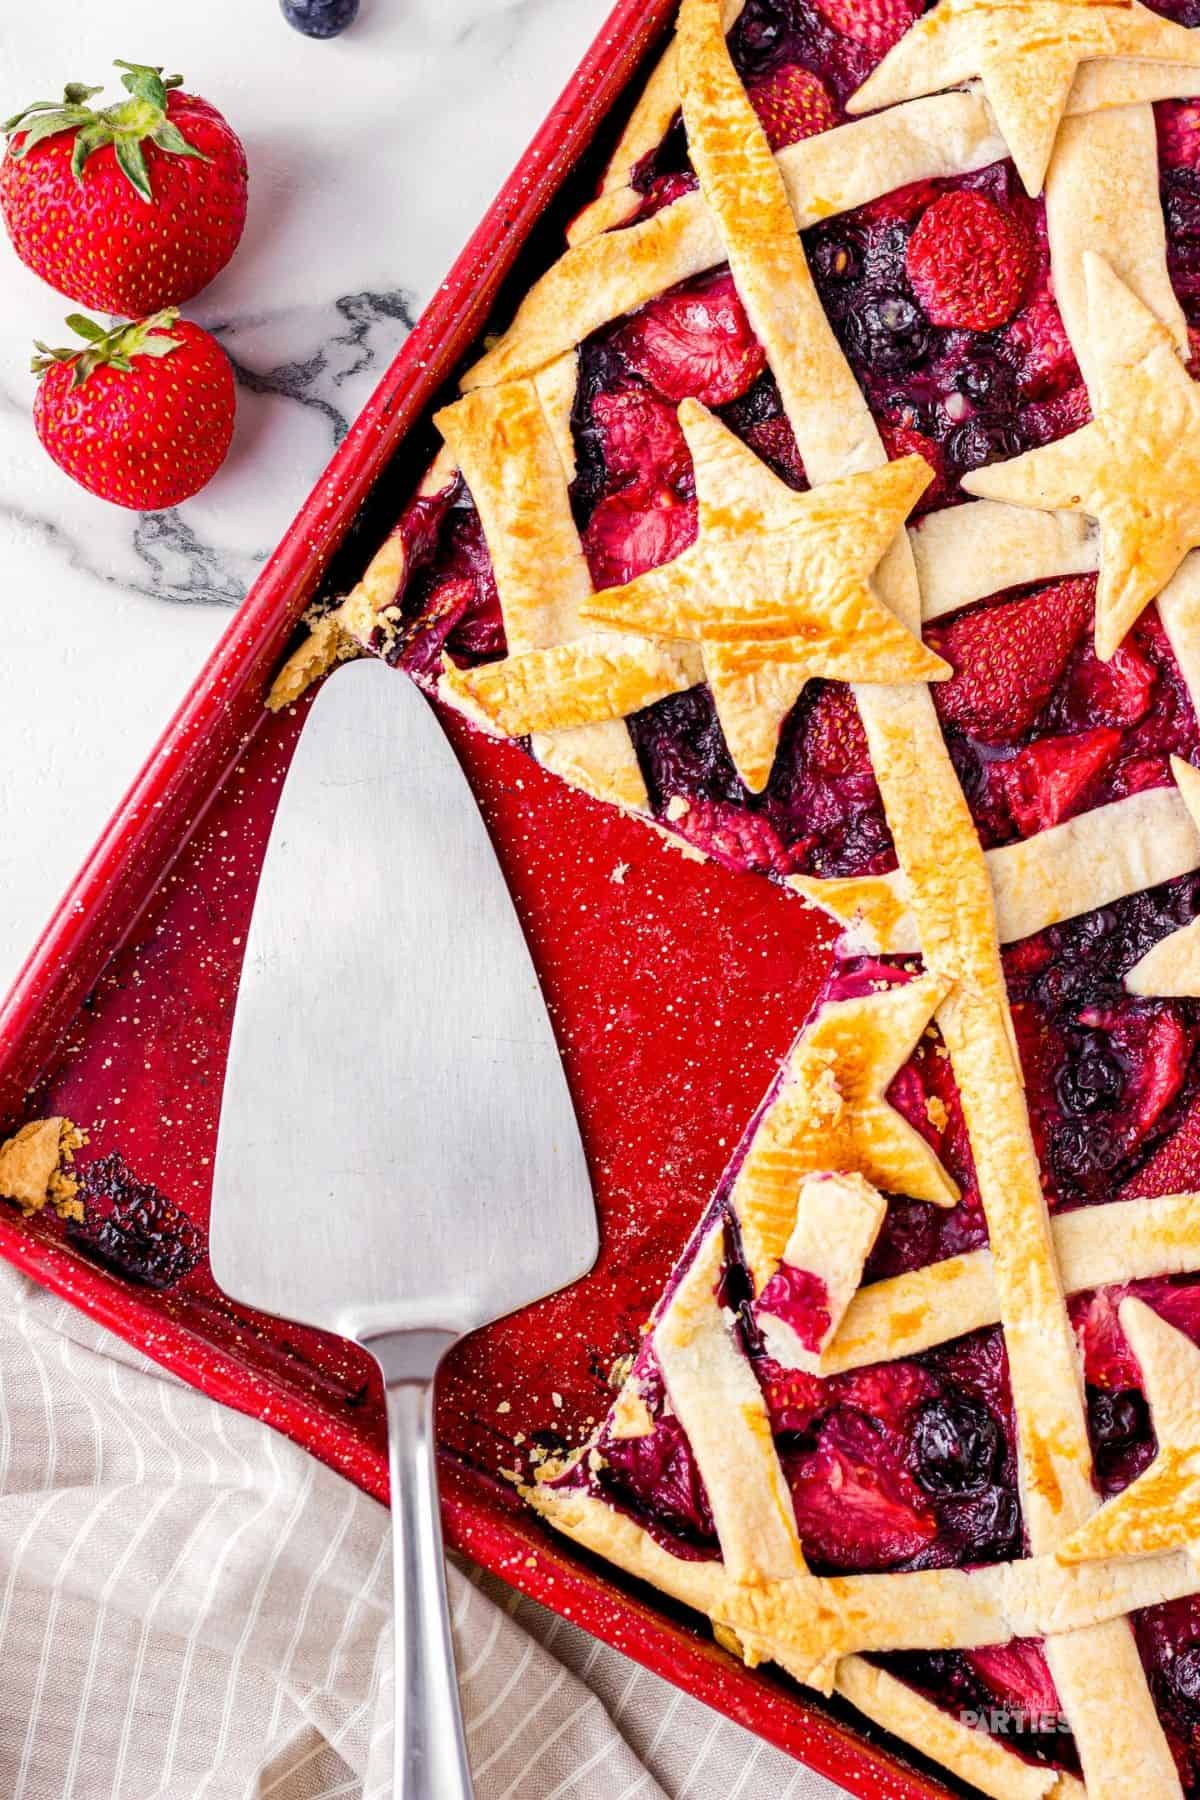
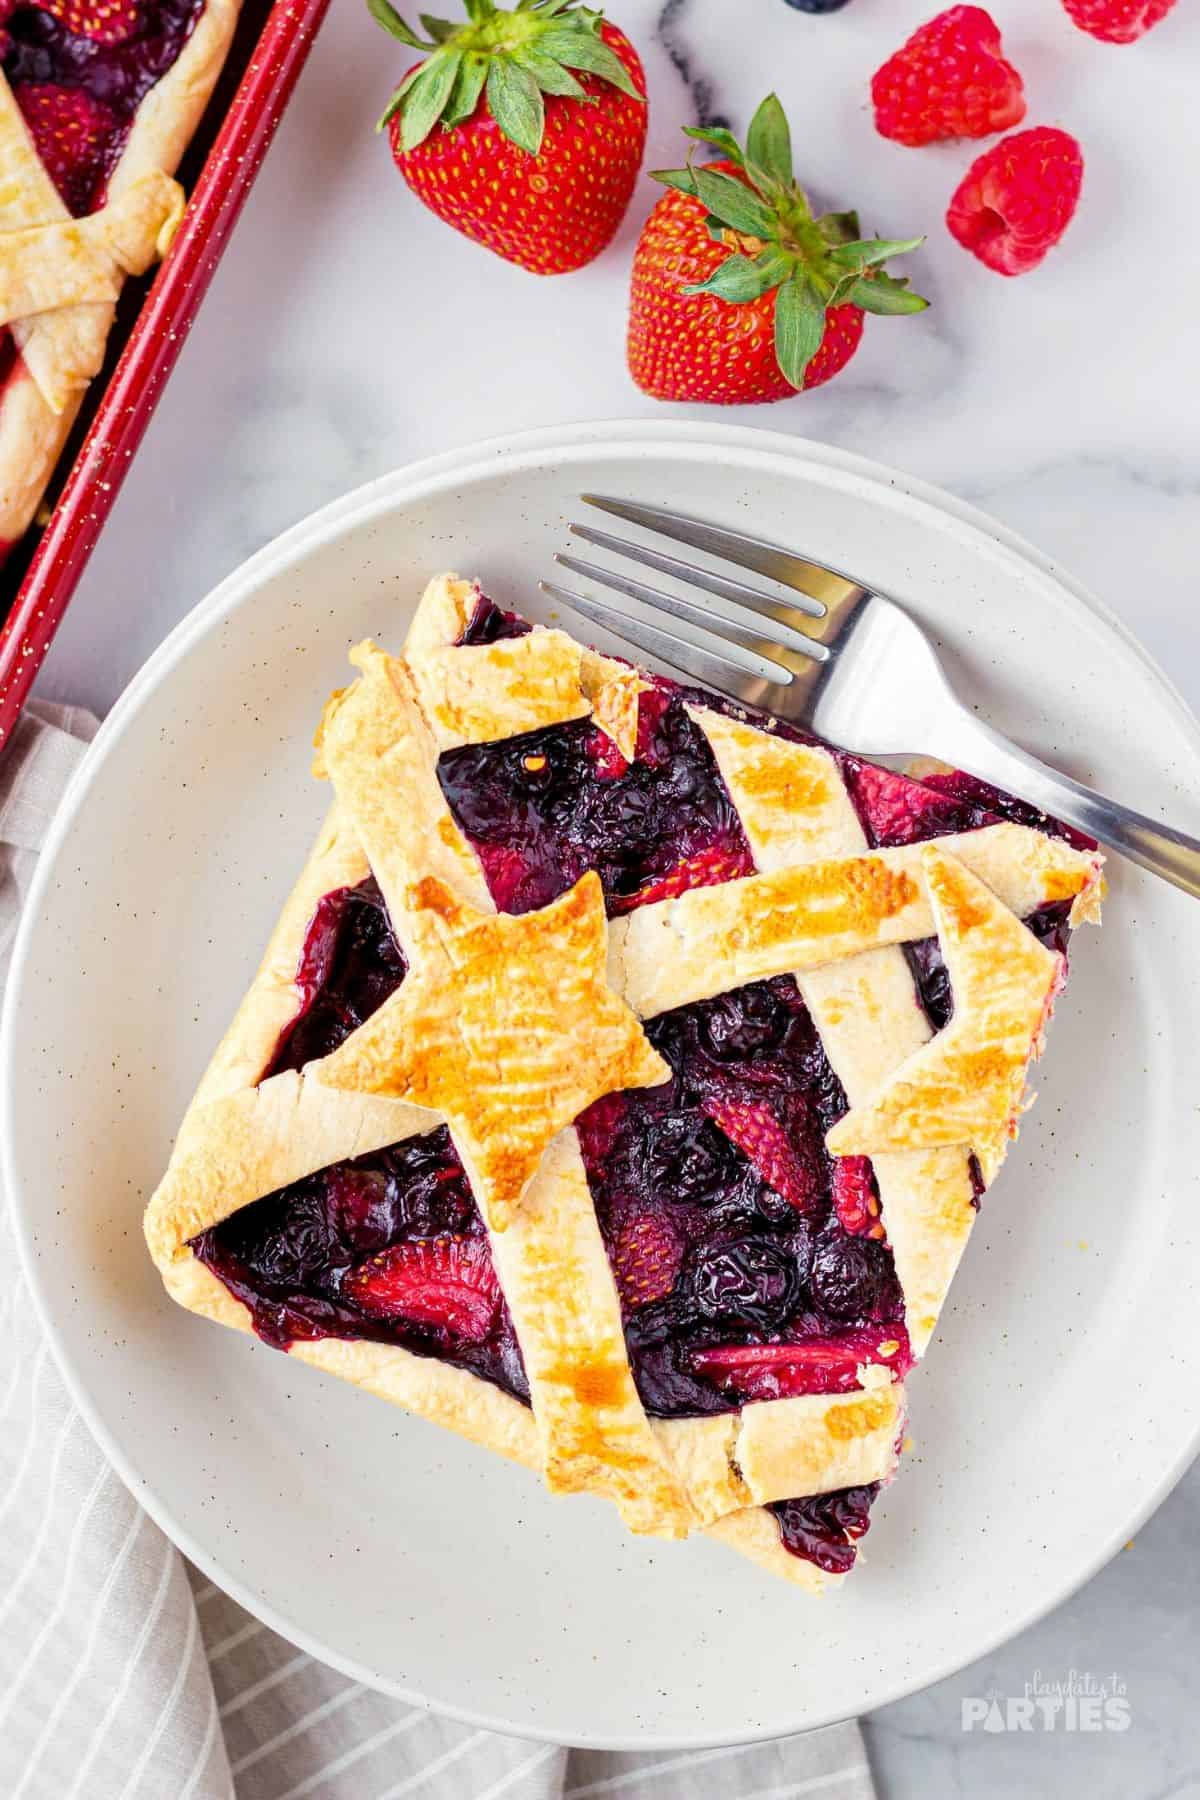
Made especially for sharing, this delicious sheet pan pie is packed with three types of berries sandwiched between your favorite buttery, flaky crust. And, with a few simple steps, you’ll have a show-stopping dessert in no time. So fire up the oven and let’s make some mixed berry slab pie!
Why you’ll love this Mixed Berry Sheet Pan Pie
- This recipe is easy to make. The prep is simple and then you put the pie in the oven to come together nicely.
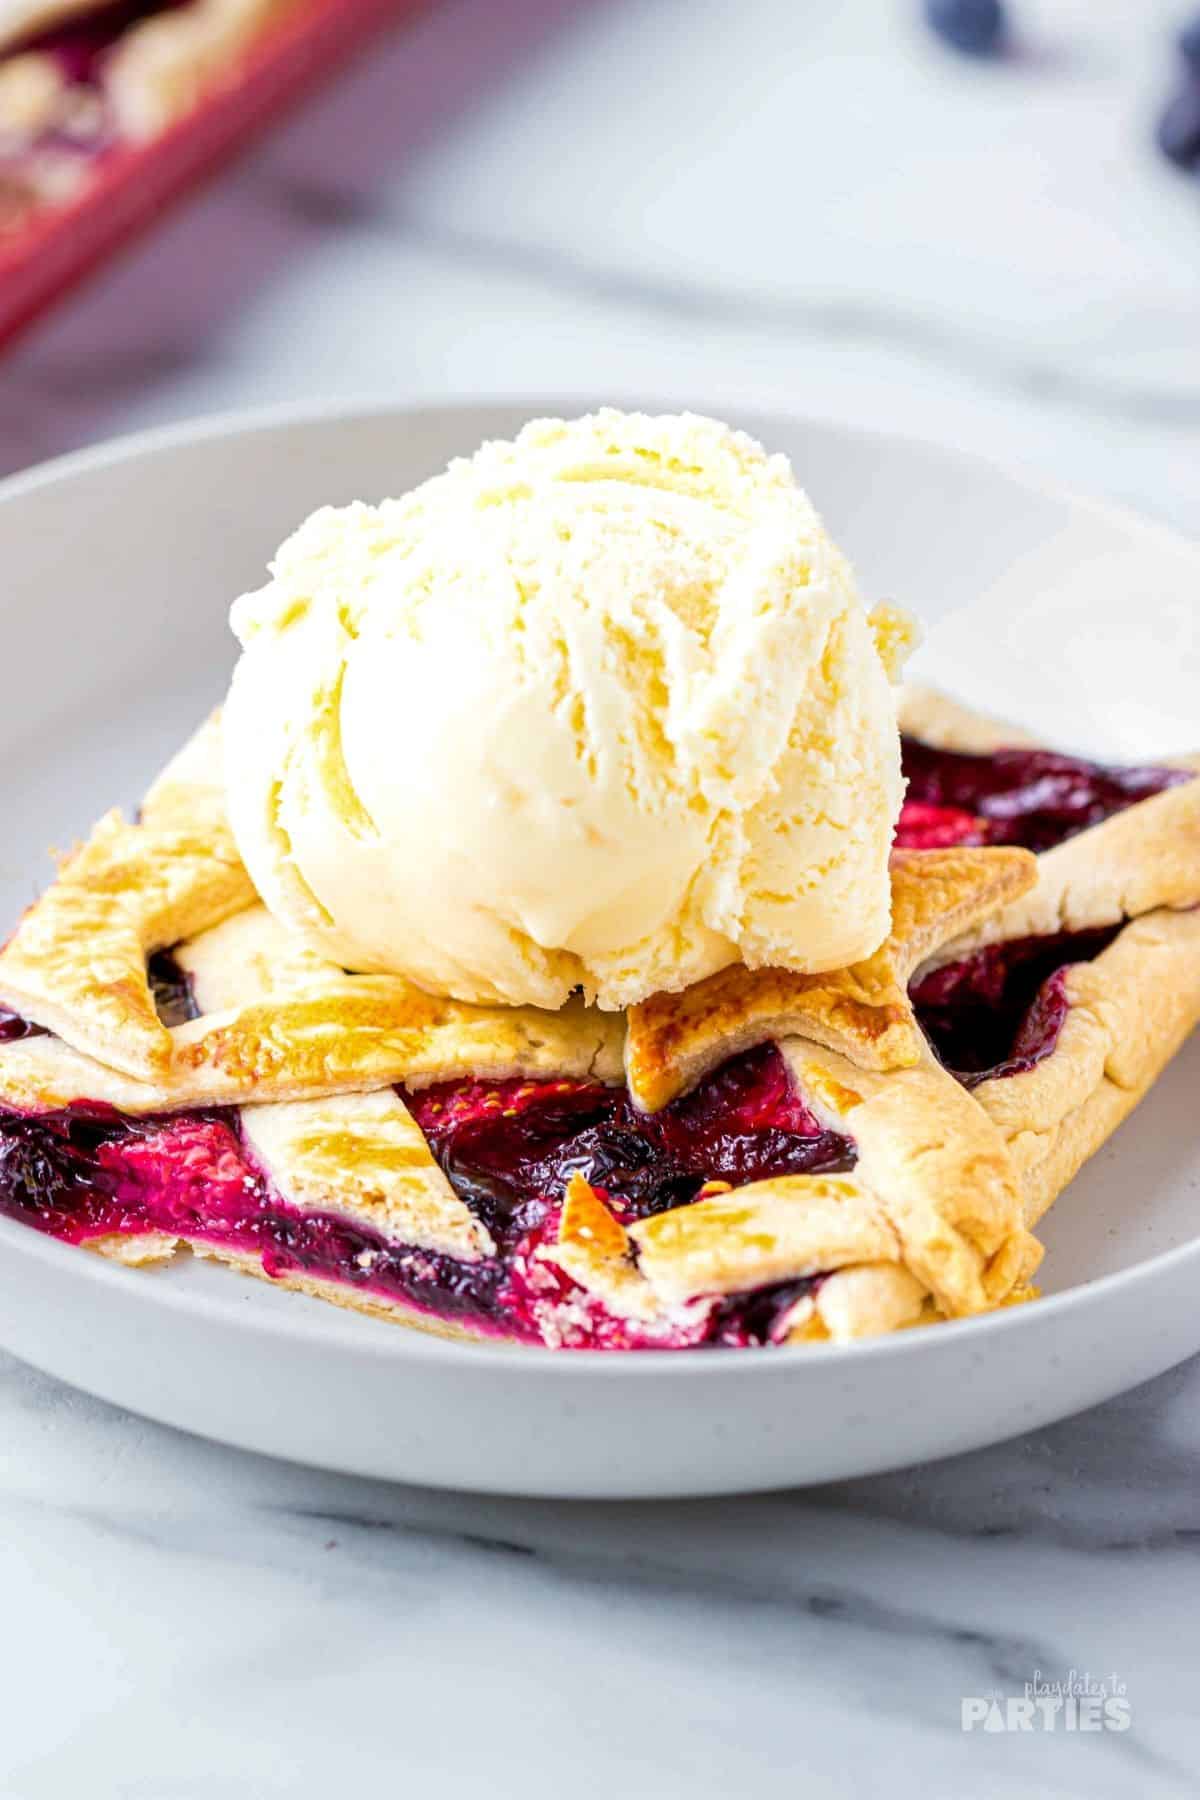
- Perfect for patriotic celebrations as it has those traditional white red and blue colors, especially when served with cream or ice cream. It is perfect for any large gatherings you might be planning.
- It tastes amazing. The berries are fresh and delicious as they bake together with the crust.
- A simple recipe to adapt to suit what berries or fruit you have or even using frozen substitutes.
What you’ll need:
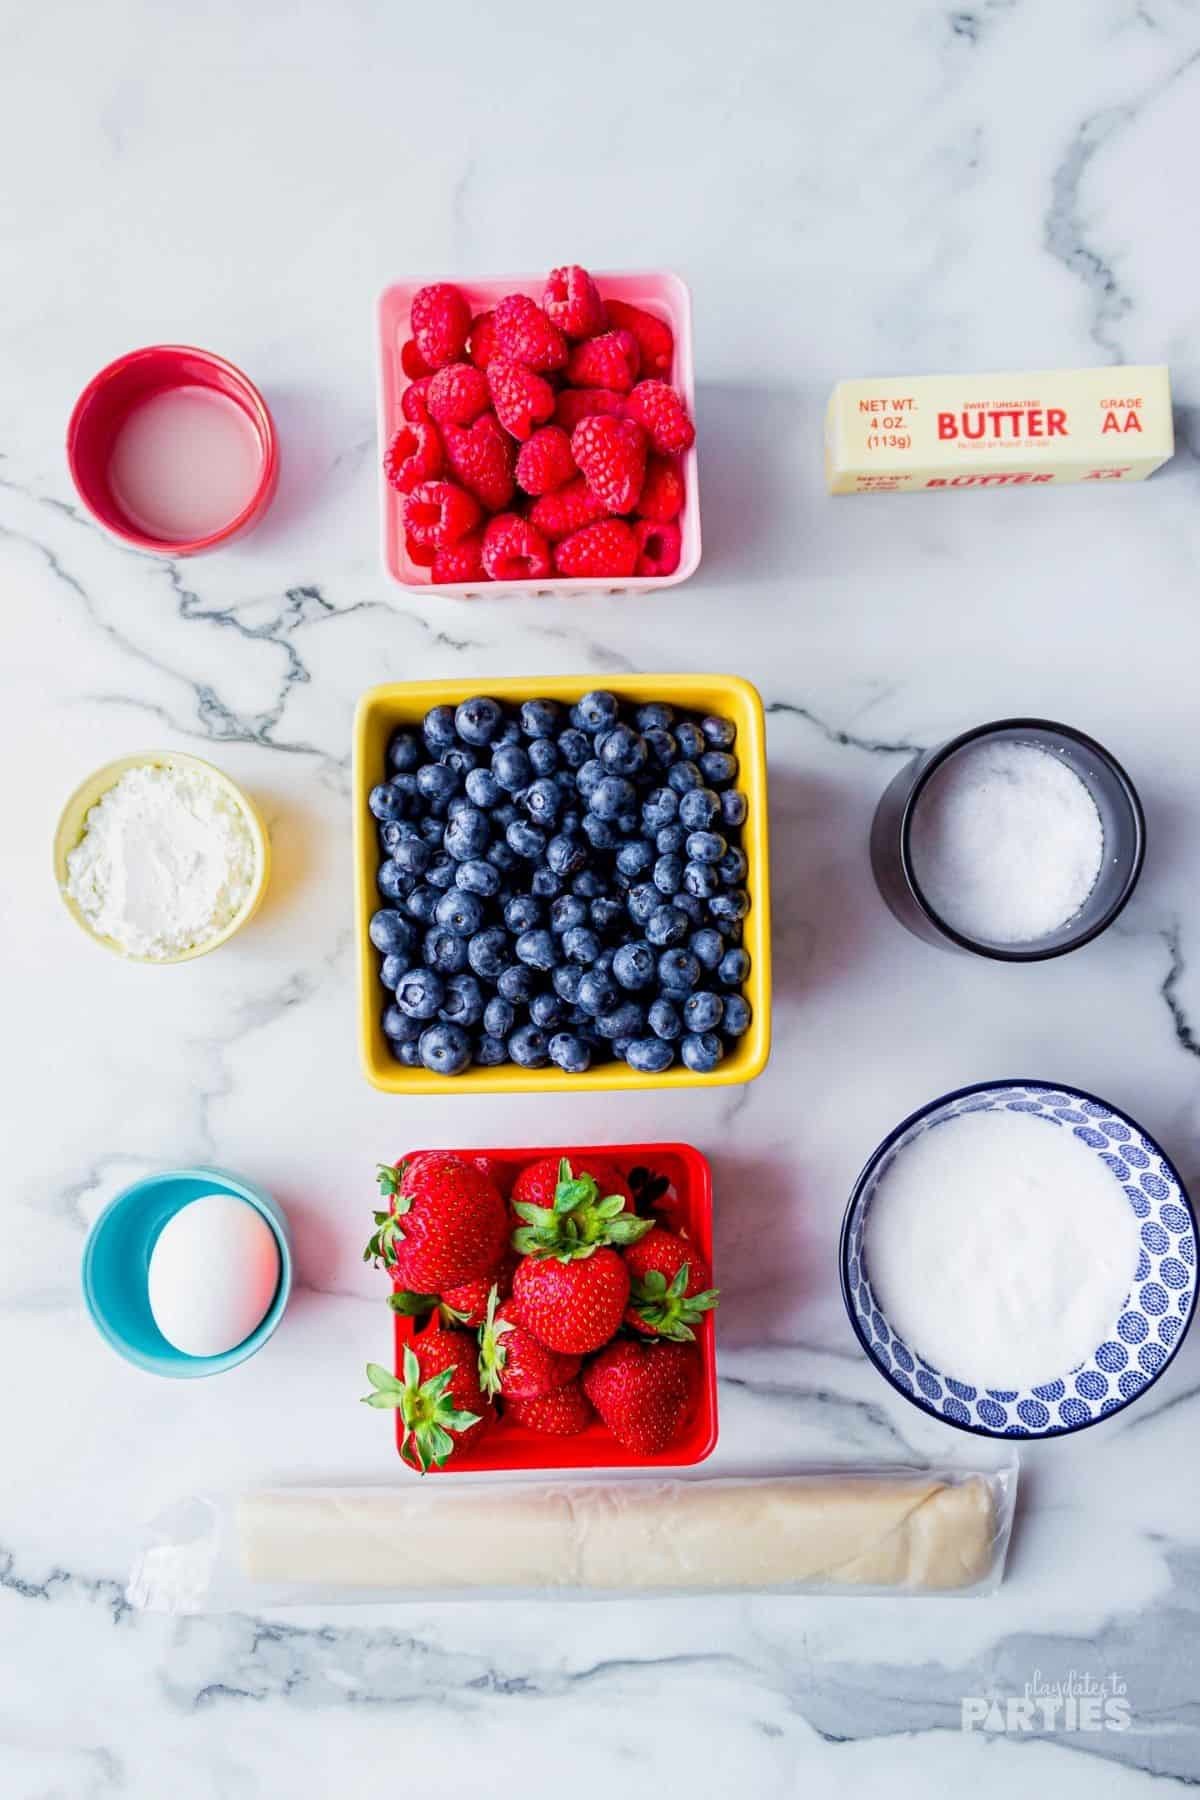
Ingredients:
- Store-bought pie crusts or homemade pie crusts.
- Blueberries
- Raspberries
- Strawberries,
- Corn starch
- Lemon juice
- Granulated sugar
- Kosher salt
- Unsalted butter
- Egg
- Water
Supplies:
- Rolling pin
- 17×12 Sheet pan or jelly roll pan
- Sharp knife
- Fork & spoon
- Pie weights or dry beans
- Parchment paper
- Large and small mixing bowls
- Strawberry huller
- Cutting board
- Pastry wheel
- Cookie cutter (for cutting out shapes)
- Pastry brush
How to Make a Mixed Berry Slab Pie (Step-by-step instructions):
To make things even easier for you, I created a simple photo guide below. For all measurements and a more detailed guide, check out the recipe card at the bottom of this page.
Prepare the Bottom Crust
Step 1 – If you’re using a store-bought pie crust, allow your crust to come to room temperature for at least 30 minutes before starting. You can also make your favorite homemade pie crust at this point as well.
Preheat your oven to 375˚F.
Tip: Don’t unroll the pre-made pie crust before it’s at room temperature. If it’s still cold, it may crack.
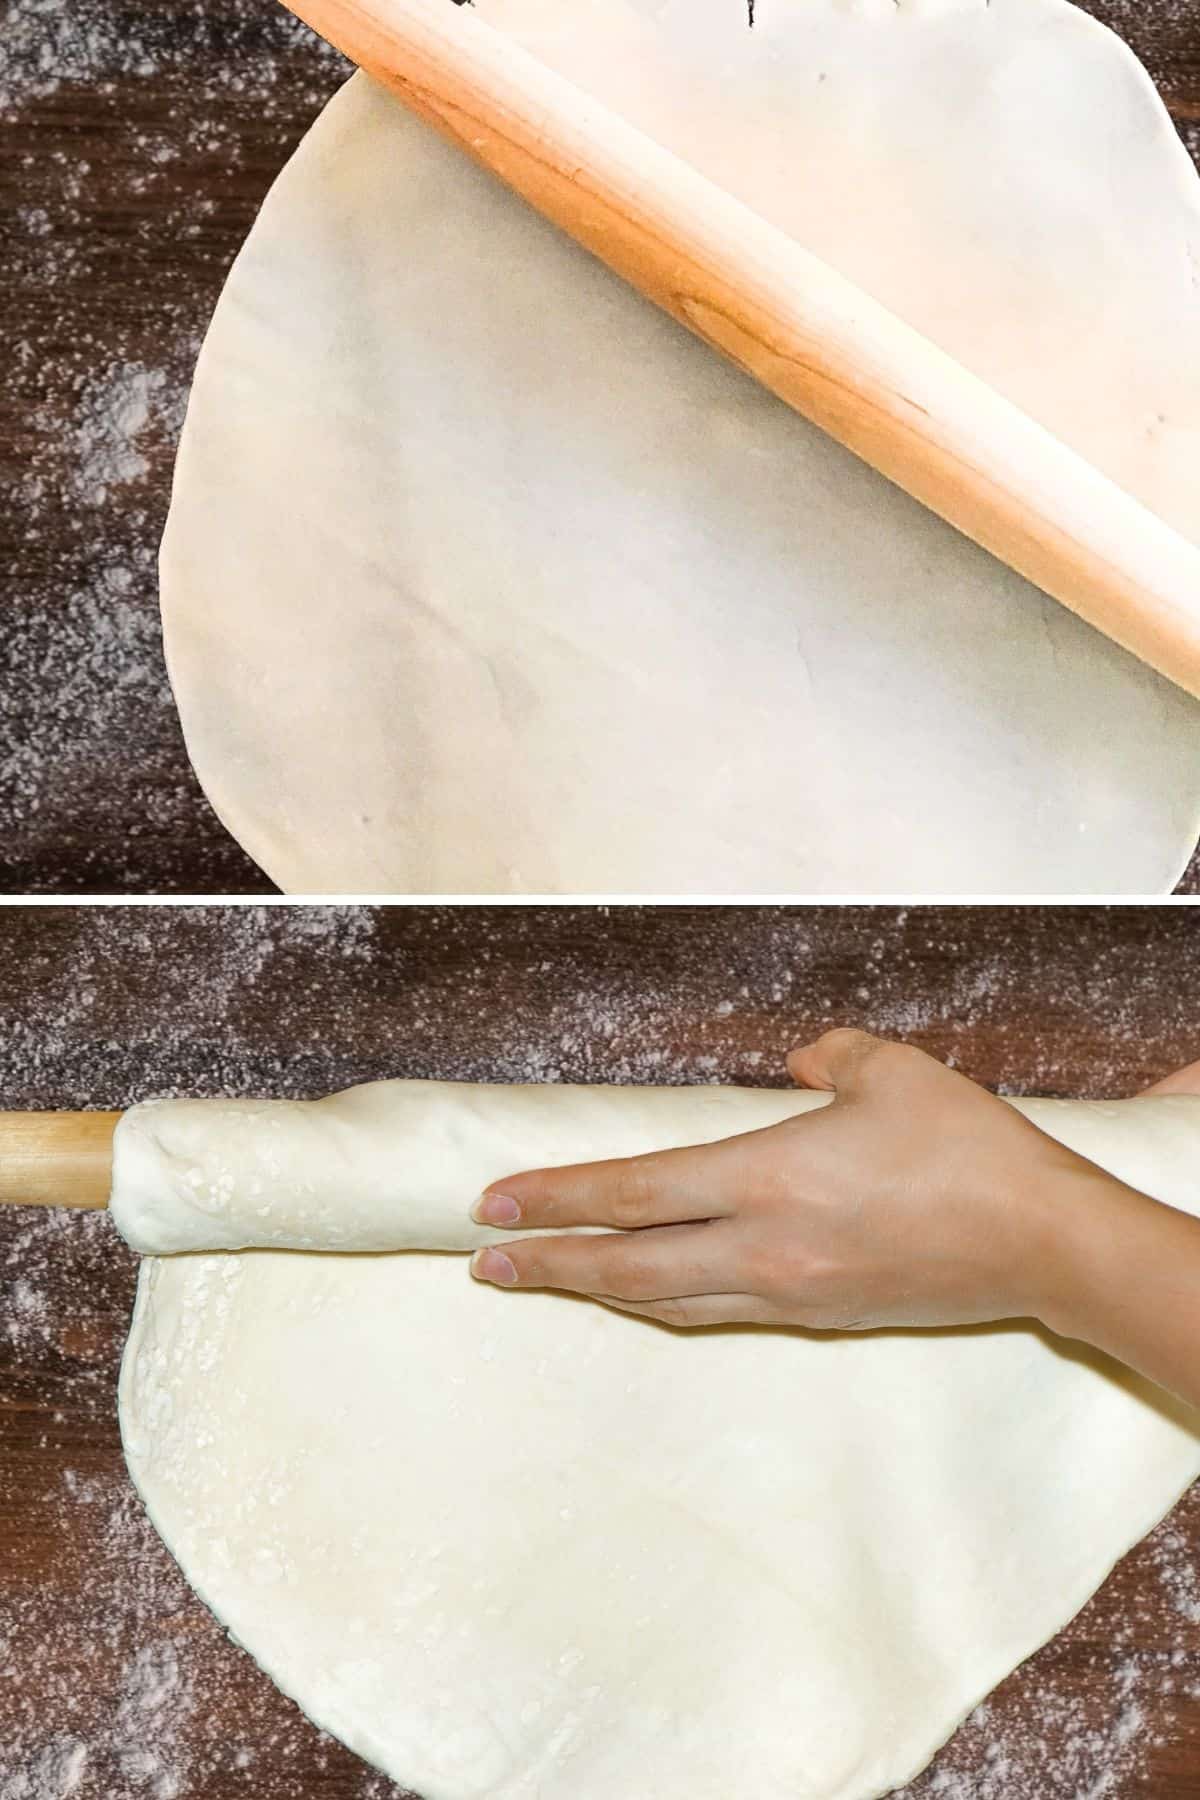
Step 2 – On a lightly floured surface stack 2 pieces of pie dough together. Roll out the dough with a rolling pin until it’s big enough to fit the sheet pan, at least 2 inches wider and longer than your pan.
Step 3 – Use the rolling pin to transfer the dough to your pan: Gently roll the dough around your rolling pin on your work surface, then carefully unroll it back over top of the pan.
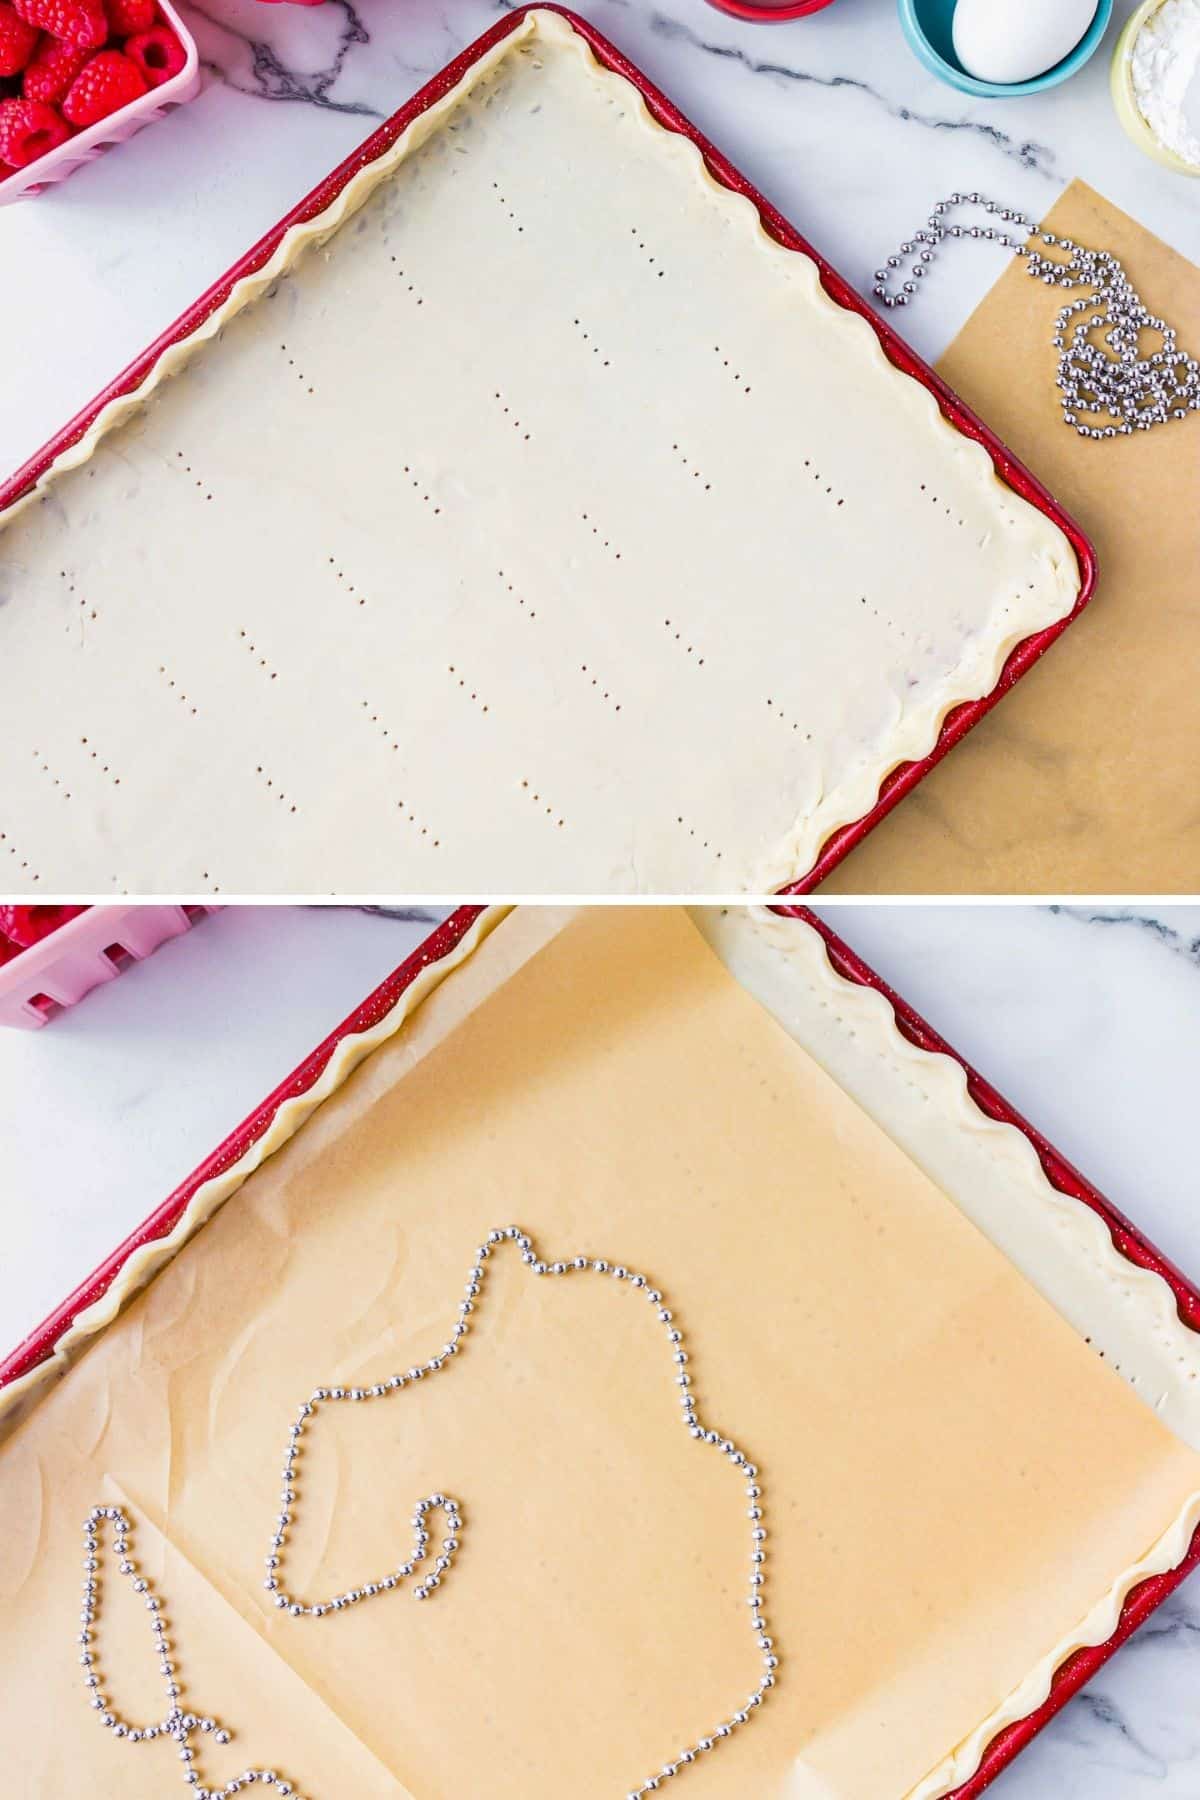
Step 4 – Trim the edges of the dough with a sharp knife. Crimp the pie crust around the edge of the pan and use a fork to lightly pierce the bottom and sides of the dough to reduce any bubbling up that may happen while baking.
Step 5- Place a layer of parchment paper on top of the crust and lay dried beans or pie weights on top. Bake for 10 minutes. Remove the parchment and pie weights. Place back into the oven and bake for another 5 to 7 minutes. Allow the crust to cool completely before filling.
Prepare the Mixed Berry Filling:
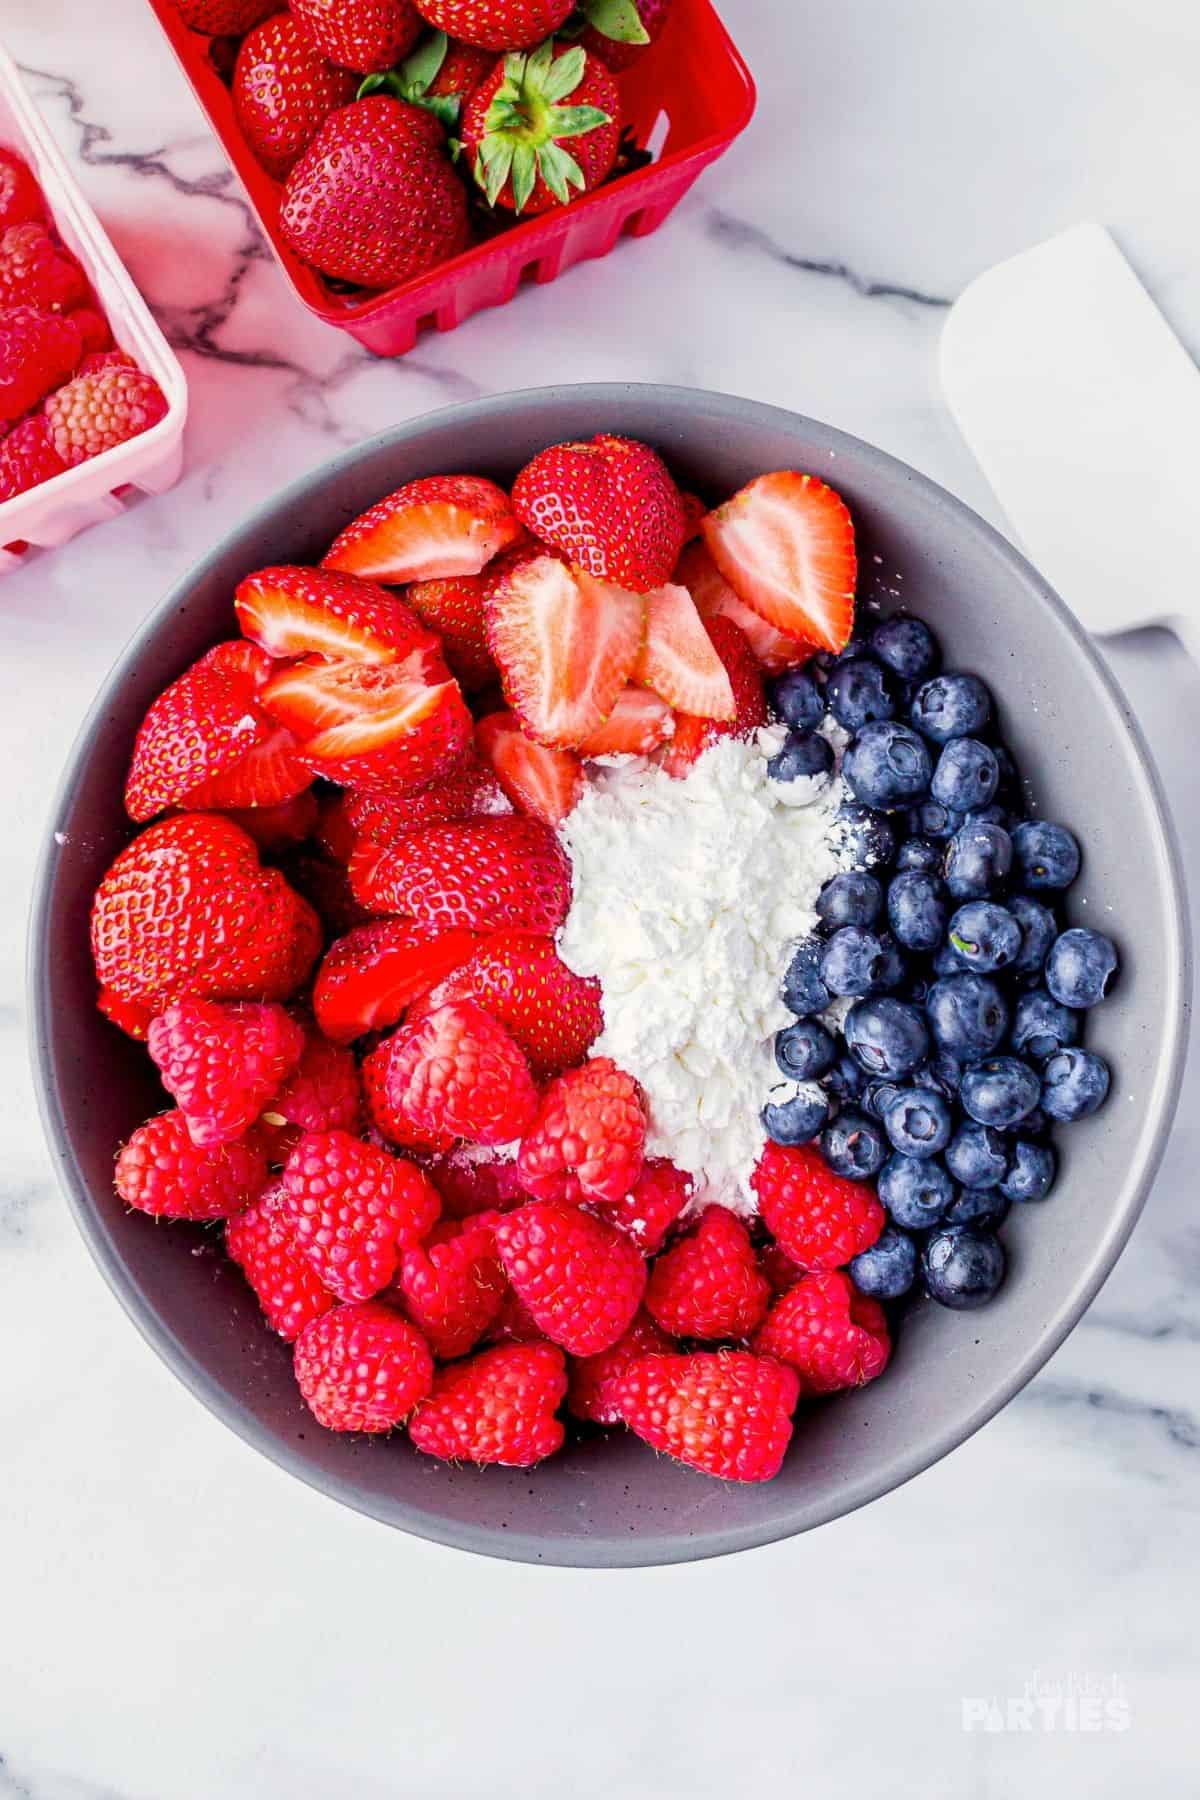
Step 6 – Wash all the berries well. Remove the strawberry hulls and chop the strawberries.
Step 7 – Place the strawberries, blueberries, and raspberries in a large mixing bowl with lemon juice, cornstarch, sugar, and salt. Stir to mix everything together. Set aside.
Prepare the top Crust:
Step 8 – Add any pie dough scraps to your remaining pie crust, then roll out the dough slightly larger than the size of the pan.
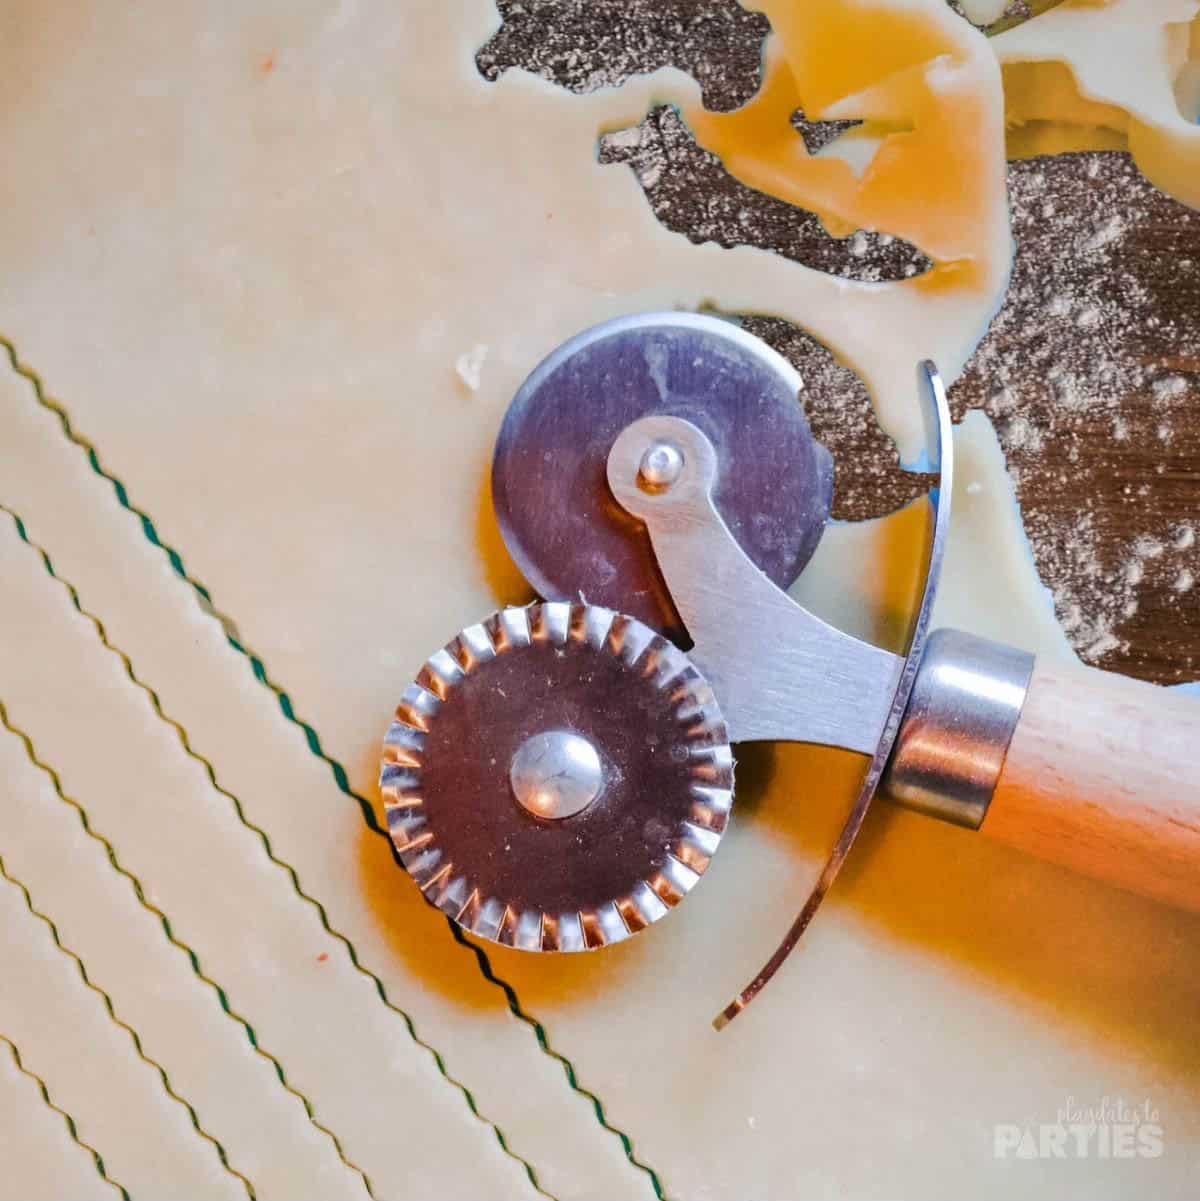
Step 9 – Use a pastry wheel and/or cookie cutters to cut the dough into your desired shape for the top of the pie. Feel free to be as creative as you like.
Step 10 – In a small bowl, create an egg wash by whisking together an egg and one tablespoon of water.
Assemble and Bake the Pie:
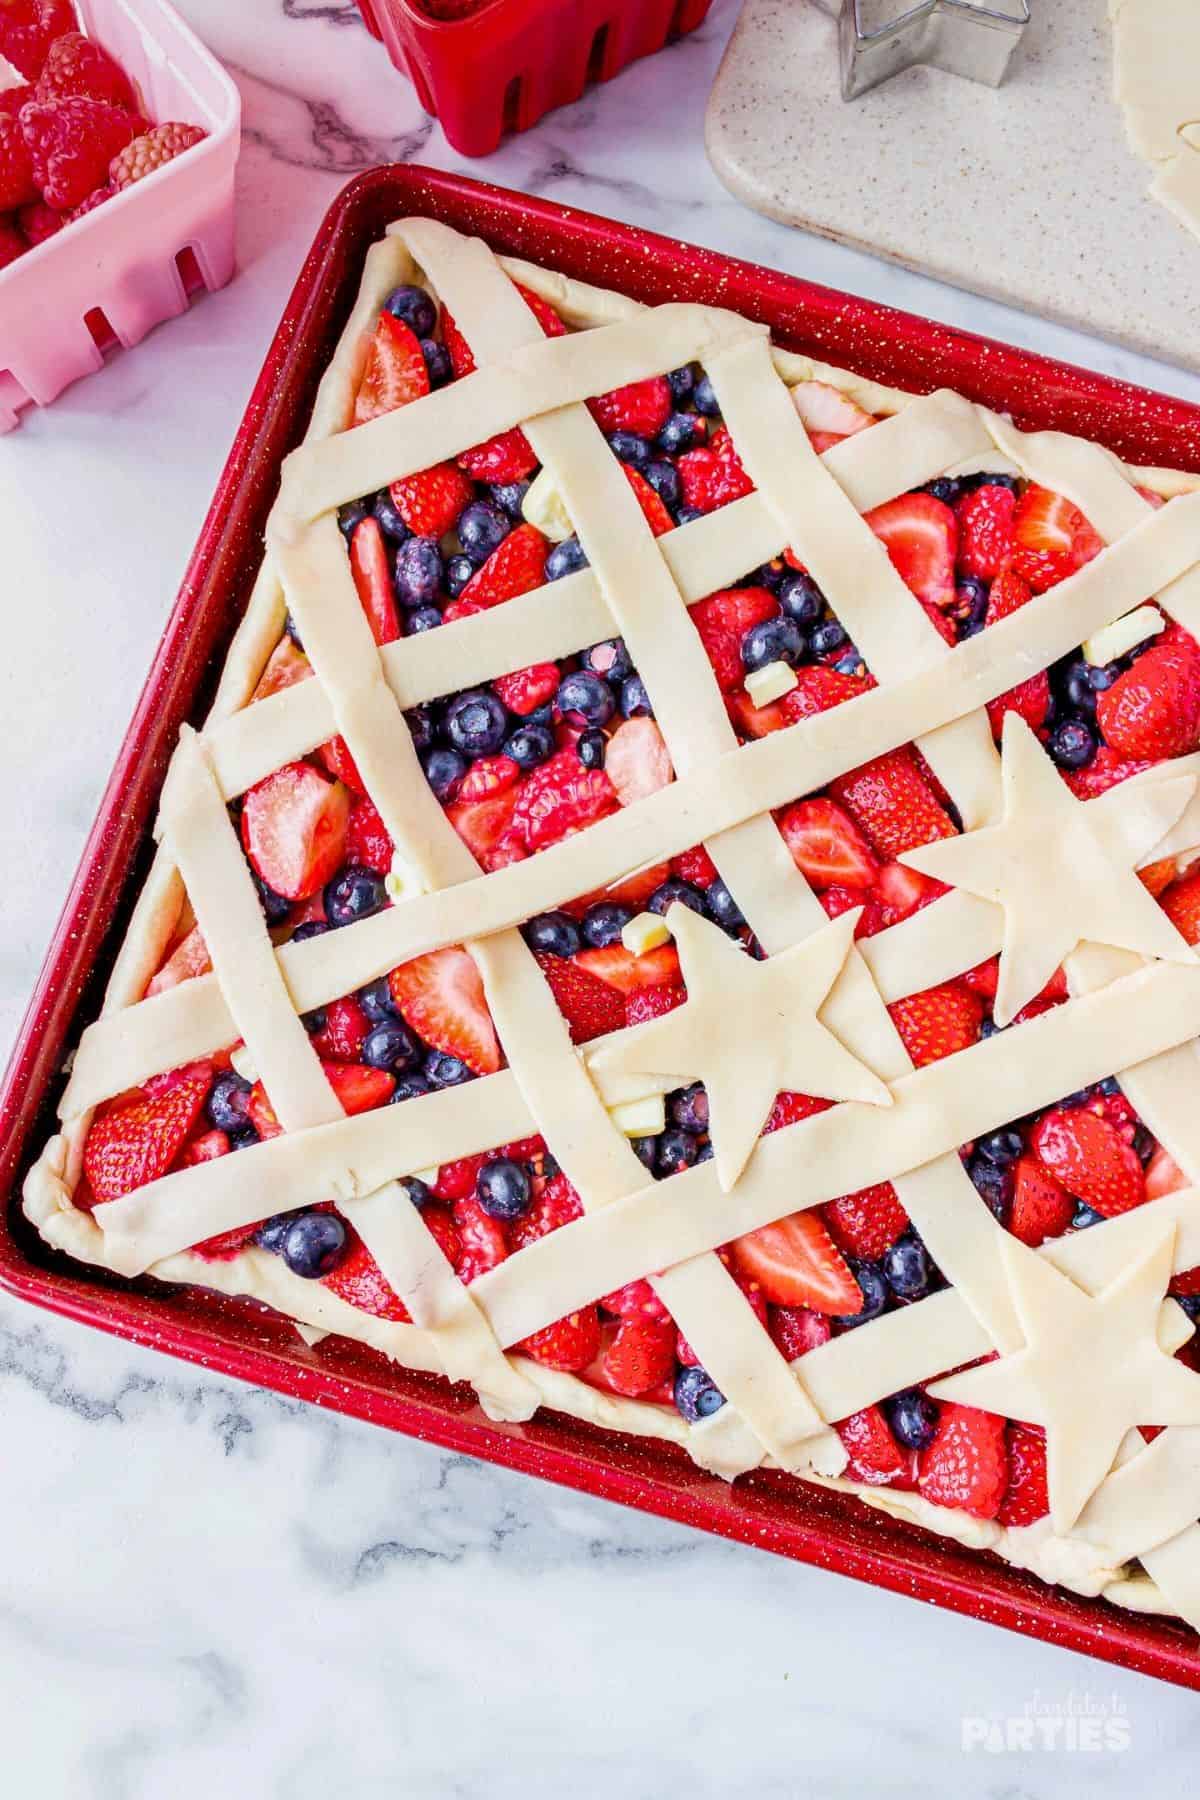
Step 11 – Spoon the prepared berry mixture over the bottom crust. Sprinkle the cubed butter pieces over the top of the berries.
Step 12 – Arrange your top pie crust pieces on top of the berries and brush with the prepared egg wash.
Step 13 – Bake at 375˚F for approximately 50 minutes or until the crust is golden brown and the berries are nice and bubbly. You may need to cover the outer crust to prevent it from getting too brown. Once baked, give the pie time to cool. This will also allow the berry mixture to set.
Essential tips:
Don’t skip these tips – read them before baking to avoid any potential mistakes.
- Cherries are a great addition or substitute for any of the other berries you are using.
- To make things easier, use a strawberry huller. It makes life so much easier and once you start you will wonder how you ever managed before.
- Feel free to use fresh or bottled lemon juice for this recipe – whatever you have on hand.
- It is important to use pie weights when baking the pie crust so if you haven’t invested in any yet I highly recommended that you do. They work really well.
More ways to enjoy this recipe:
- Add some crunch with a praline topping like the one used for these mini pumpkin pies
- Serve it as is, or add a scoop of ice cream to increase the decadence factor
- Don’t want to bother bringing ice cream? Some homemade (or even canned) whipped cream is always a nice addition.
- If you’re feeling extra fancy, add some fresh mint leaves before serving as they look and taste delicious with this recipe.
Frequently asked questions:
Can I use frozen berries for this mixed berry slab pie?
Sure! Fresh fruit will always work well but using frozen berries means you can make this slab pie at any time of the year. However, it would be best to let the frozen berries thaw in the refrigerator overnight using a paper towel to soak up the excess moisture.
Can this pie be made ahead of time?
This is a great recipe to make ahead of time. Prepare your slab pie a day in advance and allow to cool completely. Cover with plastic wrap and then store it in the refrigerator. When you’re ready to serve, simply warm it up according to the storage directions below.
Can I make this with prepared pie filling?
Yes! If you’d prefer a quick and easy version, you can use two 20-ounce cans of prepared pie filling. Just spoon the pie filling into your pan with no additional modifications needed. The baking time may need to be adjusted slightly depending on how much liquid is in your filling.
Can I make this mixed berries pie gluten-free?
You can make this recipe gluten-free by buying a gluten-free pie crust from your local grocery store. Or why not make some yourself?
Hosting a July 4th Party?
This berry slab pie is ideal for a patriotic party and is the perfect summer pie. It isn’t just the colors, but the flavors are like a party in your mouth. If you are hosting a party or special event for July 4th, then don’t forget to grab your copy of these America The Beautiful Party Printables to make the day even more festive.
Storing Your Slab Pie
If you have any leftovers then store them in an airtight container once cooled. They will last up to five days in the refrigerator or two days if left at room temperature.
You could also freeze this pie whole or leftover portions. You can freeze it for up to three months. Let it thaw completely before reheating and enjoying it.
If you liked my berry pie slab recipe, you’re going to love my July 4th Brownie Pizza. The perfect dessert for your Independence Day celebrations. A delicious brownie base topped with cream cheese frosting it is a simple idea that tastes incredible.
Or you can check out all my July 4th dessert recipes here.
Mixed Berry Slab Pie
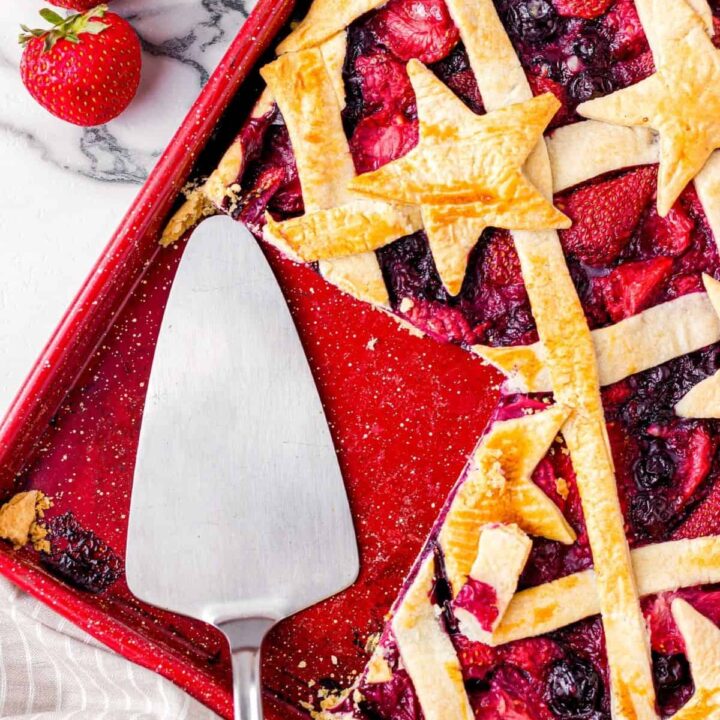
Perfect for summer gatherings, this mixed berry slab pie is a delicious and easy-to-make dessert that is sure to impress.
Ingredients
- 3 store-bought pie crusts or homemade pie crusts.
- 2 pints blueberries, washed and dried
- 2 pints raspberries, washed and dried
- 2 pounds strawberries, washed, dried, and hulled
- 6 tablespoons corn starch
- 1 tablespoon lemon juice
- ¾ cup granulated sugar
- ½ teaspoon kosher salt
- 2 tablespoons unsalted butter, cubed
- 1 egg
- 1 tablespoon water
Instructions
- Prepare the Bottom Crust: If you're using a store-bought pie crust, allow your crust to come to room temperature for at least 30 minutes before starting. You can also make your favorite homemade pie crust at this point as well.
- Preheat your oven to 375˚F.
- On a lightly floured surface stack 2 pieces of pie dough together. Roll out the dough with a rolling pin until it's big enough to fit the sheet pan, at least 2 inches wider and longer than your pan.
- Use the rolling pin to transfer the dough to your pan: Gently roll the dough around your rolling pin on your work surface, then carefully unroll it back over top of the pan.
- Trim the edges of the dough with a sharp knife. Crimp the pie crust around the edge of the pan and use a fork to lightly pierce the bottom and sides of the dough to reduce any bubbling up that may happen while baking.
- Place a layer of parchment paper on top of the crust and lay dried beans or pie weights on top. Bake for 10 minutes. Remove the foil and pie weights. Place back into the oven and bake for another 5 to 7 minutes. Allow the crust to cool completely before filling.
- Prepare the Mixed Berry Filling: Wash all the berries well. Remove the strawberry hulls and chop the strawberries.
- Place the strawberries, blueberries, and raspberries in a large mixing bowl with lemon juice, cornstarch, sugar, and salt. Stir to mix everything together. Set aside.
- Prepare the top Crust: Add any pie dough scraps to your remaining pie crust, then roll out the dough slightly larger than the size of the pan.
- Use a pastry cutter or cookie cutters to cut the dough into your desired shape for the top of the pie. Feel free to be as creative as you like.
- In a small bowl, create an egg wash by whisking together an egg and one tablespoon of water.
- Assemble and Bake the Pie: Spoon the prepared berry mixture over the bottom crust. Sprinkle the cubed butter pieces over the top of the berries.
- Arrange your top pie crust pieces on top of the berries and brush with the prepared egg wash.
- Bake at 375˚F for approximately 50 minutes or until the crust is golden brown and the berries are nice and bubbly. You may need to cover the outer crust to prevent it from getting too brown. Once baked, give the pie time to cool. This will also allow the berry mixture to set.
Notes
Remember, the step-by-step photos and FAQ in the recipe post are there to help you if you feel stuck at any point.
- You can also use frozen berries or canned pie filling for this recipe (see FAQs in the post for more details)
- Don't unroll the pre-made pie crust before it's at room temperature. If it's still cold, it may crack.
- Cherries are a great addition or substitute for any of the other berries you are using.
- A strawberry huller makes life so much easier and once you start you'll wonder how you ever managed before.
- Feel free to use fresh or bottled lemon juice for this recipe - whatever you have on hand.
- It is important to use pie weights when baking the pie crust so if you haven’t invested in any yet I highly recommended that you do. They work really well.
Recommended Products
As an Amazon Associate and member of other affiliate programs, I earn from qualifying purchases.







Leave a Reply