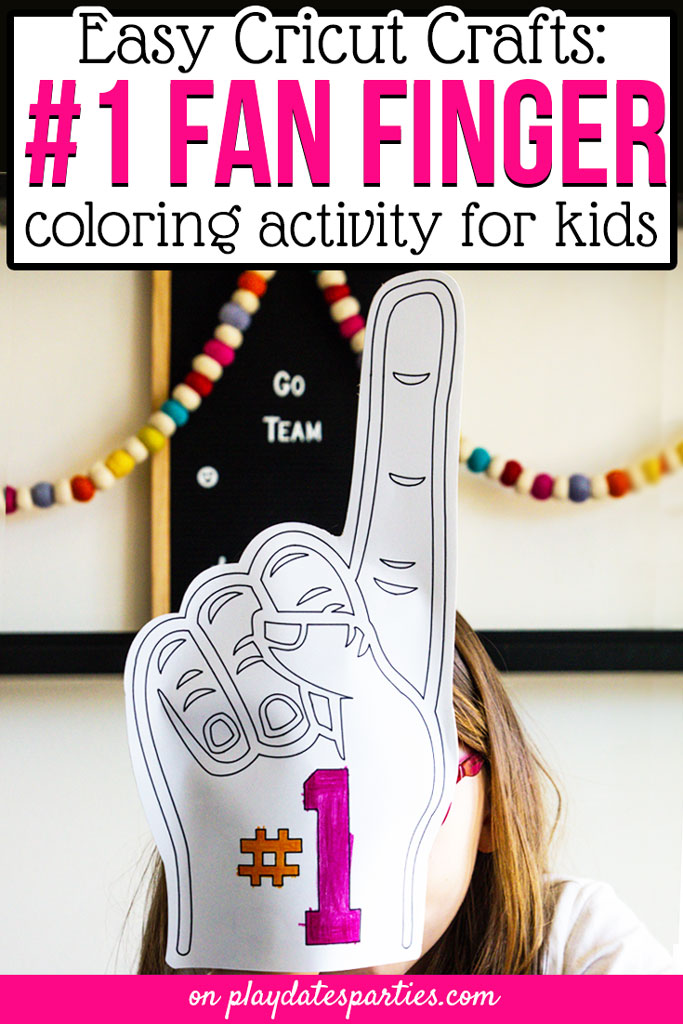
Learn how to make your own number one fan finger football craft for kids with a Cricut. It’s the perfect easy project for a football party!
The husband must have gotten tired of me complaining about my various hole punches, scissors, and paper trimmers.
They are useful, but sometimes it still felt like it was taking forever to cut out projects for the kids or party printables. (Seriously, I can’t tell you how many times I was up late trying to get all those printables cut out and assembled in time for a party)
And then there’s the fact that I’m still dealing with neuropathy (numbness and tingling) in my fingers from chemotherapy last summer.
Yeaaaaaahhhhh.
Cutting things by hand with that side effect is so much fun. NOT.
Anyway, the husband seems to have had enough. Why? Because he gave me a brand new Cricut Maker for Christmas! Hooray!
He got me the pink…he knows me so well!
Number One Fan Finger Football Craft for Kids
Since the Super Bowl is coming up, I’m fully focused on getting recipes and projects ready for the big game. And when I found this fan finger football craft in the Cricut Design Space, it looked like an awesome first project to try.
Um…sort of.
Getting the Cricut to Draw and Cut in Alignment
Even though I did a LOT of research before using my Cricut the first time (including getting this awesome Cricut Coach Playbook by Jennifer Maker) there’s still a bit of a learning curve.
And if I have extra questions…then there might be others out there with the same questions, right? So, I’m going to share with you the projects I’m making and everything I’m learning, as I go along.
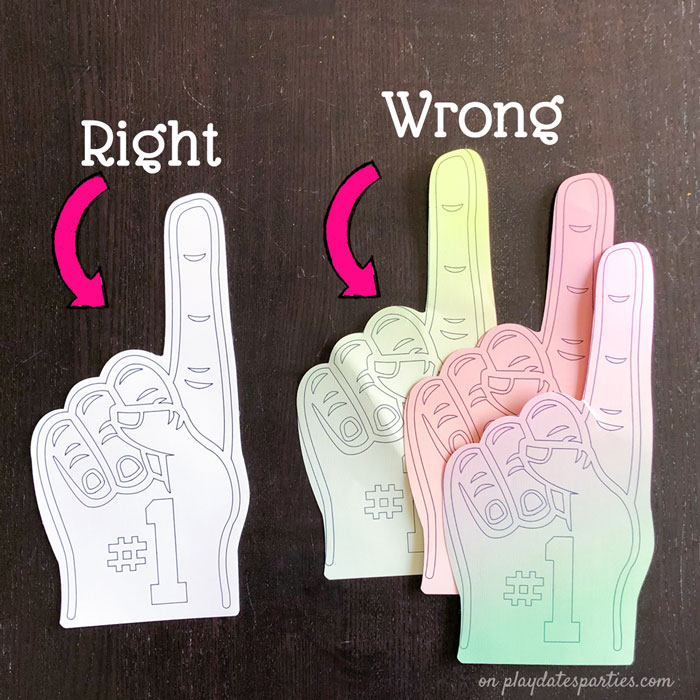
The biggest issue I had when making the fan finger football craft was that I just couldn’t get the drawing to align with the cuts. The cuts always ended up overlapping with the drawing. See what I mean:
RELATED >>>> See All Our Kids Crafts Right Here!
Talk about frustrating!
But, I’m a stubborn woman, and there was no way I was going to accept that a paper fan finger football craft wouldn’t work. And it’s a good thing, because it turns out the solution is simple. Ridiculously simple, in fact.
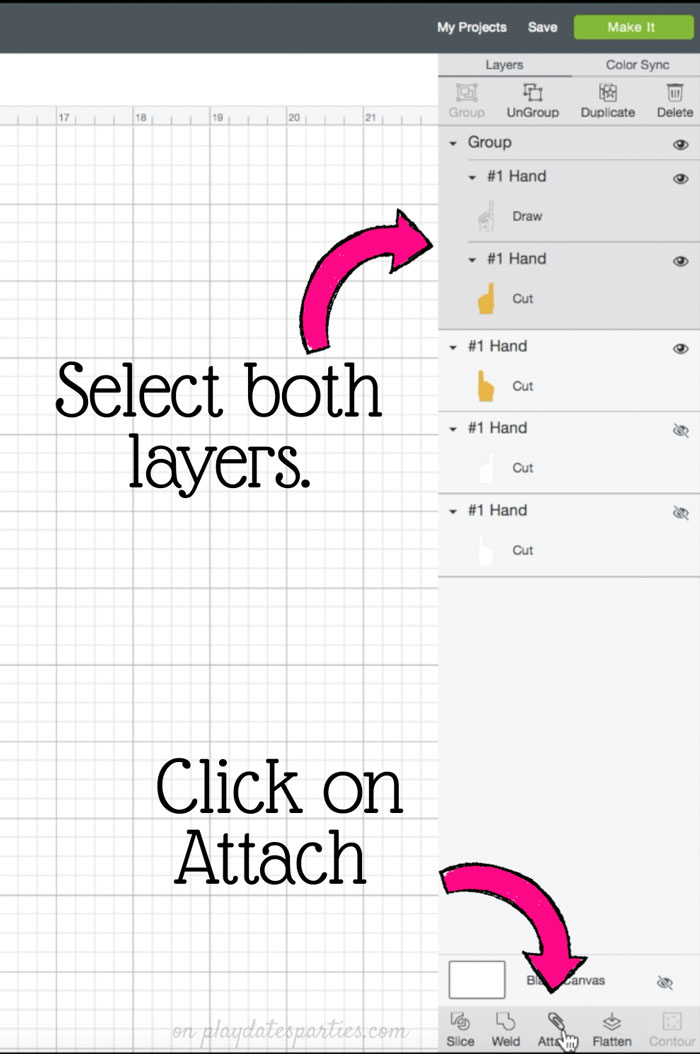
All you need to do is select the layers you want to align and click the “Attach” button.
Huh. As one of my kids’ books says: “It was so simple, so perfectly perfect.”
Seasoned users may already know this. But, remember, this is my first project. I’m learning everything right now.
That said, if I worked for Cricut, I would tell them that the word “Attach” is not necessarily intuitive for that purpose. But anyway, it worked! And now we can all make this adorable fan finger football craft for our kids to enjoy on game day.
What you’ll need
- Cricut Maker or Explore
- 12 x 12 Card Stock in white or your team colors
- Light Grip Mat
- Black Fine Point Pen
- Cricut Design Space
- Scraper Tool
- Hot Glue Gun and Glue Sticks
- Markers, crayons, or pencils for the kids to color it in (Optional)
How to Make a Number One Fan Finger Football Craft for Kids
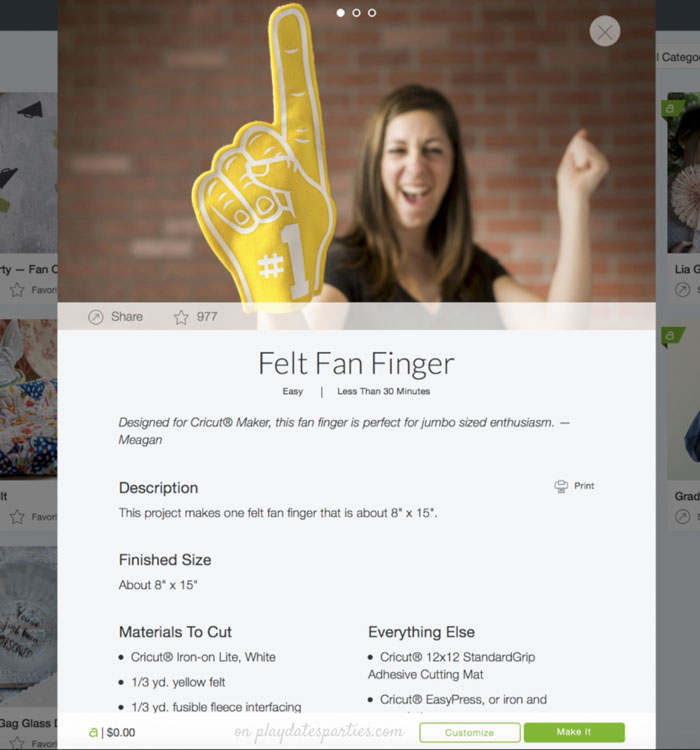
1. Open up and log into Cricut Design Space. Then use the search box to look for “fan finger” projects. Look for this to come up:
Tip #1: Click on any of the links that say “View All” for the categories in Design Space’s home page. Then, use the drop down menu to select “All Categories” before typing in your search term.
2. Even though this is a project for fabric, we’re going to make a kid-sized paper fan finger football craft. And in order to do that, we’ll need to customize the pattern. So go ahead and click customize to move on.
3. Next, you’ll be taken to the Canvas, where you’ll see two yellow hands, a white drawing with hand detail, and two other white hand shapes that are partially hidden. We don’t need the white hand layers for this project, so go ahead and hide them by clicking on the little eye icons.
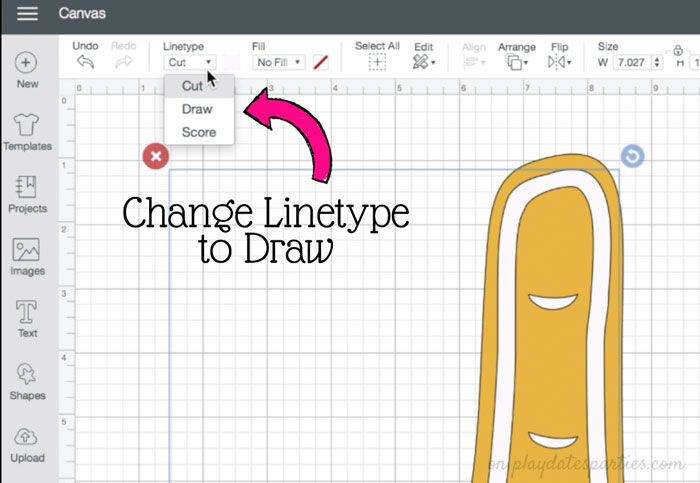
4. Now we’re going to change the white hand detail so that it will draw the detail on the paper hand. Select the white hand detail from the hand on the left, and change the the Linetype setting to draw. The white area will now change to a black outline.
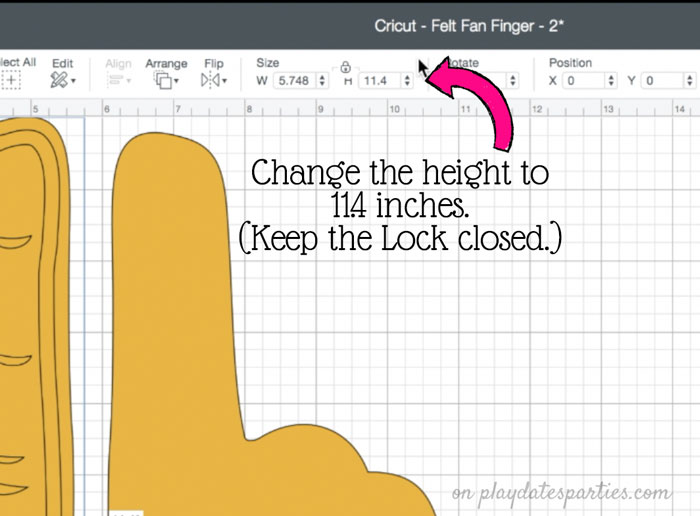
5. Before moving any further, we want to adjust the size of the project to fit 12 x 12 paper. To do this, select all the layers and then change the height setting to 11.4 inches.
Tip #2: Leave the lock image between the width and height in the locked position. If it is unlocked then only the height will be adjusted and the proportions will be off.
Tip #3: I found that once layers are grouped, you will not be able to select all layers and adjust size in the boxes at the top of the screen. Once I grouped layers, I then had to adjust the height of each layer individually.
6. It’s not time to make anything just yet!, Select the yellow hand on the left and the detail that we changed to a drawing. Then click “Attach” at the bottom of the screen.
Tip #4: Use “Attach” to make sure multiple layers are processed in the same pass. This way drawings and cuts will be aligned properly.
7. Turn on your Cricut Machine, place your 12×12 card stock onto your mat, and then click “Make It.”
8. Load your mat into the machine, set your materials, and follow the instructions to cut the back of the hand first.
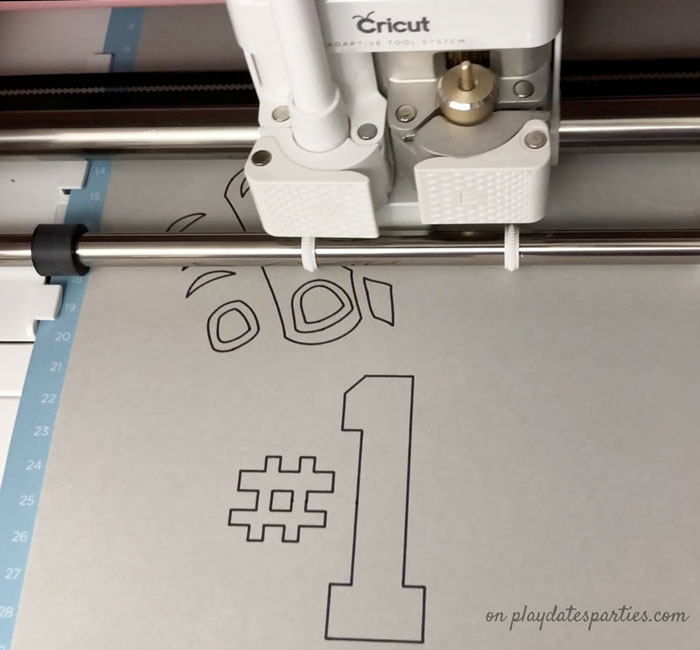
9. When the back of the hand is finished cutting, load the black fine point pen into clamp A, and then turn your mat around to load it into the Cricut from the opposite side.
10. Follow the instructions to draw and cut the front of the hand.
11. When everything is finished cutting, unload your mat and remove it to a flat surface.
12. Flip the mat over so the paper is on the table, and use a scraper tool to help remove the design from the mat.
Tip #5: I strongly recommend using a tool to help remove the design. One of my trial runs ripped because I was too rough with the paper. I use the XL Cricut Scraper Tool, but you can also use an old gift card or credit card.
13. Using a hot glue gun, carefully glue the front and back of the hand together to create a ‘glove’.
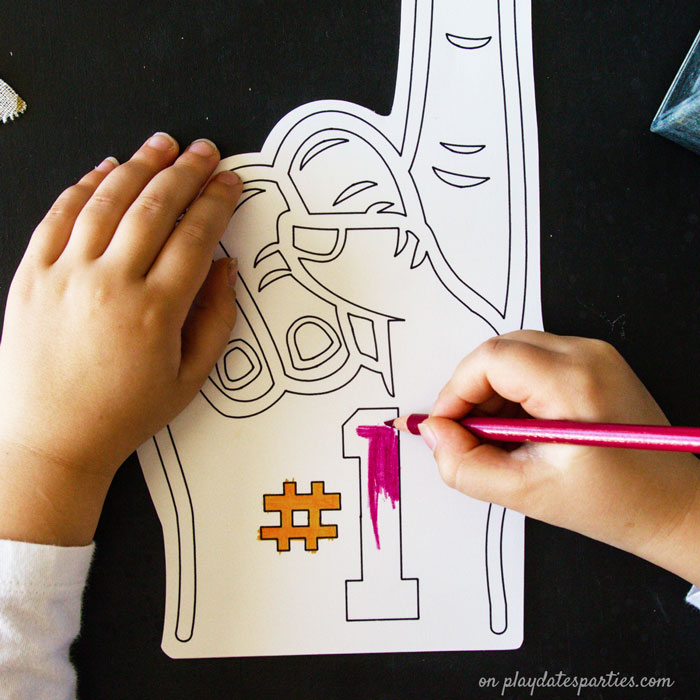
That’s it! Your number one fan finger football craft is ready for your kids to color in and root for their favorite team during the big game!
But the options don’t end there. Here are a few other ways you can use this easy project:
- Make it on team color card stock and use it as decoration for a sports themed party
- Have kids decorate their own fan finger and then use them as props for photo booths
- Make them as party favors for a birthday party held at the local stadium
Now It’s Your Turn
Isn’t this project adorable? It was my 6-year-old’s idea to turn it into a coloring project, which I love! And since the original design is available for free in Cricut Design space, you can easily make your own too! (Just remember to click the “Attach” button to make sure everything draws and cuts properly!)
Don’t forget to come back again soon to see the next Cricut project! I’m definitely hooked. My fingers are going to be so grateful!
Have you ever had a Cricut dilemma that stumped you?
Where would you use this fan finger football craft?
Don’t forget to subscribe via
Bloglovin, Facebook, and Twitter,
to get more updates!



Victoria @DazzleWhileFrazzled says
Super cute idea! Will remember this for the Big Game coming up to keep the kids from bouncing on the sofa, LOL! Visiting from Inspiration Monday party.
April j harris says
I’ve never used a Cricut but I’m really impressed by all the things it can do! Pinning this post. This definitely Thank you for sharing, and for being a part of the Hearth and Soul Link Party. I hope you have a lovely weekend! looks like a fun game day craft!
Menaka Bharathi says
This is super easy to follow even my kiddo can do it. Thanks for joining in Boggers Pit Stop
Pit stop crew