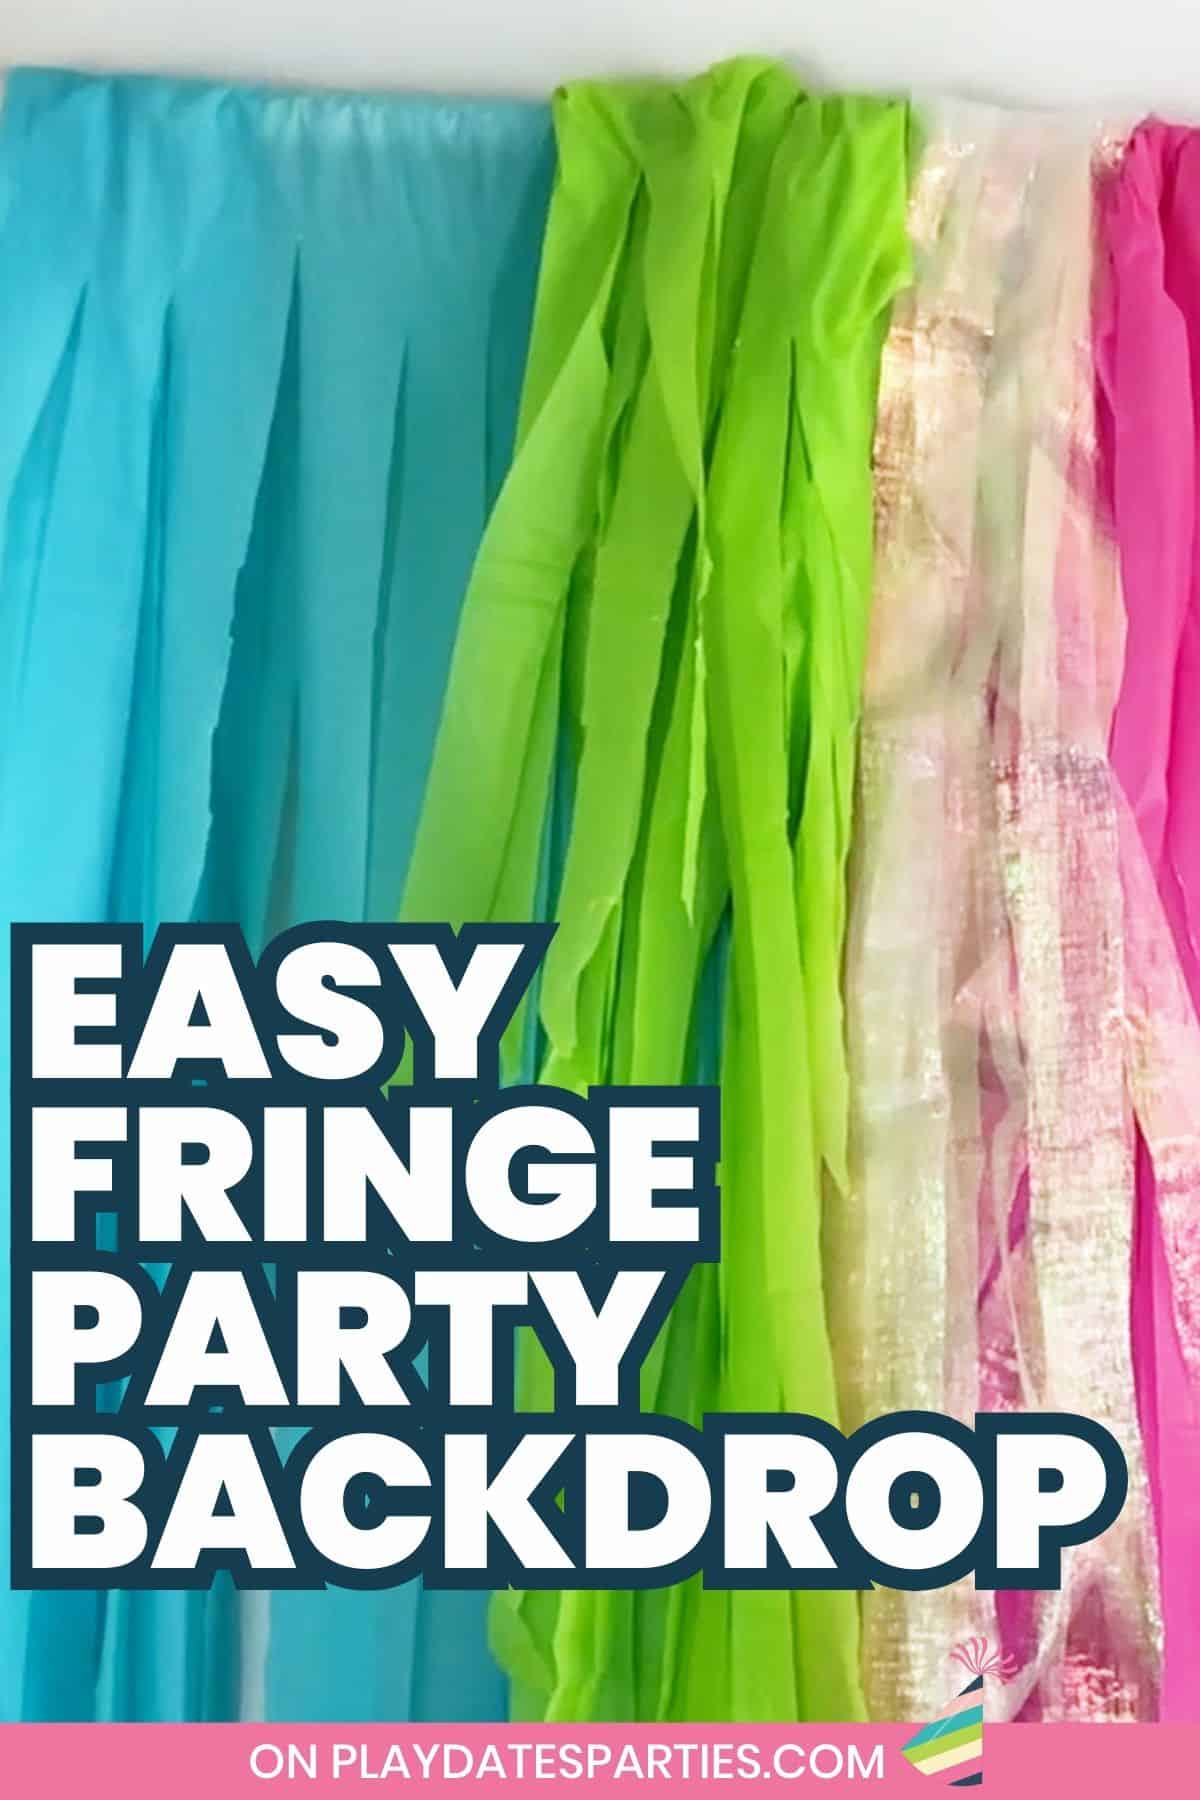
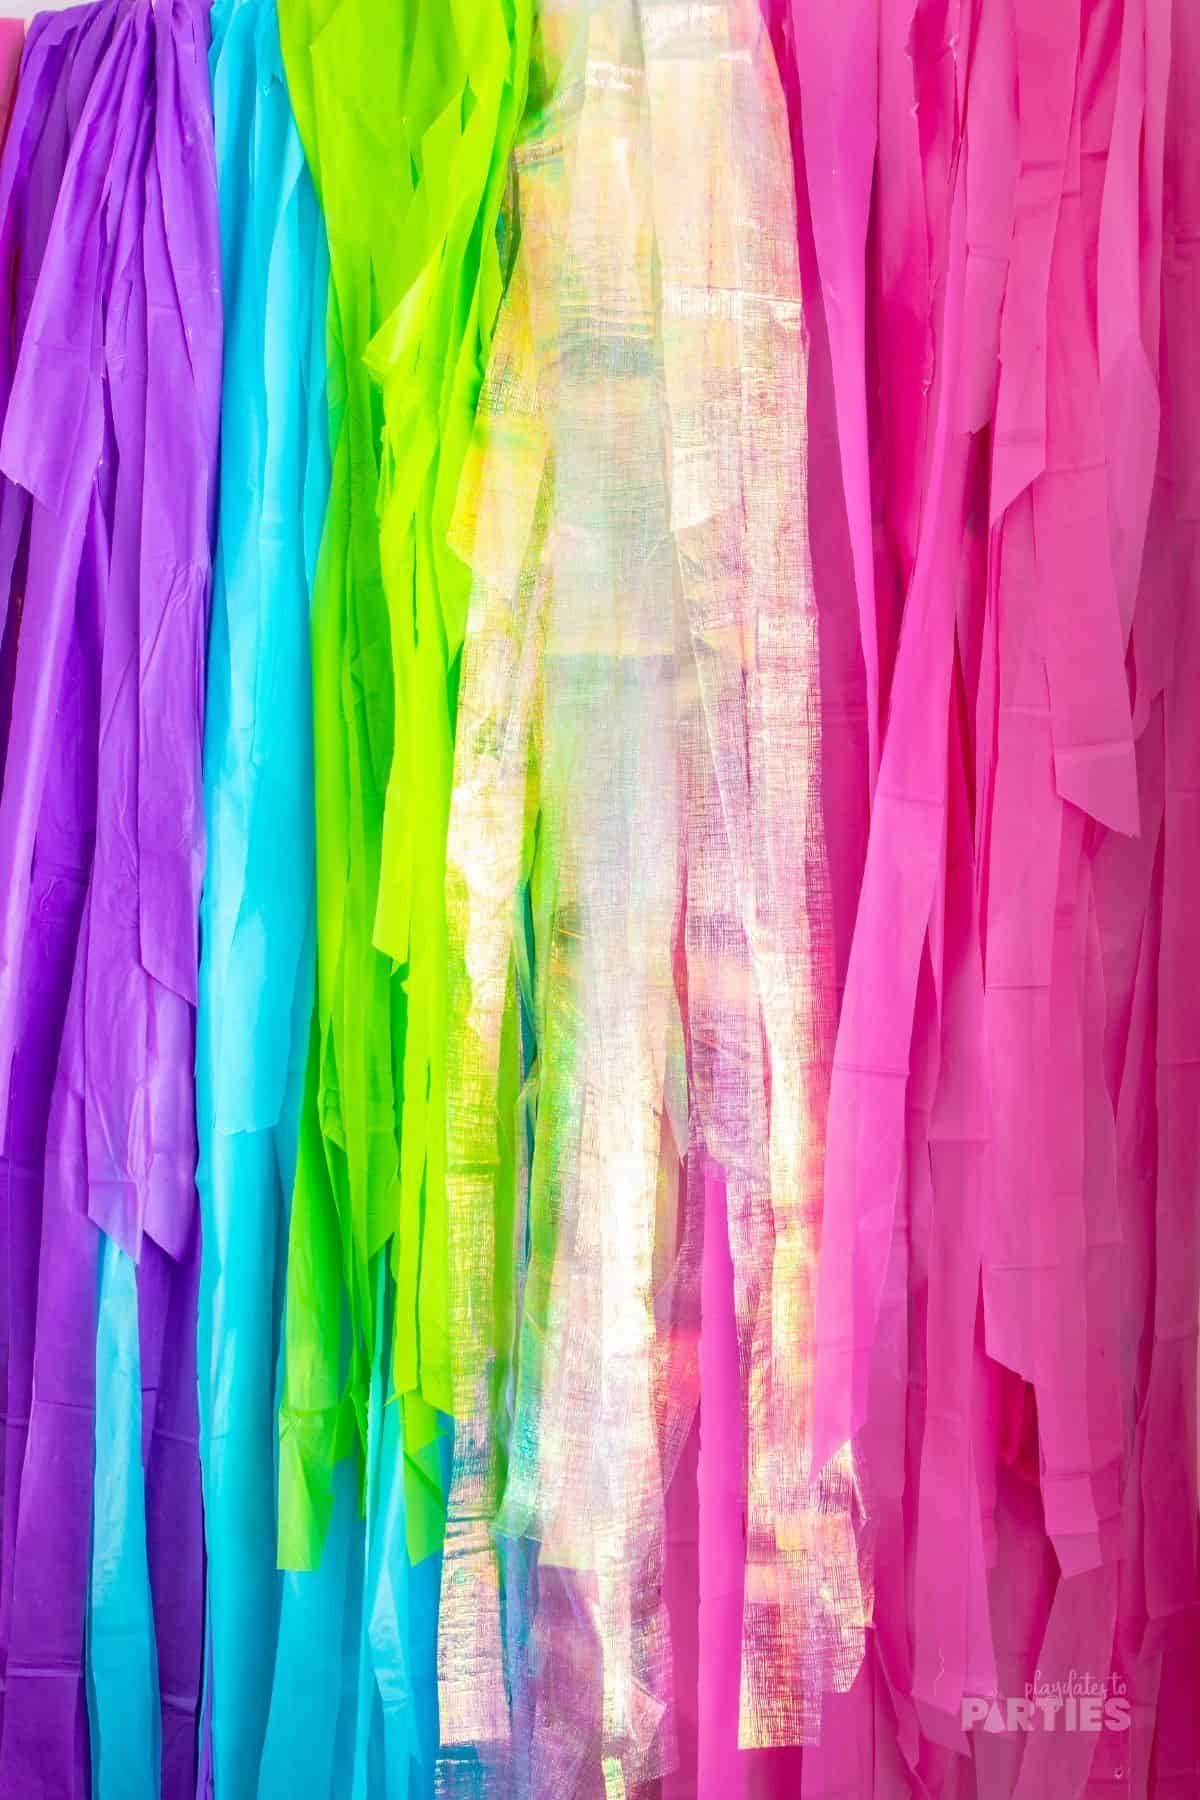
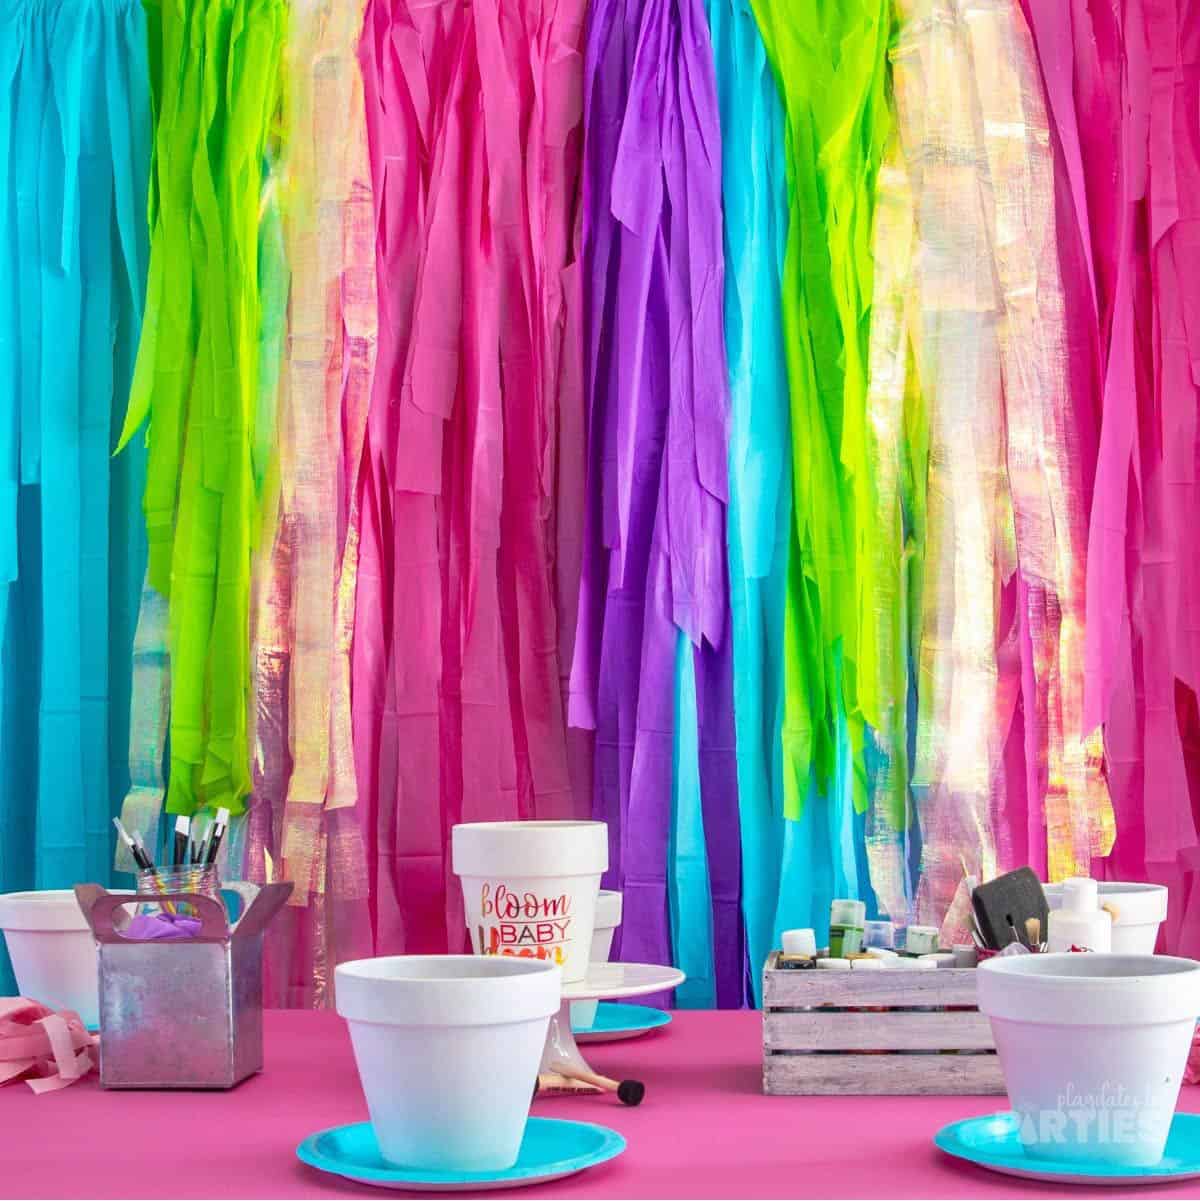
Looking for an eye-popping backdrop that screams “wow”? You’re going to love this fringe party backdrop with layers and layers of color and texture. Not only is this DIY party decor budget friendly, but it’s also easy to make and forgiving of any mistakes.
With just a few plastic tablecloths and a bit of time, you can easily create a fun party backdrop that’s perfect behind your dessert table, photo booth, or even in a doorframe. Ready to start? Let’s dive right on in.
Why this is the Best way to make a Fringe Backdrop
- Eye catching – Create a fun and colorful backdrop that works for any party theme.
- Affordable – This craft works well with cheap dollar store tablecloths
- Easy to make – You won’t need special skills, and mistakes can be easily hidden with more layers of fringe.
- Comes together quickly – No tying individual fringe pieces or figuring out complex color patterns.
What You’ll Need
- Plastic tablecloths in a variety of colors (add sparkly or holographic tablecloths for even more visual texture)
- Scissors – Make sure they’re nice and sharp. Dull scissors can make cutting the tablecloths frustrating.
- A stand or frame to hang the tablecloths – What you use will depend on your space and the surrounding furniture. I share some ideas below if you’re not sure what’s best for you.
Essential Tips
Don’t skip these tips – read them before starting to avoid any potential mistakes.
- The tutorial below creates a backdrop intended to be placed behind a table. If you need a full length backdrop, you might want to add another, lower horizontal bar to layer more tablecloths.
- Even if you’re going for a monochromatic color scheme, using more than one shade will add dimension and make the fringe stand out. Mix and match different shades of the same color or use contrasting colors for a pop of contrast.
- Don’t worry about cutting the fringe perfectly even or straight – the imperfections will add character to your backdrop!
- Feel free to cut your fringed tablecloths into smaller sections if you like. I cut all but the purple tablecloth into two separate pieces.
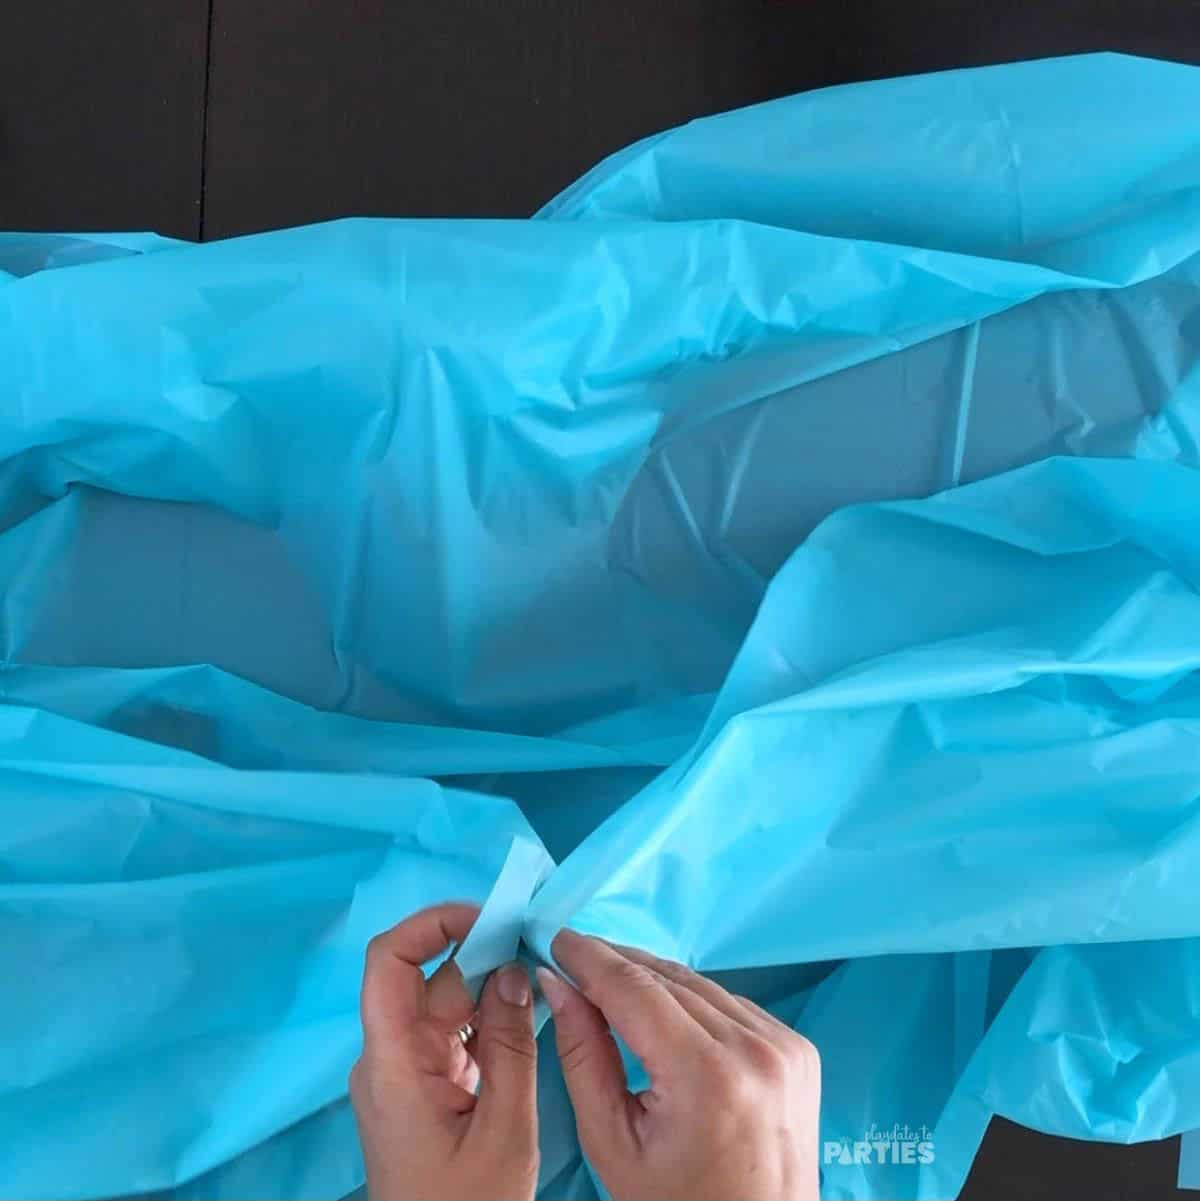
- Although some sources say you don’t have to unfold a plastic tablecloth to cut it into ribbons, I have found that different manufacturers fold the tablecloths in different ways. That is why it’s important to open the tablecloth to make sure all your folds are along the same center line.
See this backdrop in action at our Crafts and Cocktails Mom’s Night!
How to Hang Your Fringe Backdrop
There are multiple ways to hang your fringe backdrop depending on where you want to display it. Here are three options:
- Use a backdrop frame – either a DIY PVC pipe frame like this or a store bought frame like this.
- Place a long piece of PVC pipe on top of two tall pieces of furniture (make sure they’re the same height) and drape the fringe over it.
- Drape the backdrop on a curtain rod you already have installed. (Make sure to block the light behind the frame so you can actually see it!)
Frequently Asked Questions
The backdrop height will vary based on the length of the tablecloths you use and the direction in which you fold them. My backdrop went about 4.5 to 5 feet down from the top, which was just about perfect for behind a table. (I also have this lightweight backdrop frame, which brakes down and stores very easily)
If you need a full length backdrop, you might want to add another horizontal bar to layer more tablecloths.
This will also depend on the size of your backdrop. I used 4 tablecloths in total for mine. Keep in mind that you can break the fringed tablecloths into sections or always add more or less depending on the fullness and thickness you want.
The process should only take about an hour, but keep in mind that it might take longer if you have a lot of tablecloths or are trying to layer many different sections.
The shimmery/iridescent tablecloth was actually a two-piece tablecloth from Walmart with a paper colored layer on bottom and the iridescent layer on top. I simply removed the iridescent layer and set the paper layer aside for another day.
I recommend you stick with long rectangular tablecloths for your base layers as it’s easier to fold for cutting the fringe. Round tablecloths can be used for shorter accent colors and to add visual interest. (The green sections shown here were made from a round tablecloth.)
Printable Step-by-Step Directions
Feel free to print out the step by step directions in the How-to card below. If you liked this party craft, you’ll also love this DIY Balloon Arch tutorial. I show exactly what to expect as a beginner, tips to make your first balloon arch easier and a video tutorial to show you exactly how it’s done.
Or you can check out all my party decor and crafts right here.
How to Make a Fringe Party Backdrop
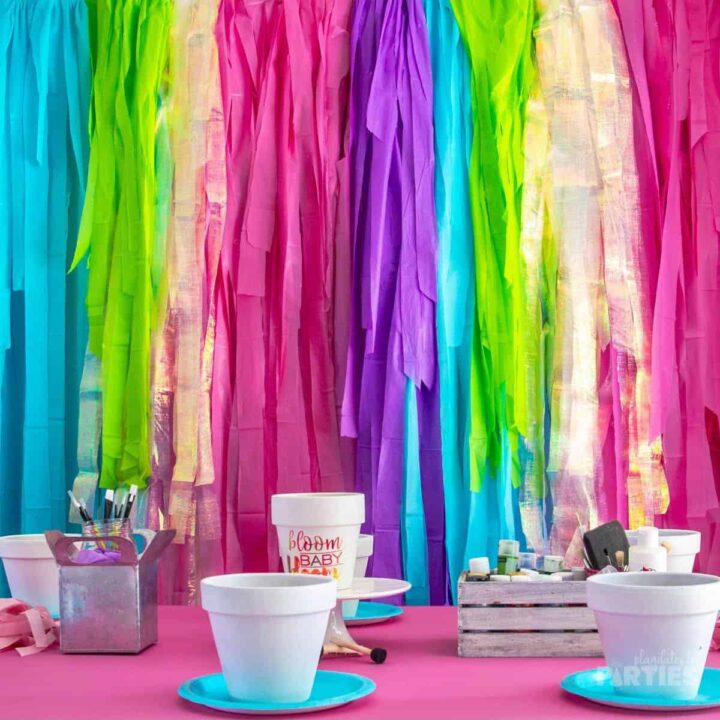
Create a stunning DIY fringe party backdrop with this easy step-by-step guide! Perfect for birthdays, showers, and any festive occasion, this tutorial helps you craft an eye-catching wall background without any special tools or skills.
Materials
- Plastic tablecloths in your desired colors
Tools
- Scissors
- Backdrop frame
Instructions
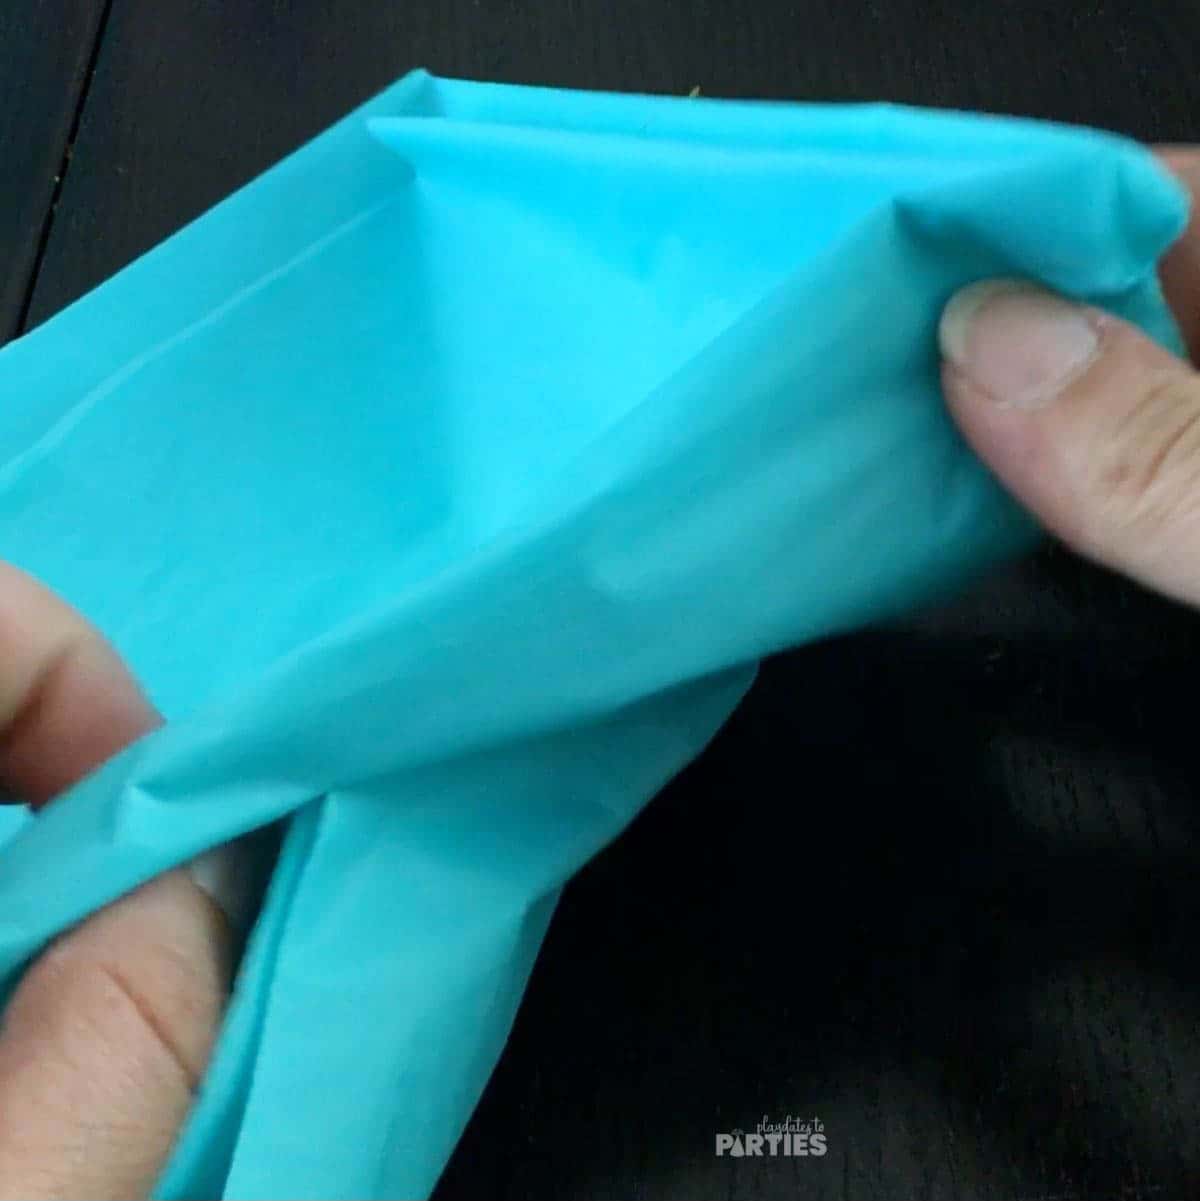
- Unfold one of the plastic tablecloths and then fold it in half. *
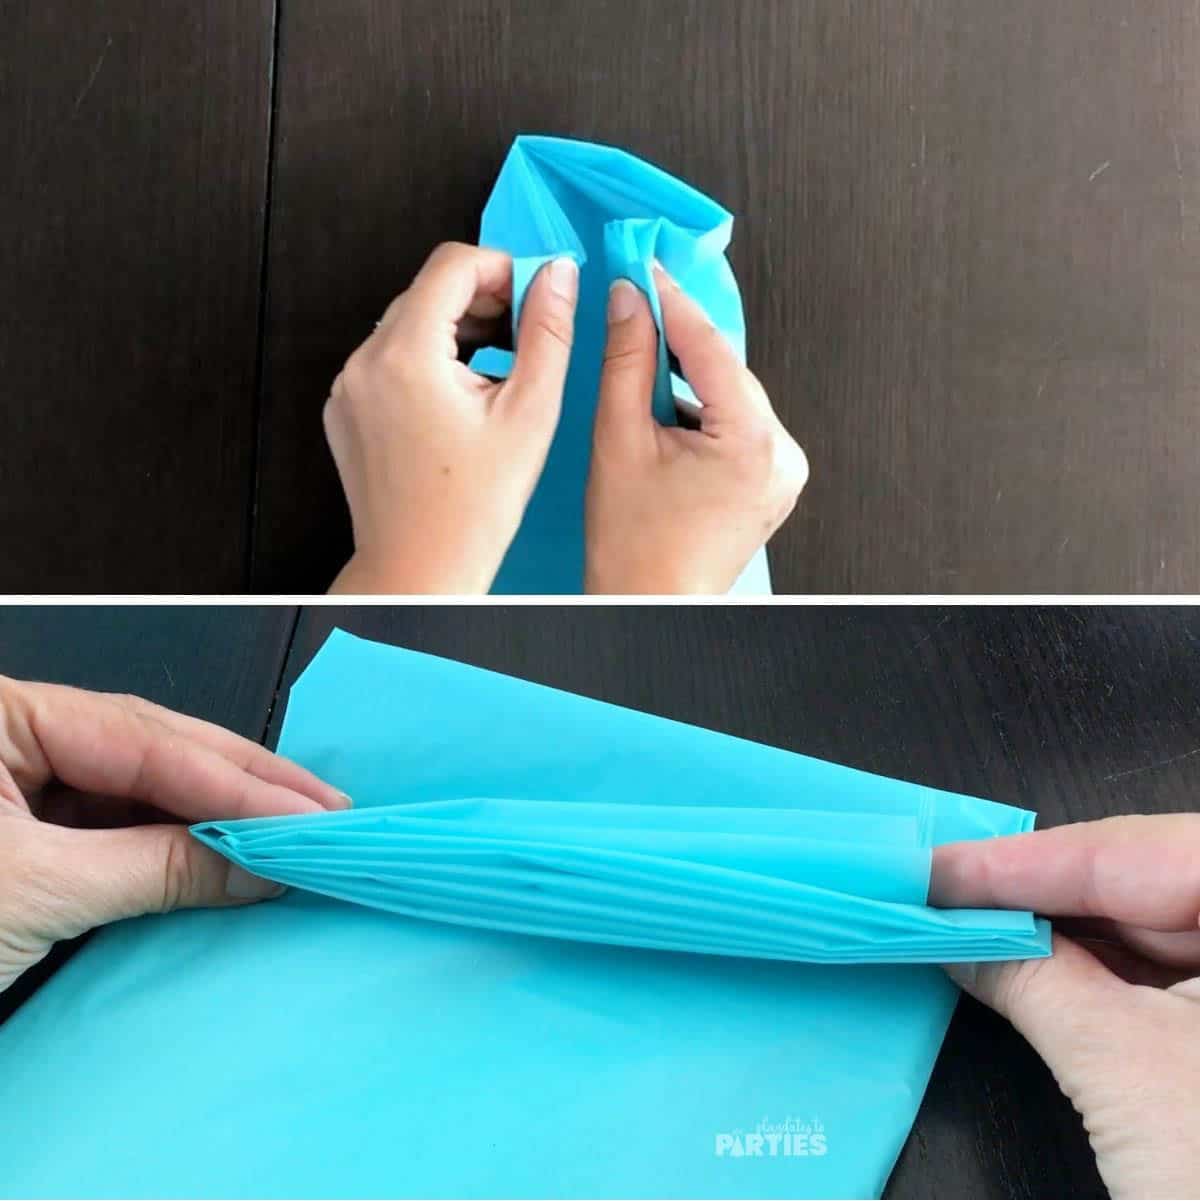
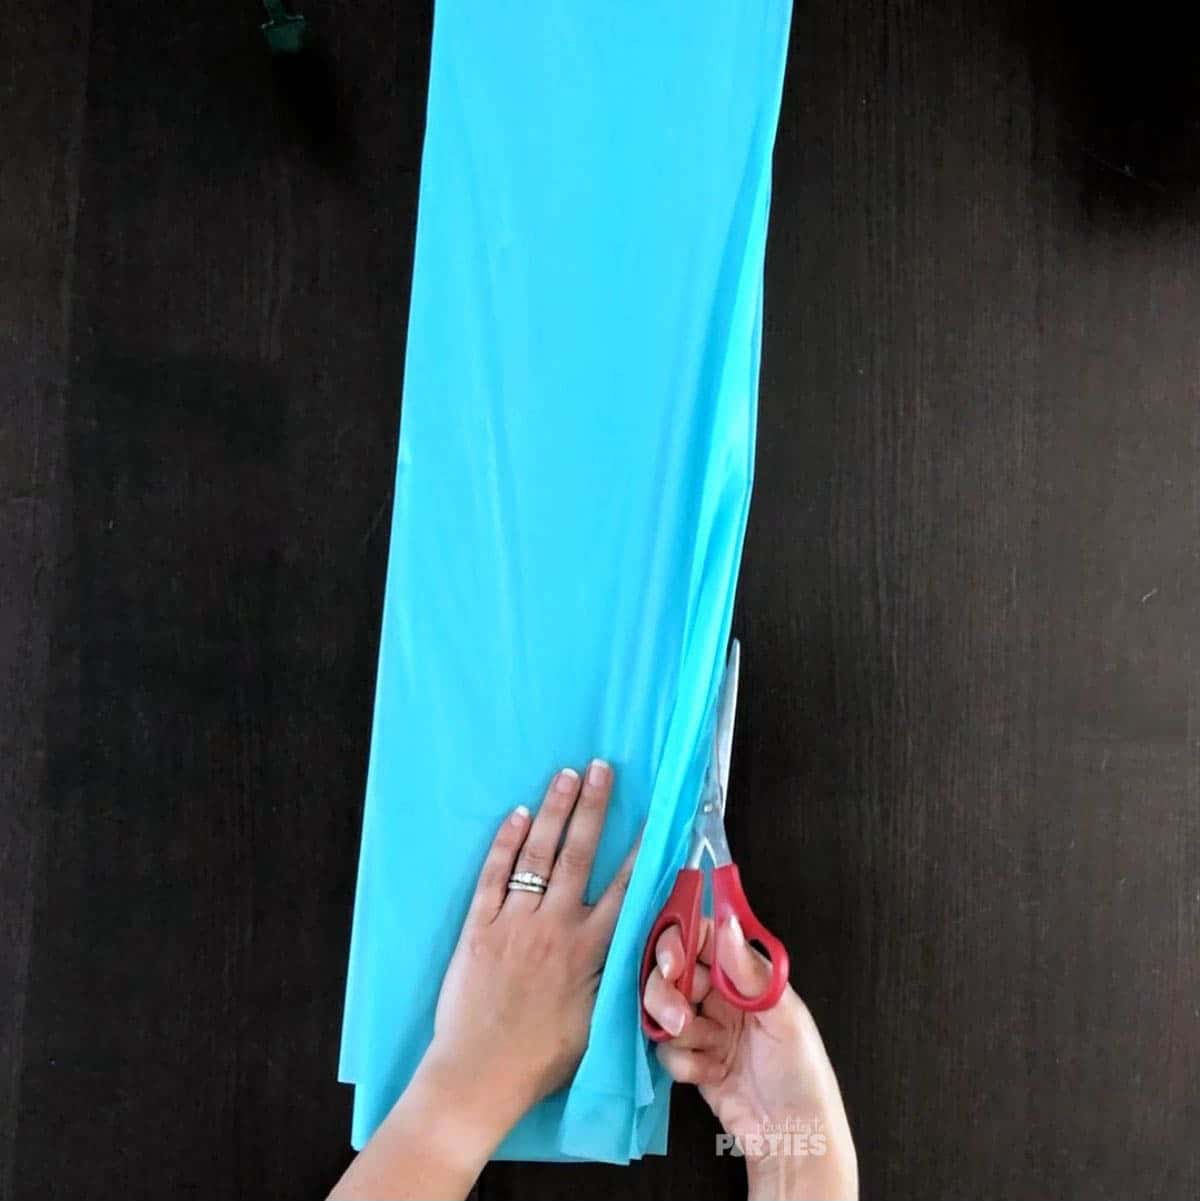
- Continue folding the tablecloth in half, keeping all folds together, until you have a long tube 6 to 8 inches wide (about 4 folds total). The short folded section is how you'll drape the tablecloth over your backdrop frame.
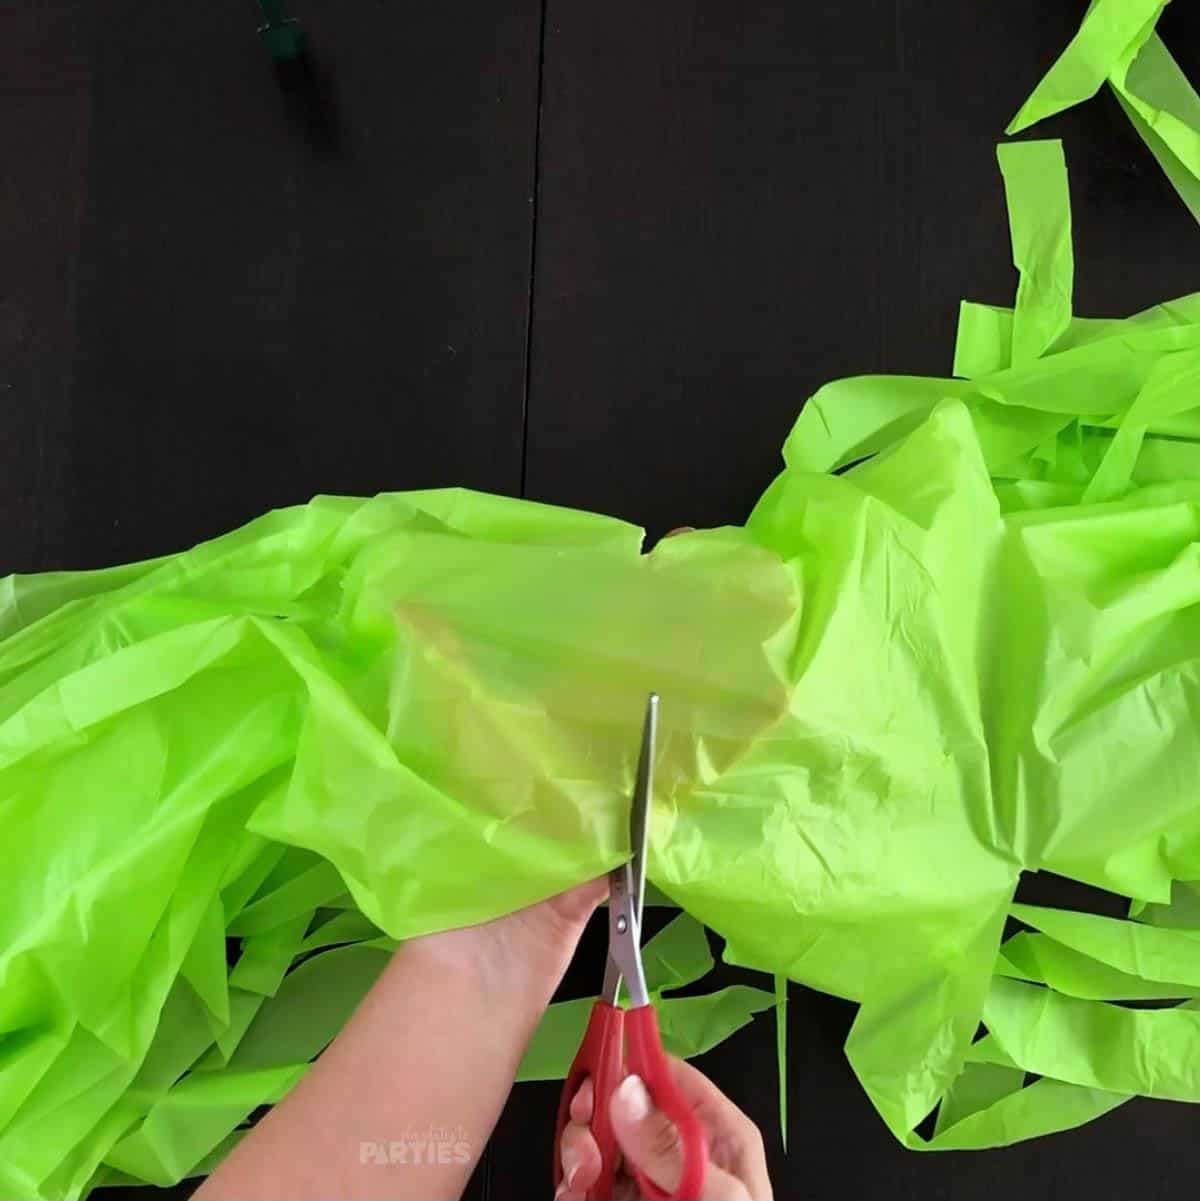
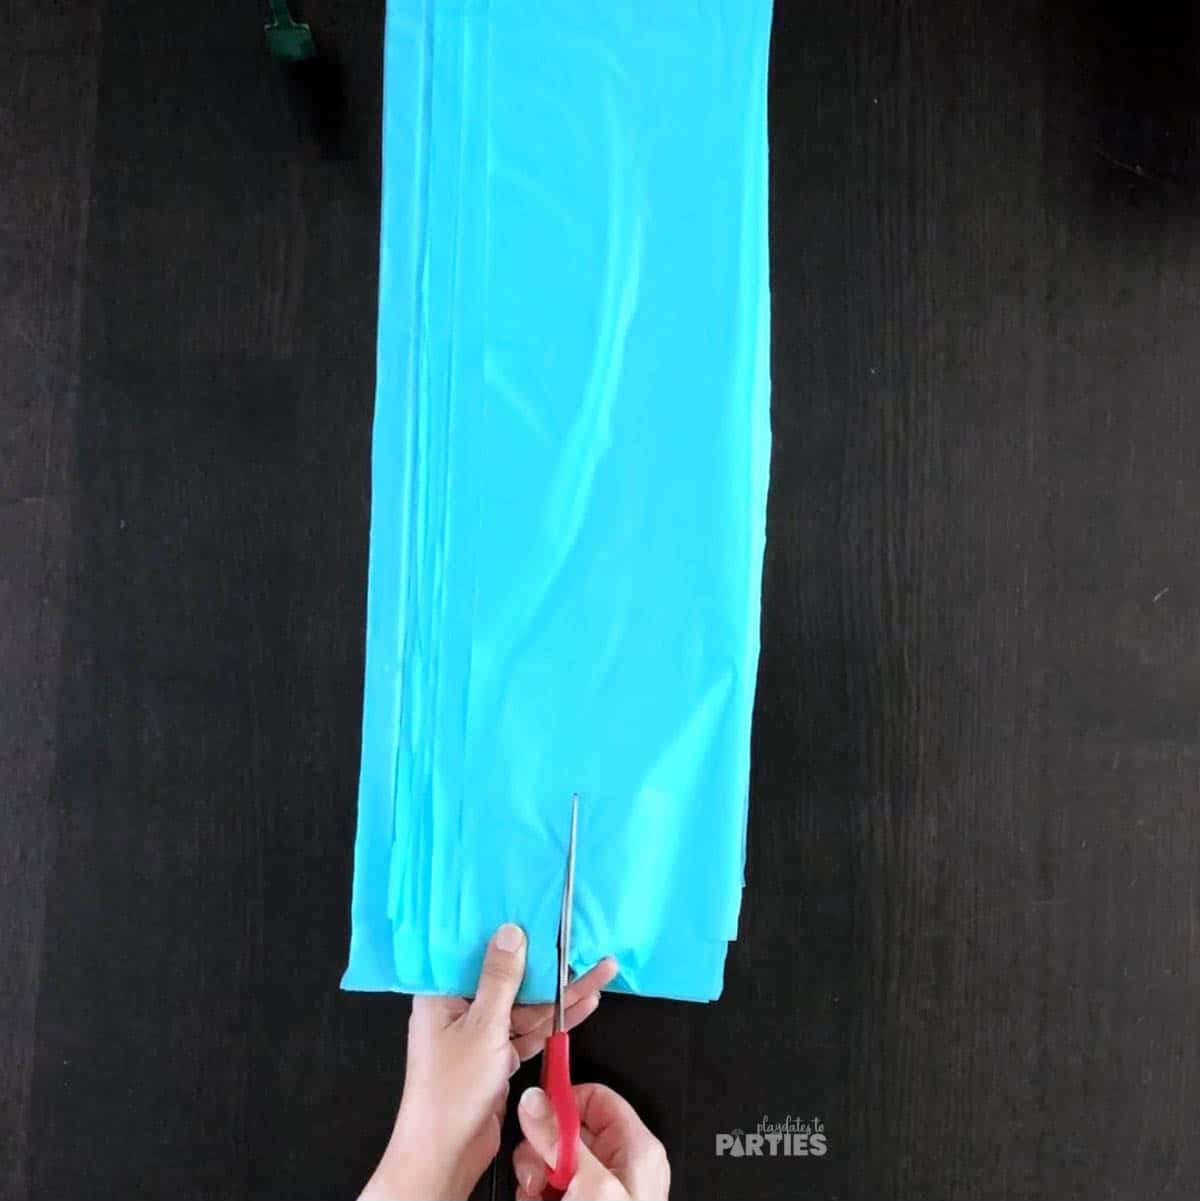
- Cut the folds on the long side of the tube, leaving about 2 to 3 inches at the end with all the previous folds.
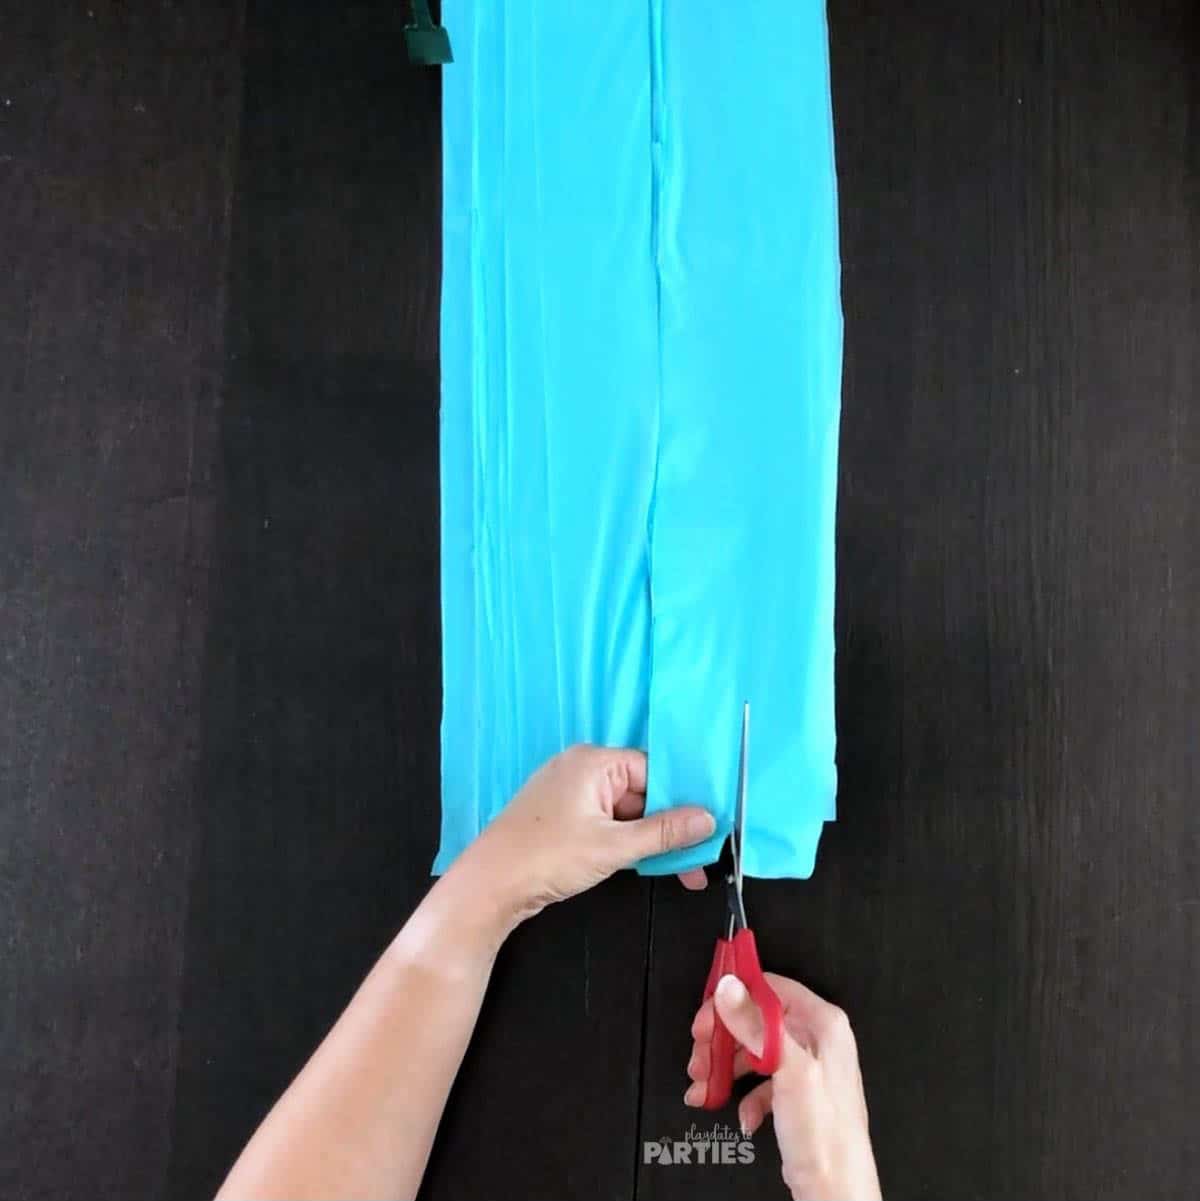
- From the open end of the tablecloths (opposite the top folds) cut the tablecloth layers in half lengthwise. Remember to keep the top 2-3 inches uncut.
- Continue cutting the tablecloth layers next to the previous cut, creating a long fringe effect.
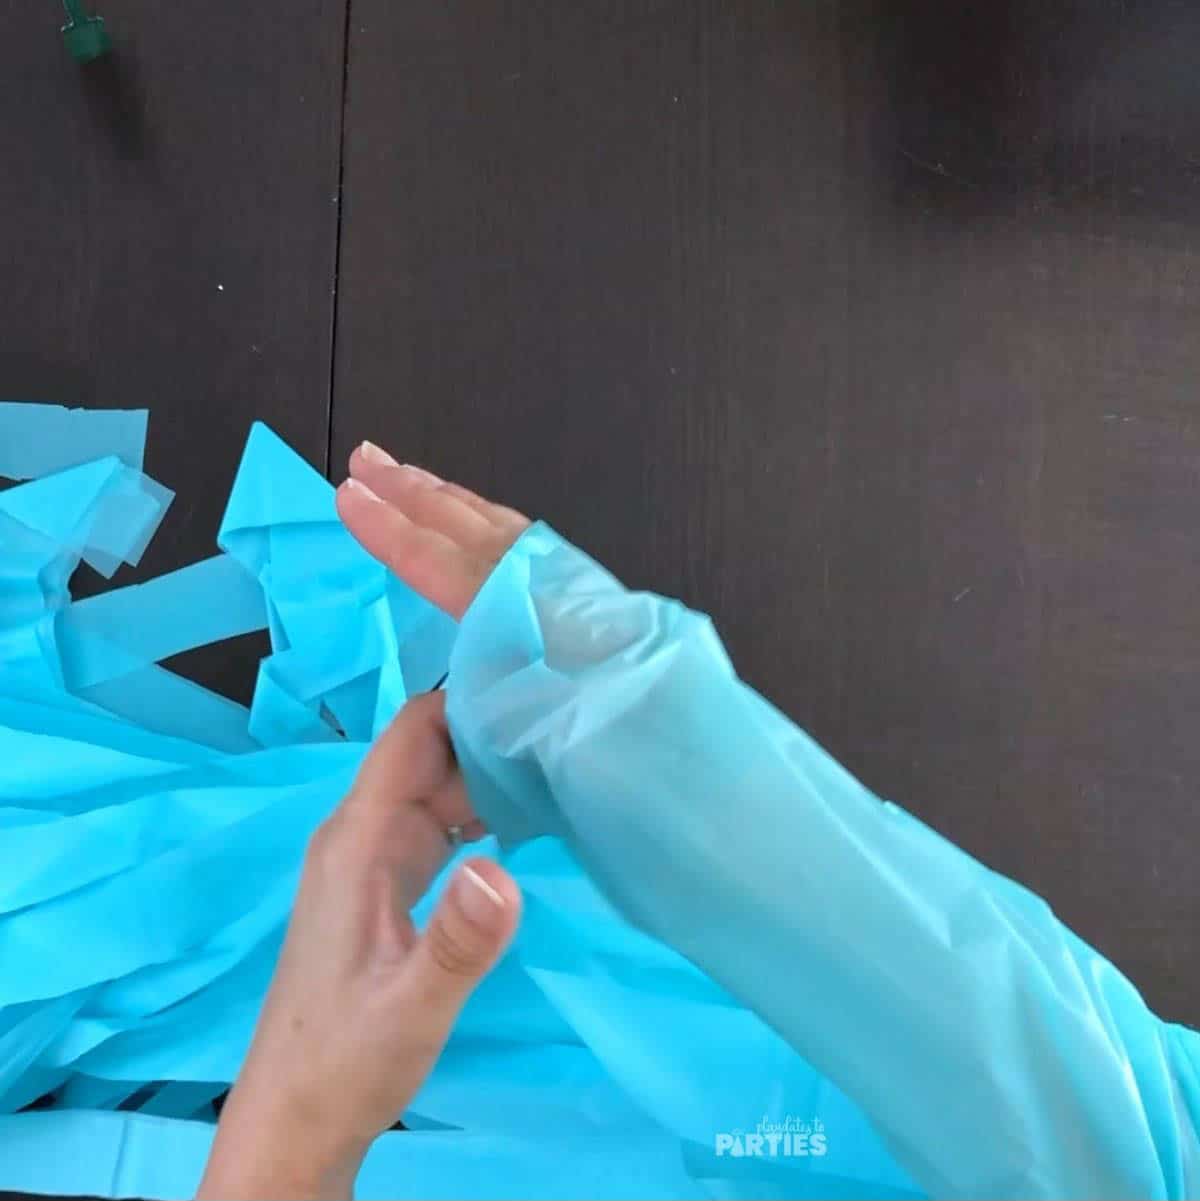
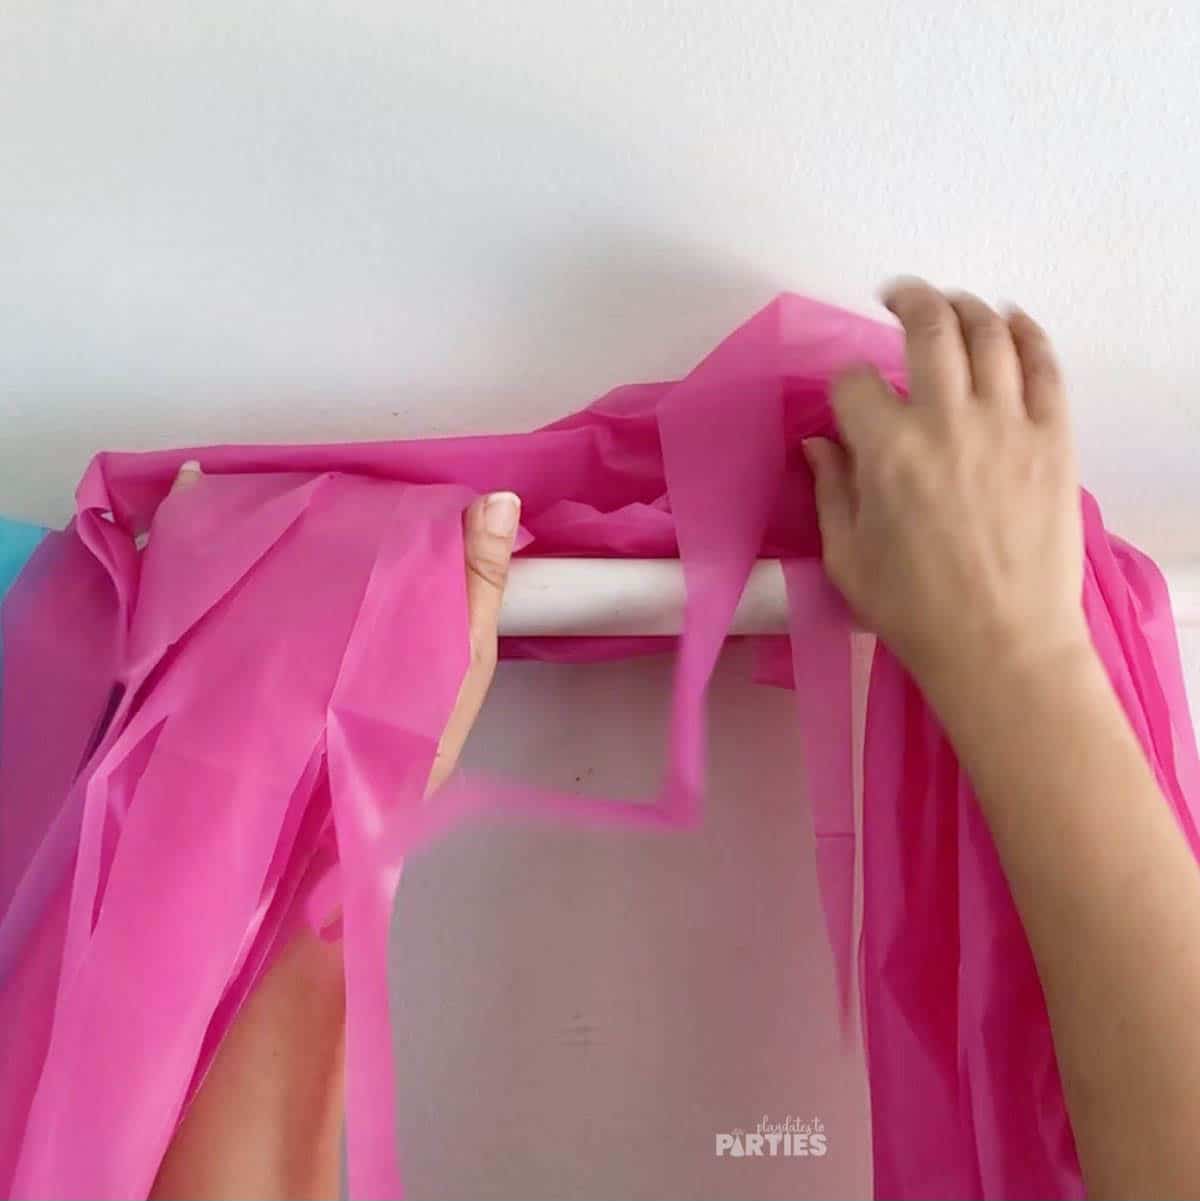
- Carefully unfold the tablecloth, gently separating the fringe as you go. I found it easiest to slide your arm into the main fold that wasn't cut apart so the fringe hangs down on either side.
- Drape the fringe over a backdrop frame or pole. Layer additional tablecloths in contrasting colors and textures on either side until you have the desired effect.
Notes
Remember, Tips and FAQ in the tutorial post are there to help you if you feel stuck at any point.
- You can choose to fold the tablecloth along either the short side or the long side depending on your backdrop height. I used a combination of both directions to vary the lengths of each section.
- If you need a full length backdrop, you might want to add another, horizontal bar halfway between the top and the floor for additional tablecloths.
- Don’t worry about cutting the fringe perfectly even or straight - the imperfections will add character to your backdrop!
- Once the fringe is complete, you can cut the center section into smaller pieces if you want them to take up less visual space. (The green sections in the final photos were one tablecloth that was cut into two)
- Some say you don't have to unfold a plastic tablecloth to cut it into fringe. As different companies fold their tablecloths in different ways, I strongly recommend you open the tablecloth to make sure all your folds are along the same center line.
Recommended Products
As an Amazon Associate and member of other affiliate programs, I earn from qualifying purchases.




Leave a Reply