When it comes to Halloween decorations, there’s no need to be limited to pumpkins and cobwebs. With a little creativity, you can make some amazing decorations using everyday objects, like these easy DIY floating candles.
Not only are they easy to make, but they also look incredibly spooky and add a great ambiance to any Halloween party. So if you’re looking for a unique and impressive decoration, read on to learn how to make your own floating candles for Halloween.
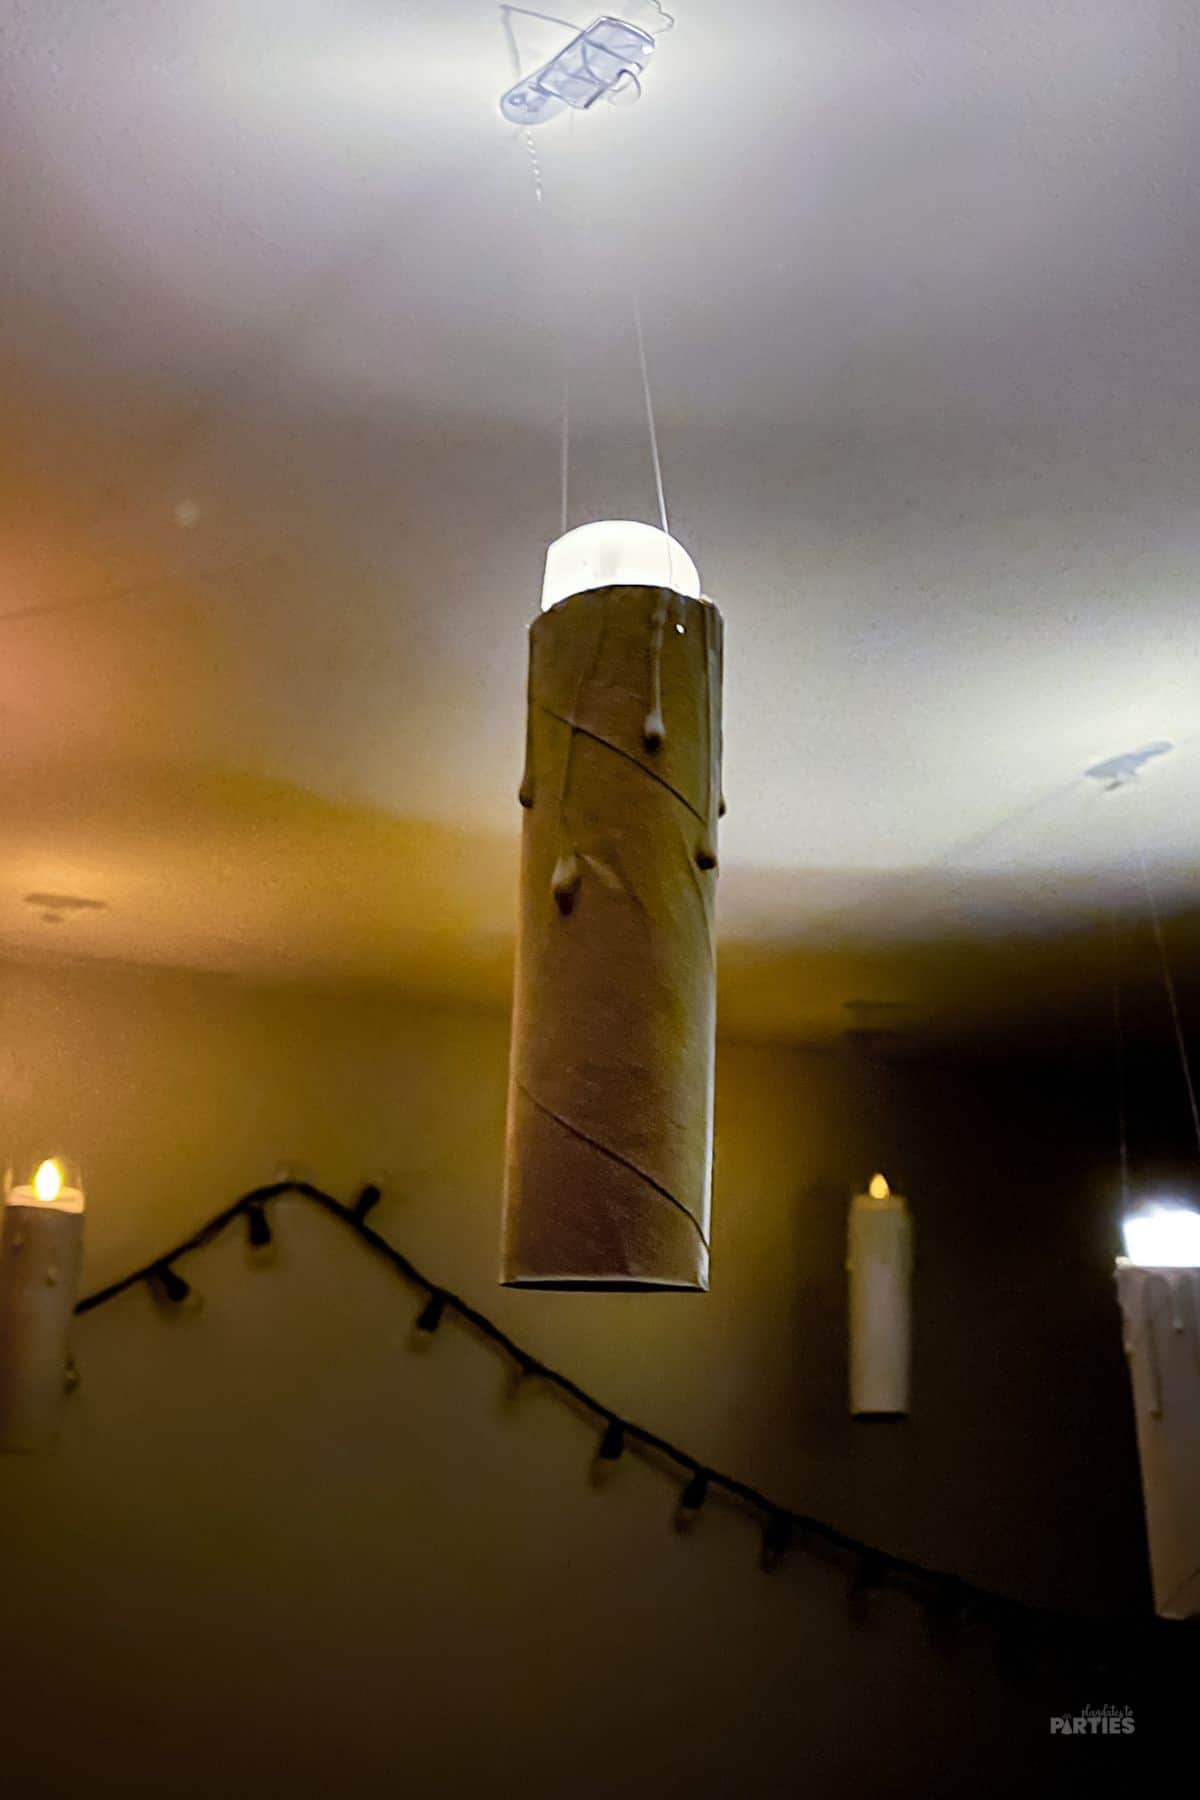
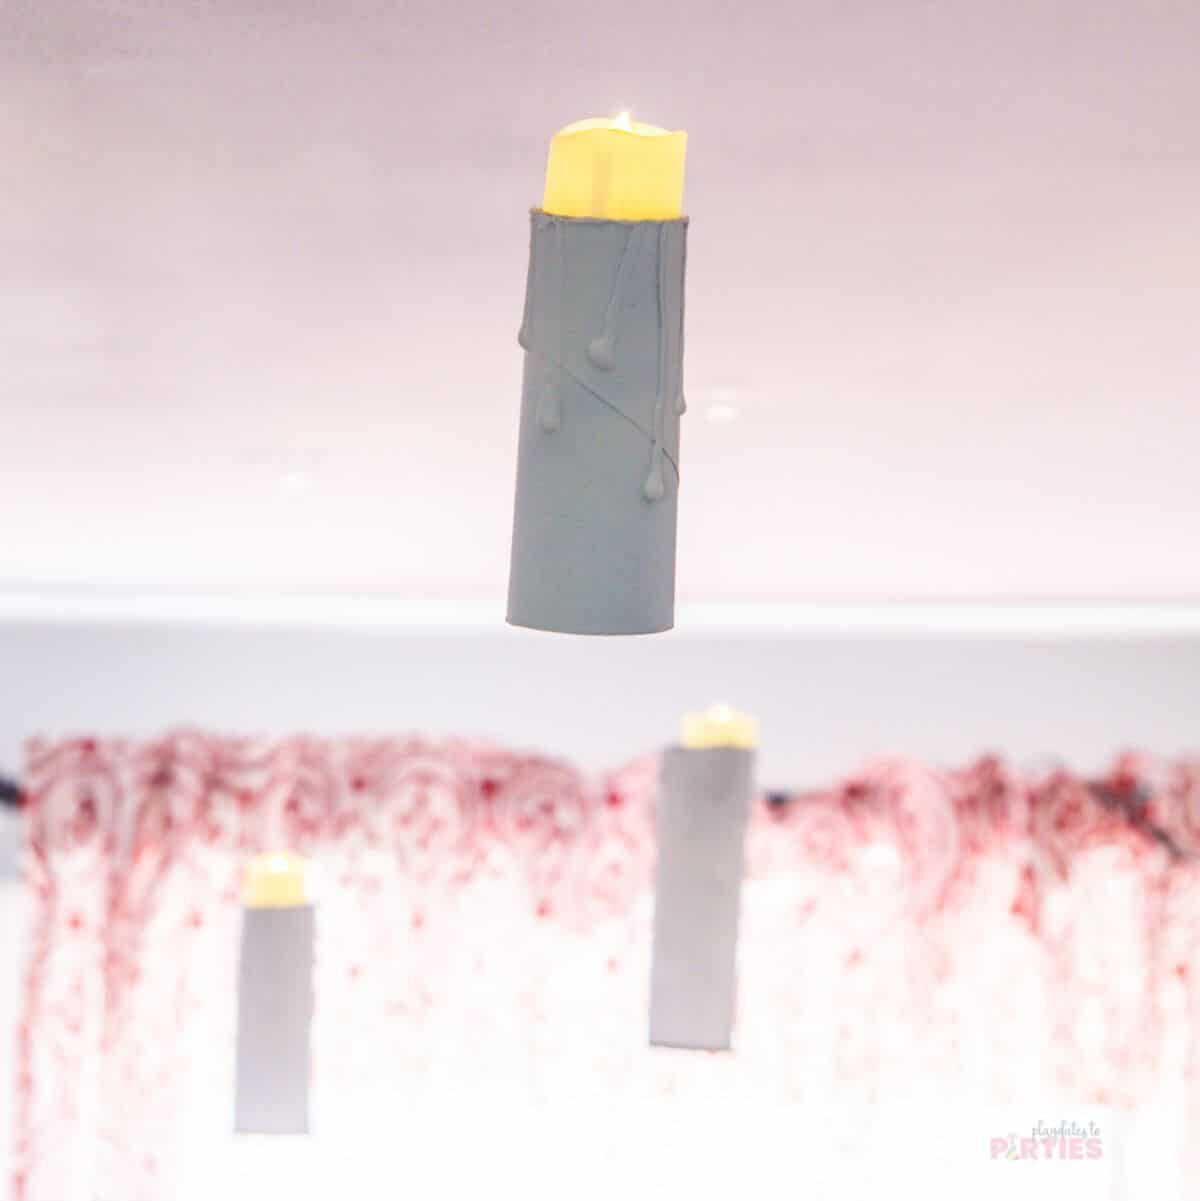
When my daughter and I decided to transform our basement into Hogwarts’ Great Hall for her Harry Potter Party I immediately know that I wanted to include some floating candles.
It took a couple attempts to get the kinks out of the process, but once we did, we had a couple dozen beautiful and eerie decorations for her party.
Not only are these DIY floating candles easy enough for anyone to make, but they’re also very affordable. If you’re on a tight budget, you can easily make these for under $15.
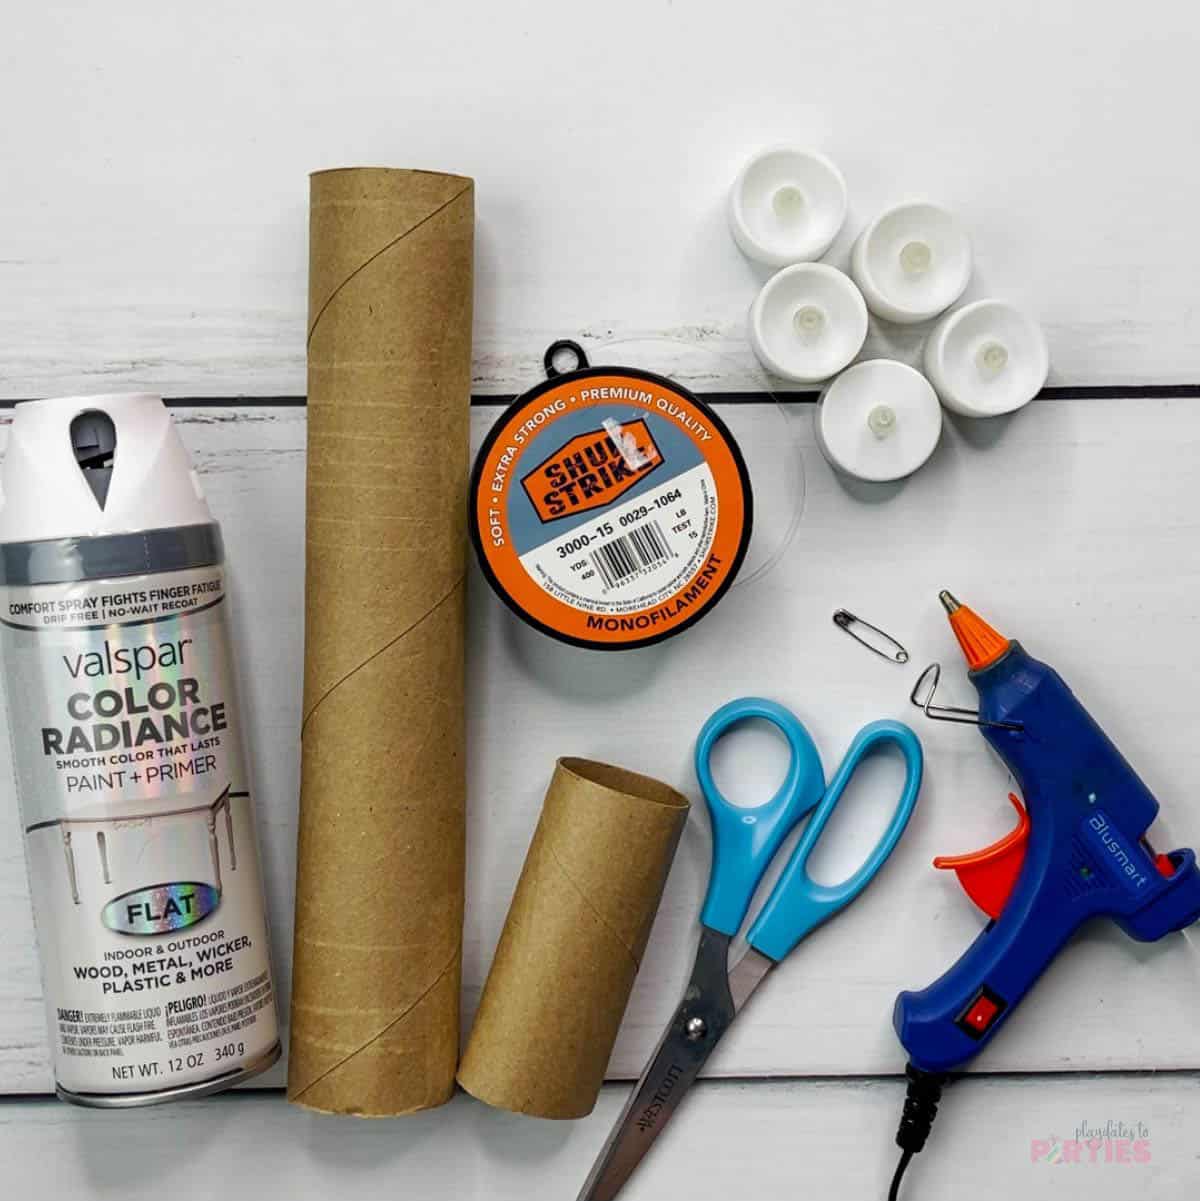
What You’ll Need:
- Toilet paper tubes and/or paper towel tubes
- Scissors
- Spray paint
- Hot glue gun and glue sticks
- Pin
- Monofilament
- LED tea light candles
- Clear command hooks or clear tape
A few notes about the supplies
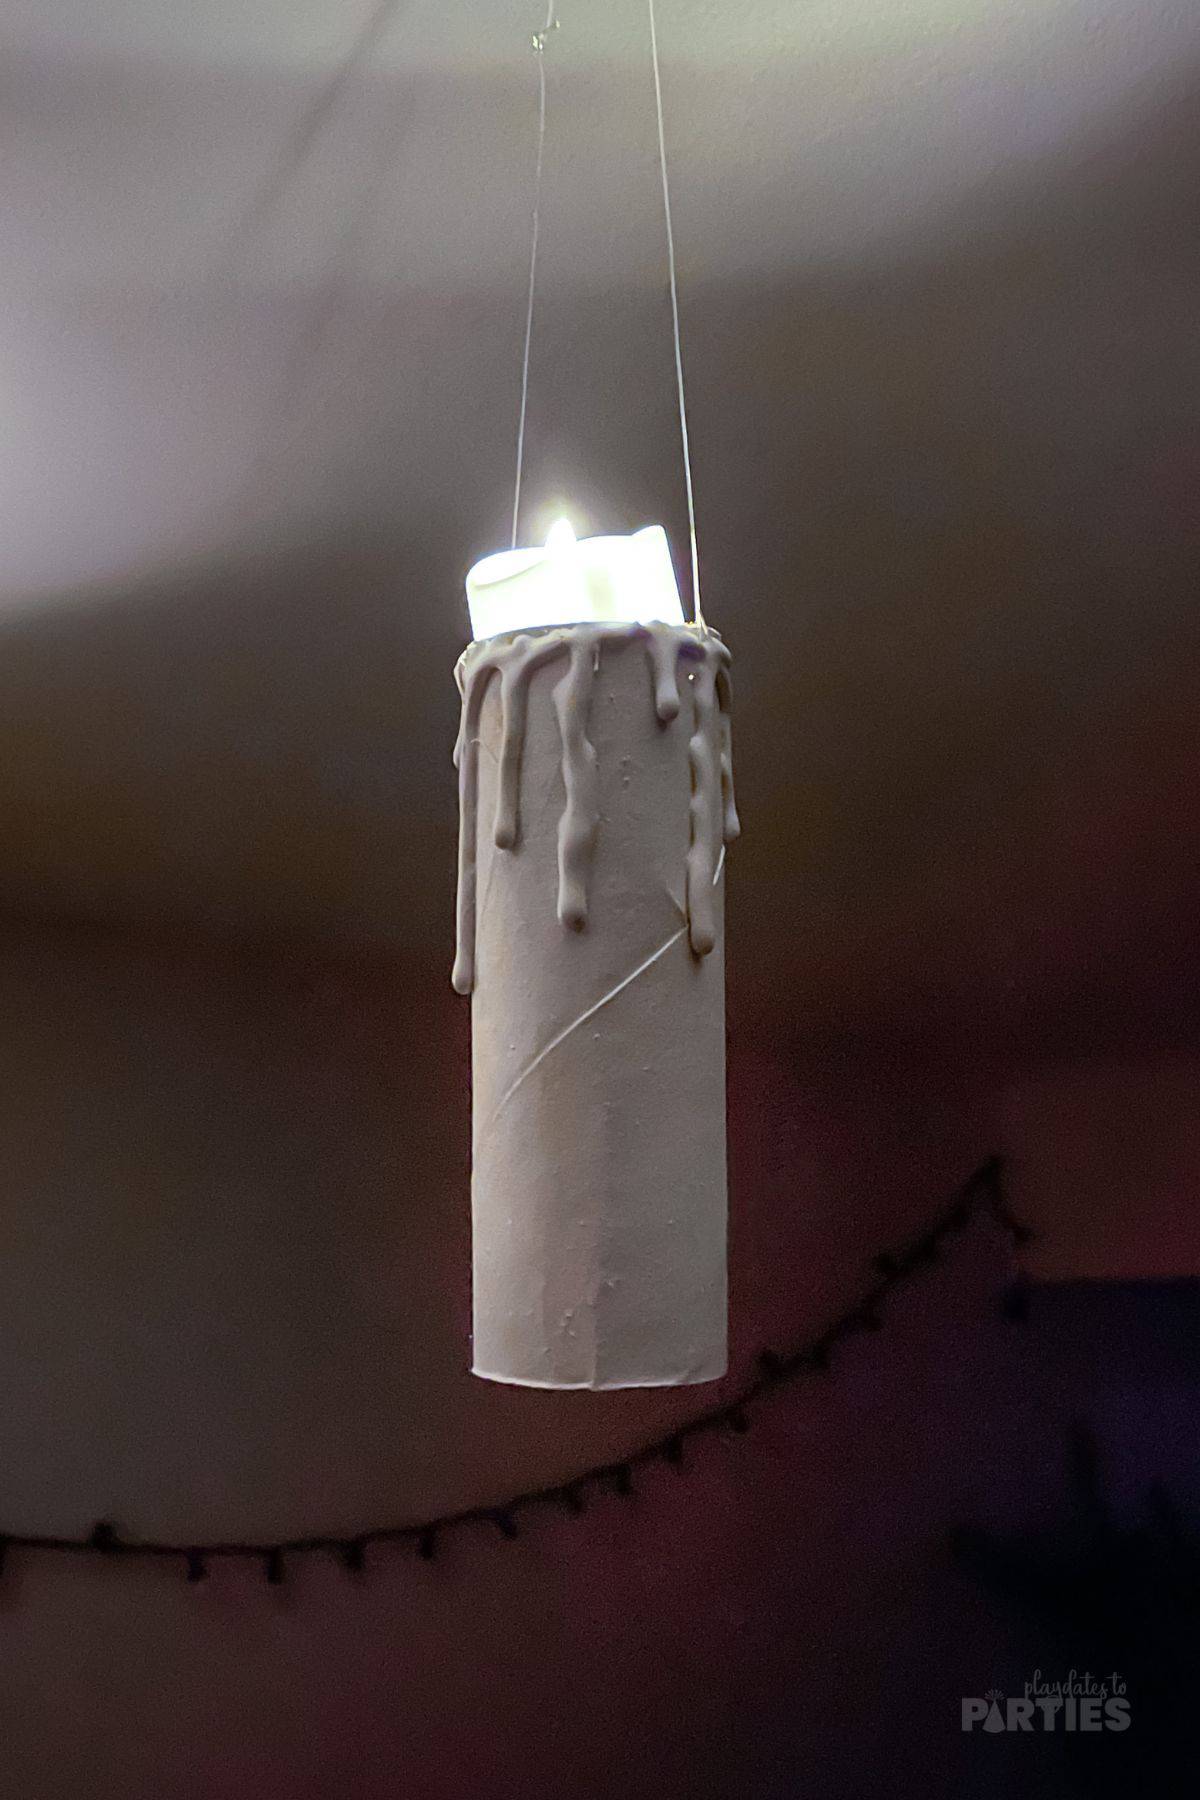
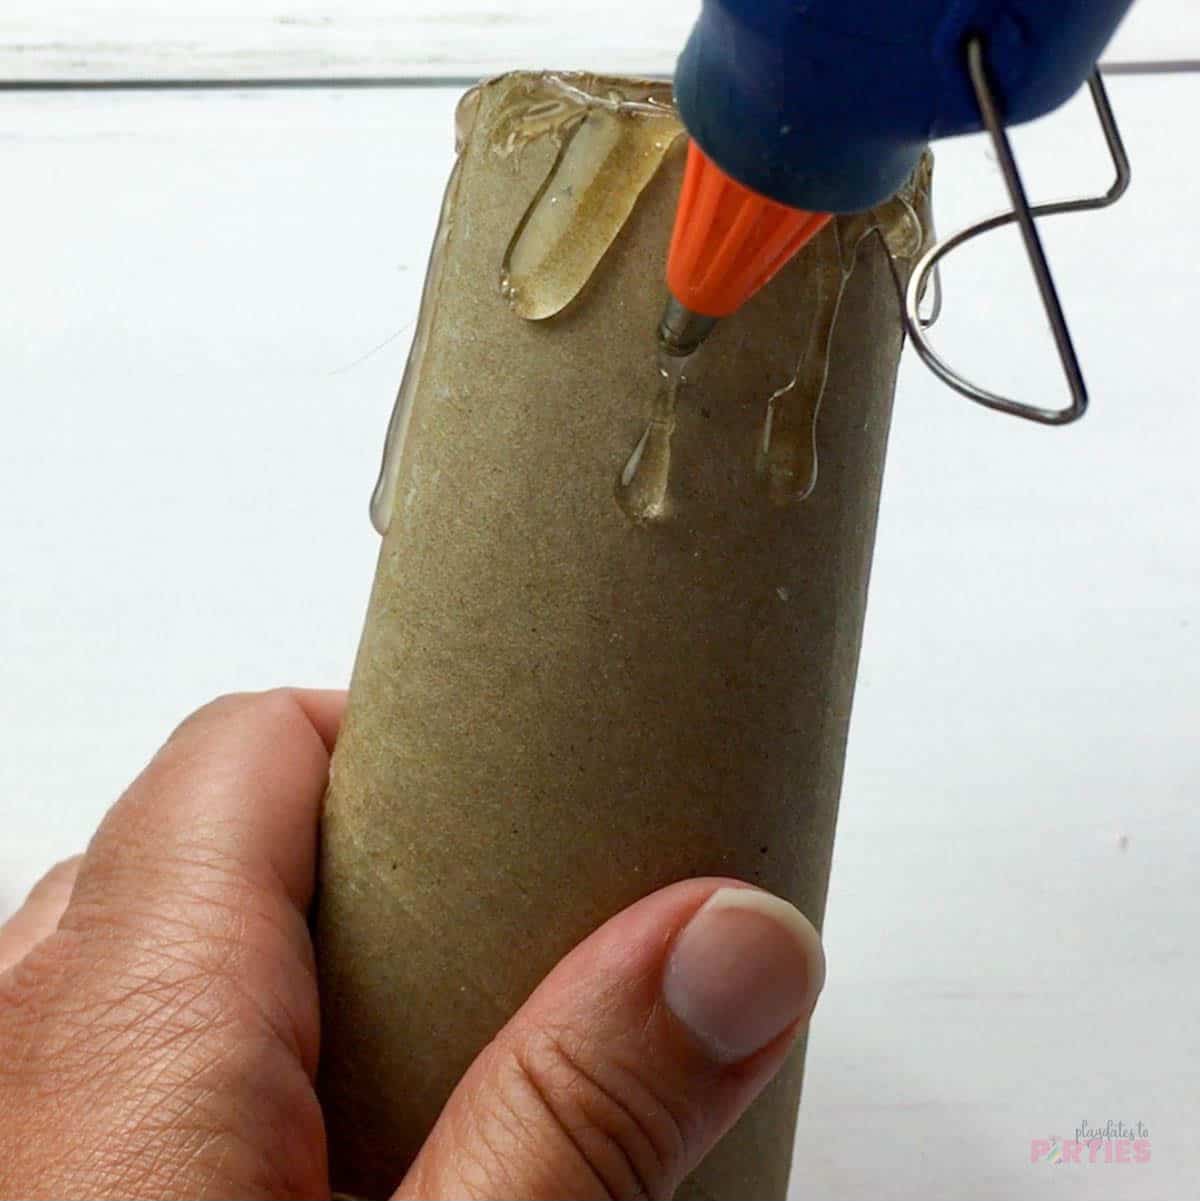
Hot glue gun – Instead of gluing things together, we’ll use hot glue to create the drippy candle effect.
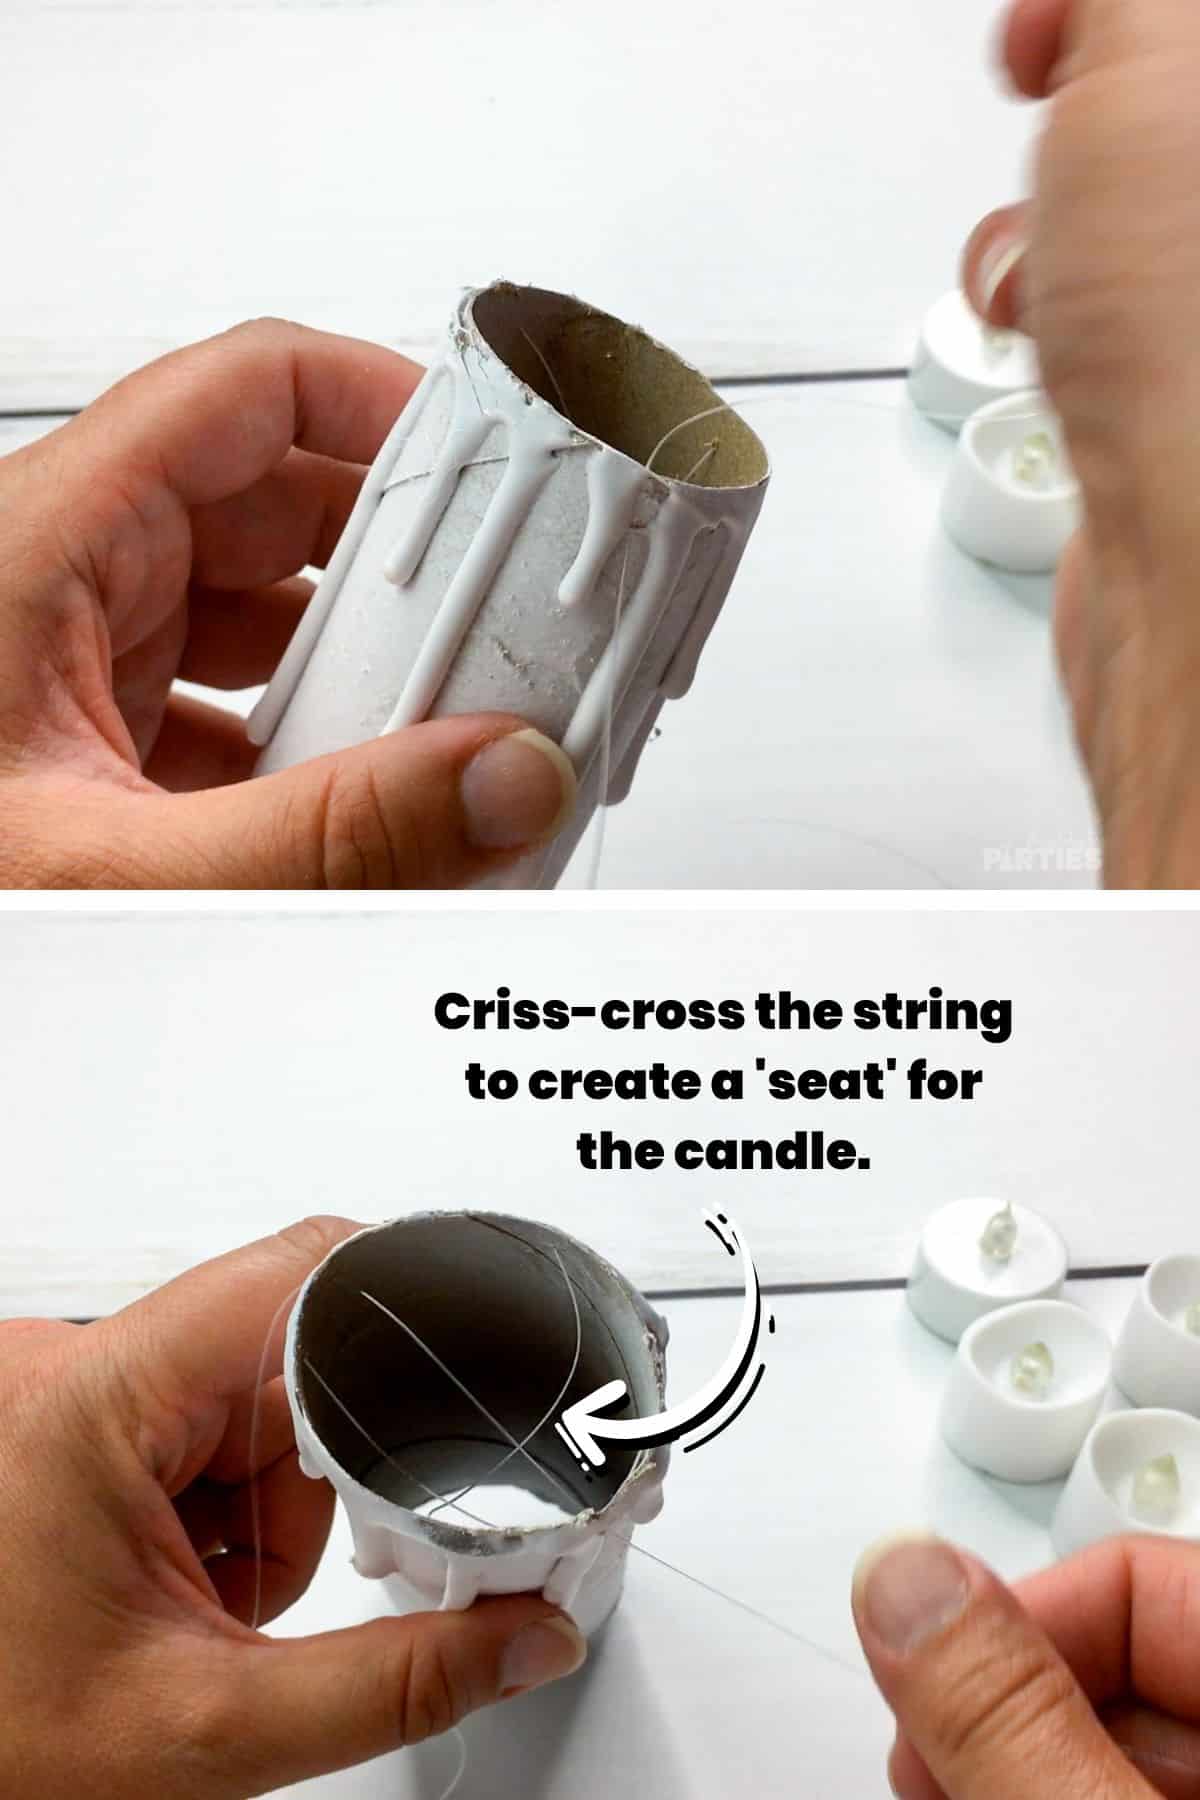
Monofilament is a clear string that we use to hang the candles from the ceiling. This is the key to make it look like your candles are floating.
LED tea lights create the look of the candle flame. They’re available in a variety of shades, and you can even find some that flicker.
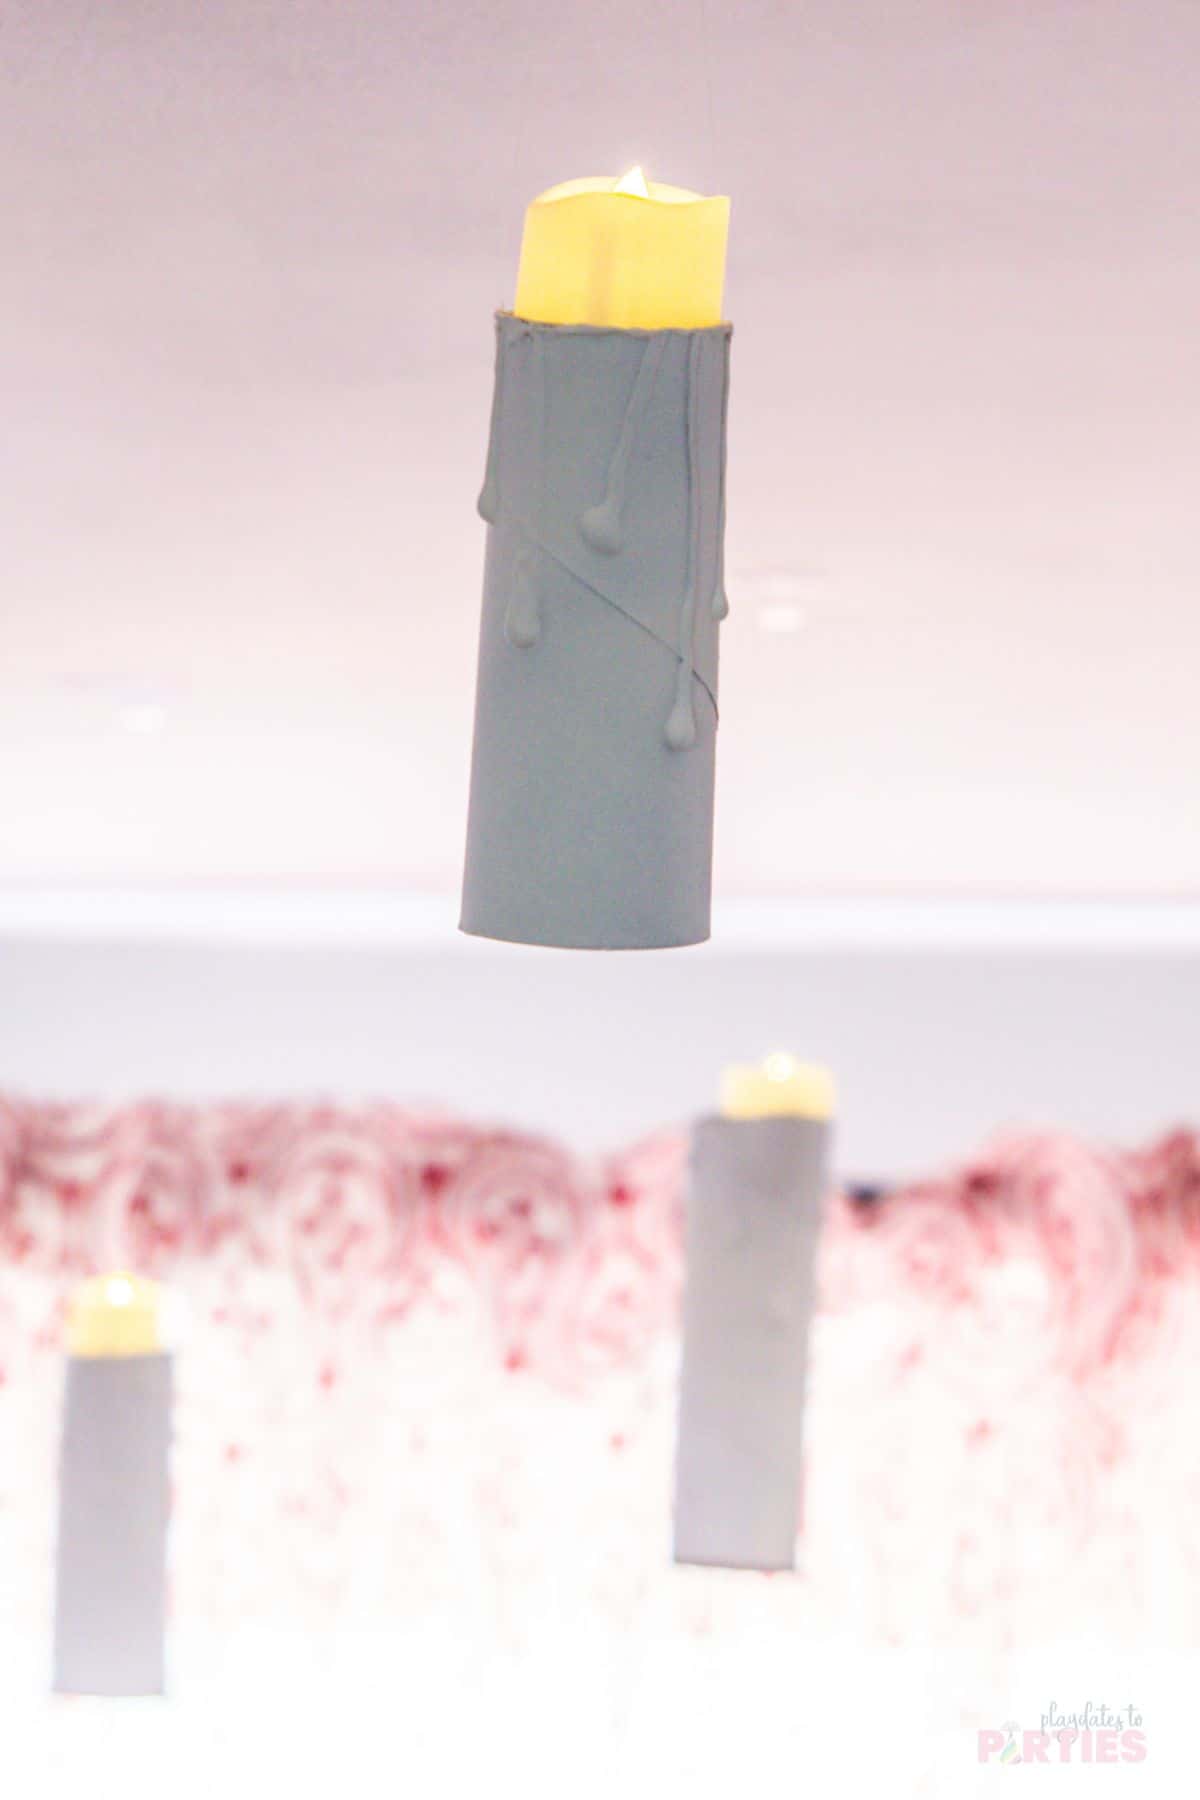
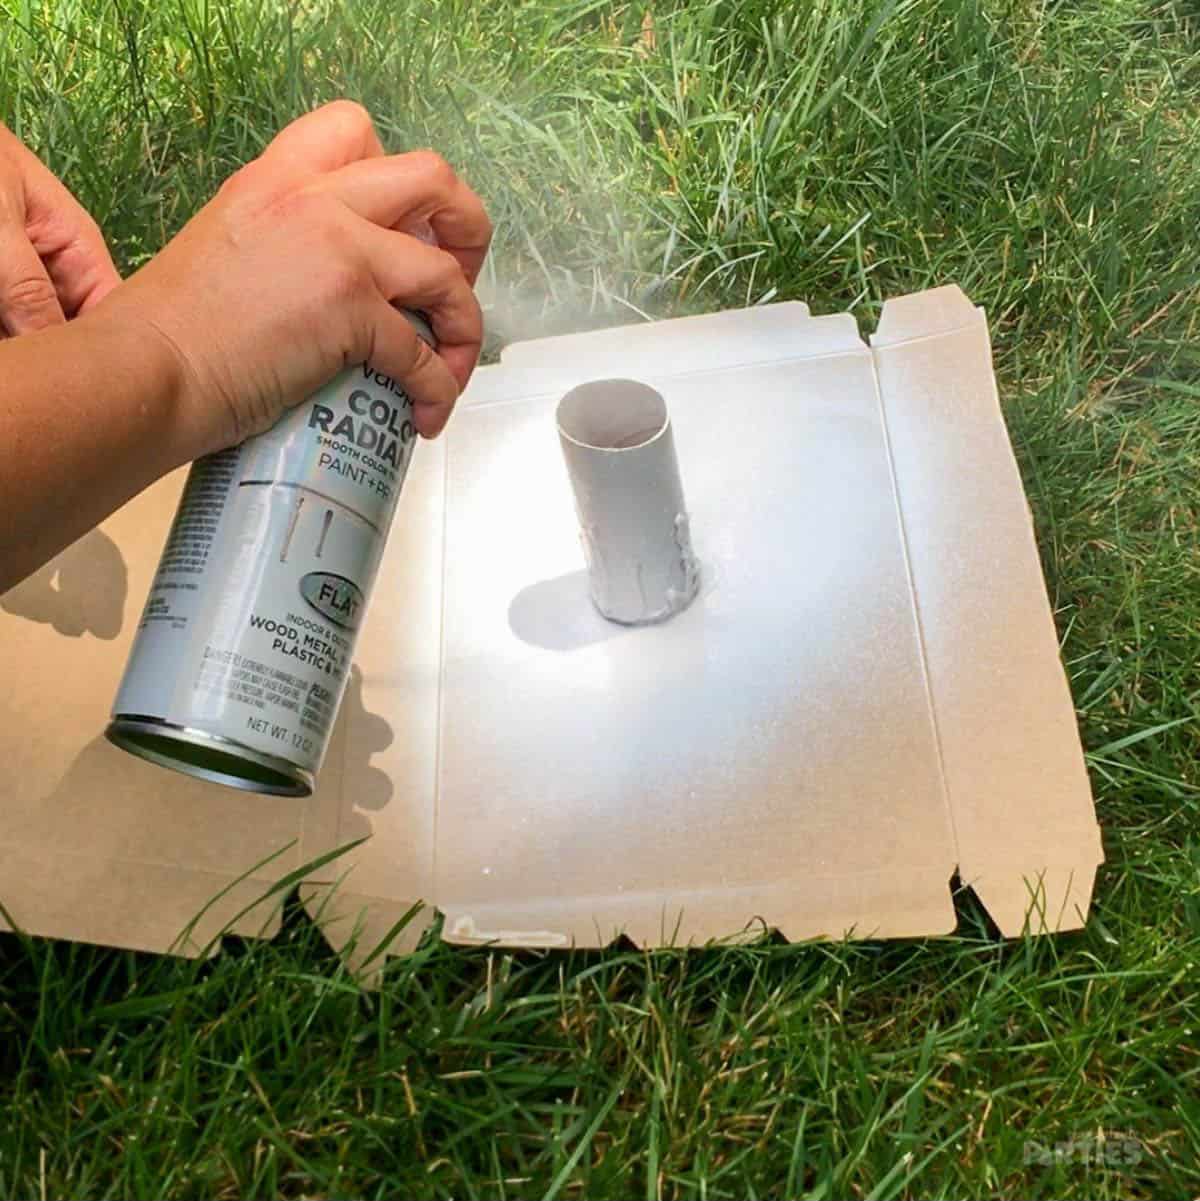
Spray Paint – We used white spray paint so the candles would show up well in the dark, but you could just as easily use black or paint-on acrylic paint if you have it available.
When to Use Floating Candles
Floating candles are a fun addition to any number of events. Here are our recommendations:
- Harry Potter Parties
- Halloween parties
- Halloween home decor
- Haunted Houses
- Halloween themed weddings or baby showers
Essential Tips:
Don’t skip these tips – read them before starting to avoid any potential mistakes.
- Use a lighter weight monofilament. Monofilament (also known as fishing line) comes in different weights. The higher the weight, the thicker and more visible the string will be. I used 15lb monofilament for this project, but you could use an even lighter weight if you like.
- Double knot your string. Monofilament tends to slide out of basic knots pretty quickly. That’s why I recommend at least a double knot to make sure your floating candles don’t fall down in the middle of your Halloween party.
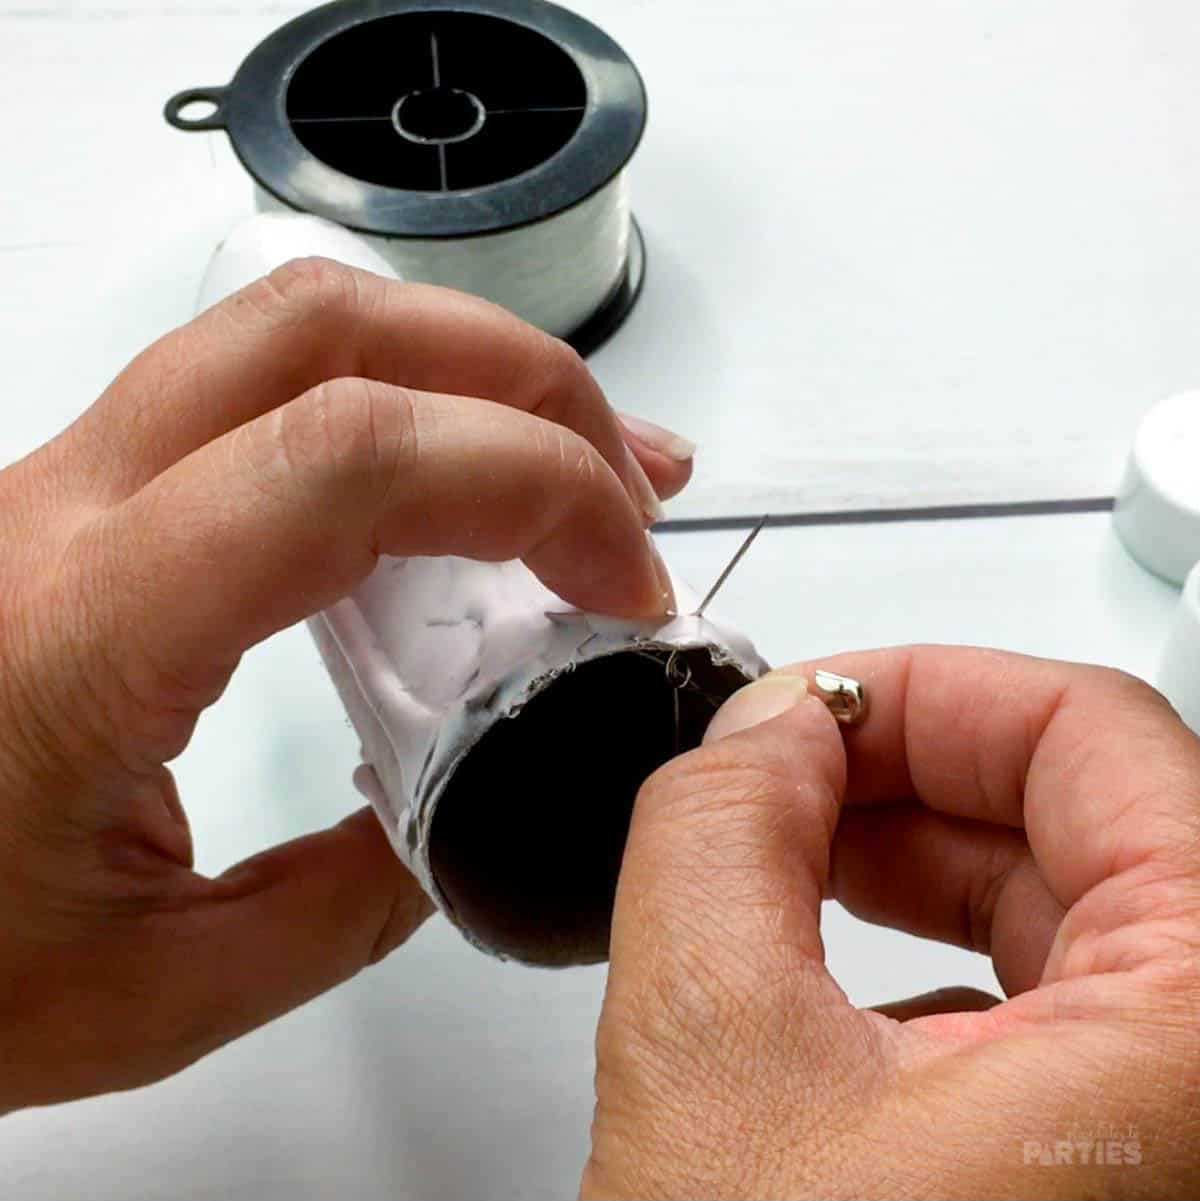
- Make sure you have a strong pin. It can be difficult to push the pin through if you need to make a hole in the same spot you have a hot glue drip.
- Watch the sizes of your tubes and LED candles. LED candles come in a variety of diameters. Make sure yours fit your paper towel or toilet paper tubes before you get started.
- When adding the drips, start at the bottom of the drip and then pull your glue gun up to the top of the tube. This will create that nice bubble at the bottom of the drip.
- Push the pin through the tube the direction that you’ll be threading the monofilament. For example: Poke one hole from the outside in, and the opposite hole from the inside out. Wiggle the pin around through the hole to make it a bit bigger. This will help make it easier to thread your string.
FAQs:
Can I poke the holes through the tubes before painting?
If you want to make sure you don’t put hot glue in the way of your holes, you can poke the pin through the tubes before you paint them. That said, you’ll still need to poke through the holes again because the spray paint typically clogs up the small holes.
Can I add the string before spray painting?:
I don’t recommend it because the paint will get on the string, which will prevent it from being invisible.
Is this craft suitable for children to get involved in?
Absolutely! You will find that as long as they are supervised, older kids can certainly get involved in creating these DIY floating candles.
If you liked this party craft, you’ll also love these Cute Halloween Favors. They’ll be perfect additions to your Halloween parties. Or you can check out my other Halloween crafts and ideas right here.
How to Make Floating Candles for Halloween
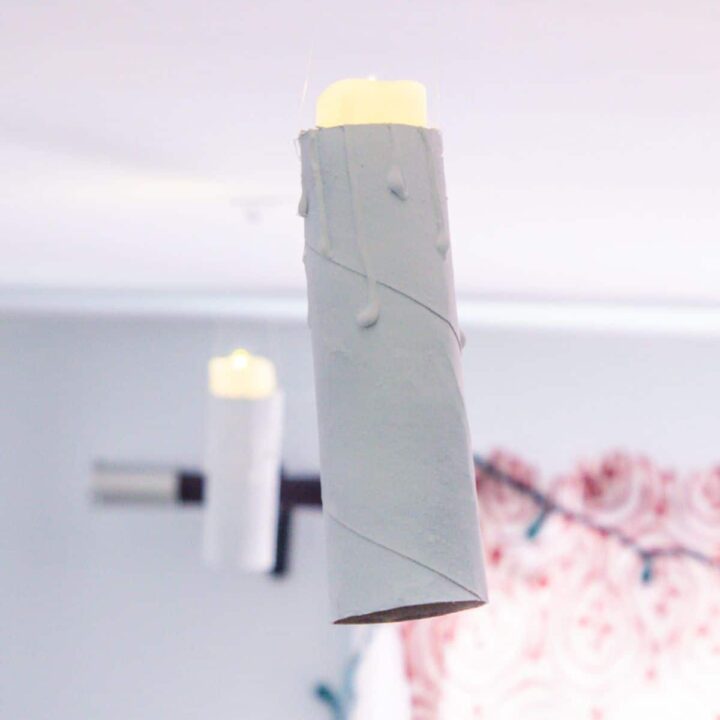
Whether you're hosting a Harry Potter party or just want some spooky Halloween decor, these DIY floating candles are the perfect decoration on a budget.
Materials
- Toilet paper tubes and/or paper towel tubes
- White (or black) spray paint
- Glue sticks
- Monofilament
- Clear command hooks or clear tape
- LED tea light candles
Tools
- Hot glue gun
- Pin
- Scissors
Instructions
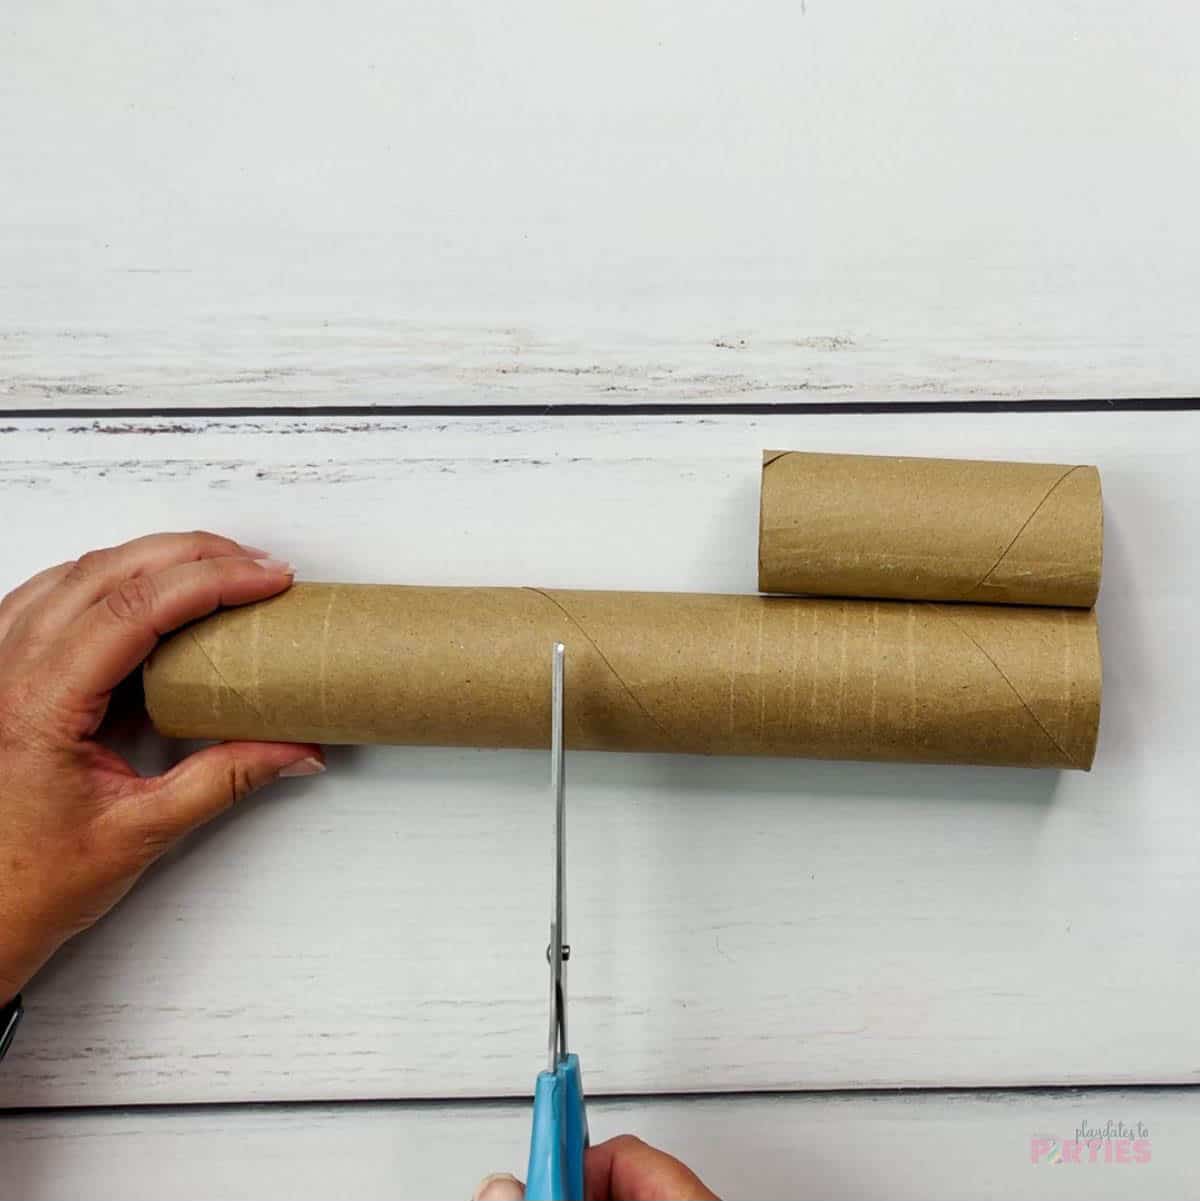
- Cut paper towel tubes down to size. Cut your tubes into different sizes for a more interesting effect.
- Using a glue gun, add a bit of glue to the top edge of the tube. Then add glue drips down the sides, making sure to vary the length and size of the drips. Let the glue dry completely, about 5-10 minutes.
- Place the tubes on a prepared surface and paint with at least 2 layers of white spray paint.
- Use a pin to poke two holes opposite each other near the top of the tube. Poke two more holes halfway between each of the other holes so they are at 4 ‘corners’ of the tube.
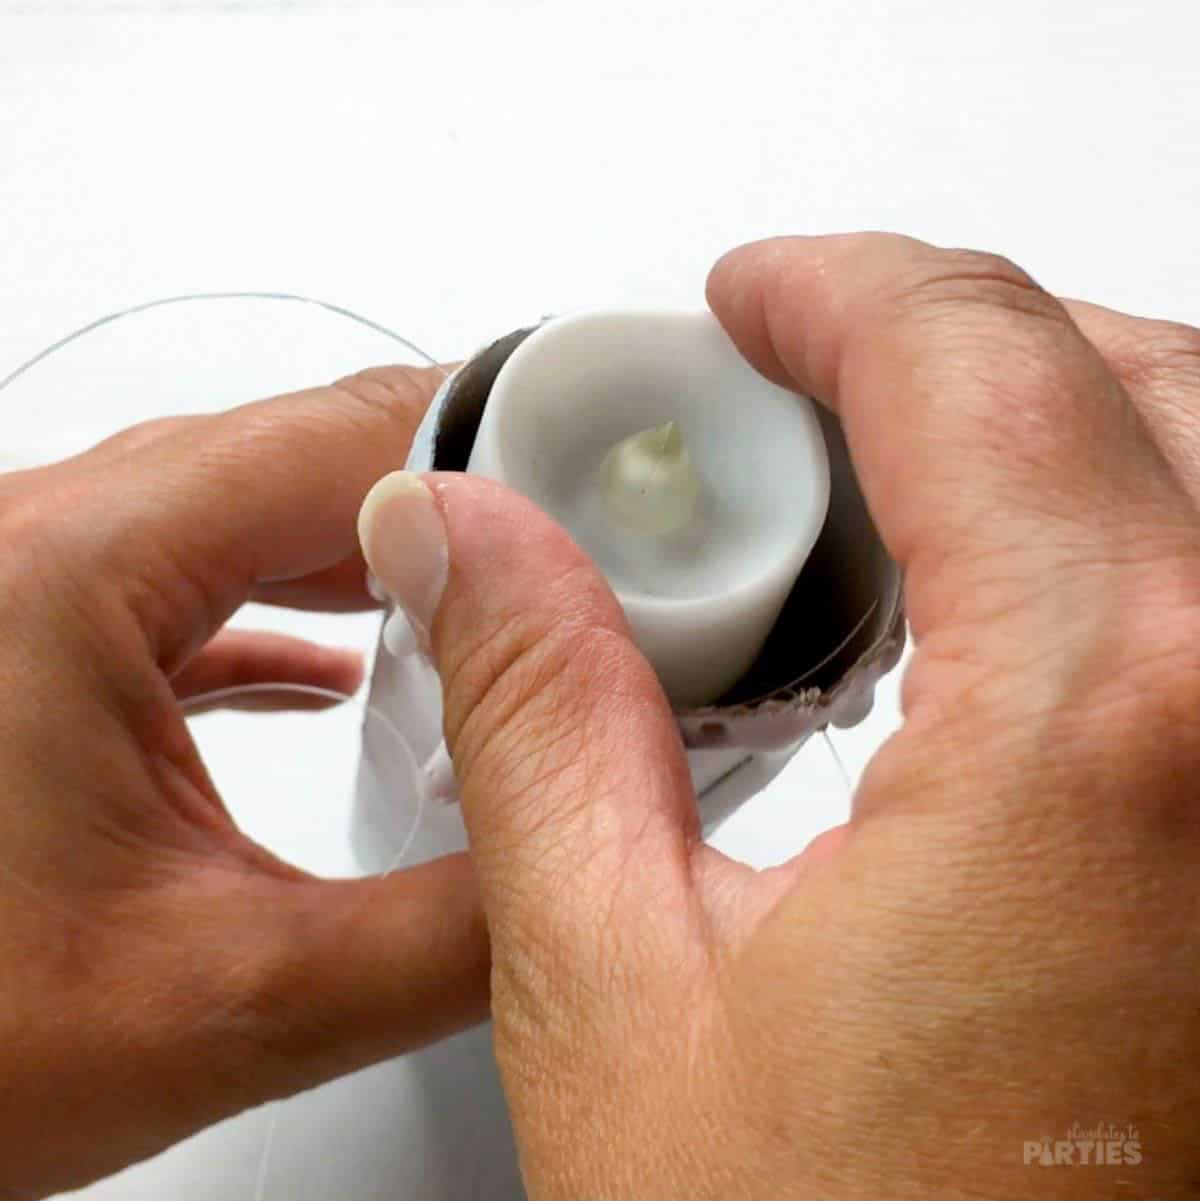
- Thread a strand of monofilament through the holes so they criss cross, creating a sling for the candle. Make sure to leave plenty of extra monofilament to adjust the depth of the sling and to hang the candle.
- Place an LED candle inside the tube, sitting in the ‘sling’. You may need to press the monofilament down if the candle sits too high.
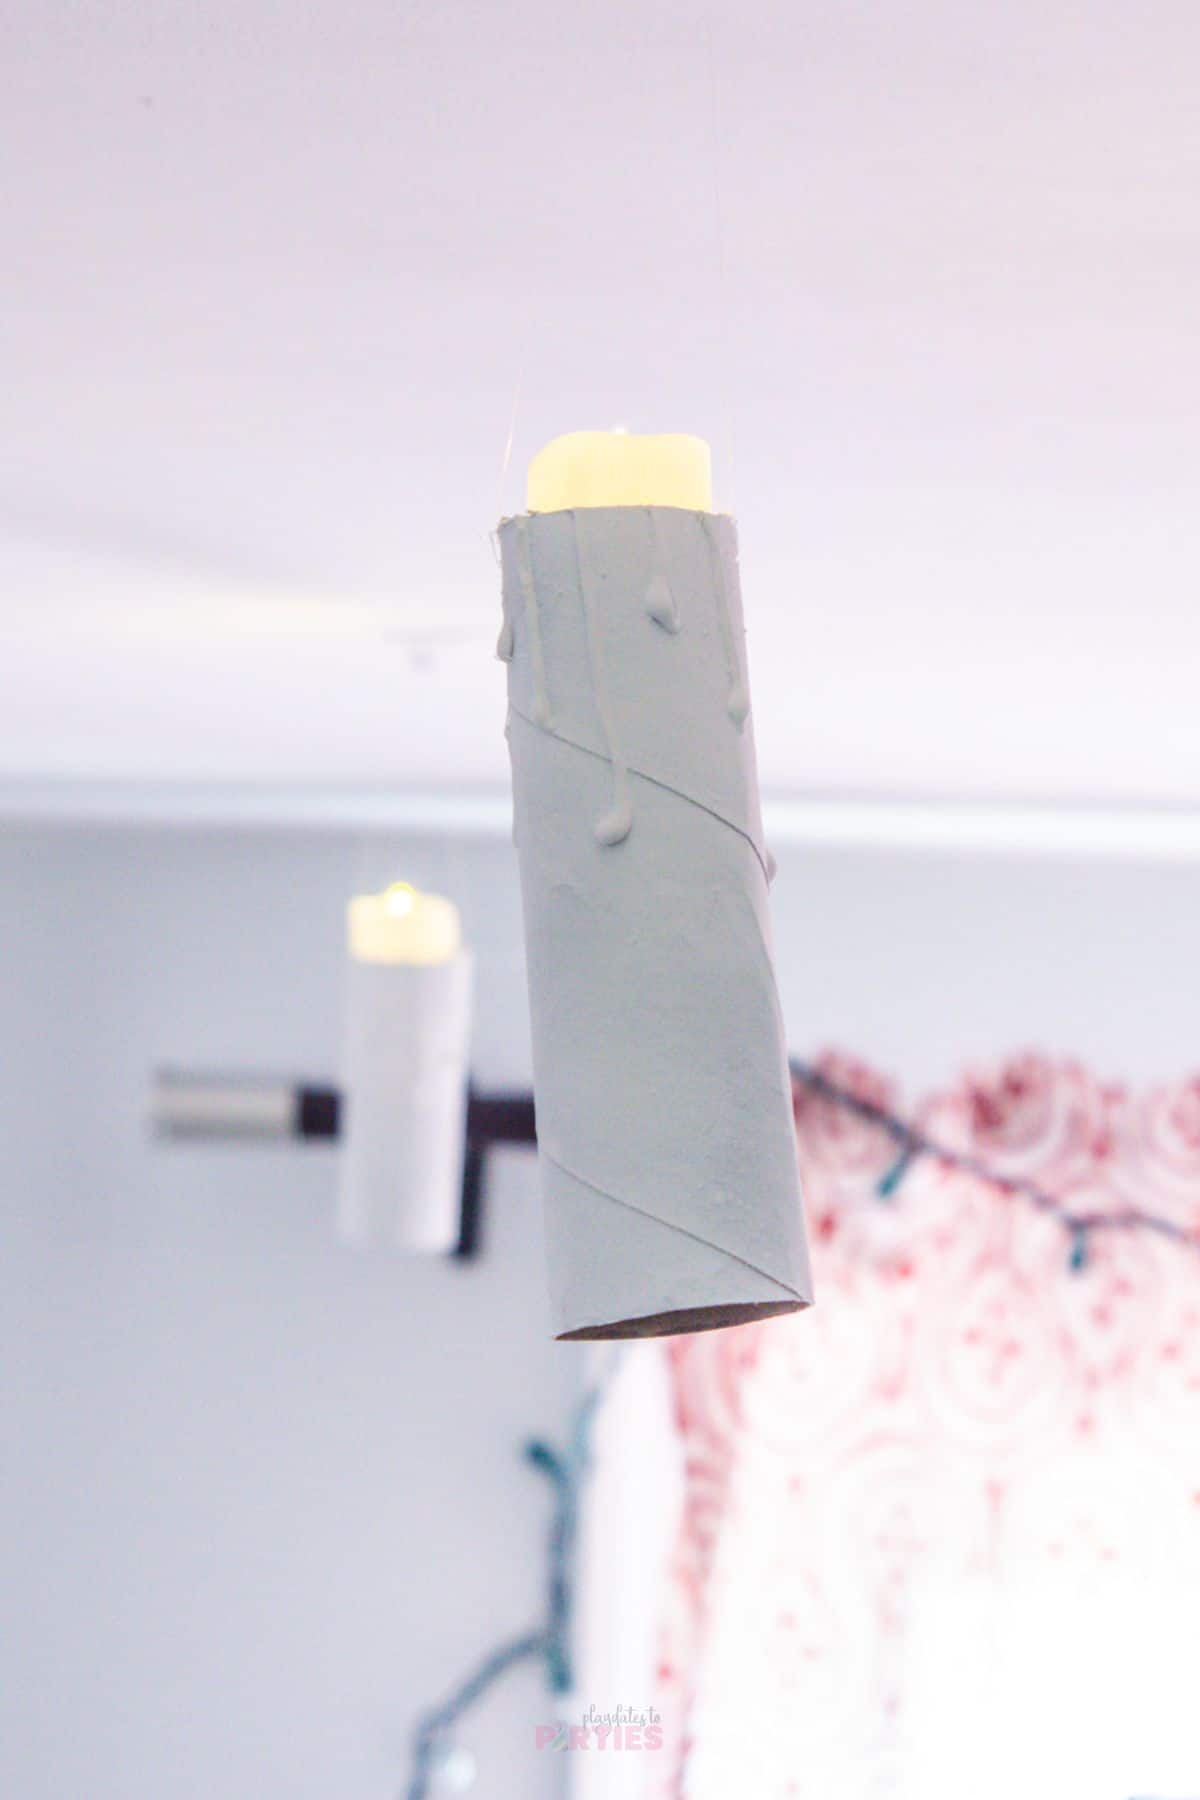
- Use clear command hooks or clear tape to hang the candles from the ceiling with the extra monofilament.
Notes
Remember, the Tips and FAQ in the tutorial post are there to help you if you feel stuck at any point.
Recommended Products
As an Amazon Associate and member of other affiliate programs, I earn from qualifying purchases.




Leave a Reply