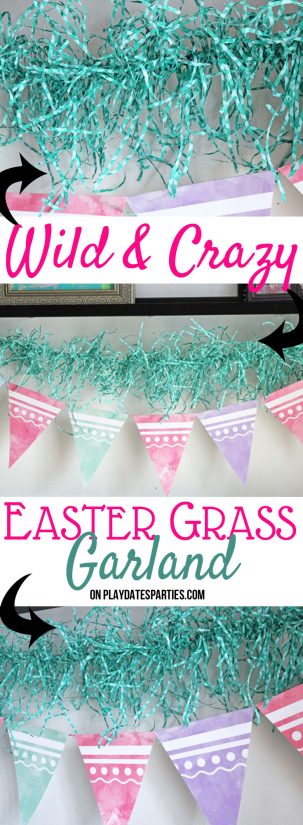
Easter garland doesn’t have to be limited to Easter eggs. Add color and texture to your Easter decorations with this wild and crazy crafty Easter grass garland.

When I was a kid it was always unnaturally green, semi-transparent plastic, and stuck to everything.
Easter grass has come a long way since then.
These days, you can find it in just about any color or pattern, and in plenty of recyclable papers too. Which means it’s perfect for more than just stuffing your Easter basket!
You can use paper Easter grass to fill vases, as a substitute for tissue paper in gift bags, or to make this fantastically wild and crazy Easter garland.
How to Use this Wild and Crazy Easter Garland:
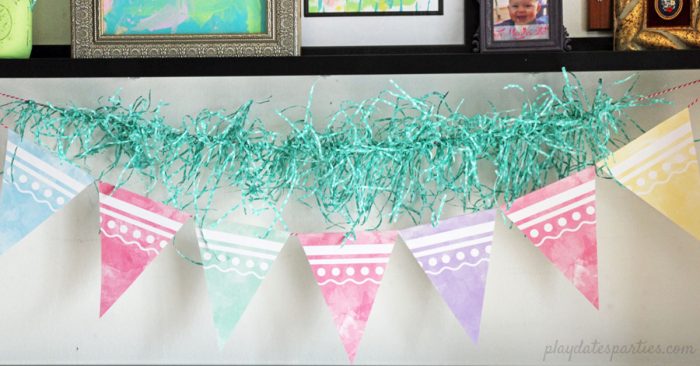
The possibilities are endless! The bright colors are just so happy, and the messy style adds loads of texture.
- If you want to take the time, make this Easter garland in lots of different colors, and layer, layer, layer!
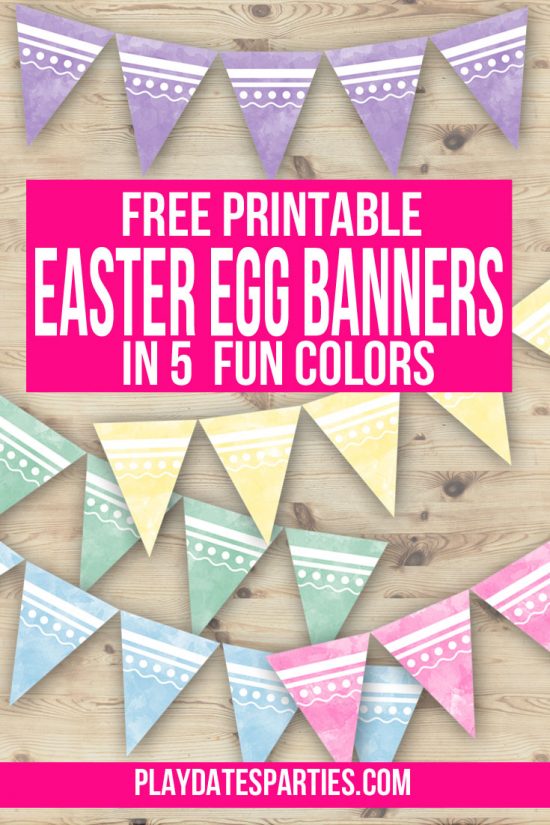
- It pairs perfectly with our printable Easter egg inspired bunting,
- Grab several colors during Easter clearances to keep for birthday and Halloween parties and add pom poms or google eyes for fun accents.
How to Make a Colorful Easter Garland with Easter Grass:
Materials & Supplies:
- Wax Paper
- Twine or string in your desired length
- Paper Easter grass (I don’t recommend using plastic, as it will likely melt from the hot glue)
- Hot glue & Hot Glue Gun
- Any desired accents (robins eggs, pom poms, google eyes, etc.)
Directions:
- Prepare your surface with a layer of wax paper.
- Measure out your twine to the desired length, making sure you have enough twine to make loops for hanging the garland up when it’s finished.
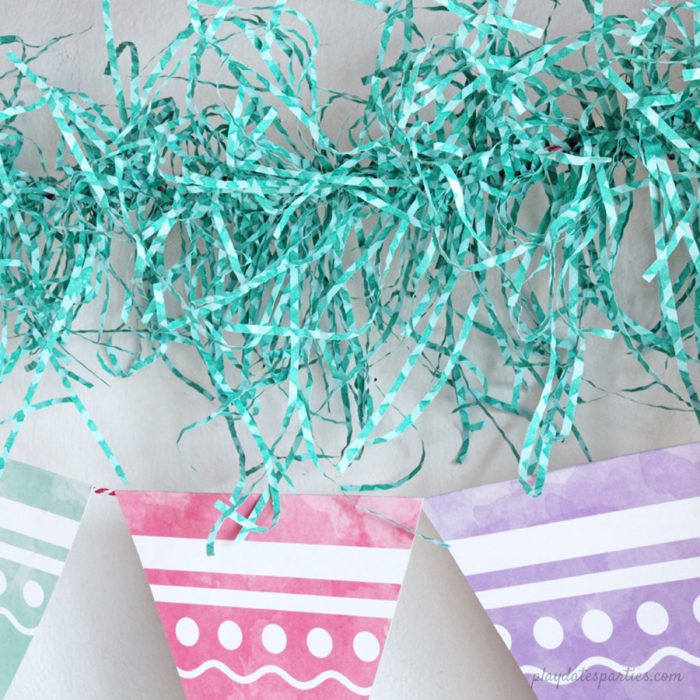
- Pull a few strands of Easter grass from the package and slide them underneath the twine. The twine should be at about the middle of the grass.
- Add a small amount of hot glue to the twine on top of the Easter grass.
- Smush the centers of the Easter grass strands around the twine and hot glue making sure to leave the ends of the grass out.
- Press the hot glued section of twine and grass against the wax paper to ensure that everything is sealed properly.
- Continue steps 3 – 6 until you reach the end of your garland.
- Add any embellishments you like randomly throughout the garland.
How Long Did it Take to Make?
To apply the grass to the garland took just over 30 minutes.
Can You Reuse Your Wild & Crazy Easter Garland?
Unfortunately, this is really a one-time-use project. Hot glue doesn’t store well in extreme hot or cold temperatures like attics and garages and it will get totally smushed.
Notes:
- This is a fun garland, and even though it’s all about being wild and crazy, it still started to feel a bit tedious by the 30-minute mark. Keep the total length to 3 or 4 feet and use it as an accent.
- Use a cool glue gun if possible. I barely have any sensitivity to hot and cold in my hands anymore, but a couple of my fingers got burned enough to be sore for a few days afterward.
Would I Do It Again?
Yes! Yes! Yes! I just love how crazy it looks.
Now It’s Your Turn
Go get your hot glue gun and some inexpensive recyclable Easter grass ready for the next time you have 30 minutes to spare. Then hang up your wild and crazy Easter garland, and enjoy this fun accent for whatever celebration you’ve got going on!
How would you adapt this colorful Easter grass garland?
Did you enjoy this post? Don’t forget to save it on Pinterest for later!


Don’t forget to subscribe via
Bloglovin, Facebook, and Twitter,
to get more updates!


Victoria @DazzleWhileFrazzled says
Very neat and fun! Visiting from Happiness Is Homemade.
Victoria at DazzleWhileFrazzled says
Very neat and fun! Visiting from Happiness Is Homemade.
CHRISTINE says
What a cute idea!
Tracy Albiero says
This is really cute! Finally a good use for easter grass! Ha ha.
Babychaser says
That grass looks very fun! And the marbled bunting is super cute too. Almost has a watercolor look… and watercolor is my thing! I like it!
Blessings,
Babychaser
mamasbrush.wordpress.com
Mother of 3 says
That is such a cute idea! I love it. Pinned.
Karren Haller says
Lots of fun Easter projects, l love the color of the grass!!
Deborah Rupert says
so pretty and so colorful
Missy Jones says
Cute! Love to use banners on my hutch. I’ll have to try this. Thanks, Missy visiting from Our Neck of the Woods
Lowanda J says
Cute! I really like this! It adds life to a simple garland!
Tubbs says
That does look fun 🙂 Not sure it would work with our cat though, he’s slay it!
Fancy says
Lovely idea- my girls will enjoy doing this #fortheloveBLOG
Jess says
This is such a cute idea!!
I would love for you to share this with my Facebook Group for recipes, crafts, tips, and tricks: https://www.facebook.com/groups/pluckyrecipescraftstips/
Thanks for joining Cooking and Crafting with J & J!
Teresa says
So cute and fun. Pinning to remember to make one with the kids next Easter, and adding it to The Really Crafty Link Party Pinterest board too. Thank you for sharing!
Teresa says
I really do like it! I would never have thought of it, but it’s super cute. It seems I burn my finger almost everytime I use my hot glue gun. Thanks so much for linking up to #PartyinYourPJs! Pinned.
regina says
Super cute idea. I may have to try it out. Thanks for sharing!
Stopping on by from #alittlebitofeverything link up
sheri says
Great project! Thanks for sharing in the To Grandma’s House We Go DIY, Crafts, Recipes and more link party!
The Pramshed says
Wow these look great! We made something similar for Valentines Day. Have a great Easter weekend and thanks for linking up at #fortheloveofBLOG. Claire x
Sara @ Magical Mama Blog says
This is so precious! I was wondering how I could use some of this for a touch of classic decor without it getting all over my house! Thanks for sharing on Pin Junkie Pin Party