Get ready to embark on a culinary adventure to the heart of holiday joy with our coveted Buckeyes (chocolate peanut butter balls) recipe! Imagine biting into a delightful orb of creamy, peanut buttery heaven, encapsulated by a crisp sheath of velvety chocolate.
Oh, what’s that? Can you taste the nostalgia? Feel the Christmas spirit? You bet your oven mitts, you can! But wait, there’s more! This isn’t just any recipe, oh no – this recipe is straight out of my family’s treasured collection, passed down from my parents and a can’t miss family bonding event and holiday memory-maker! So, let’s get those aprons on, gather your little kitchen elves, and prepare to indulge in a treat so delicious, even Santa would trade his cookies for it!
Why You’ll Love This Buckeyes Recipe
- No-bake recipe means your oven is free for other delicious desserts
- They’re easy to make, and even easier to eat
- It’s a fantastic recipe to make with your kids (I started helping in middle school)
- Doubling the recipe is simple and is perfect for gifting or sharing

What You’ll Need:
Ingredients:
- Butter, softened
- Peanut Butter
- Powdered Sugar
- Vanilla extract
- Semi-sweet chocolate chips
Equipment:
- Stand mixer
- Melon ball scoop or cookie scoop
- Baking sheet
A Few Notes about the Ingredients and equipment:
Stand mixer: This makes it so much easier to combine the ingredients but you could use a hand mixer if you don’t have a stand mixer. You could even do this by hand but be mindful that it will take longer. And a lot of muscle!
Melon ball scoop/Cookie scoop: While technically optional, using a scoop will make sure your buckeye balls are all even in size.
Unsalted butter: It would be best to stick with unsalted butter for this recipe. The peanut butter will have a little salt in it already. Make sure you pull it out of the refrigerator at least 30 minutes before starting so it is at room temperature before beginning.
Powdered sugar: This helps sweeten the peanut butter balls but also firms up the filling so that it is easier to dip in the chocolate coatings.
How to Make Buckeye Peanut Butter Balls
To make things even easier for you, I created a simple step-by-step photo guide below. For all measurements and a more detailed guide, check out the recipe card at the bottom of this page.
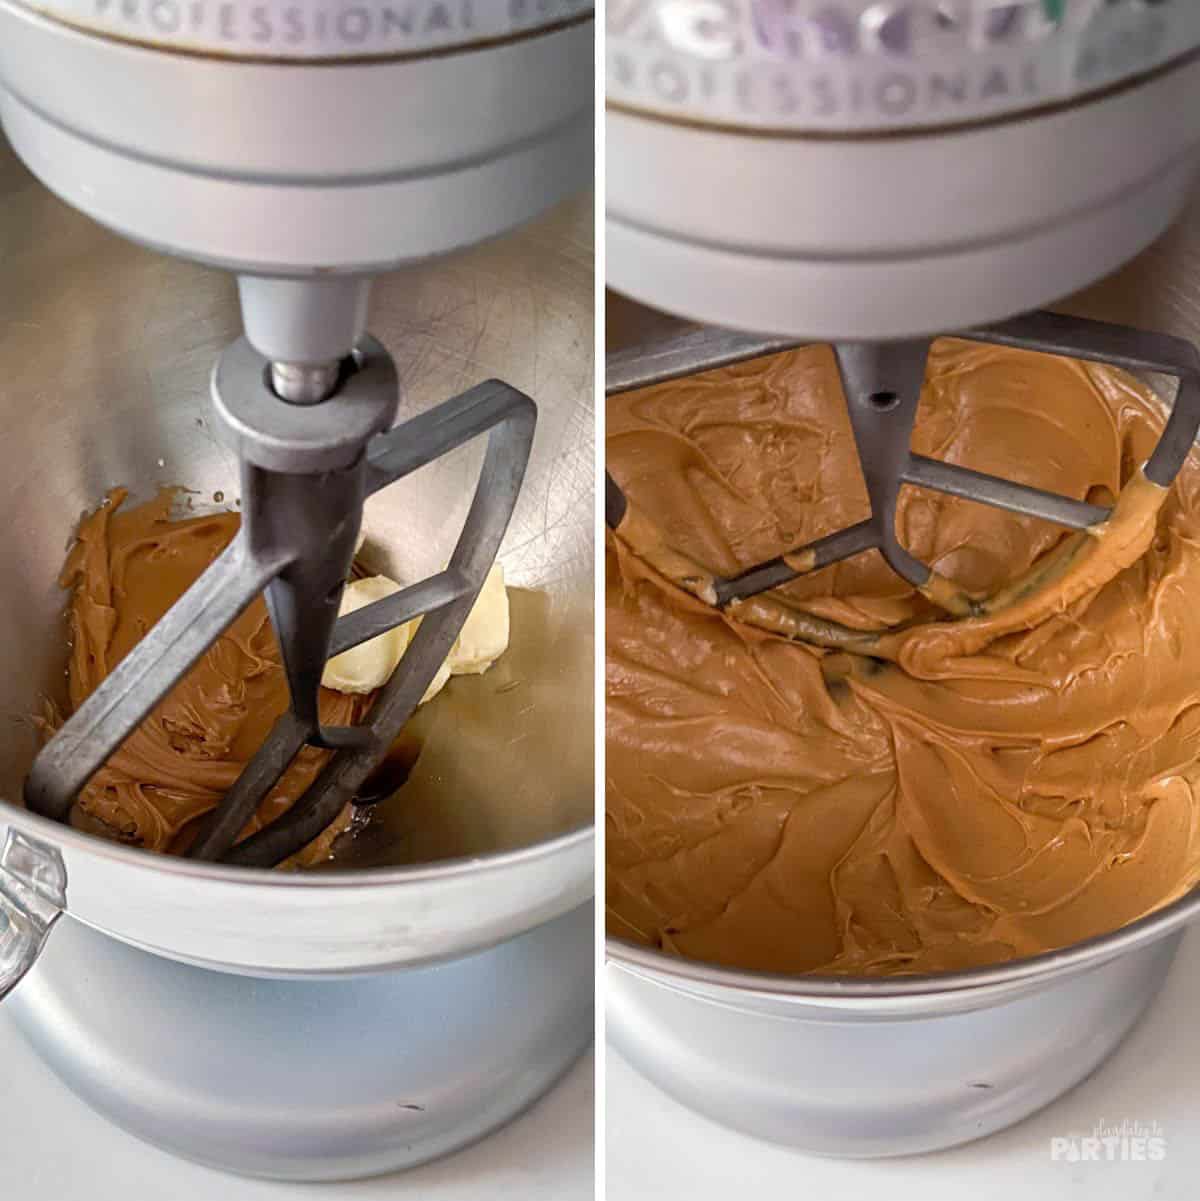
Step 1 – In a stand mixer, cream together the butter, peanut butter, and vanilla extract.
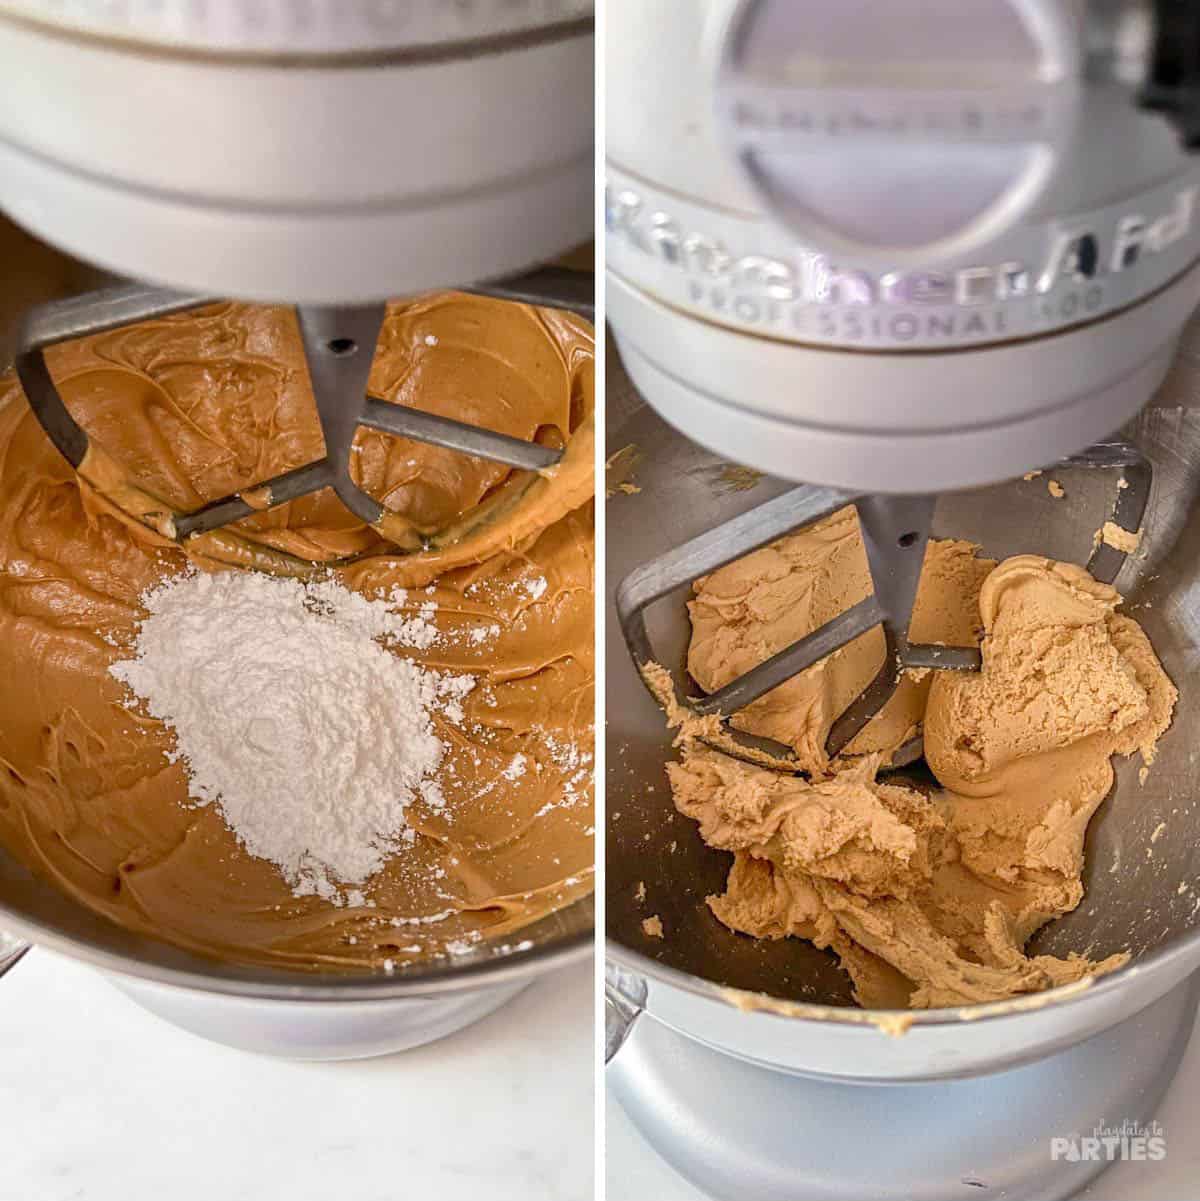
Step 2 – Slowly add powdered sugar until combined. You’ll know it’s mixed properly when the filling no longer sticks to the side of the bowl. Chill for at least 30 minutes.
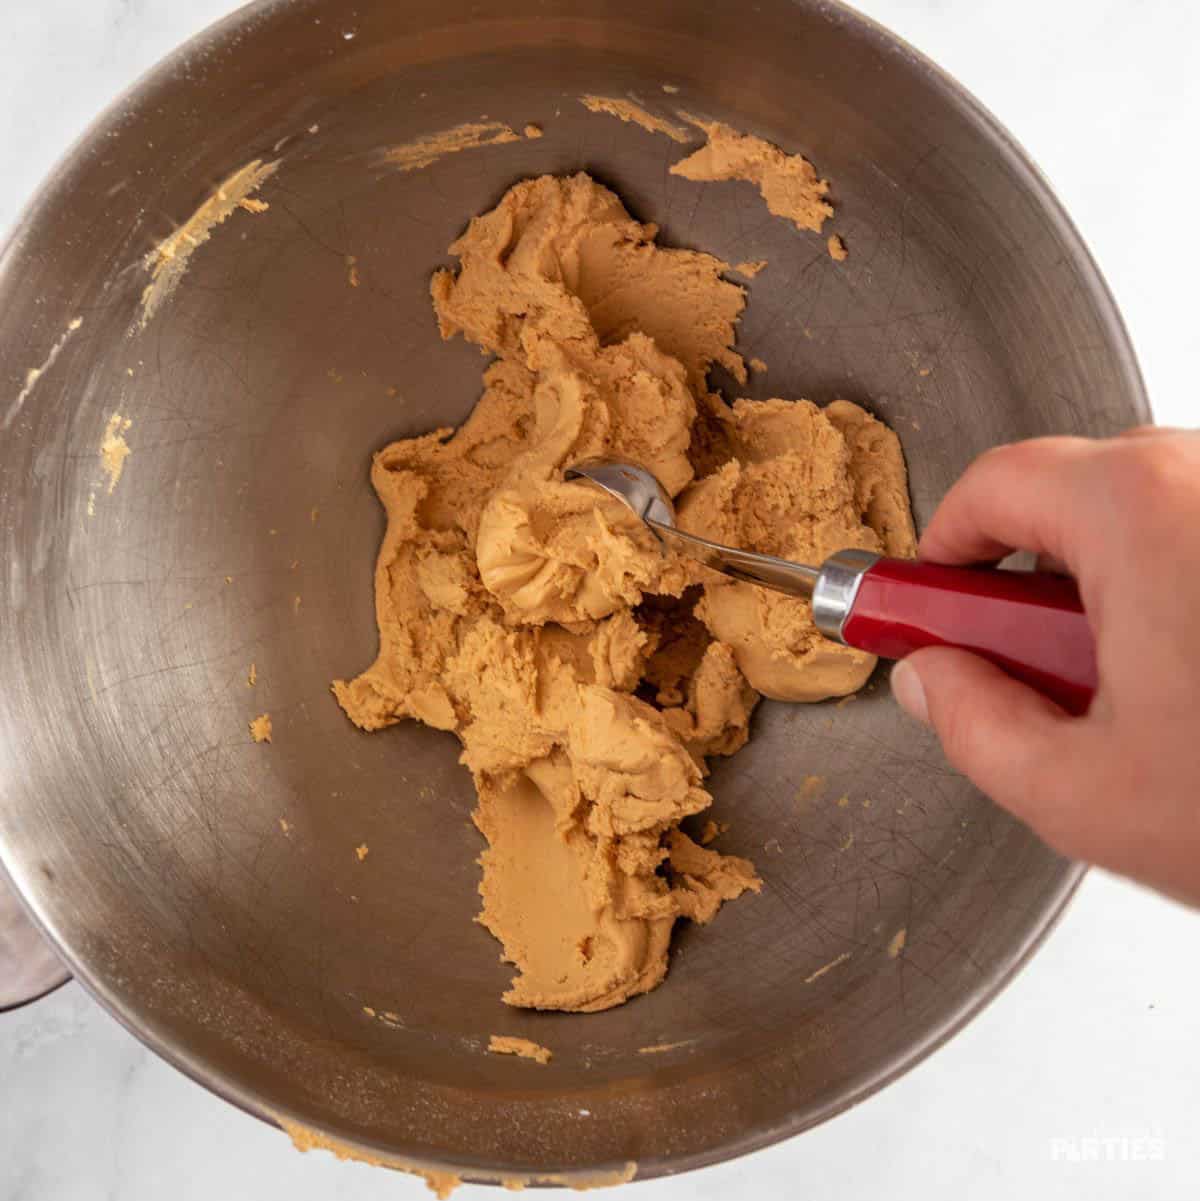
Step 3 – When the mixture is firm, use a melon ball scoop to form balls about an inch in diameter.
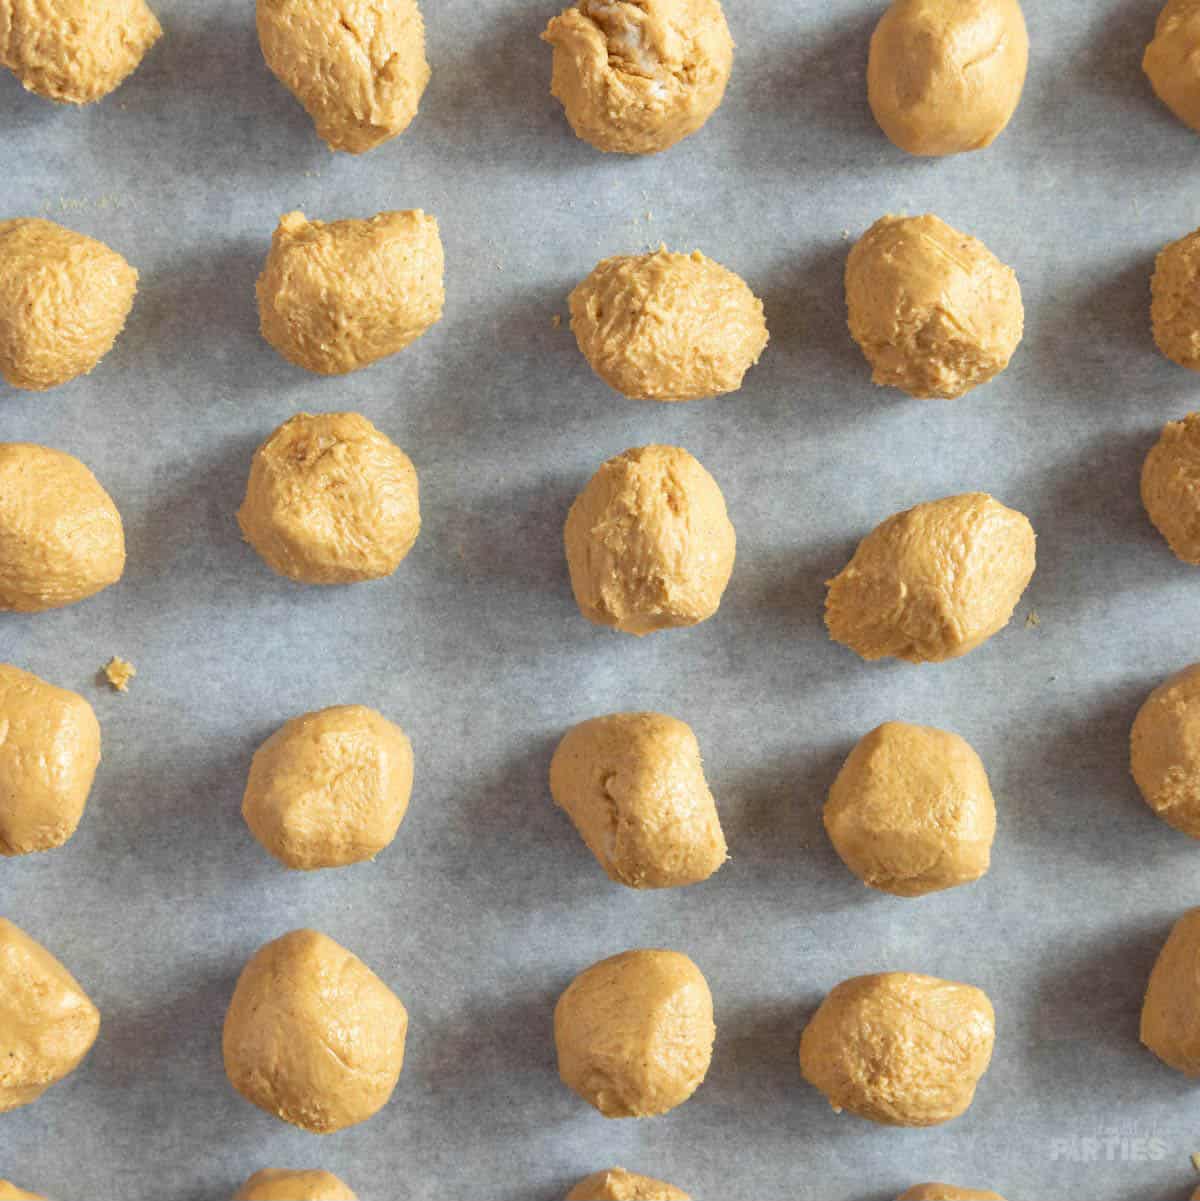
Step 4 – Place on a baking sheet covered with parchment or wax paper. Put back into the refrigerator until firm, approximately 20 to 30 minutes. Alternatively, place in the freezer for 10 minutes until firm.

Step 5 – Meanwhile, melt the chocolate chips in a double boiler.
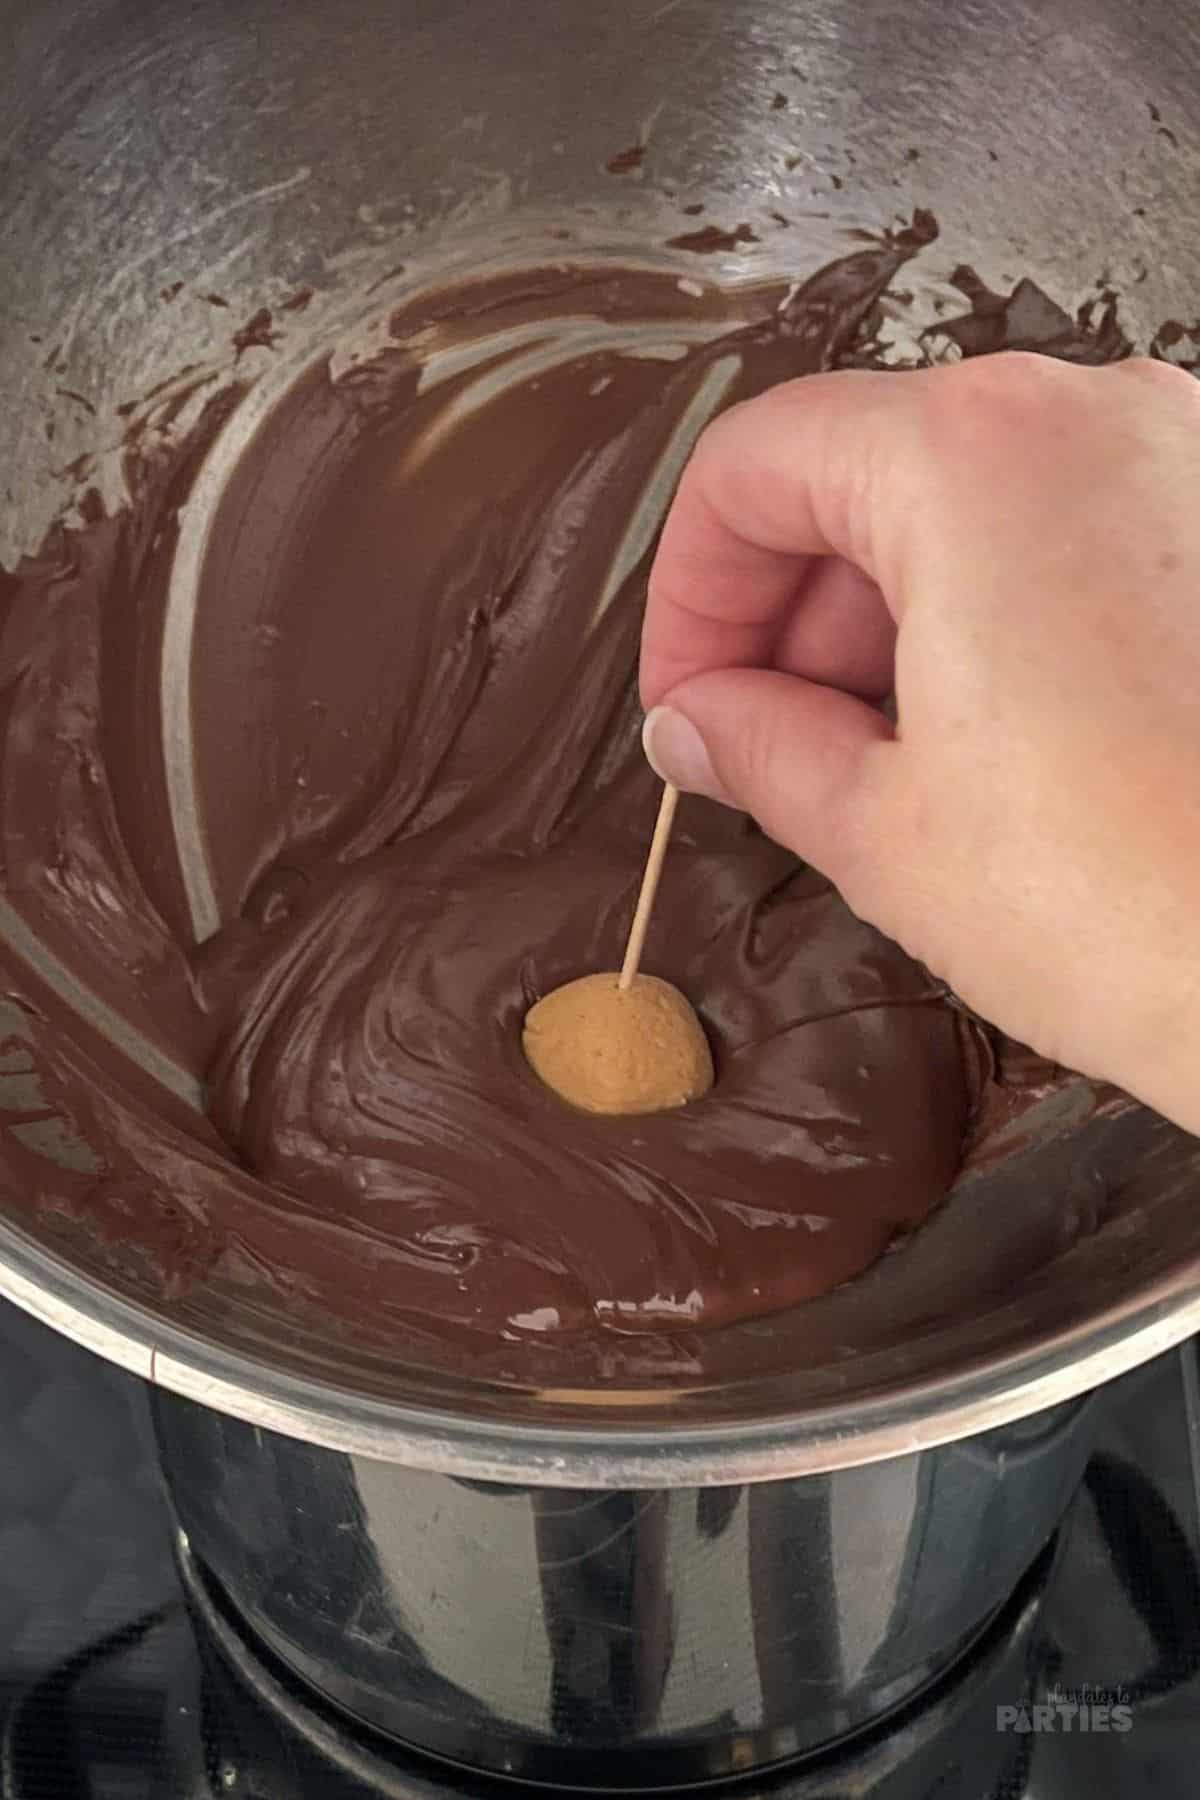
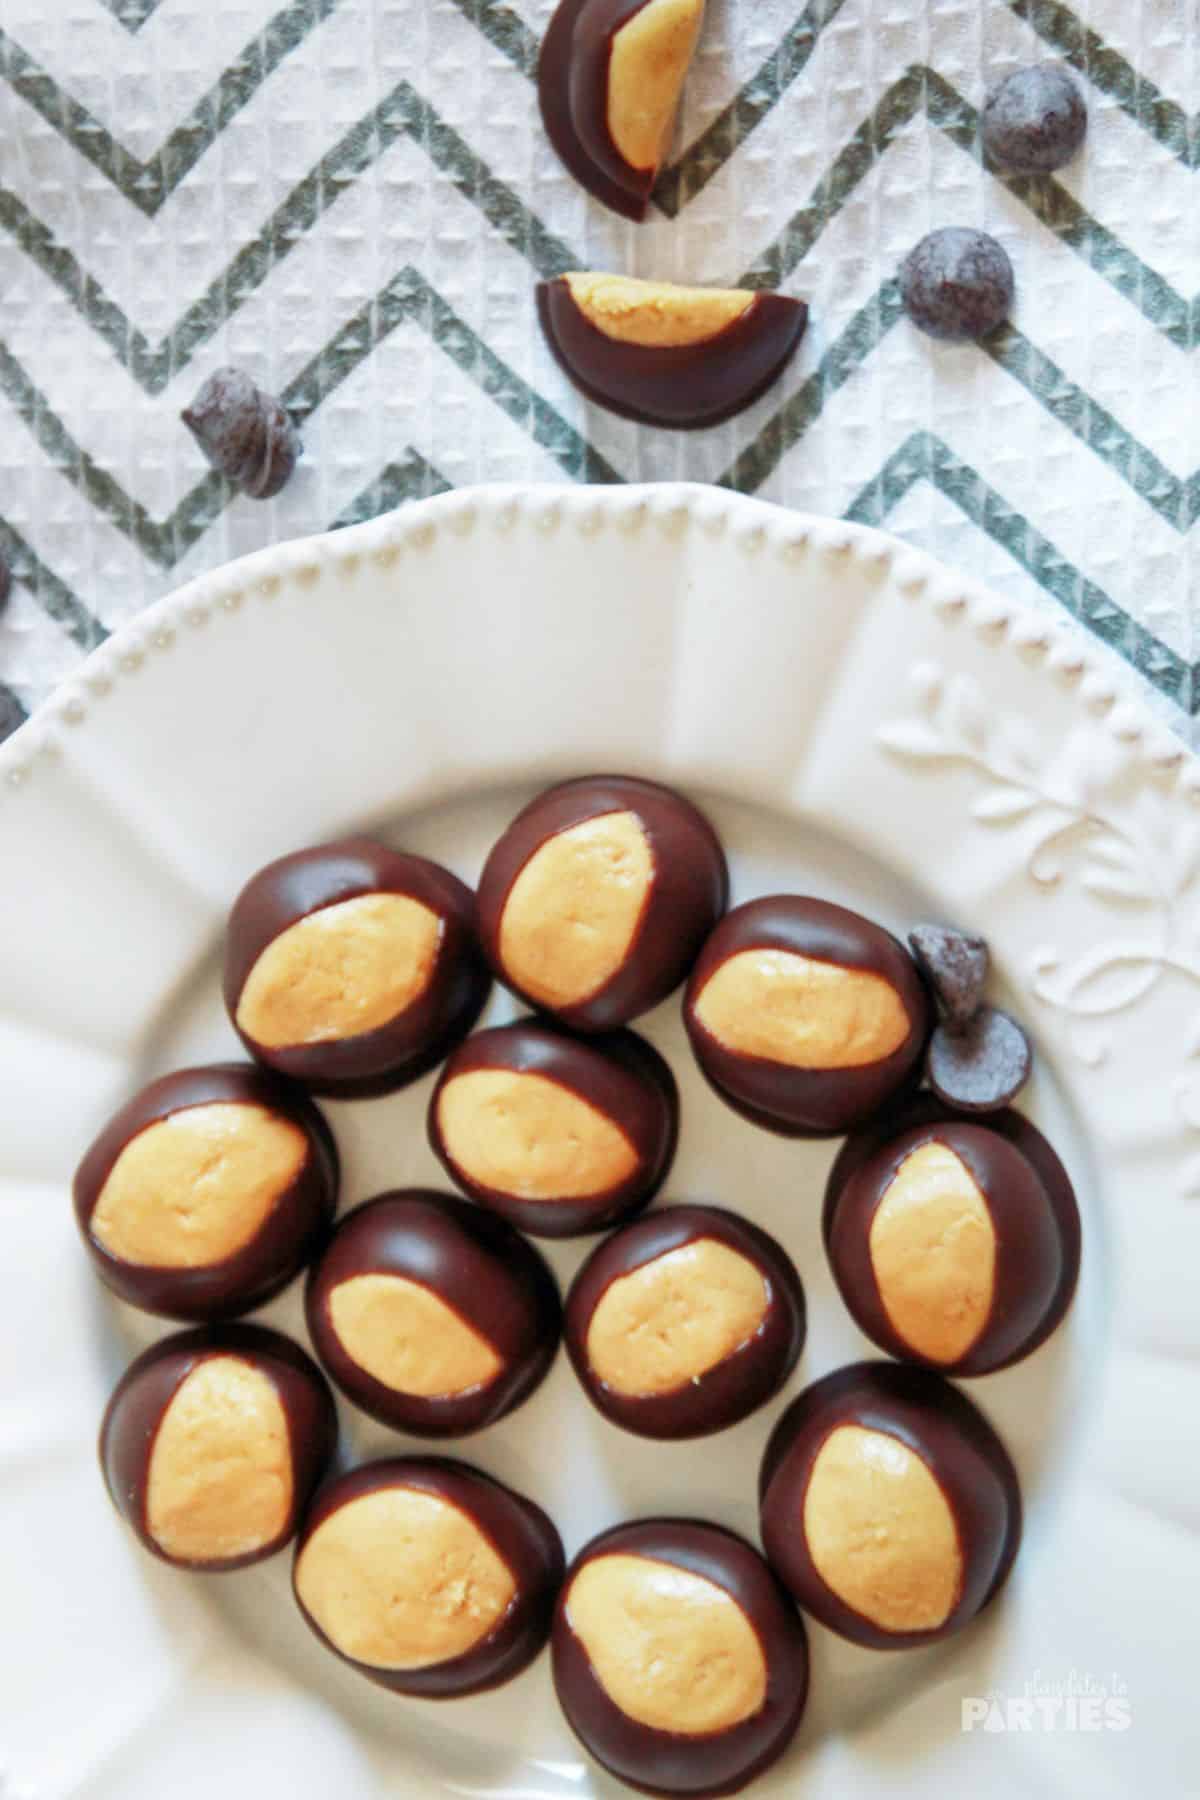
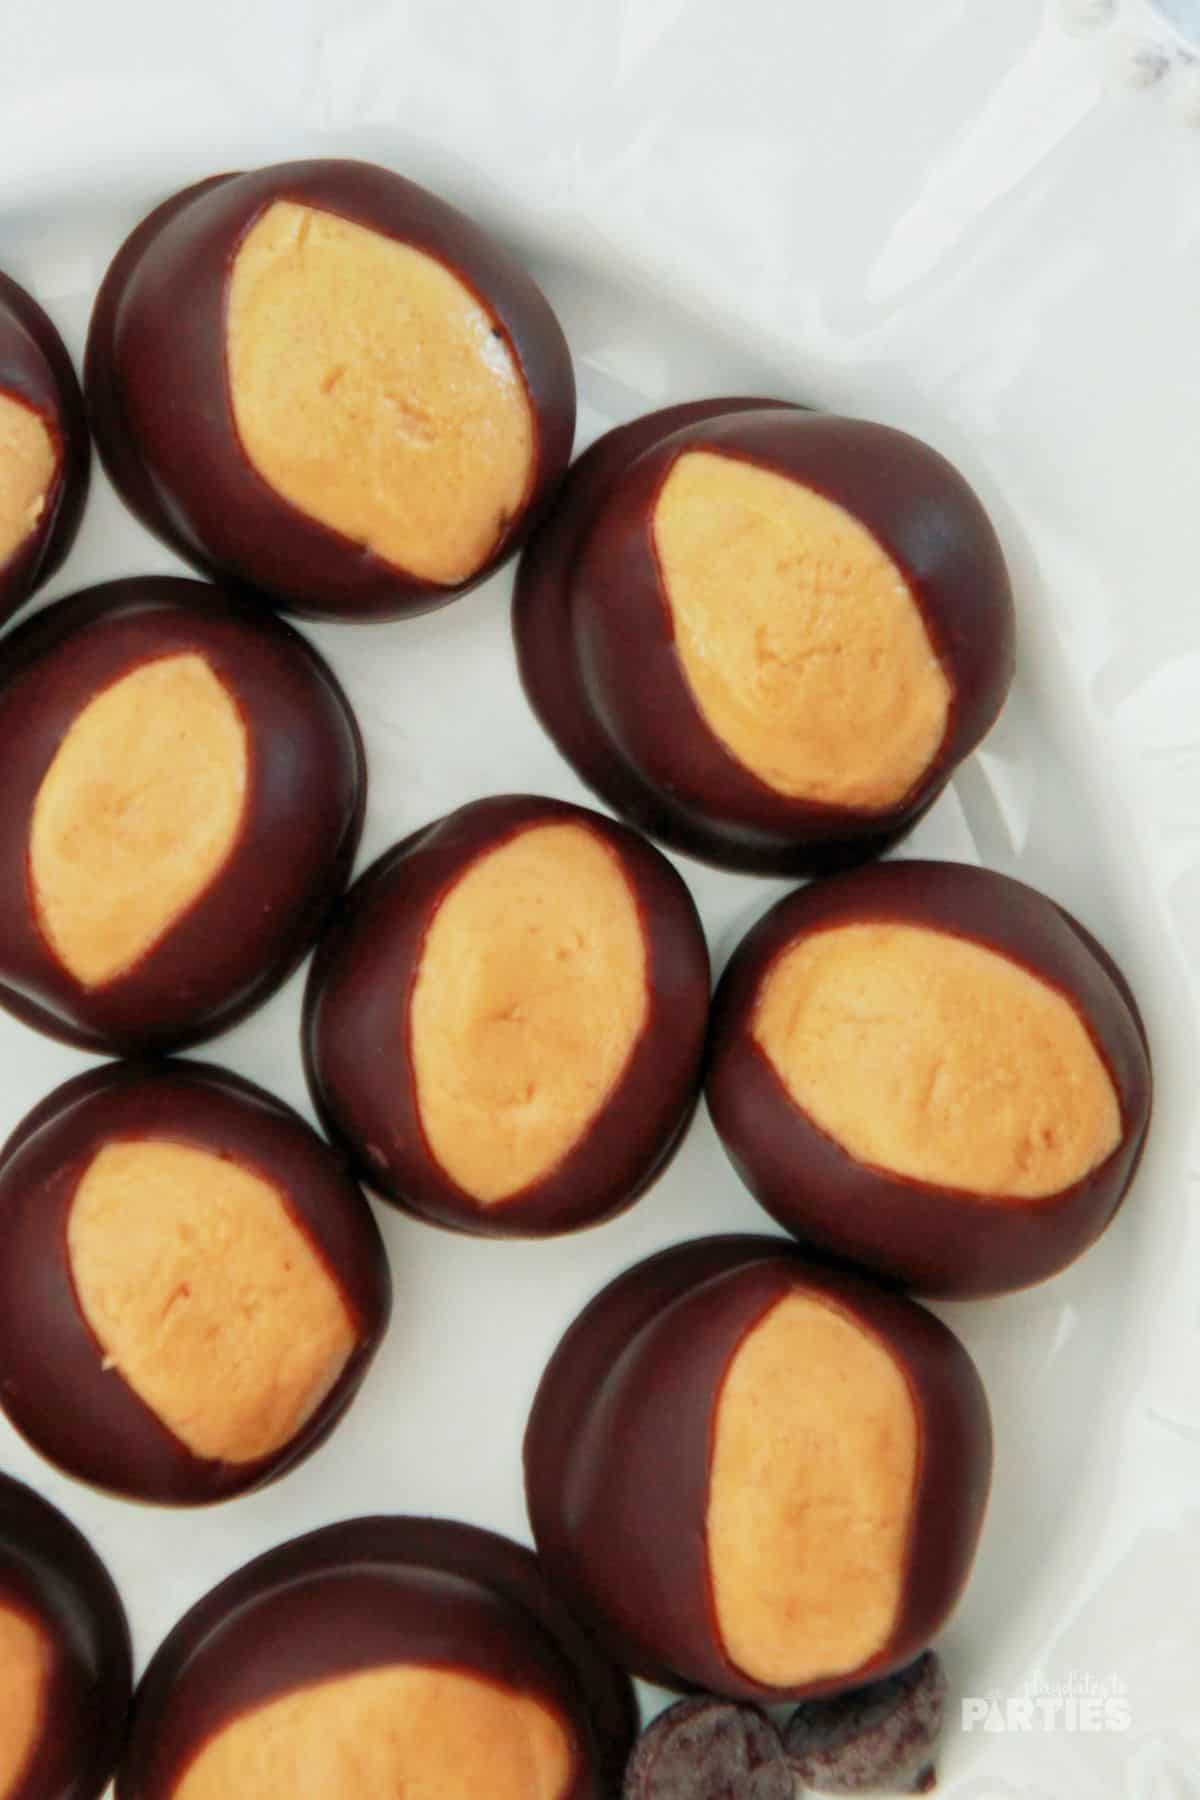
Step 6 – Using a toothpick, dip the hardened peanut butter balls about halfway in the chocolate mixture. Rock the peanut butter ball side to side to create an eye shape. Don’t let the peanut butter balls get too warm, or they will fall off the toothpick when dipping.
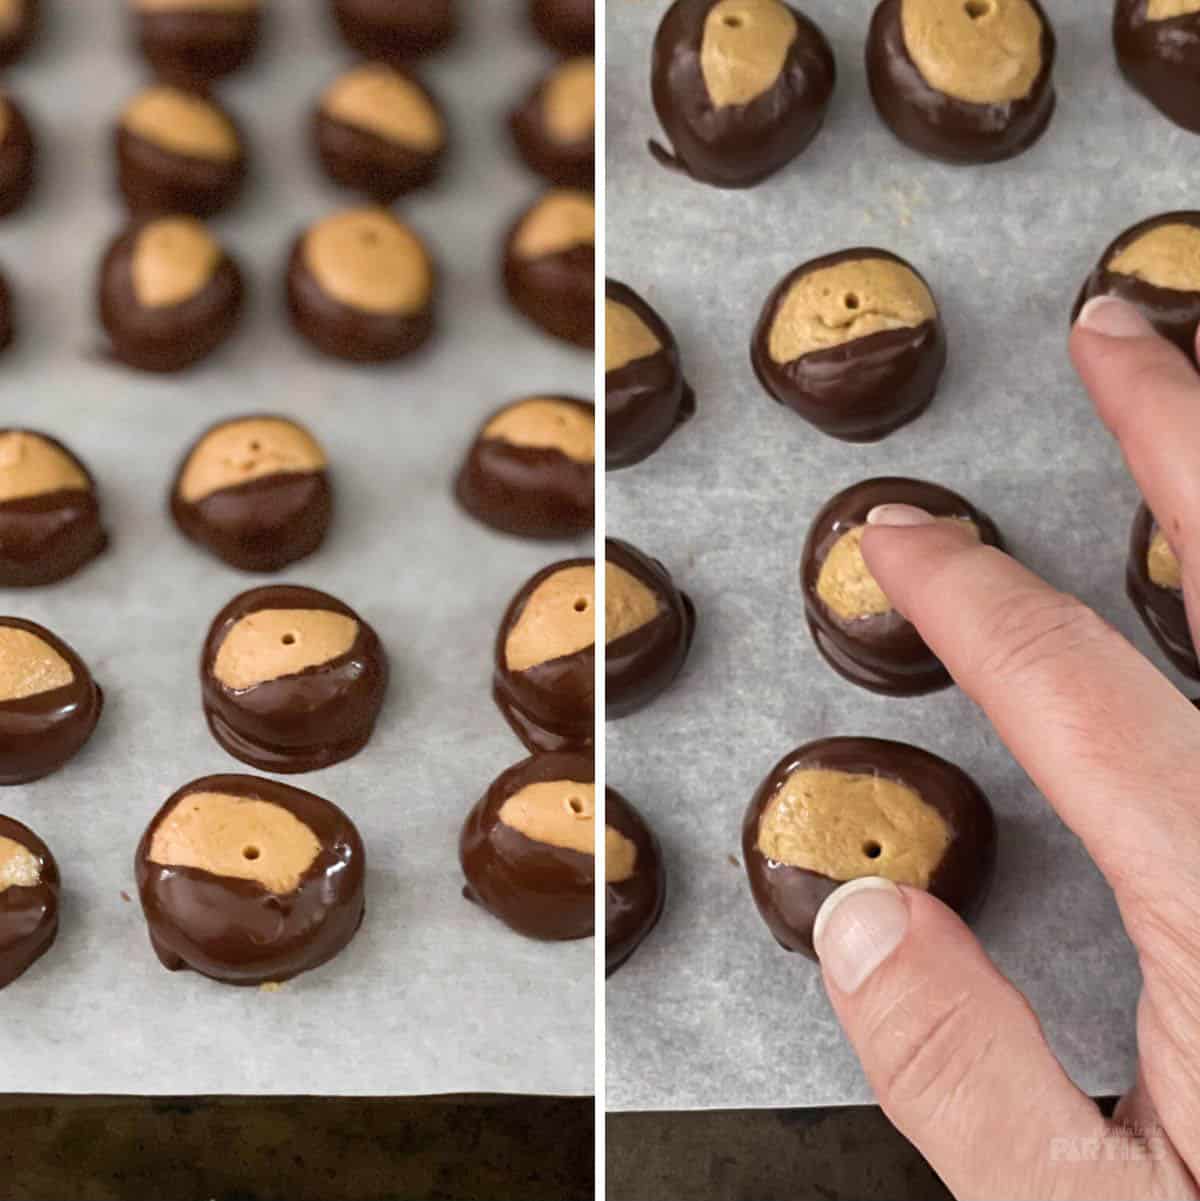
Step 7 – Return the dipped ball to a parchment-covered sheet pan and gently use a clean finger to close the hole created by the toothpick.
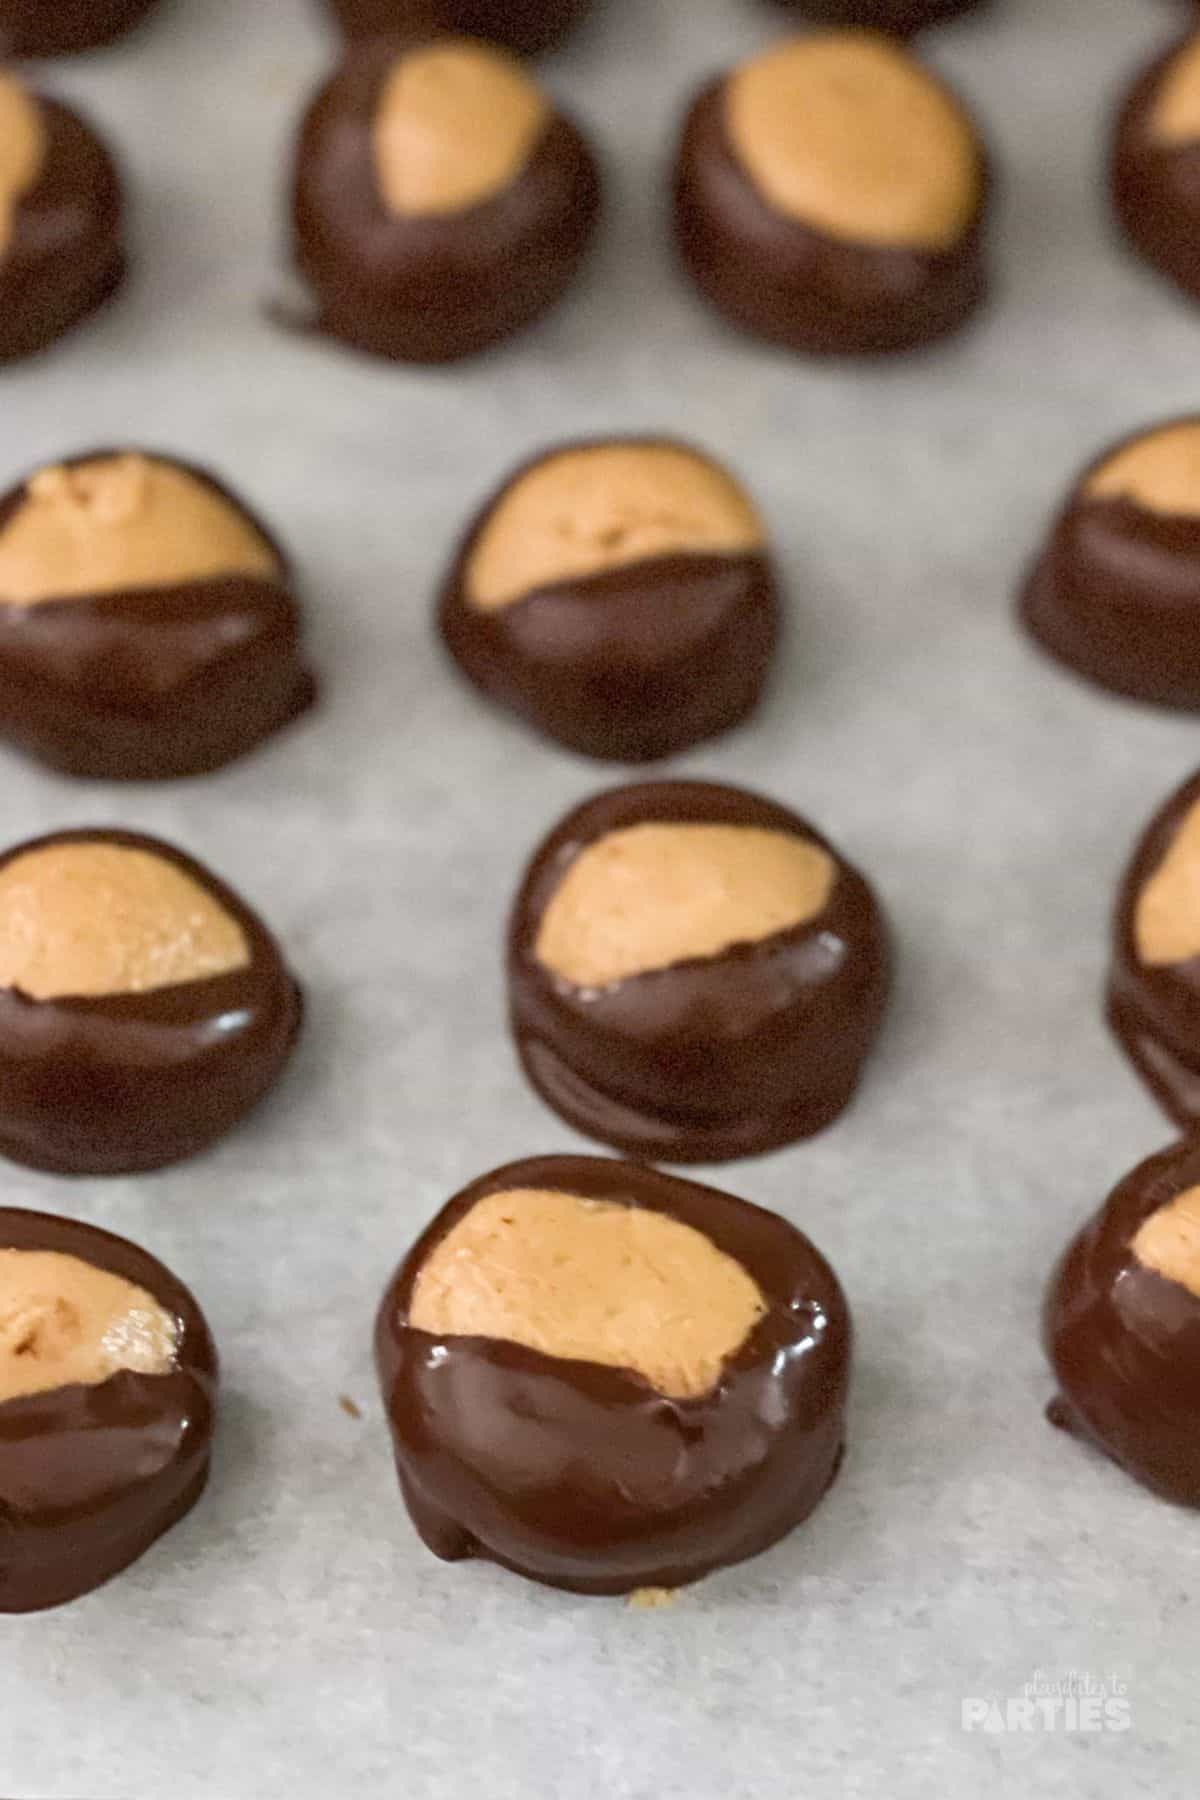
Step 8 – Refrigerate until the chocolate has hardened, approximately 1 hour. These are best at room temperature but should be stored in an airtight container in the refrigerator.

Essential Tips:
Don’t skip these tips – read them before starting to avoid any potential mistakes.
- Don’t stress over getting the measurements exactly right. As you combine the peanut butter and sugar, taste small amounts until you find a sweetness level you love.
- Doubling the recipe? An 18-ounce container of peanut butter contains just about 2 cups.
- A stand mixer will ensure that you can get the ingredients mixed and combined smoothly and quickly. If you can’t use a stand mixer there are other options, but this will be the fastest route to enjoying these heavenly delights.
- Make sure you add parchment paper to the baking sheet. This keeps the peanut butter balls from sticking to the baking sheet when they are in the refrigerator or freezer.
- A melon scoop or small cookie scoop will help you divide the mixture and make even peanut butter balls. If you haven’t got a scoop you could use a spoon and then form a ball in your hand.
- Make sure to have plenty of paper towels or napkins nearby to clean off your hands so the peanut butter mixture doesn’t stick.
- Make sure your butter is soft before starting. I like to let it sit out on the counter for at least 30 minutes before starting. This will make it easier to combine with the other ingredients.
Adaptations and Variations:
- If you prefer, you can substitute the semisweet chocolate chips with dark chocolate or white chocolate for a change of flavor and color.
- Make your peanut butter balls crunchy! Mix in a 1/4 cup Rice Krispies or crushed graham crackers to add a bit of texture.
- Get creative for different holidays. Googly eyes for Halloween, heart sprinkles for Valentine’s Day…the sky is the limit!
Frequently Asked Questions
These candy peanut butter balls are a Midwest treat, and get their name because they’re shaped to resemble the nut that comes from the Buckeye tree. The Buckeye tree is also the state tree of Ohio, which is where my parents grew up, which is why these have been a part of our tradition for as long as I can remember.
We’ve always used regular store-bought peanut butter for this recipe. Natural peanut butters don’t have the same stabilizers, so they might not work as well.
It’s important to make sure your peanut butter balls stay chilled until right before you dip them in the chocolate. For that reason, I recommend you only pull out 5-10 peanut butter balls at a time when dipping.
Giving Buckeyes away as gifts?
Buckeyes make for a delightful gift, perfect for any occasion – who wouldn’t love receiving a box of homemade chocolate peanut butter goodness? Here are a few tips for gifting these treats:
Presentation is Key: Use a cute box or tin and line it with parchment paper or colorful tissue paper. Arrange your Buckeyes neatly and maybe include a little note about their Ohio origins.
Keep it Fresh: If you’re gifting your Buckeyes, remember that they keep best in the refrigerator. Mailing them may not be the best choice.
Add a Personal Touch: Print out a cute printable tag and attach it to your gift. It adds a personal touch and lets the receiver know that these treats were made with love and care.
How to Store Buckeyes
Make ahead: If you’re sharing them, make them up to 3 days in advance. Store them in an airtight container in the refrigerator.
To Store Leftovers: If you have any leftovers (doubtful), store them in the refrigerator in an airtight container for up to 2 weeks. They can also be stored in the freezer for longer, just thaw before serving.
To Freeze: Freeze in a single layer on a parchment lined baking sheet. Once solid, place the Buckeyes in an airtight container, separating layers with wax paper. Freeze for up to 3 months. Thaw in the refrigerator for 24 hours before enjoying.
If you liked my buckeyes recipe, you’re going to love my Chex mix Christmas crack candy recipe. It is another sweet treat to enjoy during the holiday period and is perfect to whip up when you have guests coming over.
Or you can check out my other holiday recipes here.
Buckeyes (Chocolate Peanut Butter Balls)
Whip up some joy with this easy Buckeyes recipe! A delightful chocolate peanut butter treat that's perfect for the holiday season.
Ingredients
- 1/4 cup butter, softened
- 1 cup Peanut Butter
- 2 cup Powdered Sugar
- 1/4 teaspoon vanilla extract
- 1 12- ounce bag semi-sweet chocolate chips
Instructions
- In a stand mixer, cream together the butter, peanut butter, and vanilla extract.
- Slowly add powdered sugar until combined. You'll know it's mixed properly when the filling no longer sticks to the side of the bowl. Chill for at least 30 minutes.
- When the mixture is firm, use a melon ball scoop to form balls about an inch in diameter.
- Place on a baking sheet covered with parchment or wax paper. Put back into the refrigerator until firm, approximately 20 to 30 minutes. Alternatively, place in the freezer for 10 minutes until firm.
- Meanwhile, melt the chocolate chips in a double boiler.
- Using a toothpick, dip the hardened peanut butter balls about halfway in the chocolate mixture. Rock the peanut butter ball side to side to create an eye shape. Don't let the peanut butter balls get too warm, or they will fall off the toothpick when dipping.
- Return the dipped ball to a parchment-covered sheet pan and gently use a clean finger to close the hole created by the toothpick.
- Refrigerate until the chocolate has hardened, approximately 1 hour. These are best at room temperature but should be stored in an airtight container in the refrigerator.
Notes
Remember, the step-by-step photos and FAQ in the recipe post are there to help you if you feel stuck at any point.
- Don't stress over getting the measurements exactly right. As you combine the peanut butter and sugar, taste small amounts until you find a sweetness level you love.
- Doubling the recipe? An 18-ounce container of peanut butter contains just about 2 cups.
- A stand mixer will ensure that you can get the ingredients mixed and combined smoothly and quickly. If you can’t use a stand mixer there are other options, but this will be the fastest route to enjoying these heavenly delights.
- Make sure you add parchment paper to the baking sheet. This keeps the peanut butter balls from sticking to the baking sheet when they are in the refrigerator or freezer.
- A melon scoop or small cookie scoop will help you divide the mixture and make even peanut butter balls. If you haven’t got a scoop you could use a spoon and then form a ball in your hand.
- Make sure to have plenty of paper towels or napkins nearby to clean off your hands so the peanut butter mixture doesn’t stick.
- Make sure your butter is soft before starting. I like to let it sit out on the counter for at least 30 minutes before starting. This will make it easier to combine with the other ingredients.
Recommended Products
As an Amazon Associate and member of other affiliate programs, I earn from qualifying purchases.


Nutrition Information:
Serving Size:
1 gramsAmount Per Serving: Unsaturated Fat: 0g
This recipe was originally published on December 4, 2015. It has been updated with step by step photos, tips, and frequently asked questions.


Edye says
These look heavenly!!! Thanks for sharing 🙂
Blessings,
Edye | http://gracefulcoffee.wordpress.com