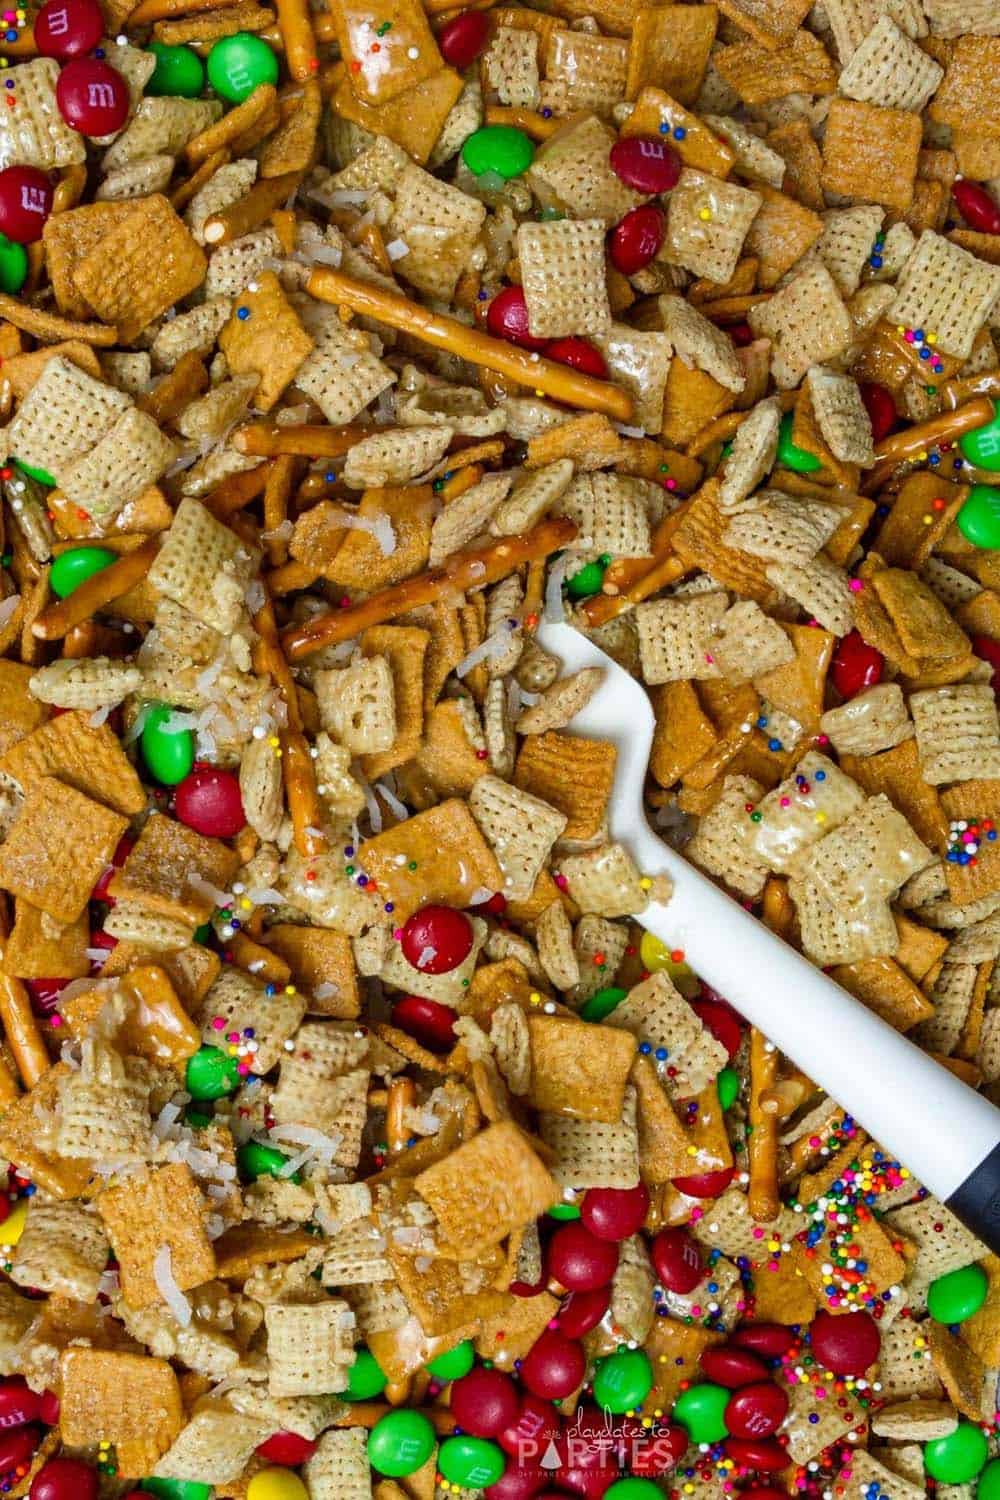
Sometimes it feels like we’re all making the same Christmas treats to make for each other. So what do you do when you want to make a truly stand out snack? You make Chex Mix Christmas Crack!
You can’t stop at just one handful. The mixture of sweet and salty flavors makes this the perfect treat for the holiday season.
The best part? This recipe makes a huge batch, which means you can make enough for everyone at the party and still have some left over to enjoy yourself.
What Makes Chex Mix Christmas Crack so Fantastic
- A mix of your favorite cereals, plus pretzels, and a delicious candy coating make this an addictive sweet and salty snack.
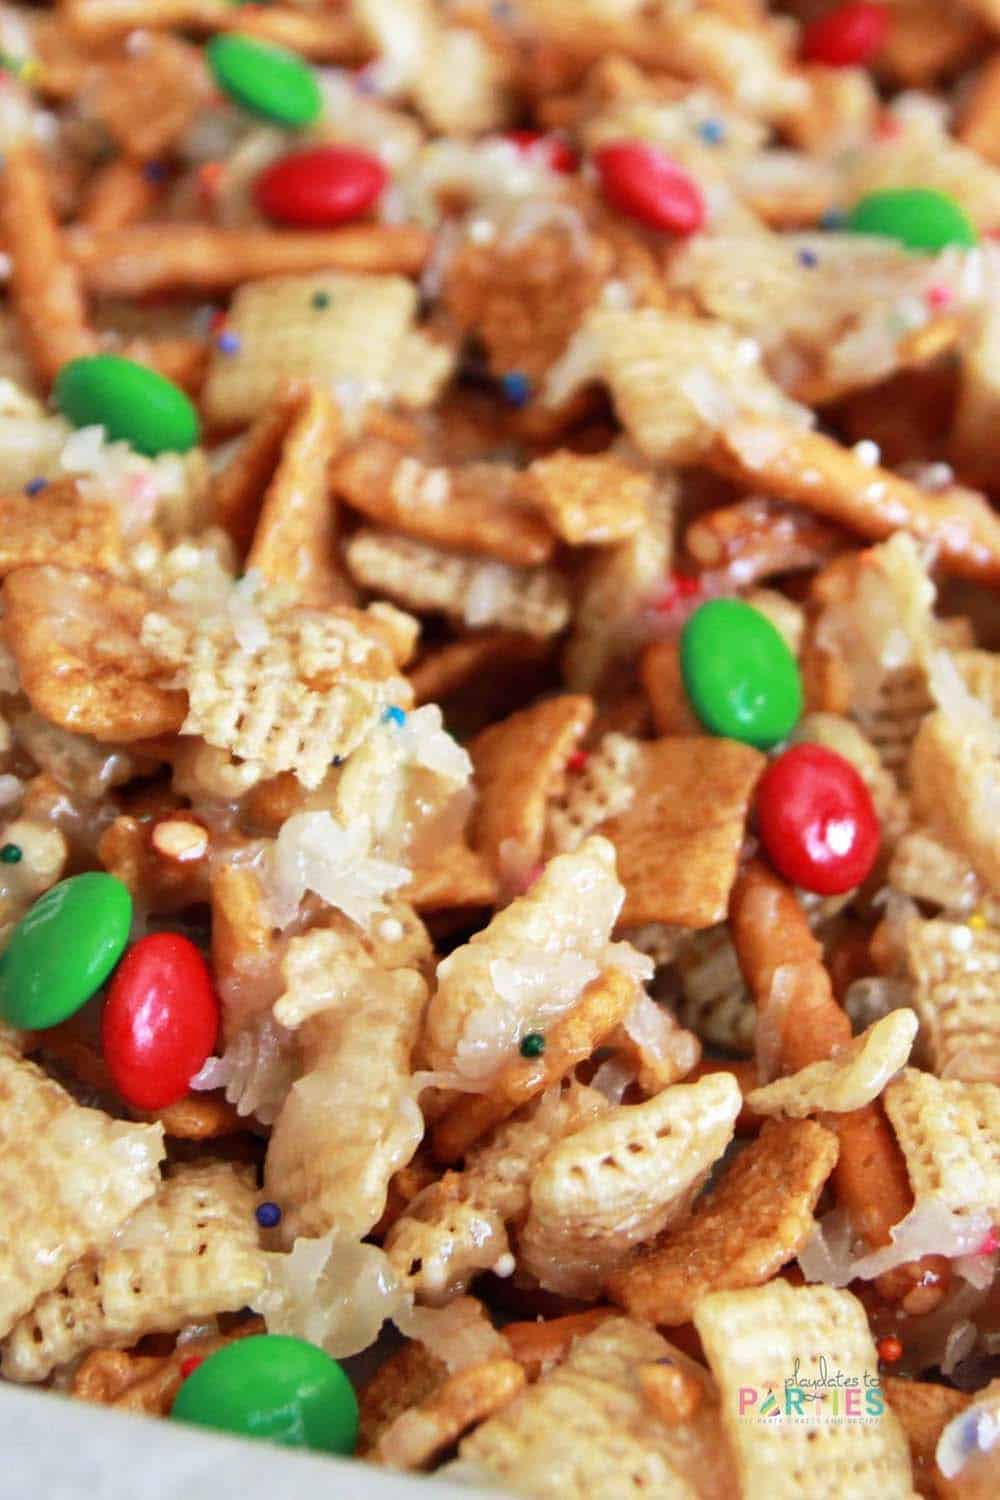
- The flavor vaguely is similar to rice cereal treats, but softer, chewier, and very festive.
- The recipe makes a huge batch of candy, which makes it perfect for passing out as holiday gifts or party favors.
- Even though we refer to it as Christmas Crack, you can adapt it for just about any occasion just by changing up the colors of your M&M candies and sprinkles.
What You’ll Need:
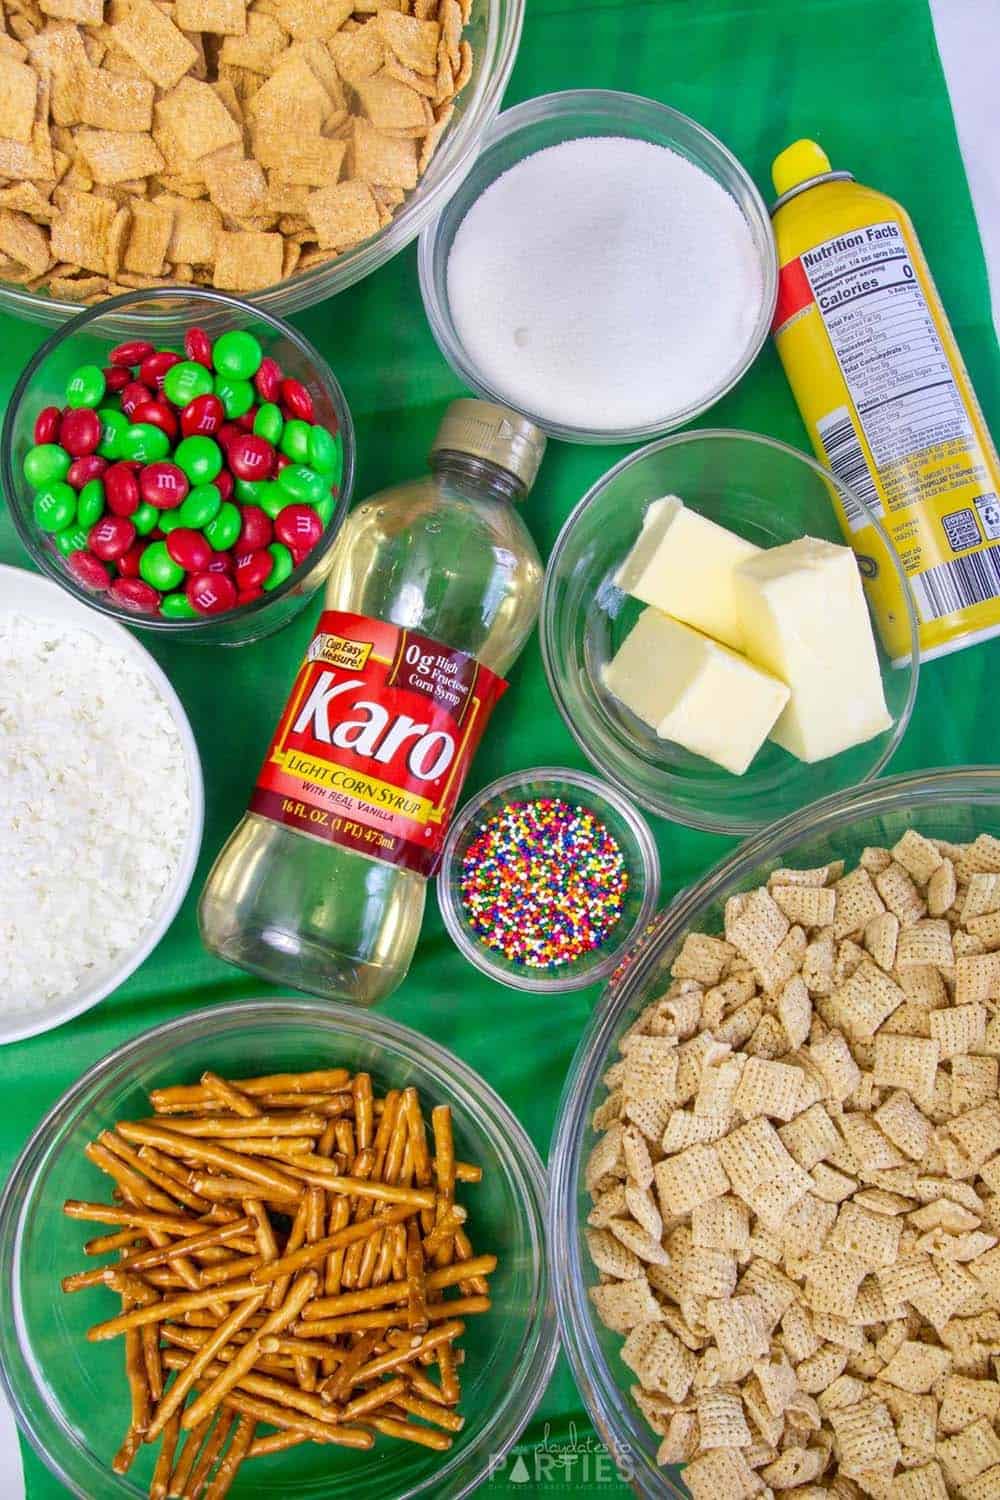
Ingredients:
- Rice Chex cereal
- Golden Grahams cereal
- Sweetened shredded coconut
- Unsalted butter
- Granulated sugar
- Corn syrup
- Pretzel sticks
- Holiday M&Ms
- Nonpareils sprinkles
- Cooking spray
Supplies:
- Parchment paper
- 2 large jelly roll pans
- 3 quart saucepan
- Candy thermometer or digital food thermometer
- Cooking spoon
Step-by-Step Directions:
To make things even easier for you, I created a simple photo guide below. For all measurements and a more detailed guide, check out the recipe card at the bottom of this page.
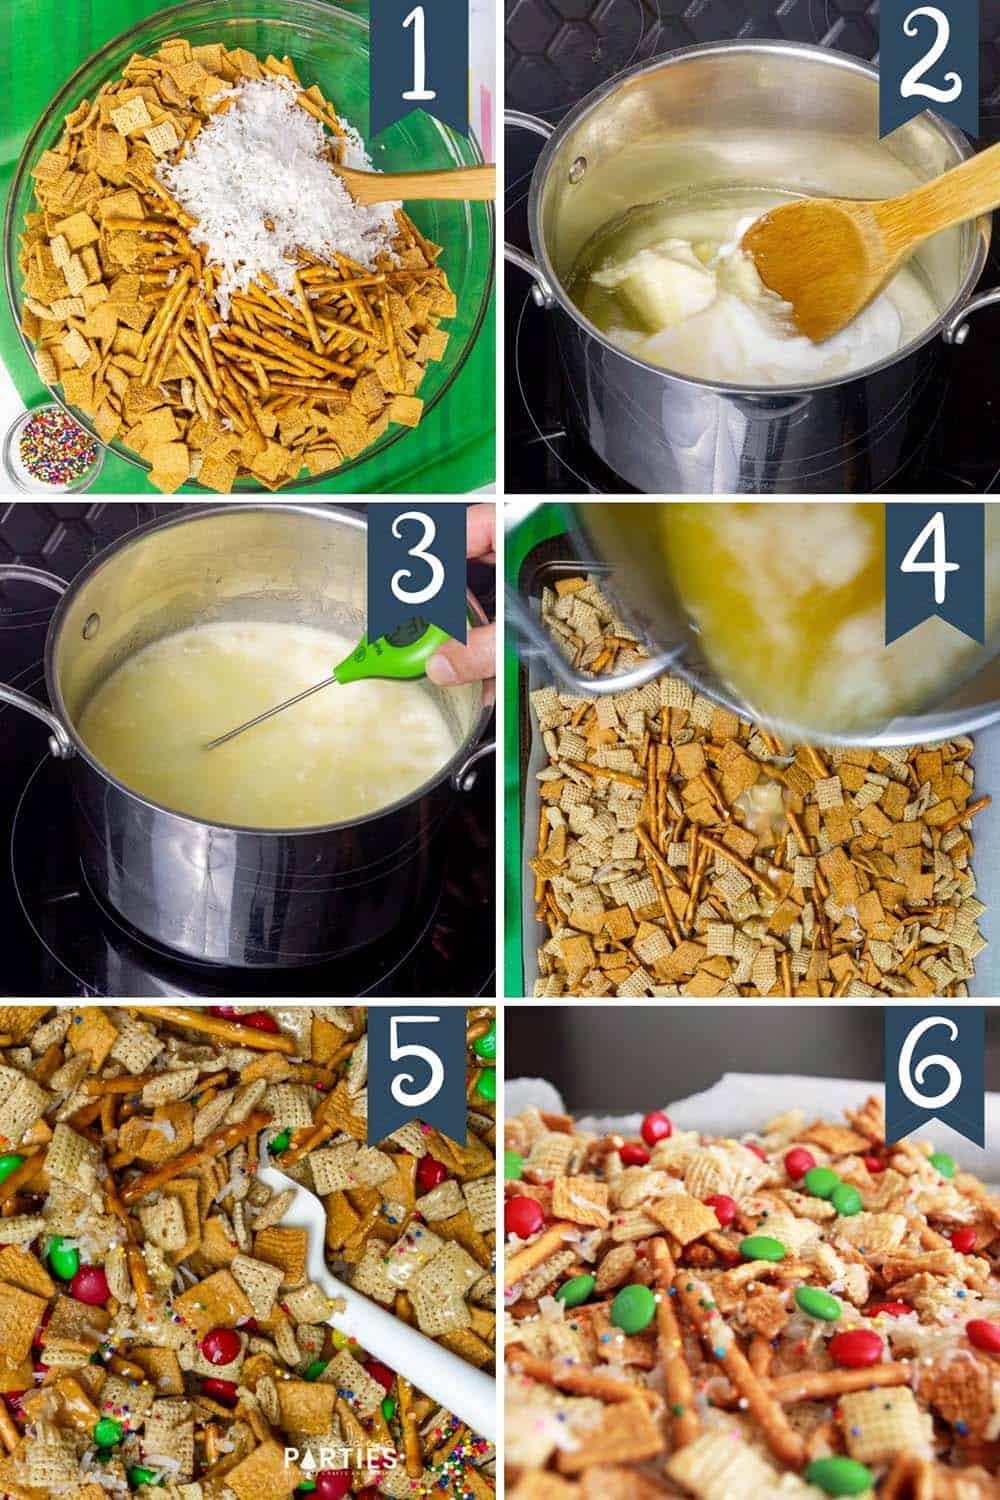
Step 1 – Prepare baking sheets with parchment paper.
Step 2 – Stir together Rice Chex cereal, Golden Grahams cereal, sweetened shredded coconut, and pretzel sticks in a large mixing bowl. Spread over the prepared baking sheets.
Step 3 – Heat butter, sugar, and corn syrup over low heat until the butter is melted and the sugar has dissolved.
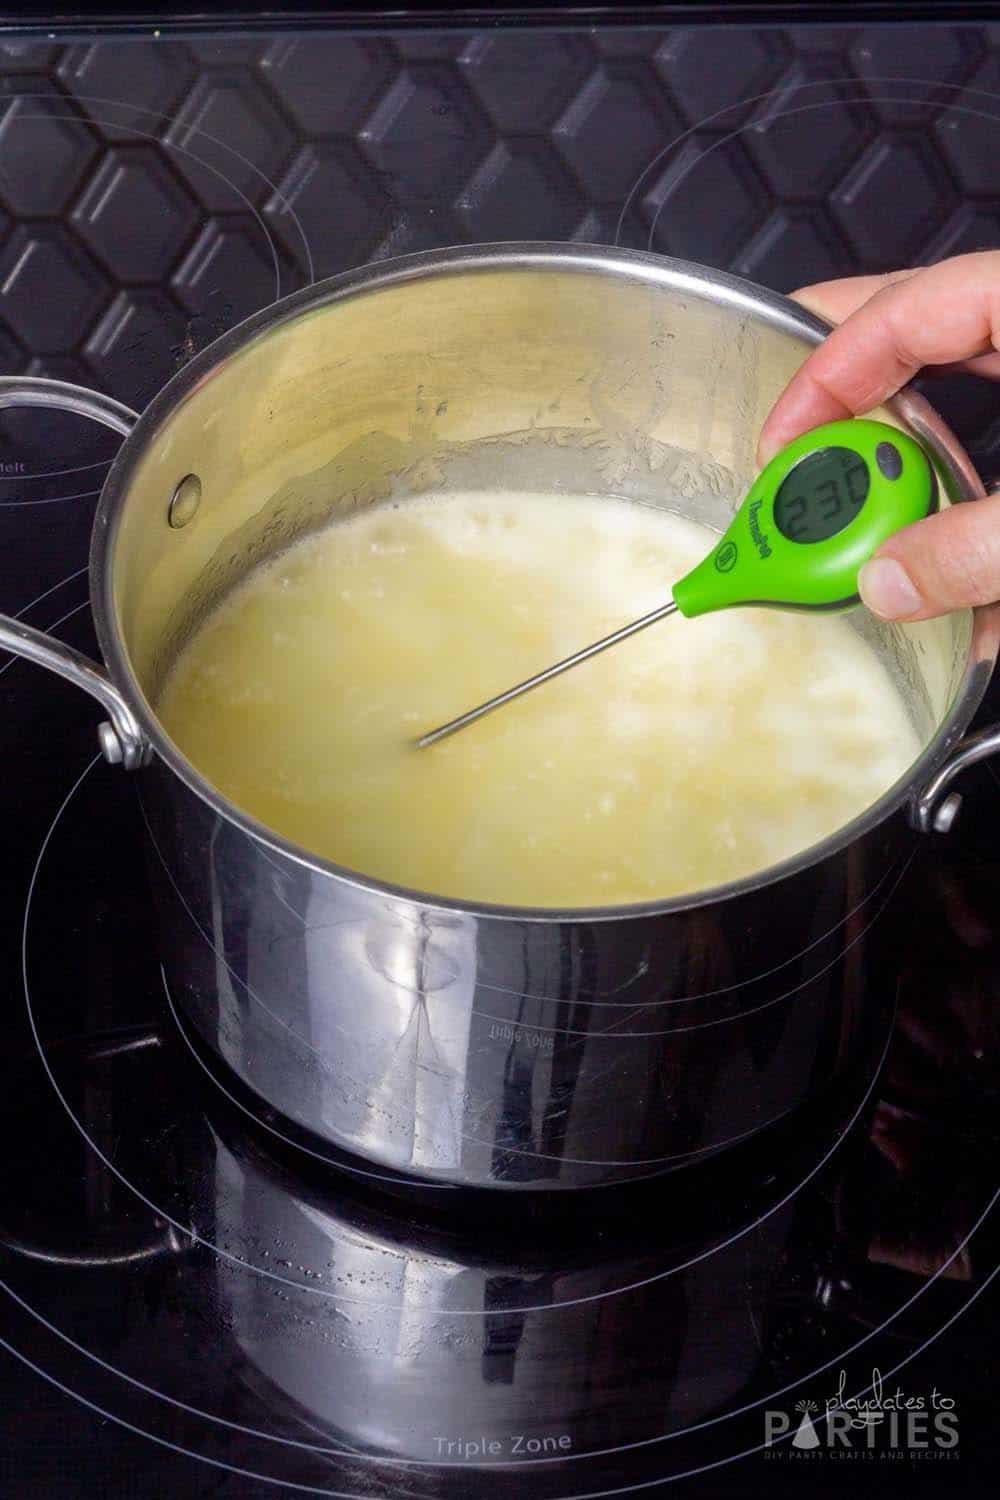
Step 4 – Stop stirring, and continue to cook over medium heat until the mixture reaches at least 234 degrees.
Step 5 – Pour the hot syrup over the cereal mixture on the pans , and carefully stir the mixture together with the prepared spatula until thoroughly coated.
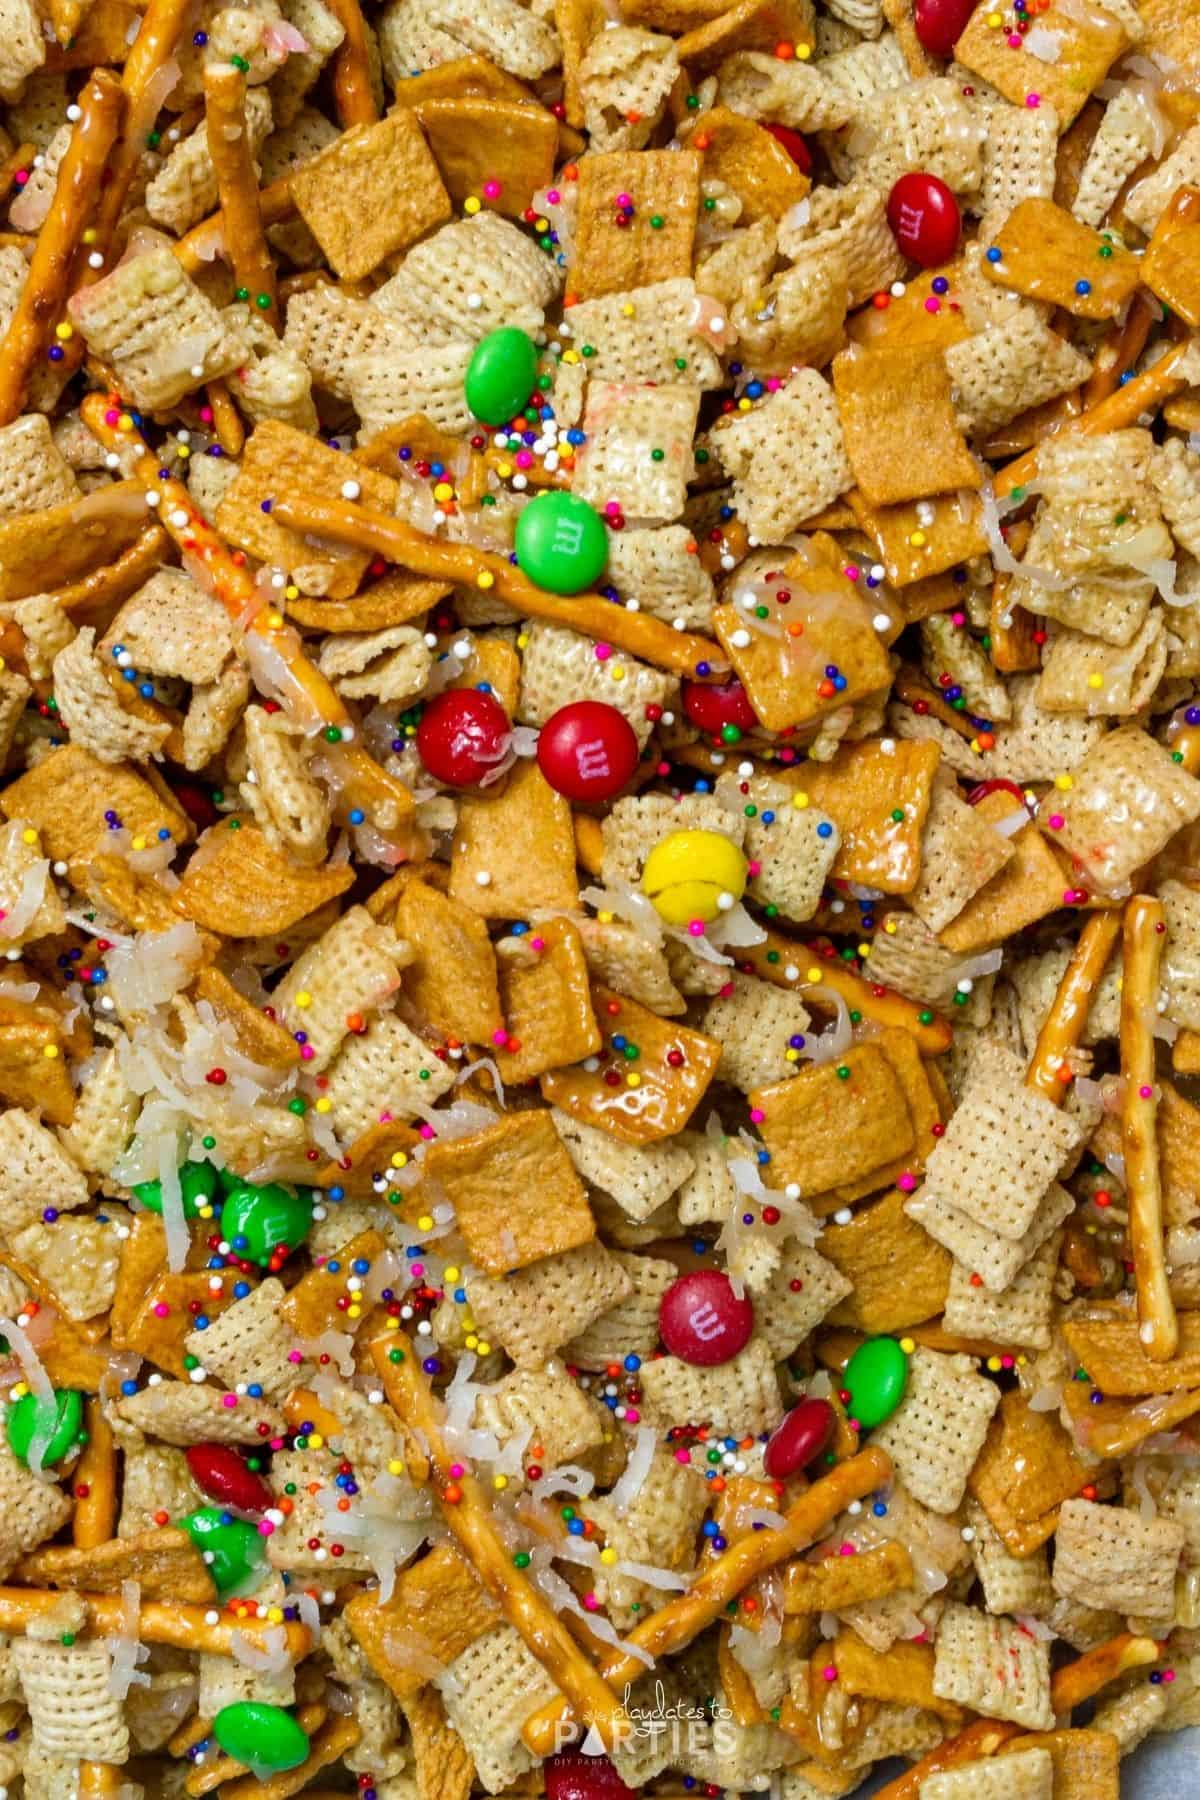
Step 6 – Sprinkle with M&Ms and nonpareils. Cool completely and break into chunks before serving.
Essential Tips and FAQs:
Don’t skip these tips – read them before baking to avoid any potential mistakes.
Make sure You Use a Reliable Thermometer
Sadly, I’ve been victim to many candy thermometers that are completely inaccurate. That’s why I tend to use digital thermometer. (Just please be careful, candy burns are awful!)
Either way, it’s important to test your food thermometer for accuracy before cooking any candy.
Don’t stop cooking the syrup until it reaches the correct temperature.
To make sure you get the proper ooey gooey texture, you’ll want your syrup to reach the ‘soft ball’ stage, which is between 234˚F and 240˚F.
Cooking Spray is your friend
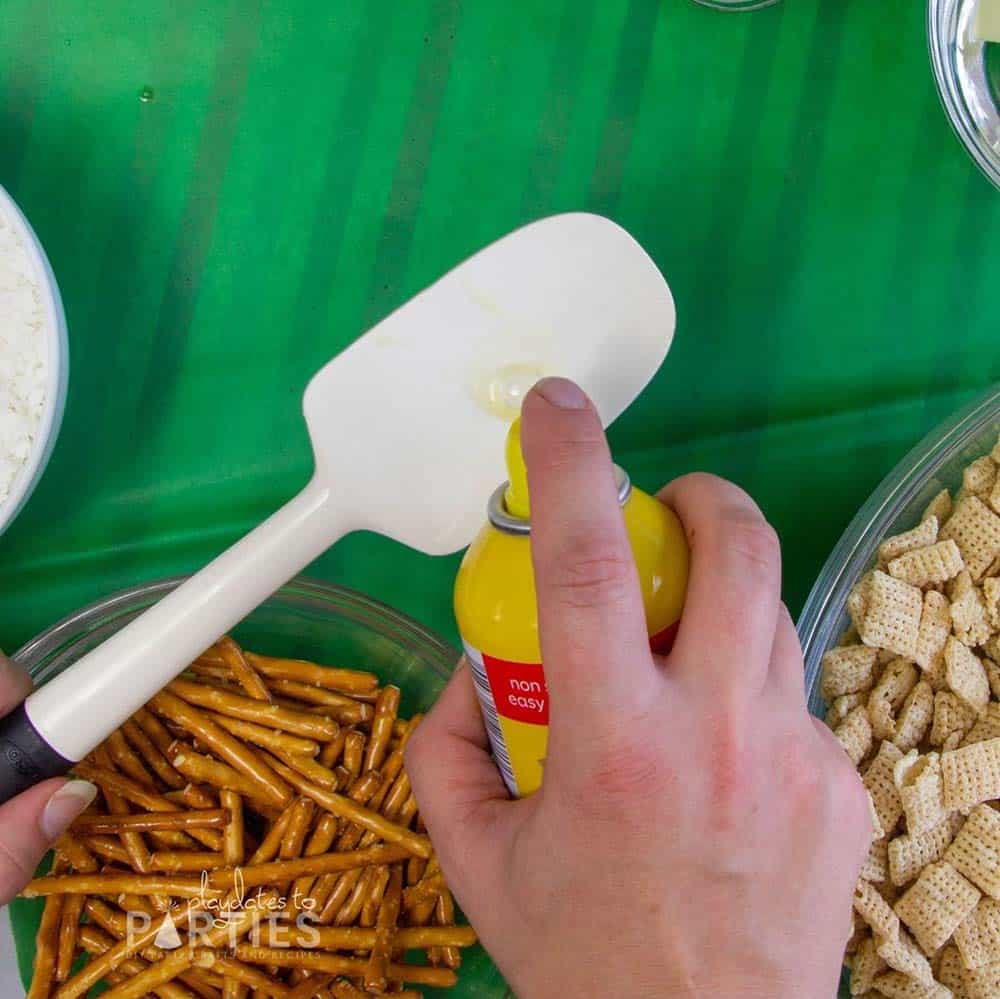
Forks or spatulas sprayed with cooking spray will stick less to the candy. That will make it easier to spread out.
How To Make the Candy Less Sticky
If you want to make the candy less sticky, separate the mixture into very thin layers over several parchment covered jellyroll pans.
Before adding the sprinkles and M&Ms, bake the mixture in the oven at 400˚F for 5-7 minutes.
When the mixture comes out of the oven, add the sprinkles and M&Ms on top and let cool. Then break the mixture up into small chunks.
Why this works: Heating the mixture in the oven increases the syrup temperature to the ‘hard crack’ stage. When the candy dries it will be smooth and hard, but it will be more difficult to eat unless it’s broken up very well.
Want to avoid spending hours on end preparing food for your party? Click here to download 10 Fast and Easy Party Recipes that don’t take more than 20 minutes of your time to prepare.
Substitutions and Adaptations:
There’s not a whole lot to substitute with so few ingredients, but here are a few tips in that area:
- Golden Grahams Cereal: You could substitute cereals of similar shape and texture, like Cinnamon Toast Crunch.
- Corn Syrup helps to ensure that you end up with a smooth candy syrup and reduces the likelihood of sugar crystals forming. If you don’t have corn syrup, you can try to substitute with honey or maple syrup. Other corn syrup substitutes can be found here.
- Pretzel Sticks add saltiness and crunch to the mixture. You can also substitute roasted nuts or crackers.
- Toppings: Nonpareil sprinkles and M&Ms add to the holiday flair, but you can also use other sprinkles mixtures and toppings like mini peanut butter cups, chocolate kisses, or mini marshmallows.
Storage Tips:
Store your Chex Mix Christmas Crack in a sealed container at room temperature for up to 1 week, or store in a sealed container in the refrigerator for up to 2 weeks…if it even lasts that long.
Giving Chex Mix Christmas Crack away as gifts?
This candied cereal mix is fantastic as a holiday hostess gift in a pretty tin, or as class gifts in baggies with a cute topper. Check out these cute printable gift tags here to make your gifts 100% unique.
If you liked this reindeer chow recipe, you’re going to love my Ritz Cracker toffee (another type of Christmas Crack). It’s a simple, no-thermometer candy that’s also full of sweet and salty goodness.
Or you can check out my other desserts recipes right here.
Chex Mix Christmas Crack
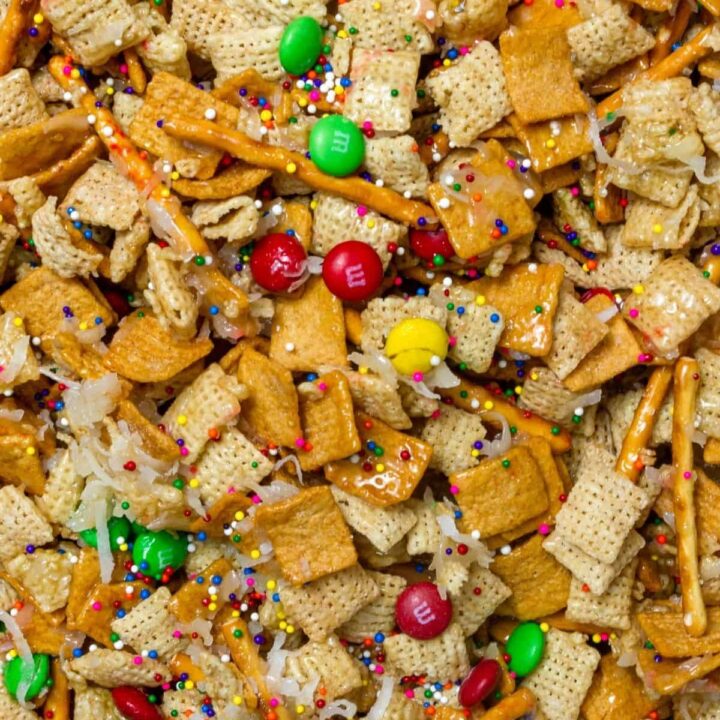
This sticky, gooey chex mix candy is the perfect combination of sweet and salty. You won't be able to keep your hands off of it!
Ingredients
- 12.8 ounces Rice Chex cereal
- 12 ounces Golden Grahams cereal
- 7 ounces sweetened shredded coconut
- 12 tablespoons unsalted butter
- 1 cup granulated sugar
- 1 cup light corn syrup
- 2 cups pretzel sticks
- 1 cup holiday M&Ms
- 1-2 Tablespoons Muti-colored nonpareils sprinkles
- Cooking spray
Instructions
- Prepare 2 large baking sheets with parchment paper and spray a silicone spatula with butter flavored cooking spray.
- In a large bowl, stir together a 12.8 box Rice Chex cereal, one 12 ounce box Golden Grahams cereal, 7 ounces sweetened shredded coconut, and 2 cups pretzel sticks. Spread over the prepared baking sheets.
- Heat 12 tablespoons unsalted butter, 1 cup granulated sugar, and 1 cup light corn syrup over low heat until the butter is melted and the sugar has dissolved.
- Stop stirring the syrup, and continue to cook over medium heat until the mixture reaches at least 234 degrees.
- Carefully pour the hot syrup over the cereal mixture on the prepared pans. Stir the mixture together with the prepared spatula until thoroughly coated.
- Sprinkle with 1 cup holiday M&Ms and 1 - 2 tablespoons nonpareils sprinkles. Cool completely and break into chunks before serving.
Notes
Remember, the step-by-step photos and FAQ in the recipe post are there to help you if you feel stuck at any point.
- A reliable candy or digital thermometer is essential to make sure your syrup comes to the right temperature.
- Heat the syrup to between 234˚F and 240˚F to get the proper consistency.
- Cooking spray on forks or spatulas will help spread the hot syrup over the cereal mixture without getting stuck in the candy.
To Make a Less Sticky Candy:
- Separate the mixture into very thin layers over several parchment covered jellyroll pans.
- Before adding the sprinkles and M&Ms, bake the mixture in the oven at 400˚F for 5-7 minutes.
- Then add your sprinkles and M&Ms.
- Let cool completely and then break up the mixture into very small pieces.
Recommended Products
As an Amazon Associate and member of other affiliate programs, I earn from qualifying purchases.
Nutrition Information:
Yield:
36Serving Size:
1 gramsAmount Per Serving: Calories: 221Total Fat: 7gSaturated Fat: 5gTrans Fat: 0gUnsaturated Fat: 2gCholesterol: 11mgSodium: 215mgCarbohydrates: 39gFiber: 2gSugar: 23gProtein: 2g
__________________________________ The nutrition information provided above is estimated using an automated calculation system. Actual nutrition will vary depending on brand and measurements used in your recipe. To obtain the most accurate representation of the nutrition information for any given recipe, you should calculate the nutritional information using the actual ingredients you used in your recipe.
This post was originally published on December 7, 2015. It has been updated with detailed step-by-step photos and instructions, tips, and FAQs.





Julie says
Thanks you so much for sharing! I can’t wait to try it out- looks delicious!