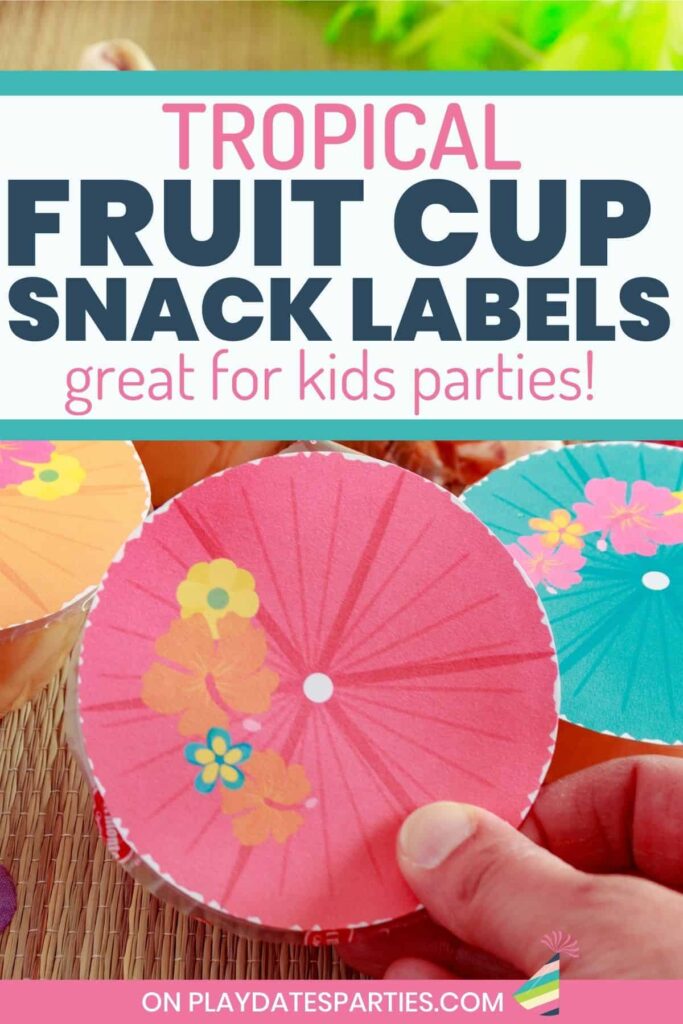
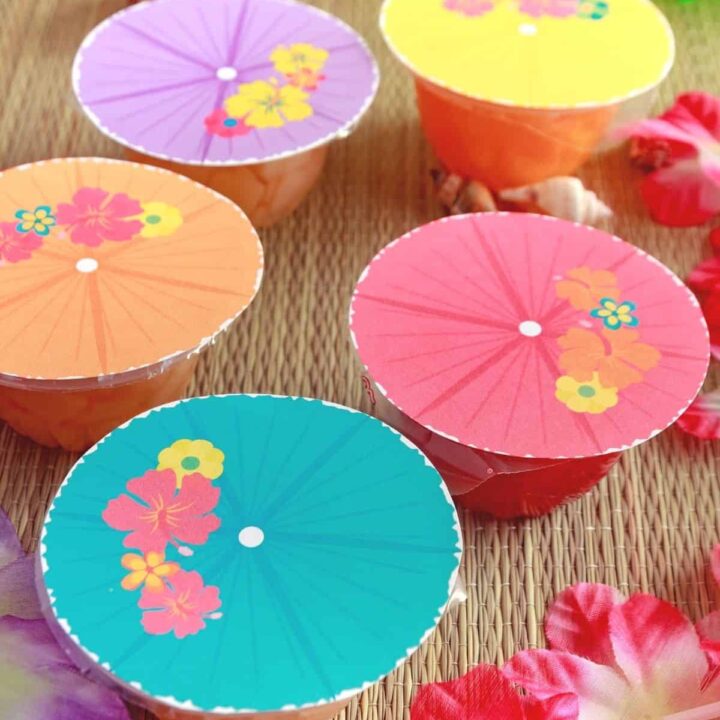
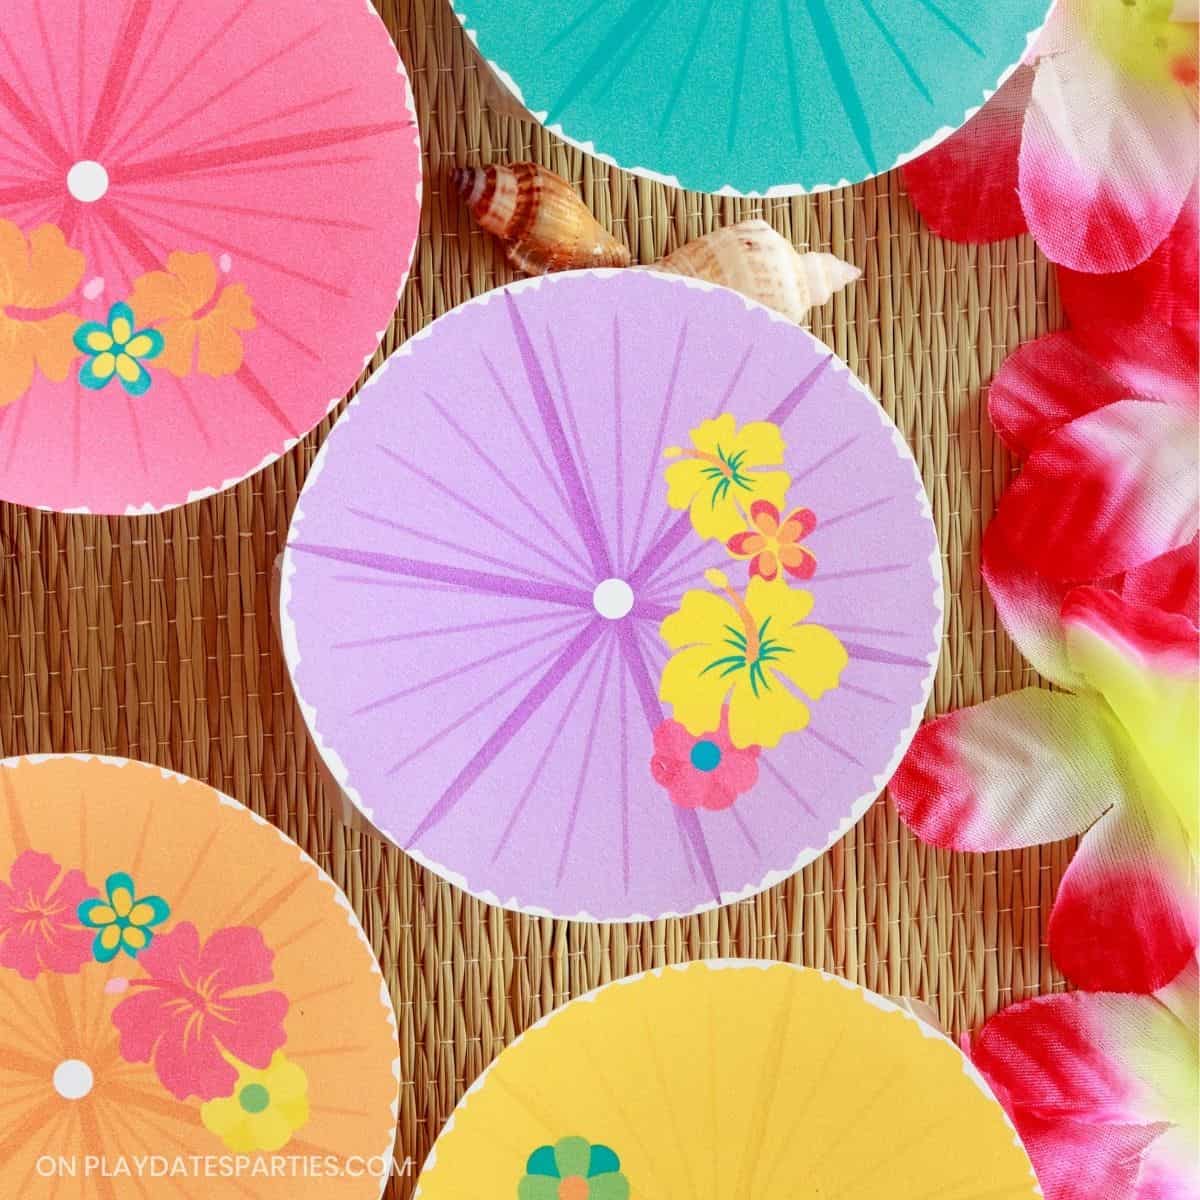
If you’re looking for adorable last-minute summer snacks for the kids, you’re going to love these cocktail umbrella fruit cup snack labels.
With just a few simple supplies and ten minutes, you’ll have the perfect treat for luau kids party food, poolside snacks, and so much more.
It’s t-minus two days until your daughter’s summer birthday party. Every day for the last week has been fueled by caffeine and adrenaline as you pull together last-minute party decorations.
Then you realize you’ve hardly done anything about the food.
Easy Luau Party Fruit Cup Snack Labels
Ugh. We’ve all been there right? When there’s just no fuel left in the tank, but you’ve got to pull something out of your hat.
The good news is that you don’t have to freak out.
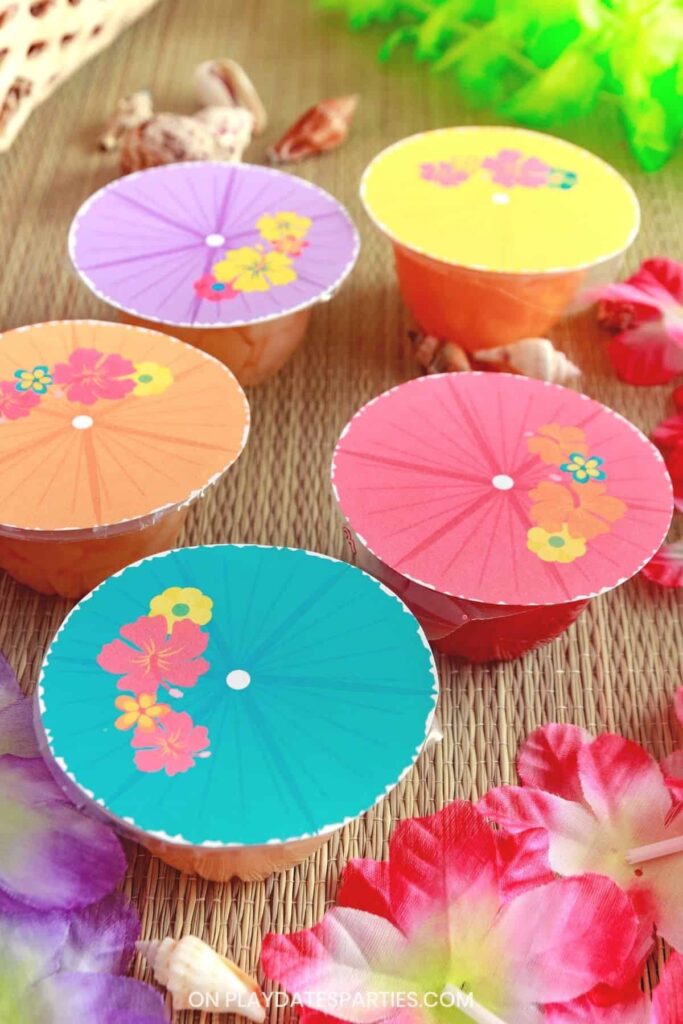
With simple food hacks like these easy luau party fruit cup toppers, you can have a kid-friendly snack that’s perfect for a hot summer day.
They’re also great for other purposes, like:
- End of school year class gifts
- As part of a favor bag or treat sack
- Summer bake sales or lemonade stands
- Cute lunchbox surprises, and
- Poolside snacks
What You’ll Need:
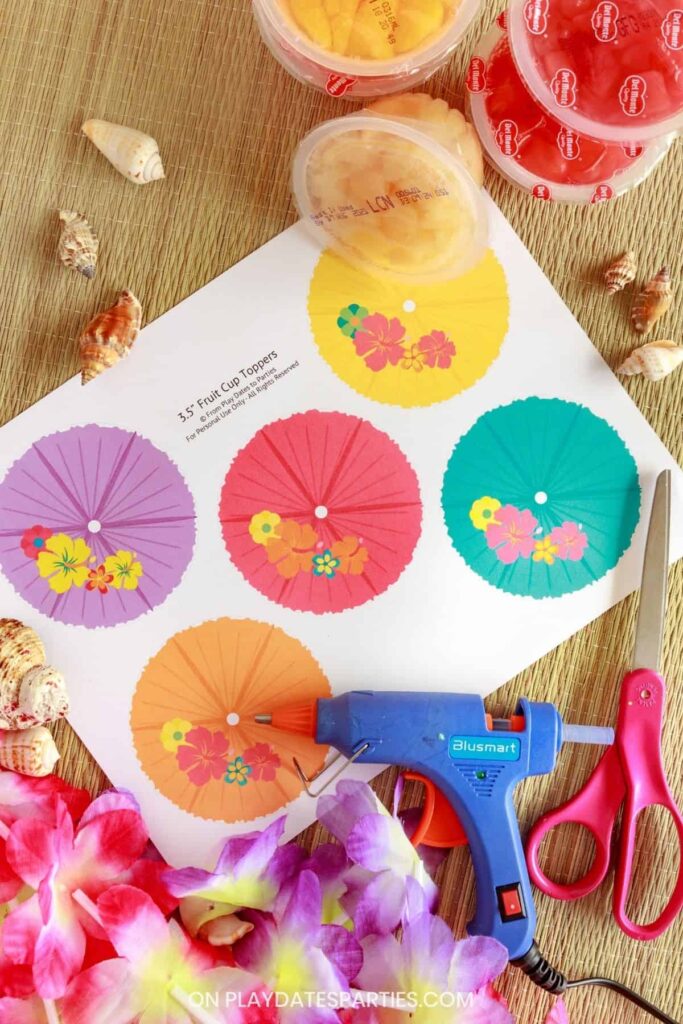
Supplies:
- The printable file (available exclusively in my shop)
- White 32 pound paper or cardstock
- Scissors (or 3.5-inch hole punch)
- Hot glue gun
- Fruit Cups
A few notes about the supplies:
32-pound paper has a nicer print quality than regular printer paper. It’s also more flexible than card stock, which is helpful when the kids want to open up their fruit cups.
Scissors: will work just fine – and is actually what I used for these fruit cups. But if you have a 3.5” hole punch, cutting these out will go much faster and will create that perfectly crisp circle.
Fruit snack cups: We used these printable toppers with a variety of fruit cups by Del Monte. I like that they’re easy to grab and go, and the kids like all the flavors available.
Step-by-Step Directions:
To make things easy for you, I’ve created a photo tutorial to show the entire process.
For more detailed instructions, don’t forget to grab the printable How To card at the bottom of this page.


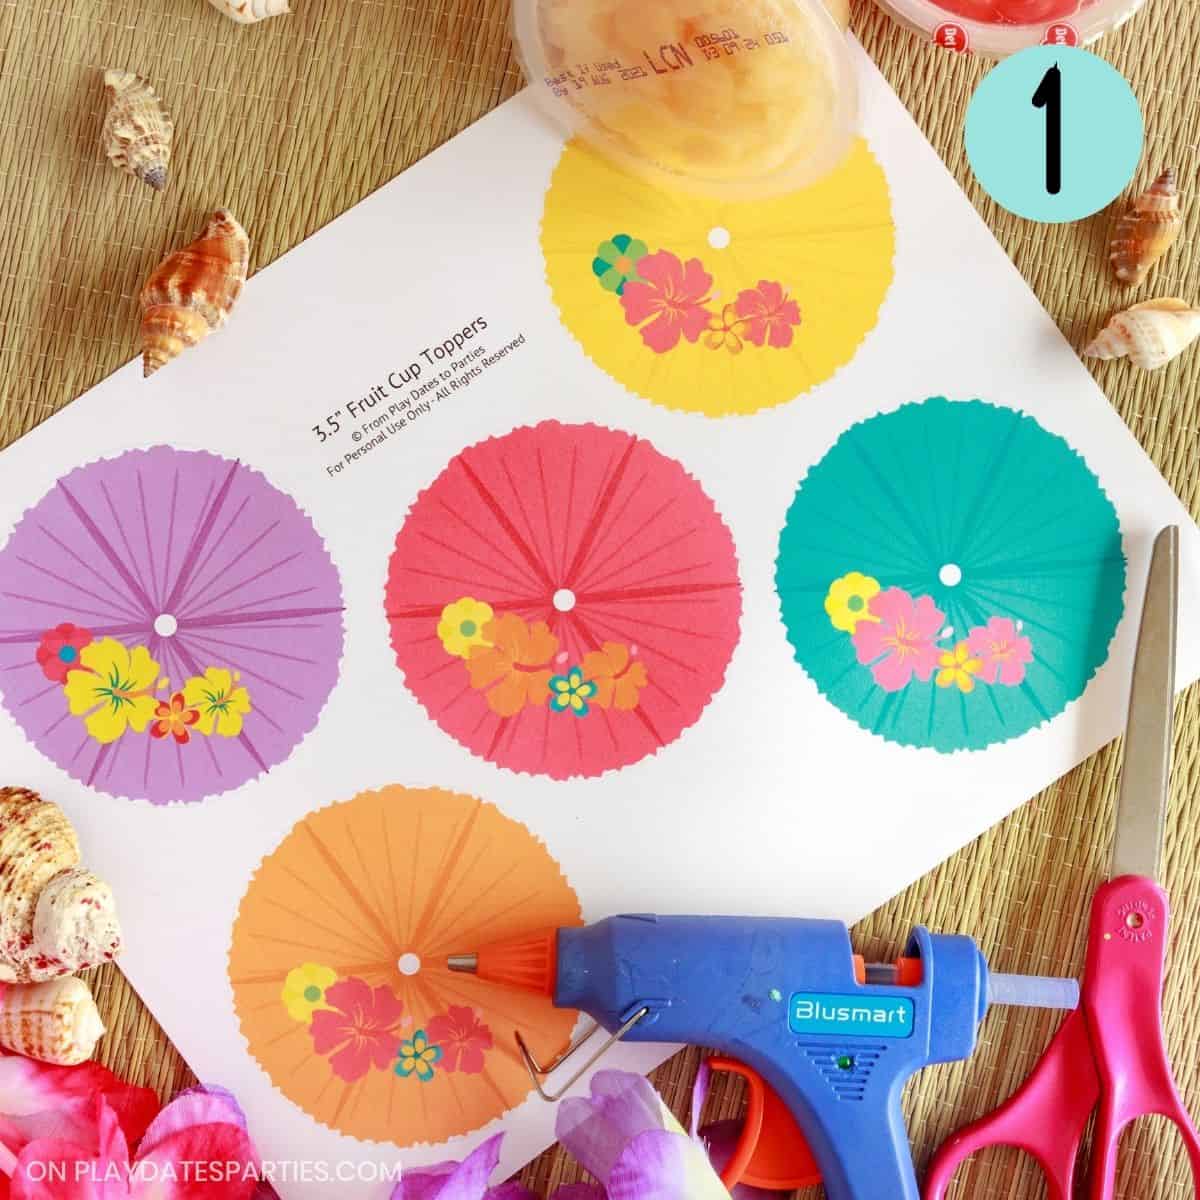
Step 1: Print out the design – For best results, make sure to set your print dialogue to a “High” quality print.
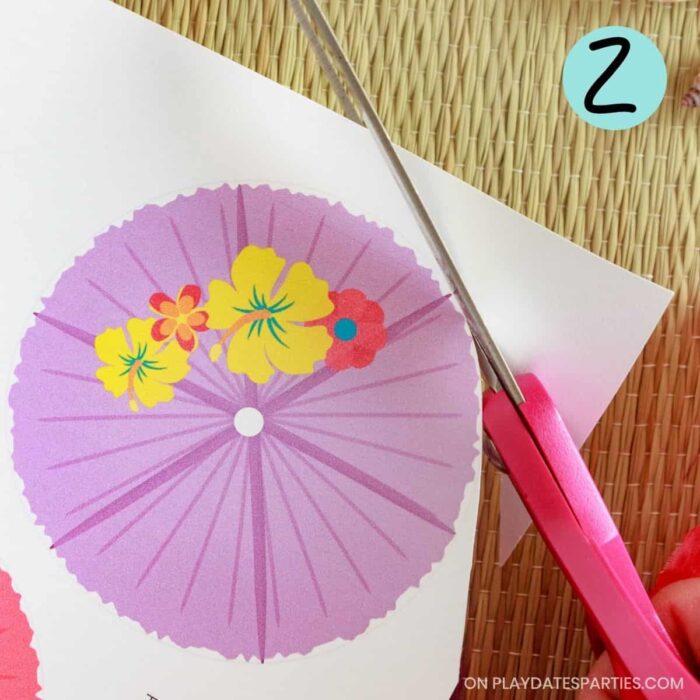
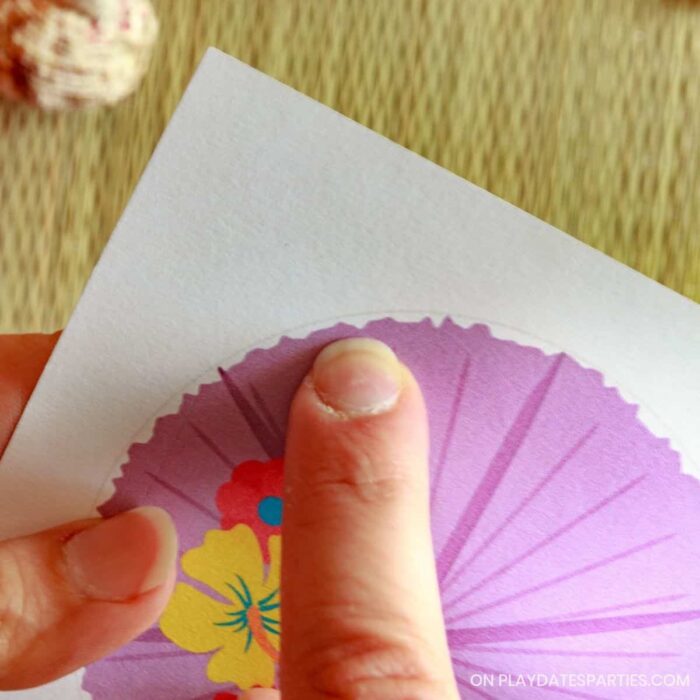
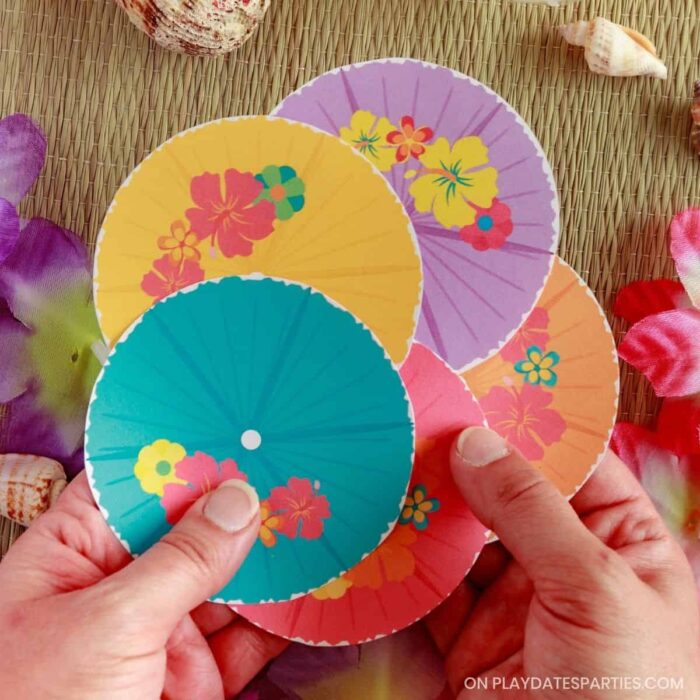
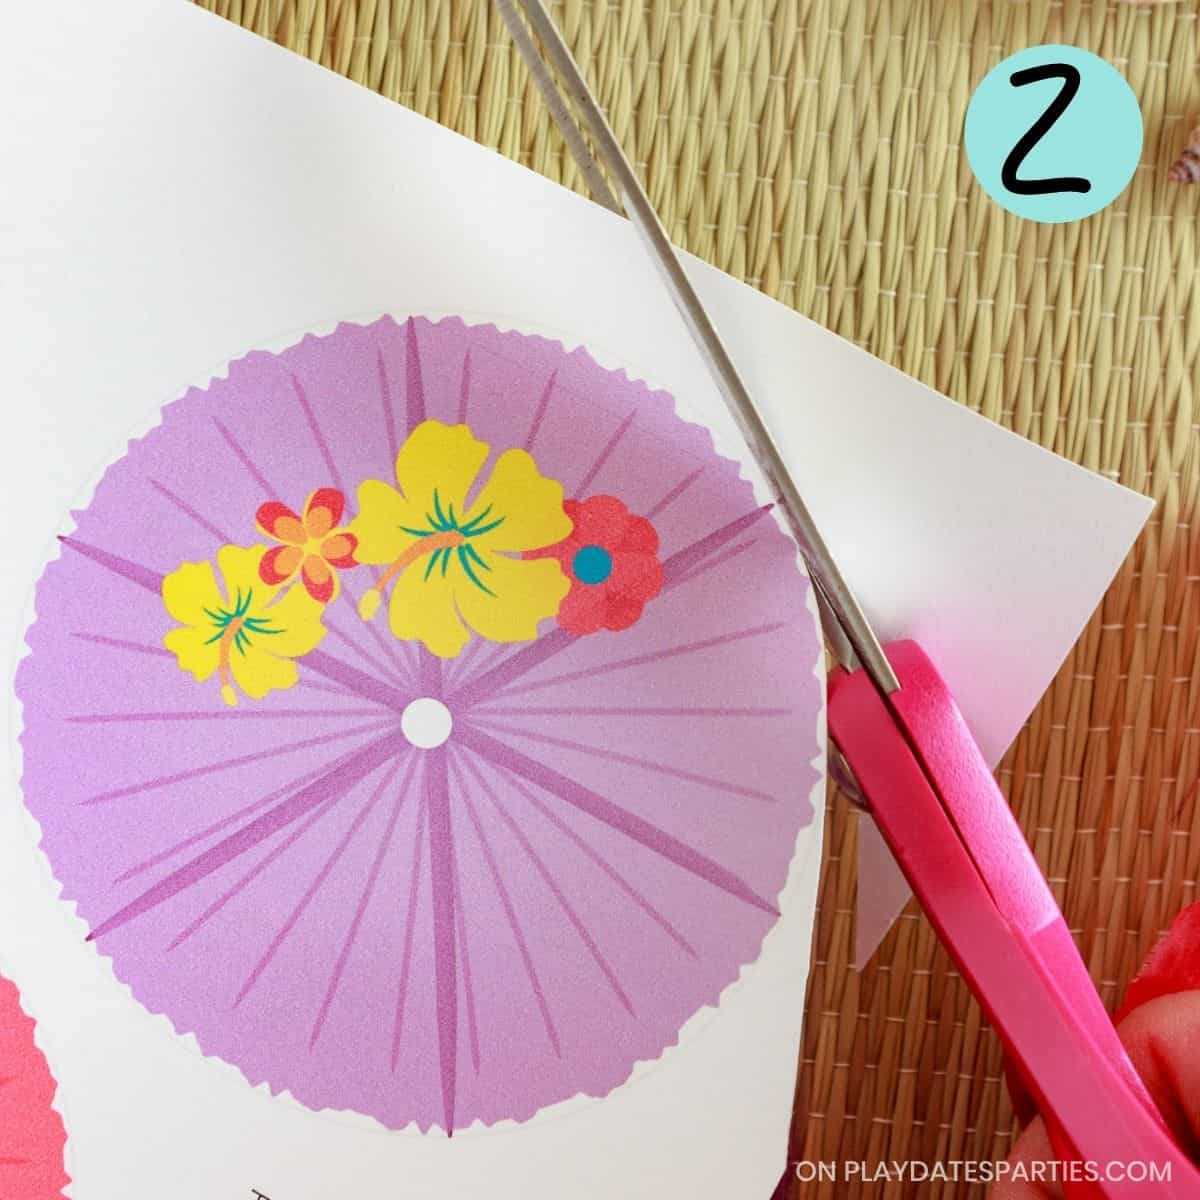
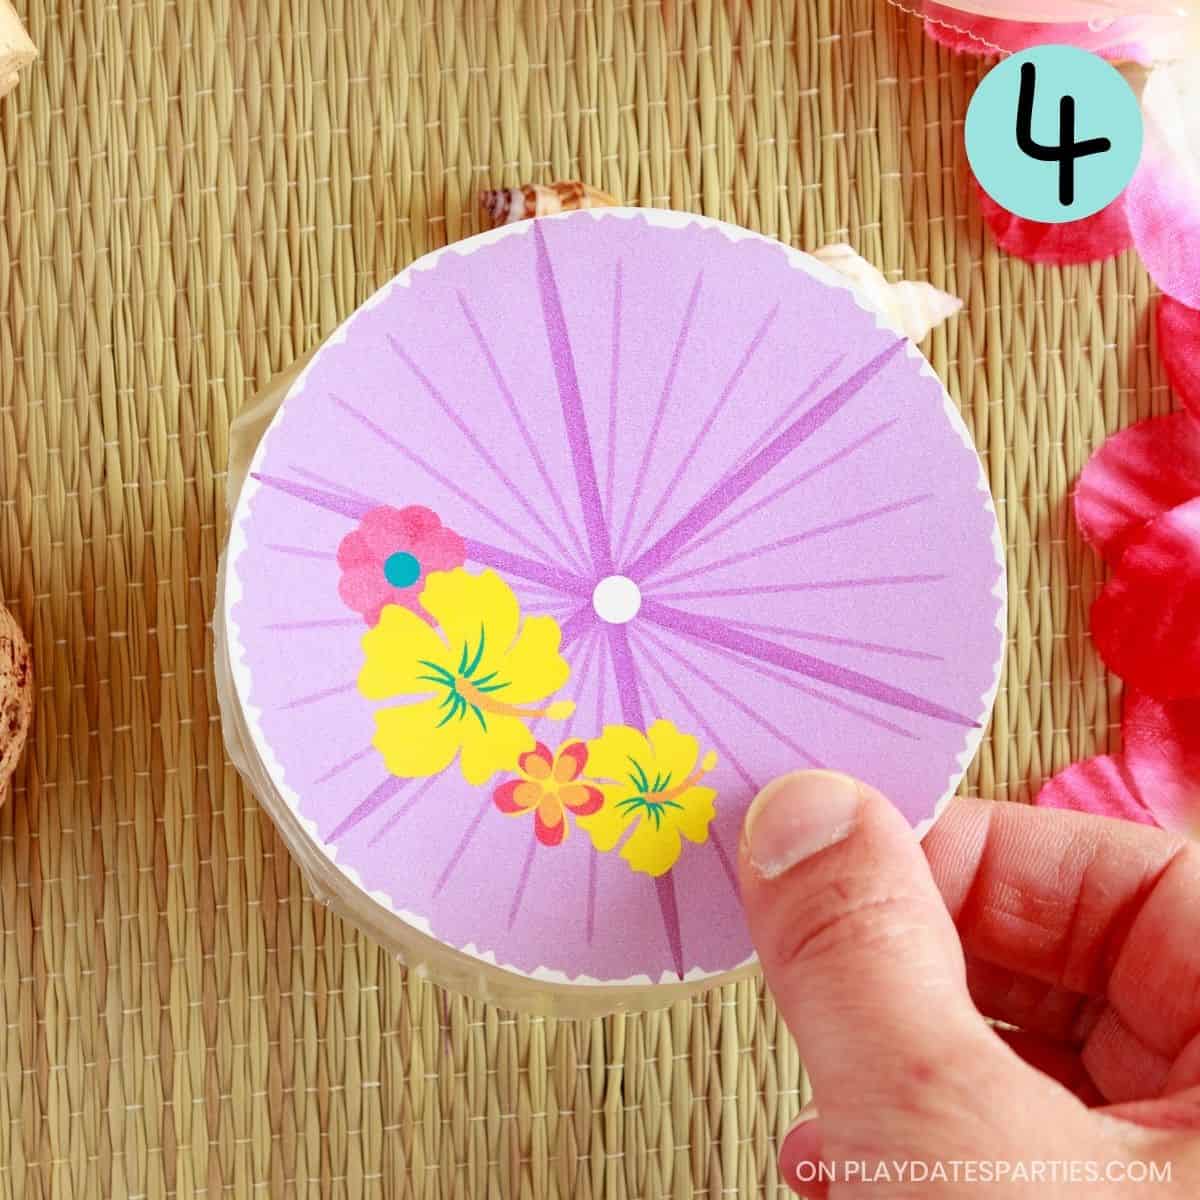
Step 2: Cut out the circles – If you’re using scissors, cutting slowly along the edge of the design will get you a much smoother circle.
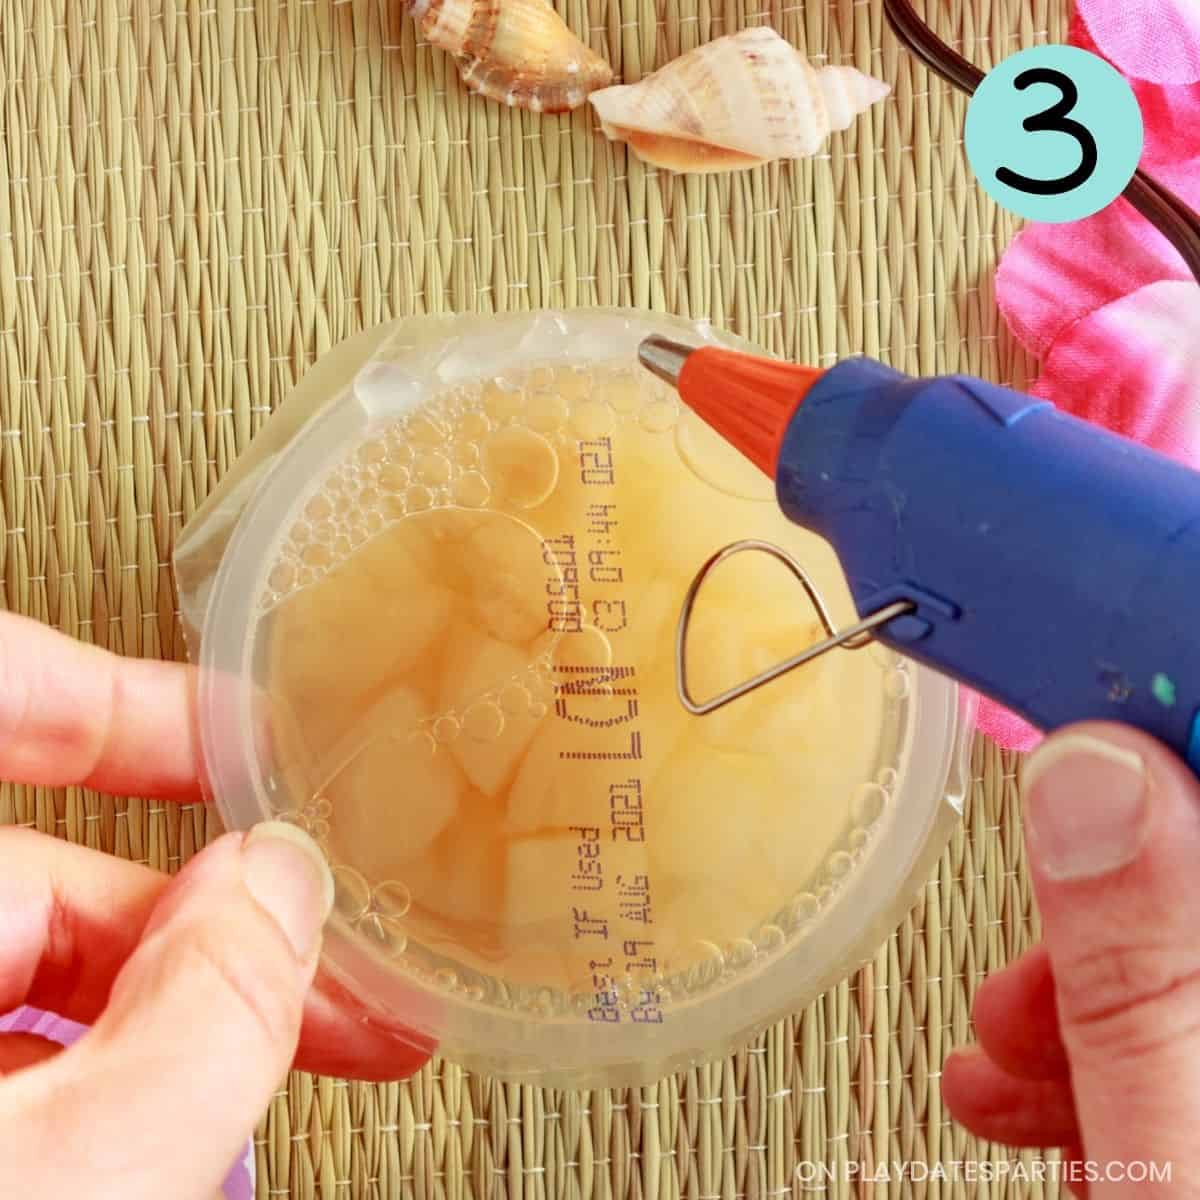
Step 3: Add hot glue to the rim of the cups – See my tips below for alternatives to hot glue too.
Step 3: Place the toppers on the cups – Quickly add the topper before the glue dries.
Important Tips:
Don’t skip these tips – read them before starting to avoid any potential frustration.
Tip #1: Don’t worry about cutting around all the ruffled edges
If you look closely, you’ll see that there’s a very light gray line around each topper. All you have to do is cut along that line and it will look fantastic.
Tip #2: Cut slowly and carefully
I know that when you’re stressed for time, you just want to get things done. BUT, it’s hard to cut a nice circle when you’re moving quickly.
If you take the time to slowly rotate your scissors as you cut, you’ll get much better results.
Tip #3: Start Preheating Your Glue Gun while you cut the toppers out
I may be showing my impatience, but there’s nothing worse than trying to get last minute crafts done and having to wait a few minutes for a glue gun to heat up.
Start heating up your glue gun while you cut out the last page of toppers. That way it’s ready when you are.
Tip #4: Work Quickly Once you start gluing
Hot glue dries quickly – especially on surfaces like cool fruit cups. You can add more glue when you’re done, but you’re likely to end up with bumps under the paper.
To make the hot glue process go faster, you can place the cup on your work surface and slowly spin it in place while adding glue around the edge.
FAQs:
Will these make it hard for kids to open the fruit cups?
Thank goodness, no! In fact, my 5-year-old was able to open these cups on his own when we made them.
That said, toddlers and little kids usually need help opening fruit cups on a good day, so plan accordingly.
Can I Use a Different Paper?
If you’re really stuck on time (or funds) you can definitely use plain printer paper. Just be aware that plain printer paper won’t give you the best colors, and it’s more likely to bend and rip.
Another option you could consider is bright white card stock. While this may make it more difficult for kids to open the cups, card stock is incredibly versatile when it comes to crafting any party decorations.
I ran out of glue sticks. Now what do I do?
Hot glue is definitely my favorite because it works so quickly. But if you don’t have a hot glue gun or accidentally run out of hot glue, you can try the following:
- Craft epoxy (such as E6000),
- Super glue,
- Rubber cement,
- or even a good old-fashioned double sided tape loop.
I don’t recommend that you use glues such as white school glue, school glue sticks, spray adhesive or mod podge.
Can I Use These on Other Cups?
These lids are sized to fit Del Monte’s fruit cups, but resizing instructions are provided with the document to help you print the labels for other sized snack packs such as applesauce and gelatin.
If you liked these fruit cup snack labels, then you’ll love this luau party hosted by a professional event planner. Not only is it full of inspiring ideas, you also will find actionable tips to tweak the expensive decor for a more realistic budget.
Or you can check out my other party printables right here .
How to Make Fruit Cup Snack Labels
If you’re looking for adorable last-minute summer snacks for the kids, you’re going to love these cocktail umbrella snack labels for fruit cups. They’re perfect for luau party kids food, as poolside snacks, or just for a fun summer treat.
Materials
- This printable file
- 32 pound printer paper
- Fruit Cups
- Optional: Felt tip marker for personalized messages
Tools
- Hot glue gun
- Scissors or 3.5-inch hole punch
Instructions
- Print out the design on 32 pound paper or white card stock. Make sure you set your print dialogue to a “High” quality print to get the best results.

- Cut out the umbrella toppers along the light cut line. If you’re using scissors, make sure to slowly rotate your scissors as you cut to get a smooth edge.
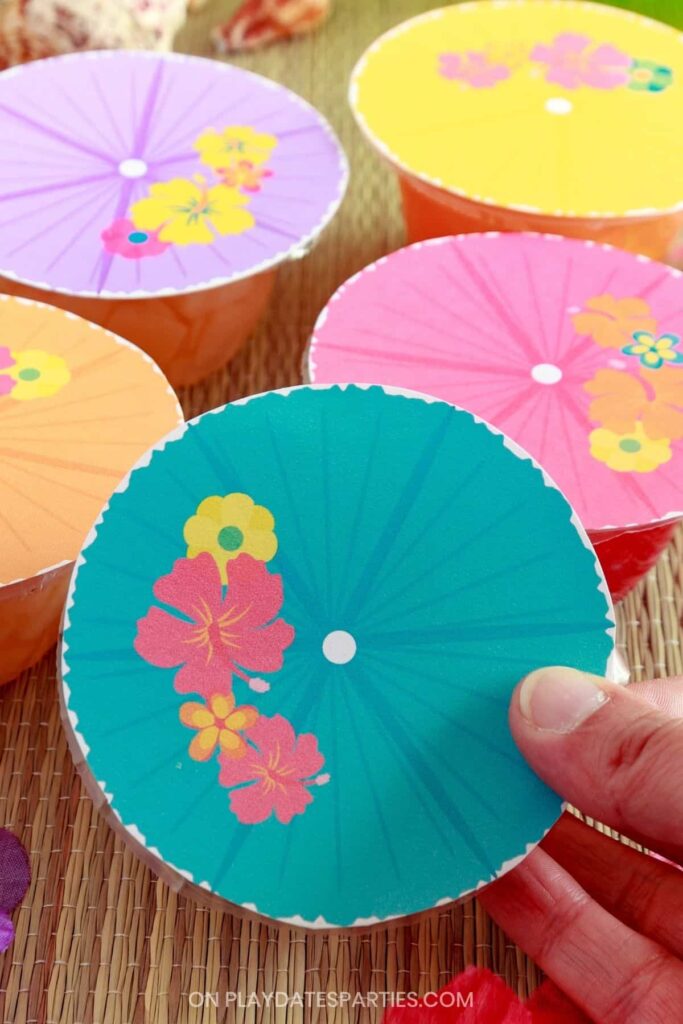
- Add hot glue to the top rim of a fruit cup.
- Gently press your topper onto the hot glue. You may need to add a bit more glue if it dried too quickly or if the topper isn’t completely sticking.
- Repeat with the remaining toppers.
Notes
Don’t forget, the FAQ and additional tips in the tutorial post are there to help if you feel stuck at any point.
Tips:
- For the best print results set your printer to "high quality" print settings.
- Cut Slowly and Carefully. It may be tempting to fly through this step just to check it off your to-do list, but it’s hard to cut a nice circle when you’re moving quickly. If you take the time to slowly rotate the scissors as you cut, you’ll get much better results.
- Pre-heat Your Glue Gun While You Cut: If you start heating up your glue gun while you cut out the last page of toppers, it will be ready for you when you’re done
- To make the hot glue process go faster, you can place the cup on your work surface and slowly spin it in place while adding glue around the edge.


Leave a Reply