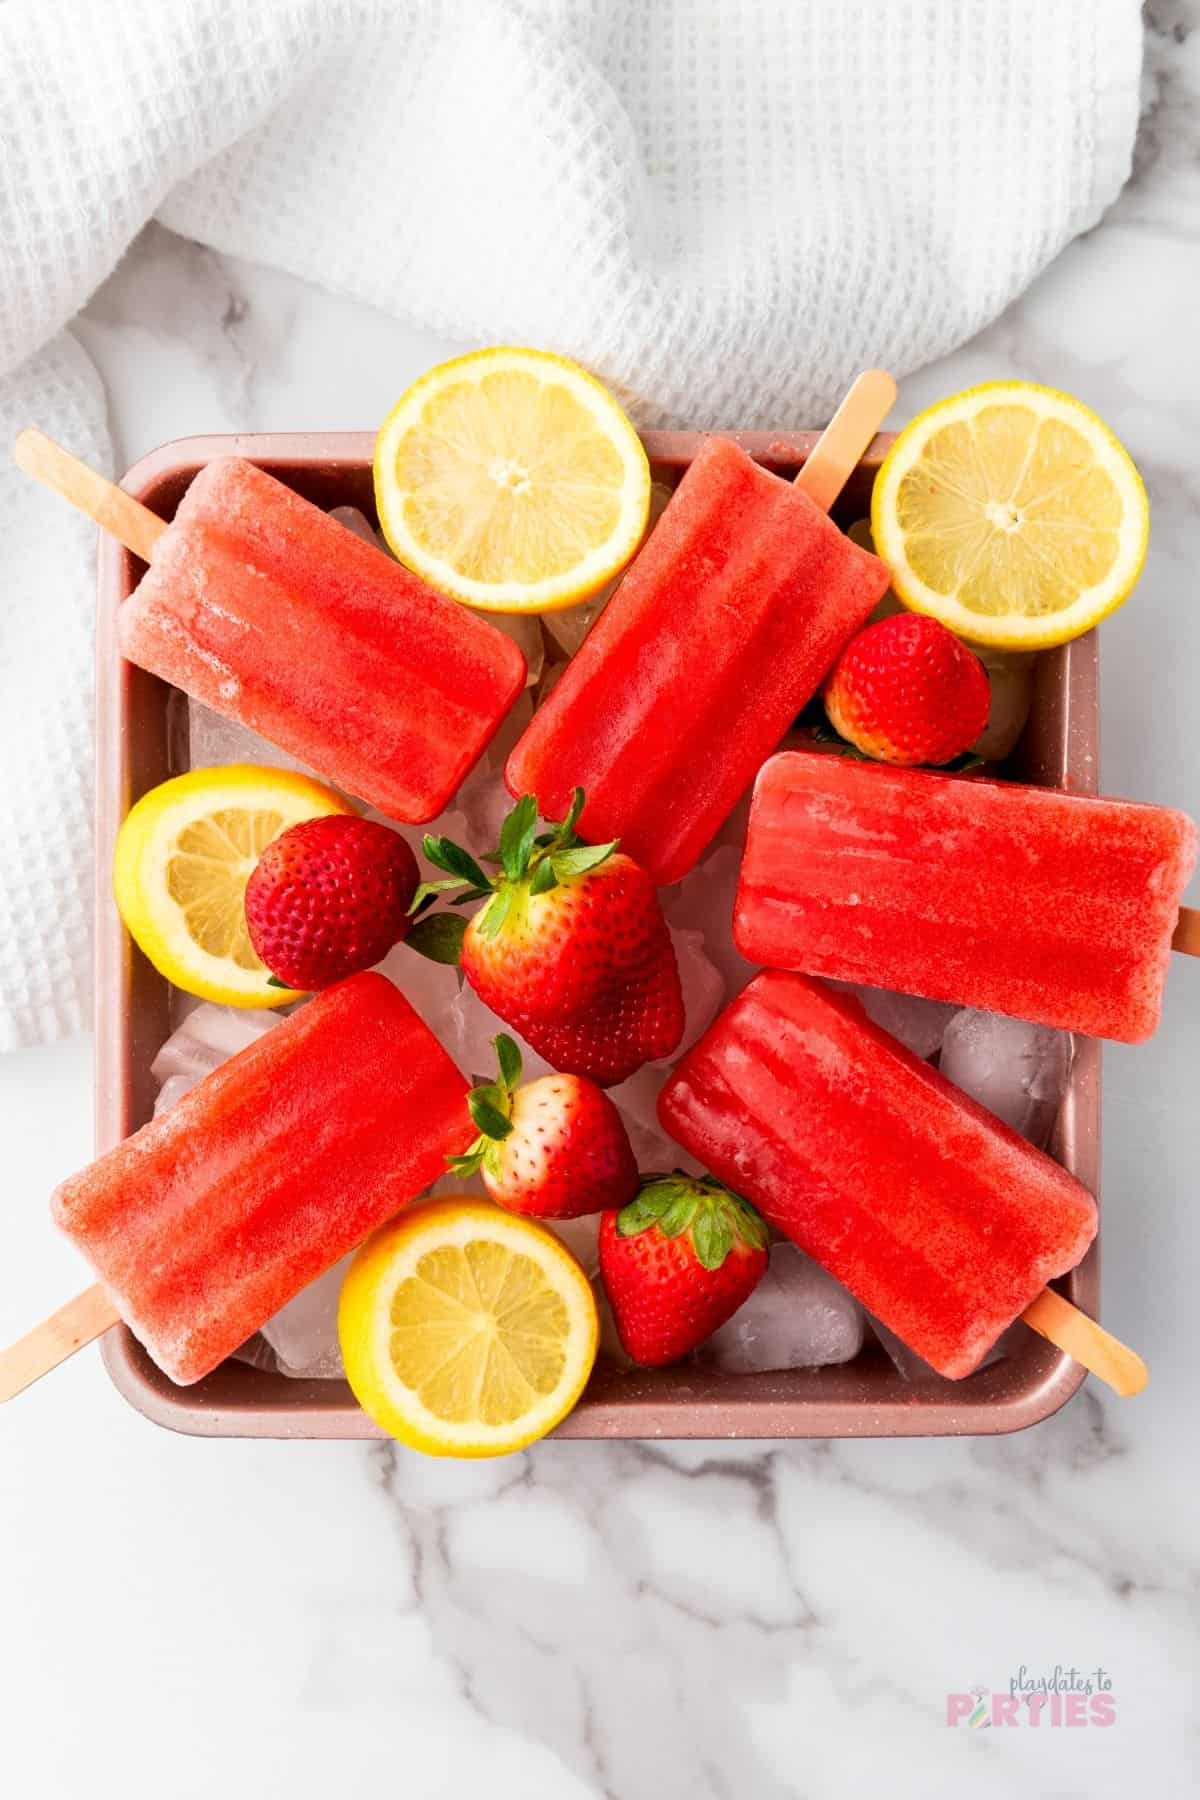
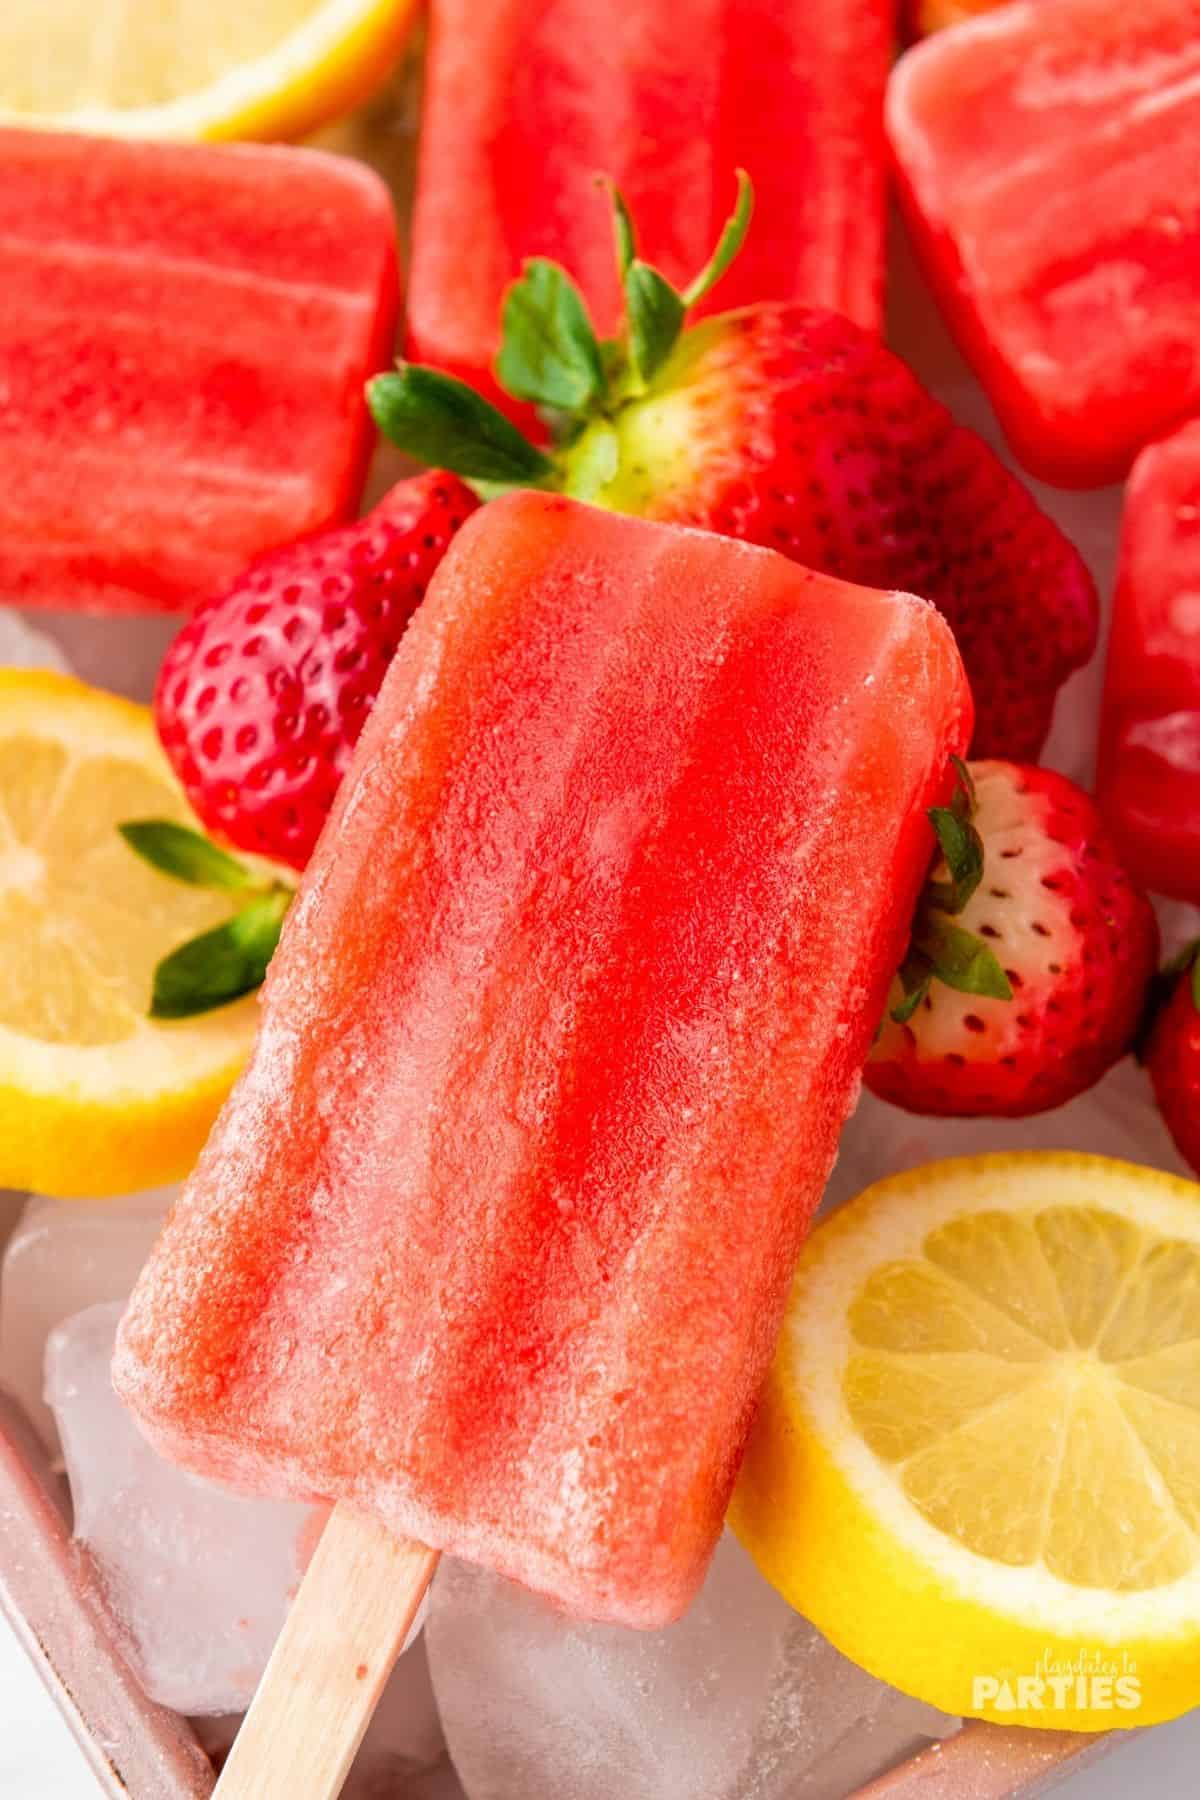
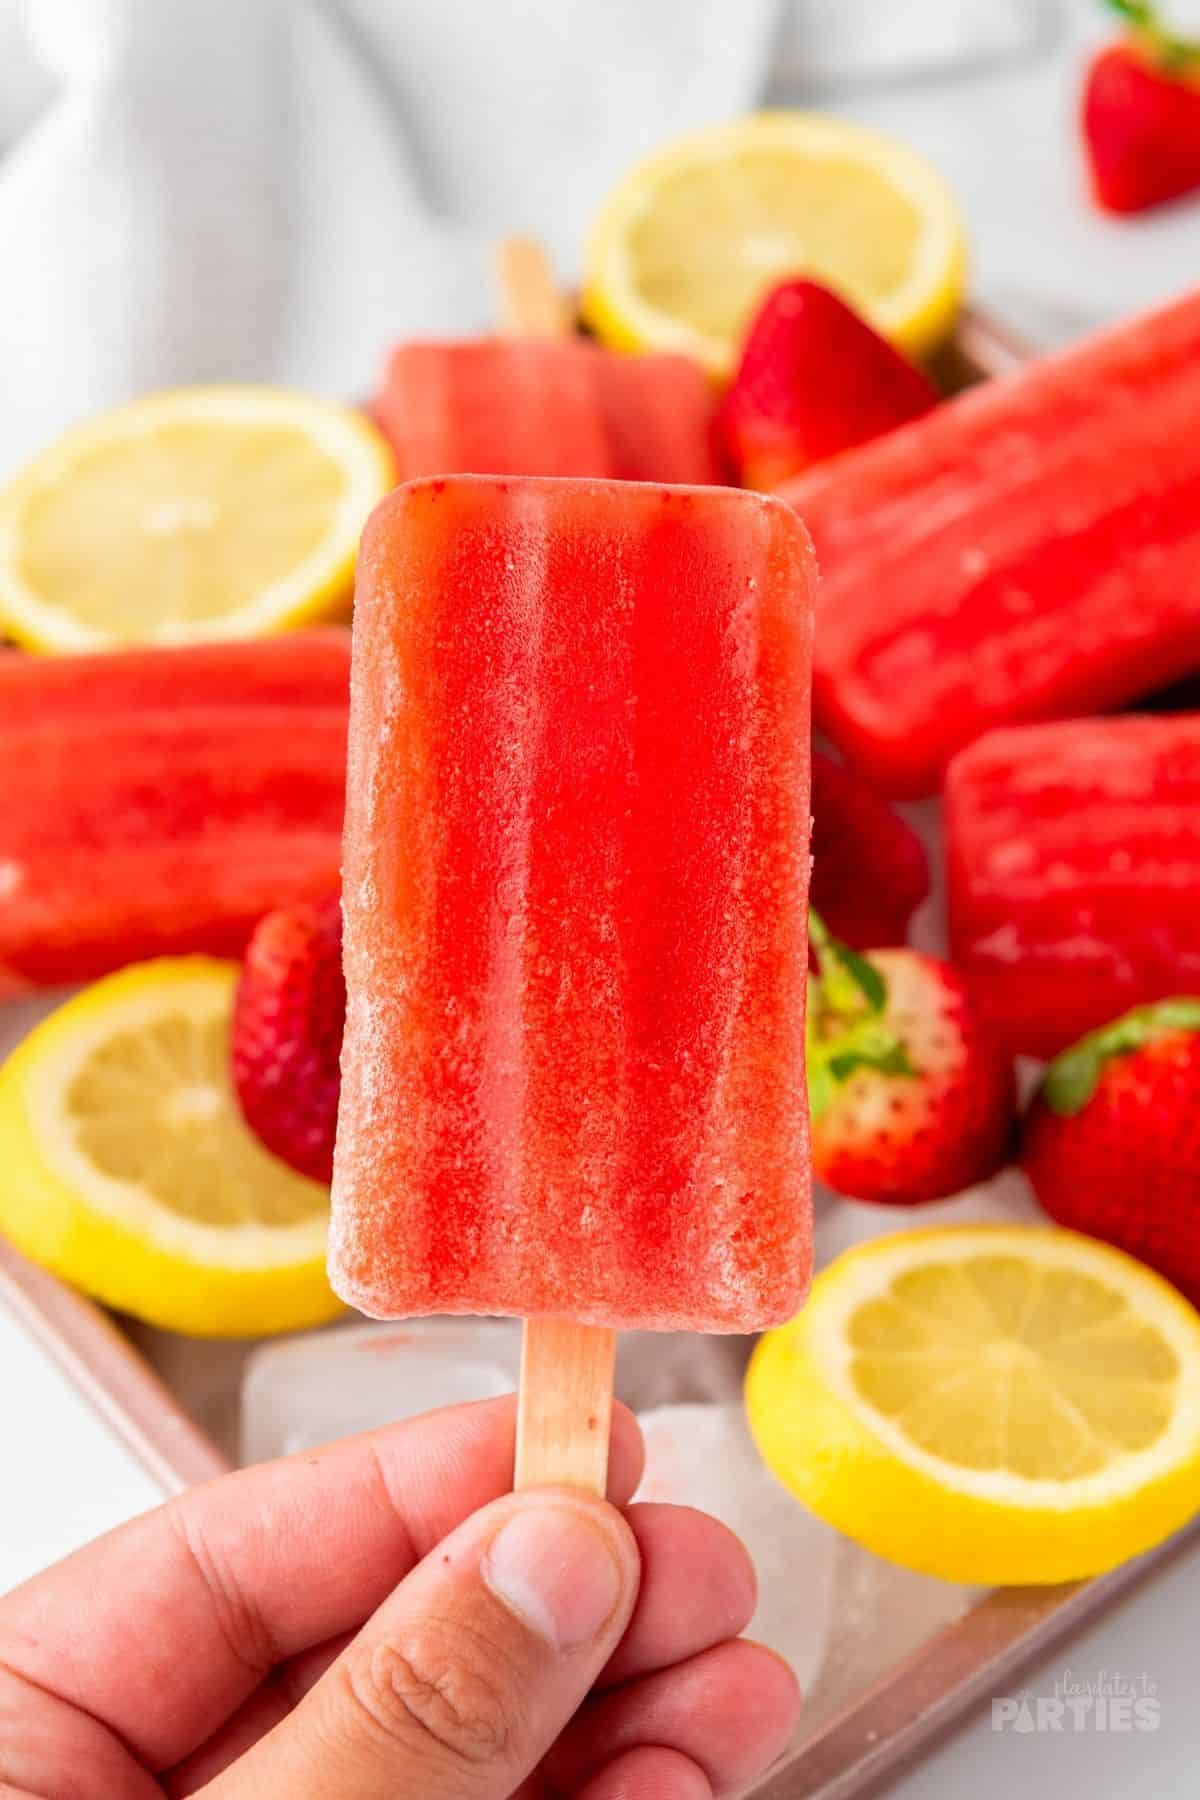
Everyone knows that a cold glass of lemonade is one of the best ways to relax on a hot summer day. So why not take it to the next level with refreshingly simple strawberry lemonade popsicles.
With only four fresh ingredients and a few minutes of your time, you can make these sweet, tart, and deceptively healthy popsicles right in your own home. So grab your apron and let the summertime fun begin!
Why You’ll Love these Strawberry Lemonade Popsicles
- They’re made from healthy, fresh ingredients.
- Kids can easily help with the process.
- The mixture comes together in just a few minutes and then the freezer does the rest of the work.
Step-by-Step Directions:
To make things even easier for you, I created a simple photo guide below. For all measurements and a more detailed guide, check out the recipe card at the bottom of this page.
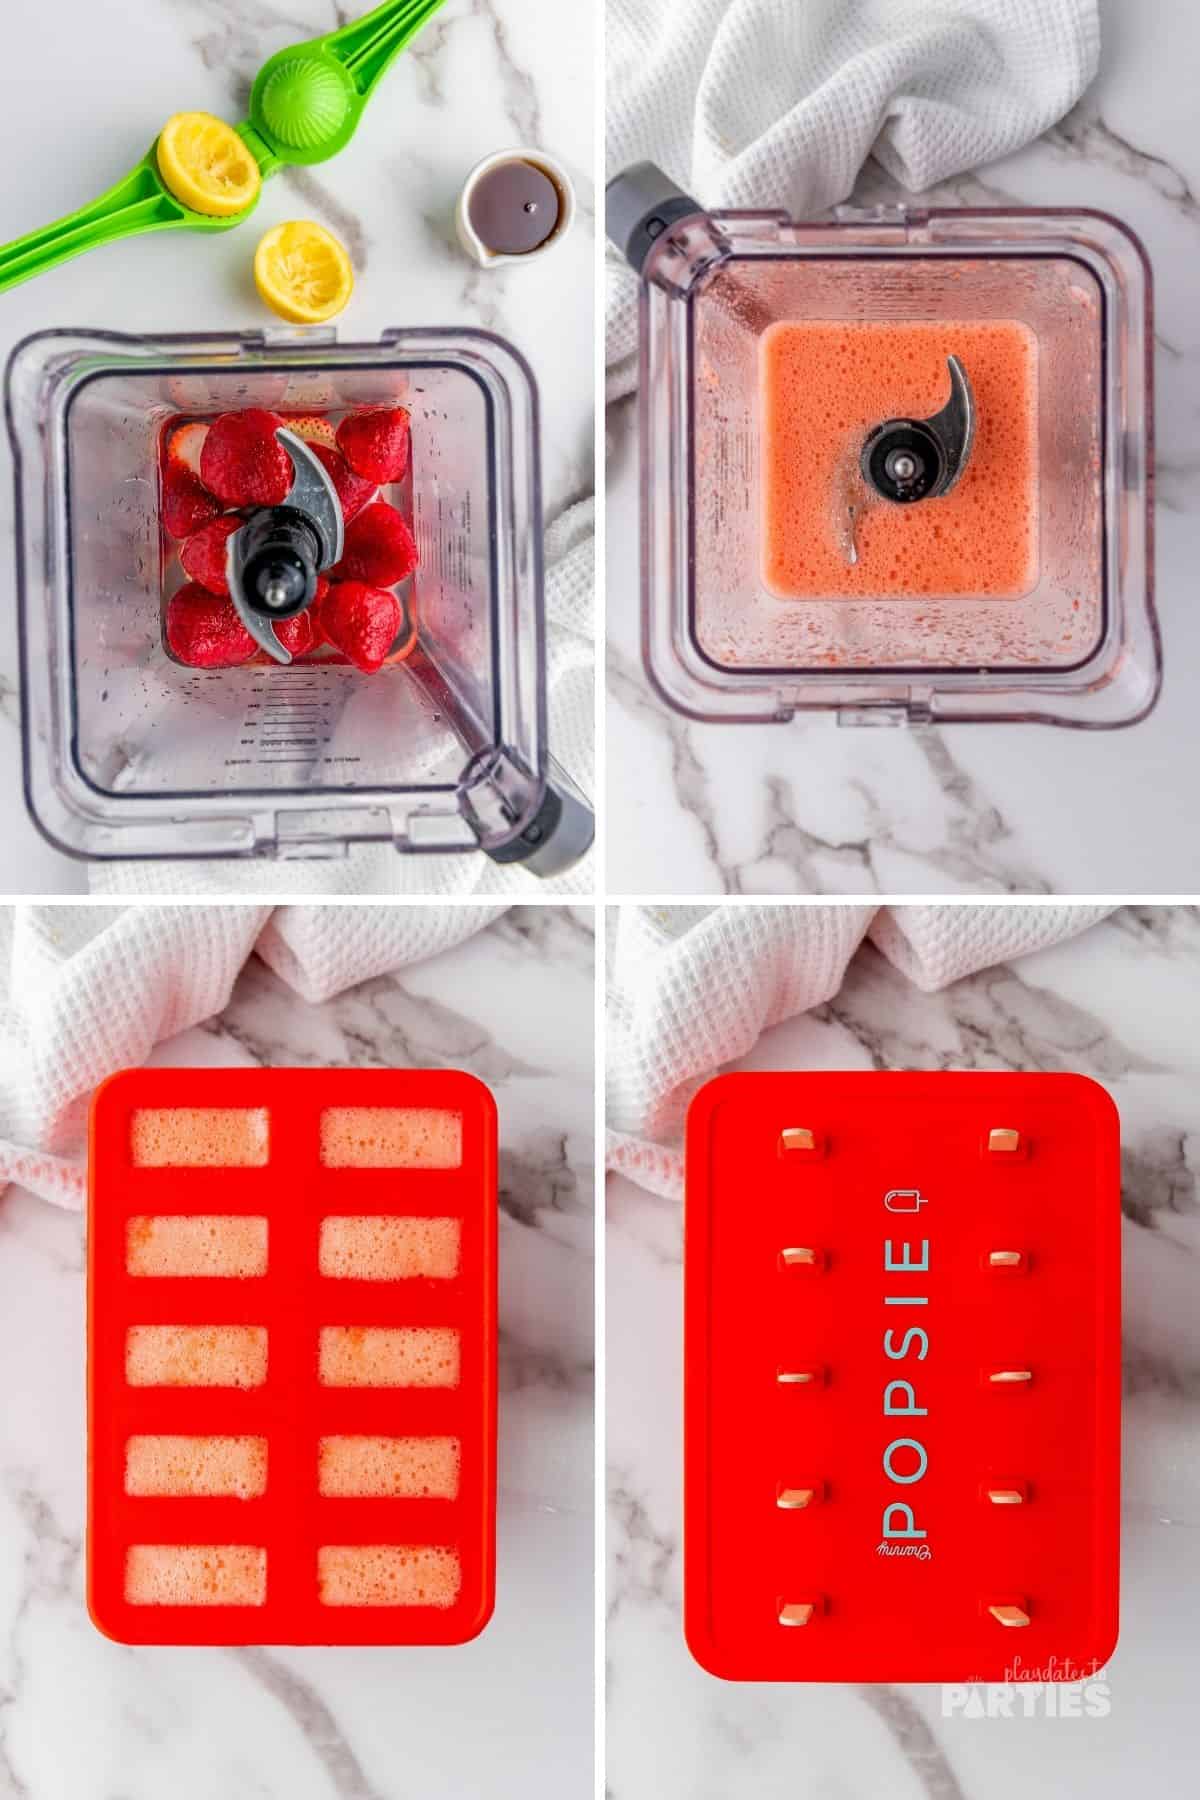
Step 1 – Wash your strawberries and remove the crowns.
Tip: As long as you have a large enough blender, there’s no need to slice the strawberries.
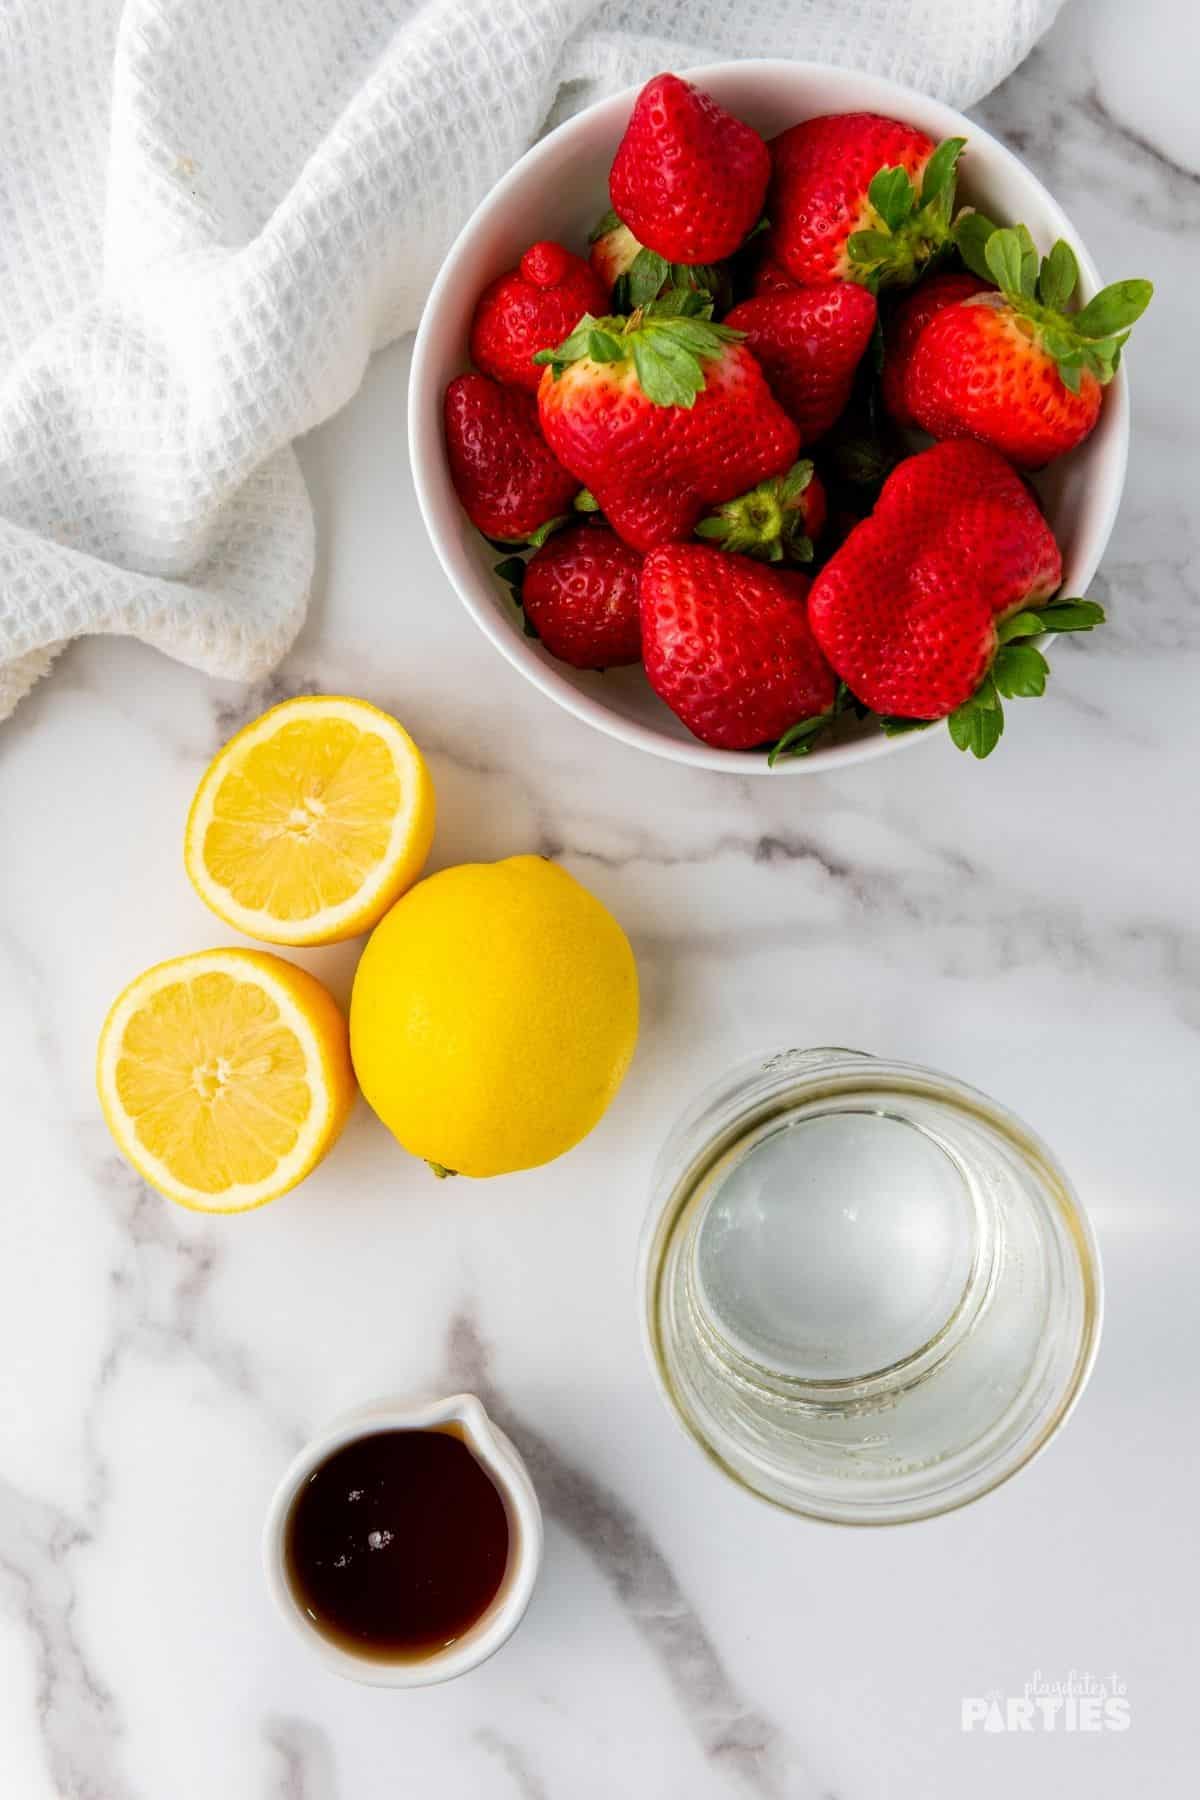
Step 2 – Add the strawberries, water, lemon juice, and agave nectar to a full size blender.
Step 3 – Blend until the fruit is completely pureed and smooth.
Step 4 – Pour the mixture into popsicle mold and place your popsicle sticks.
Step 5 – Freeze until solid – at least 6 hours.
Essential Tips:
Don’t skip these tips – read them before starting to avoid any potential mistakes.
- Don’t have agave nectar? Feel free to substitute with honey or a homemade simple syrup.
- Try freezing these popsicles close to the freezer opening as this is where the temperature will differ and should stop your popsicles from going too hard.
- Make sure your strawberries are washed well before starting. My chemo doctors recommended a water and white vinegar bath to kill most bacteria and we’ve been washing all of our produce that way ever since.
- This is the perfect recipe if you’ve recently picked strawberries at a strawberry farm.
- Frozen strawberries can be substituted for fresh.
- If you have small children, consider using a mini popsicle mold.
Removing the Popsicles from the Mold:
- Let the frozen popsicles sit at room temperature for 5 minutes before removing from the molds, or run cold water on the outside of the mold to slightly soften the popsicles
- If you’re using a silicone mold, gently press down at the opening. The popsicles should slide right out.
More Ways to Enjoy This Recipe
- Make a delicious adult-only version of these popsicles by adding some gin or vodka to the mix. Make sure not to add too much, or they won’t freeze properly.
- Use lemonade instead of fresh lemon juice and water to make them even faster to whip up.
- Try substituting coconut water for the plain water for a more tropical vibe.
Frequently Asked Questions:
When To Enjoy Strawberry Lemonade Popsicles
You don’t really need a reason to make these popsicles, but here are some occasions where they’ll be very welcome:
- After school or camp as a summertime snack.
- Poolside parties and family get togethers.
- Summer barbecues and picnics
- Lemonade themed parties (don’t forget to add these cute lemon themed printables to the mix)
- July 4th parties and celebrations
How to Store Your Popsicles
It’s no surprise that popsicles need to be kept in the freezer. Once they’re fully frozen, add them to a solid, freezer safe container to keep them from getting broken and freezer burned.
If you liked my Strawberry Lemonade Popsicles, you’re going to love my Strawberry Lemon Bars. The strawberry and lemon flavors really shine through and they are super tasty. Perfect for any celebration or party.
Or you can check out all my desserts recipes here.
Strawberry Lemonade Popsicles
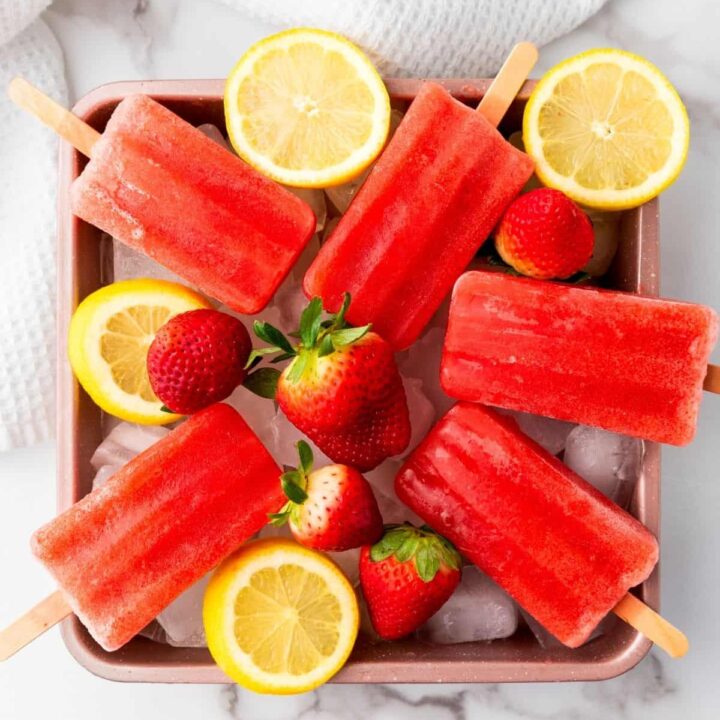
Make your summer sweeter with delicious strawberry lemonade popsicles! Sweet, tart, and deceptively healthy, they're the perfect snack for kids and adults alike.
Ingredients
Instructions
- Wash your strawberries and remove the crowns.
- Add the strawberries, water, lemon juice, and agave nectar to a full size blender.
- Blend until the fruit is completely pureed and smooth.
- Pour the mixture into popsicle molds and place your popsicle sticks.
- Freeze until solid - at least 6 hours.
Notes
Remember, the step-by-step photos and FAQ in the recipe post are there to help you if you feel stuck at any point.
- Don't have agave nectar? Feel free to substitute with honey or a homemade simple syrup.
- Try freezing these popsicles close to the freezer opening as this is where the temperature will differ and should stop your popsicles from going too hard.
- Make sure your strawberries are washed well before starting. My chemo doctors recommended a water and white vinegar bath to kill most bacteria and we've been washing all of our produce that way ever since.
- This is the perfect recipe if you've recently picked strawberries at a strawberry farm.
- Frozen strawberries can be substituted for fresh.
Removing the Popsicles from the Mold:
- Let the frozen popsicles sit at room temperature for 5 minutes before removing from the molds, or run cold water on the outside of the mold to slightly soften the popsicles
- If you're using a silicone mold, gently press down at the opening. The popsicles should slide right out.
Recommended Products
As an Amazon Associate and member of other affiliate programs, I earn from qualifying purchases.







Jennifer Wise says
These look yummy! And I did not know that about sugar! Pinned. 🙂 Visiting from Happy Now.
Beth says
FUN recipe!!
I’d love for you to join us over at the Creative Crafts Linky Party every Wednesday through Sunday
Followed and Pinned!
Creatively, Beth