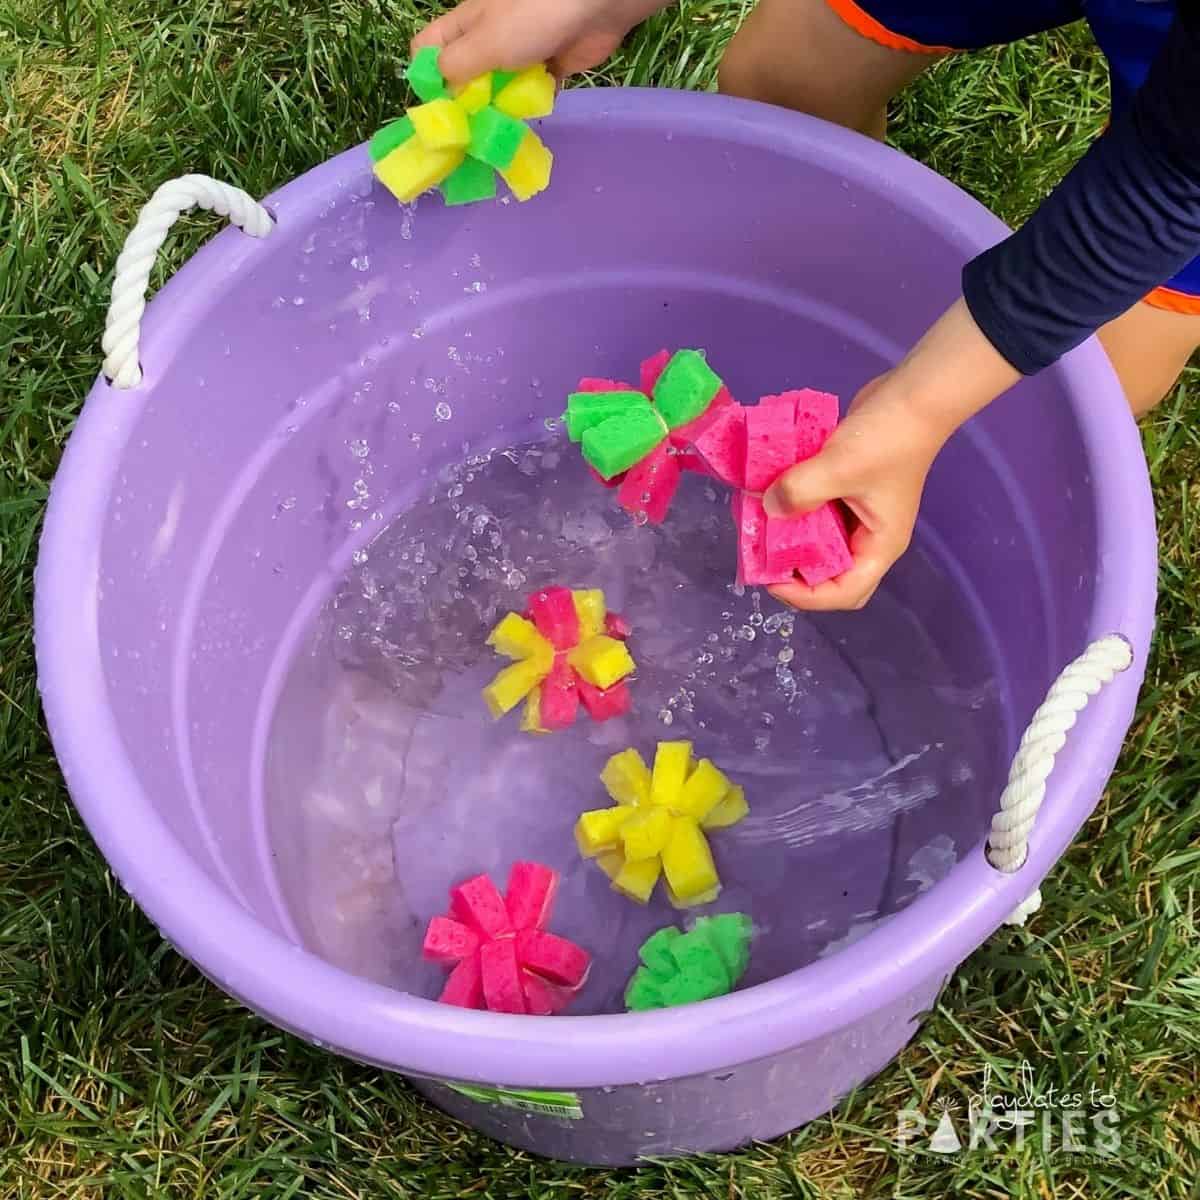
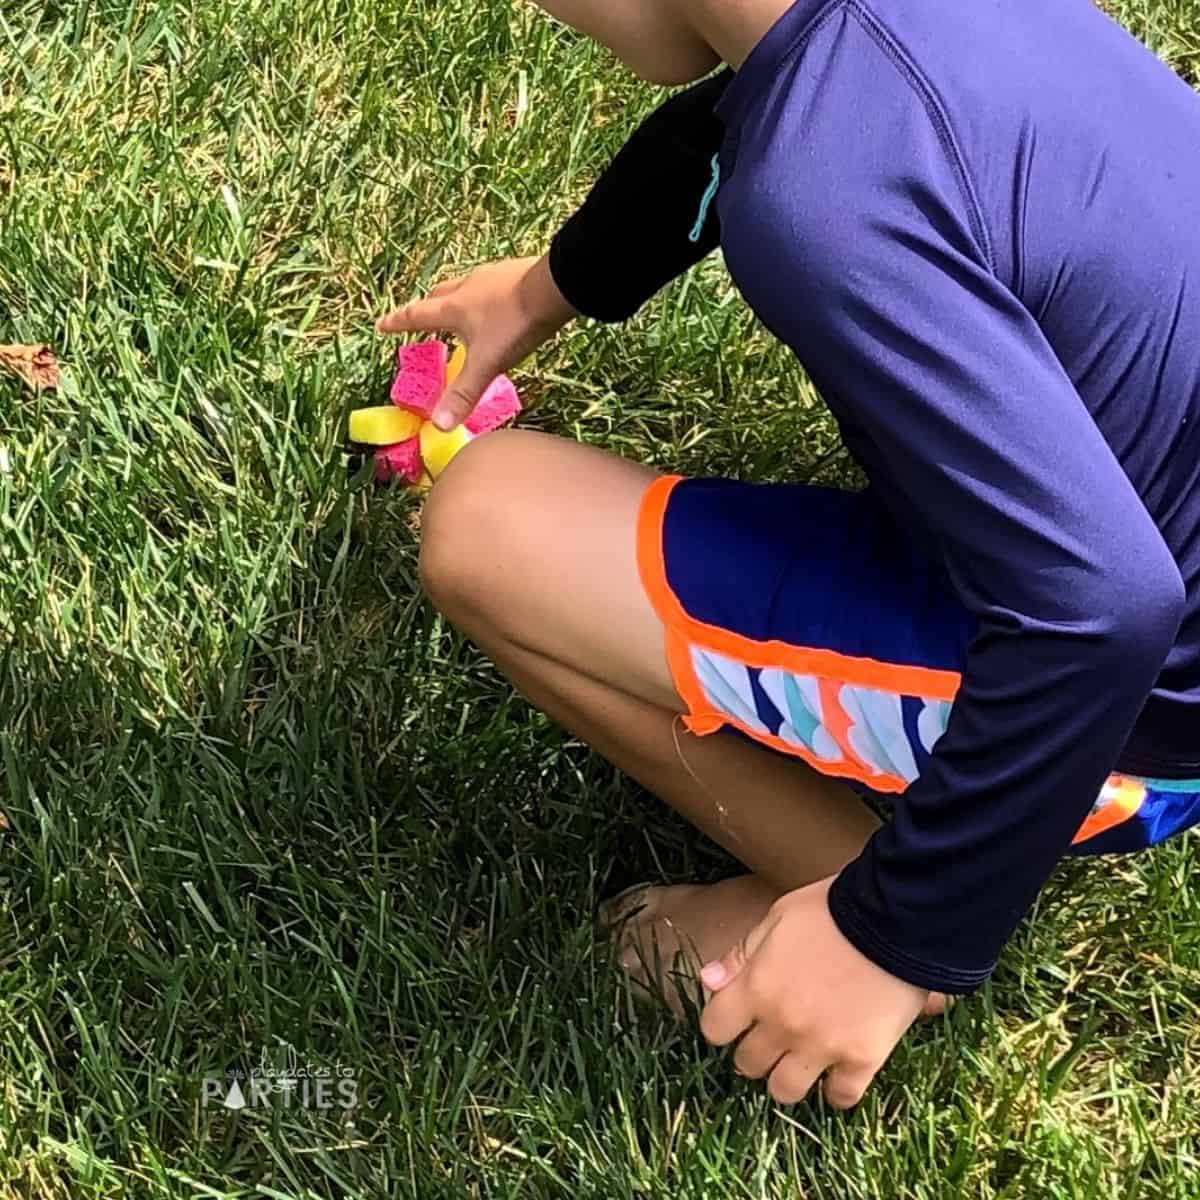
What’s a better way to keep cool in the summer heat than with a fun water activity with the kids? That’s where these colorful sponge water bombs come in.
They’re easier to prepare than water balloons or an inflatable pool, and the kids can use them over and over again. I’ve been making water bombs for 10 years now, and my kids still love them. Keep reading to find out how to make your own and what has and hasn’t worked through the years.

A Great Alternative to Water Balloons on a Hot Day
We’ve all been there, filling up balloons with water for what feels like hours. And after spending so long painstakingly filling and tying those balloons, the kids use them up within 30 seconds.
Of course, there are the Bunch O Balloons sets, but those are pretty spendy.
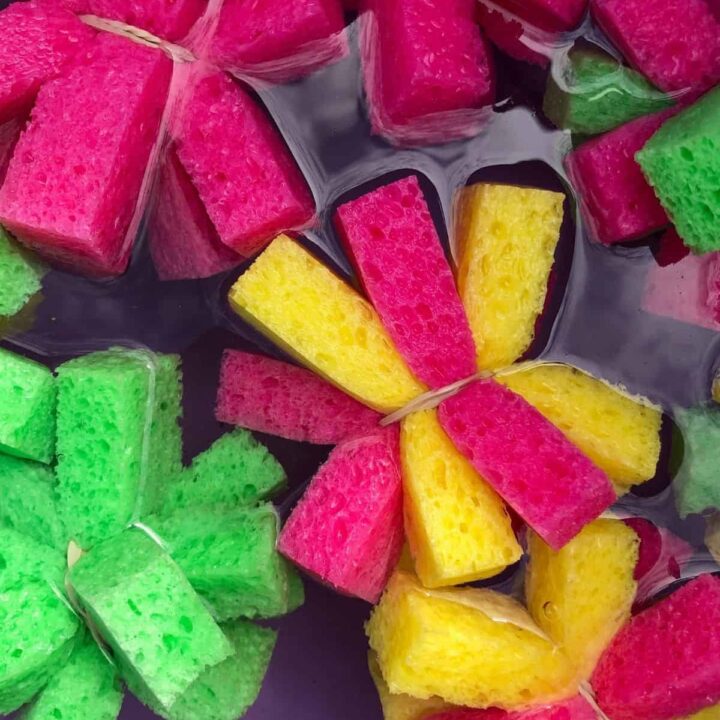
Which is why I love to use sponge bombs.
- One set can be used over and over again for the whole party
- They’re safer for little kids (balloons can be a safety hazard with toddlers)
- They’re inexpensive
- They’re quick and easy to make
So, whether you’re making them for a summer party, or just as a fun activity for the kids to do on a hot day, I definitely think sponge bombs are a fantastic alternative to water balloons.
What You’ll Need:
- Soft Sponges
- Rubber Bands
- Scissors
- Bucket
Where to Get Your Sponges: For the set you see here, I bought a bulk pack of sponges from Amazon. But I’ve also used packs of sponges from the Dollar Store too. Just make sure you don’t get sponges with a rough/scrubby side
Rubber Bands: The best rubber bands I ever used for sponge bombs were the tiny baby hair bands like these. But since we had a bunch of regular rubber bands already, I just used those this time.
Step-by-Step Directions:
To make things easy for you, I’ve got a step-by-step tutorial with photos at the bottom of this post. Don’t forget to leave a rating and print out your copy of the instructions, too.
And if you’d like to see a video showing my method for making sponge bombs, then leave a comment below and I’ll get one made for you.
Tips:
Don’t skip these tips – read them before starting to avoid any potential mistakes.
Wrap the sponge bombs as tightly as possible
The best way to make sure your sponge bombs stay together is to wrap the rubber band around them as many times as possible
Cut along the short side
Many tutorials advise cutting the sponges into thirds on the long side of the sponge. But then you need 2-3 sponges for each sponge bomb.
Instead, I like to cut along the short side of the sponge, getting one sponge bomb for each sponge.
Yes, this means they will be smaller…but my kids don’t seem to care at all. And I’m all about saving a little bit of time and money. Especially when you’re in crunch time right before a party.
FAQs:
Why do you recommend using rubber bands?
Yes, I know there are plenty of other methods recommended out there, and I actually spent one summer testing all of them against each other. Here’s what I found:
- Twine, thread, or yarn: This works well, but it’s kind of a pain to hold all the sponge pieces together while also trying to tie them together. Plus, the potential for mold growth just grosses me out.
- Zip ties: This was definitely the most annoying method. You have to make sure you have zip ties that are small enough, and then if you don’t have it in the right direction, they slip out too quickly, meaning everything falls out. Plus you have the added step of trimming all the ties. This one’s a hard pass for me.
- Monofilament: I love to use monofilament (also referred to as fishing line) for my crafts. But it’s not that easy to get a knot that stays put. It’s just too fiddly a method, so I don’t recommend it.
- Rubber Bands: These come together faster than any other method. But you have to make sure that you wrap the rubber band as tight as you can, or the sponge bombs might fall apart. As mentioned above, using the small baby hair bands worked well too.
In the end, regular old rubber bands won the test because they are so much easier to work with in addition to being cheap and readily available.
Other people suggest measuring out your cuts. Why don’t you?
Um…because I don’t really see the point?
Okay, in all fairness, I suppose you could. But really, it doesn’t matter. Let’s not overthink it. Just cut, tie, fluff and have fun.
If you liked these sponge water bombs, you’re going to love my 100 Summer Activities for Kids. It has ideas for nearly every day of the summer…whether the sun is shining or not. Or you can check out my other party games and activities right here.
How to Make Sponge Water Bombs
Have a blast in the summer heat with these super easy sponge water bombs! They’re a great alternative to water balloons and so much fun with the kids.
Materials
- 6 Soft Sponges
- 6 Rubber Bands
- Scissors
- Bucket with water
Instructions
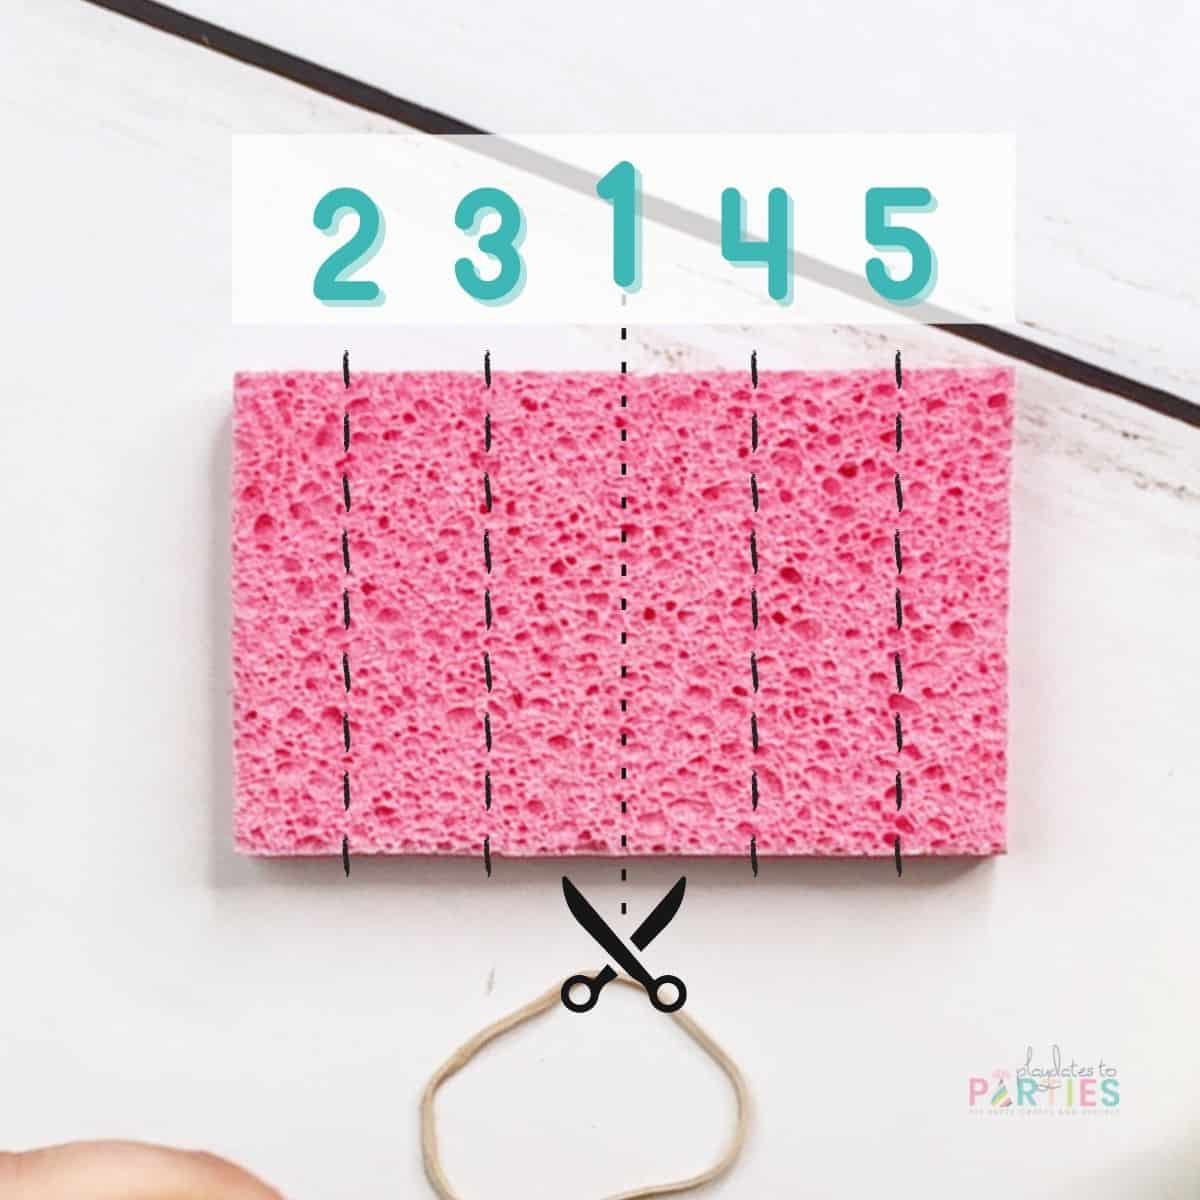
- Cut your sponges into 6 strips each along the width of the sponge. Your strips will be roughly ½ to ¾ of an inch wide. (see notes)
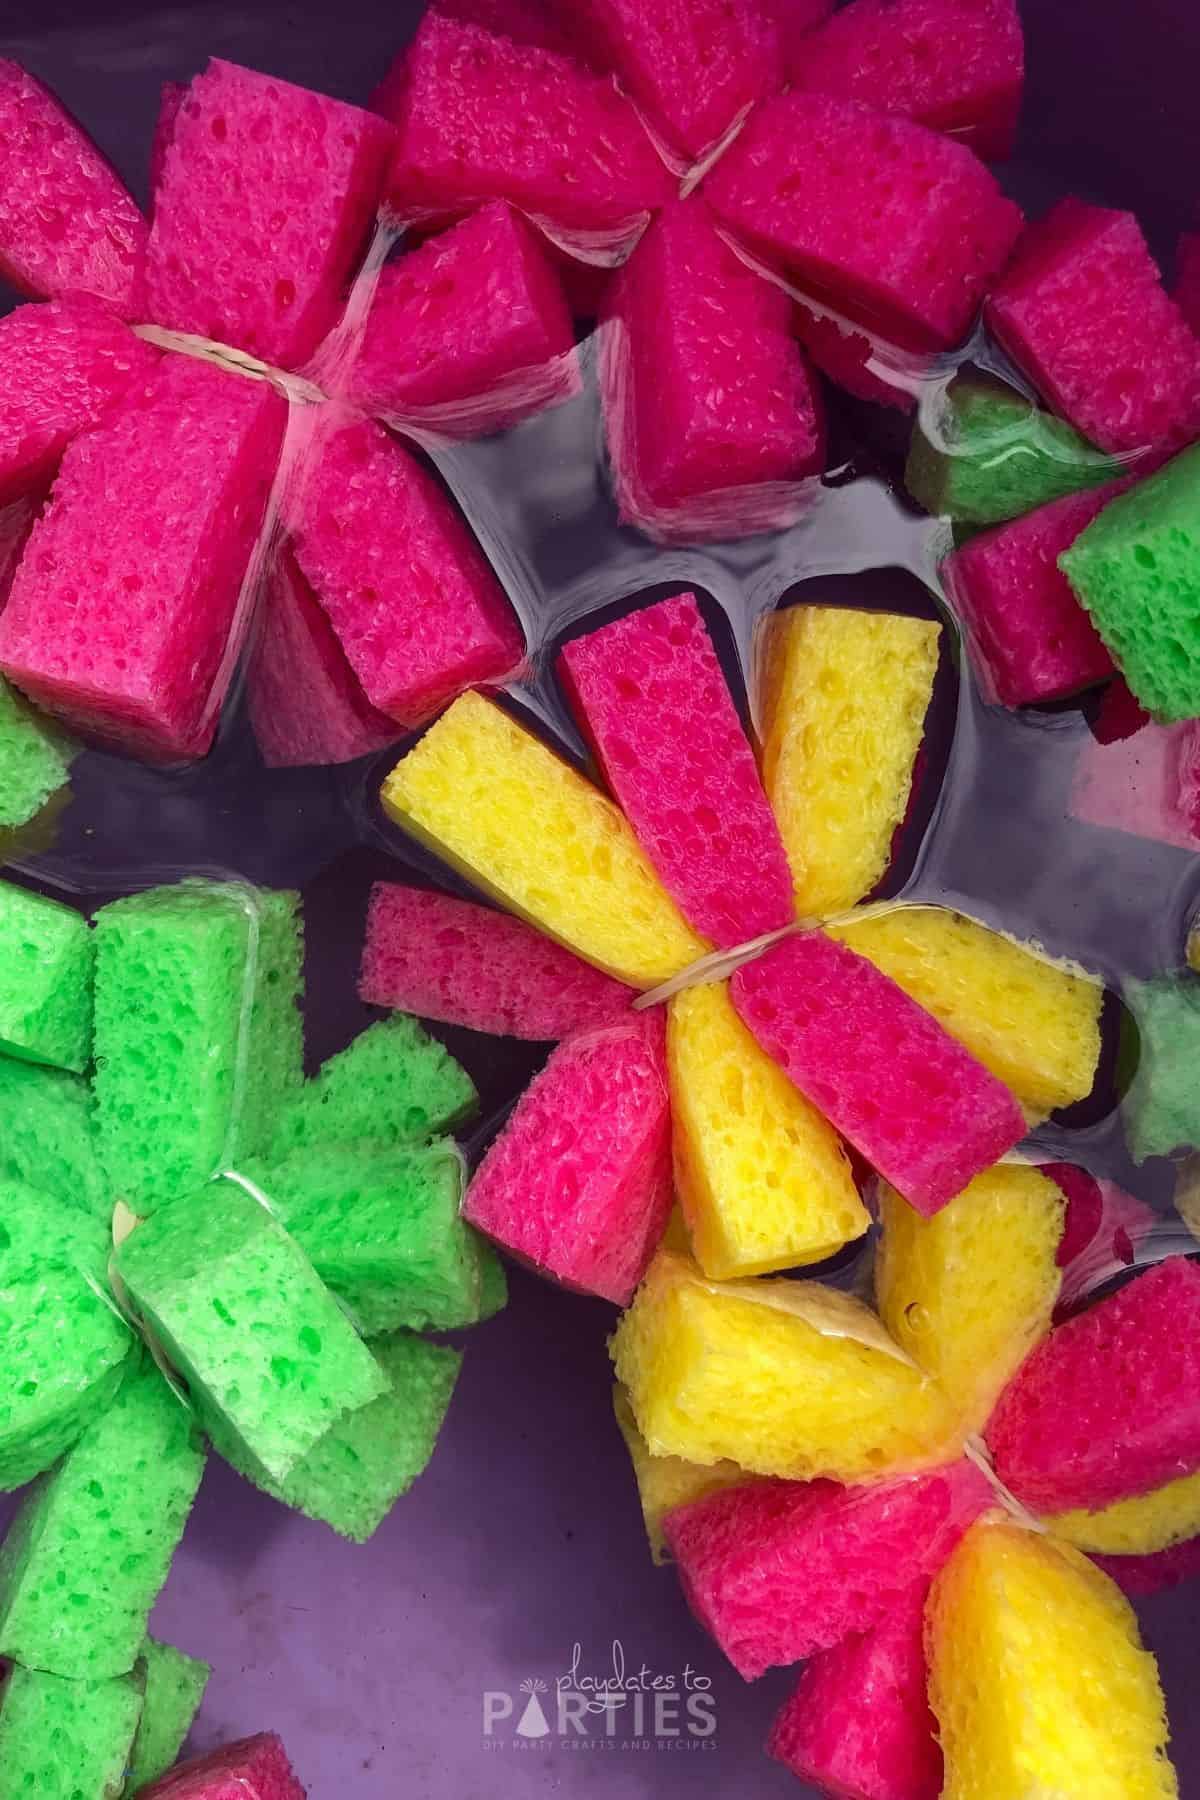
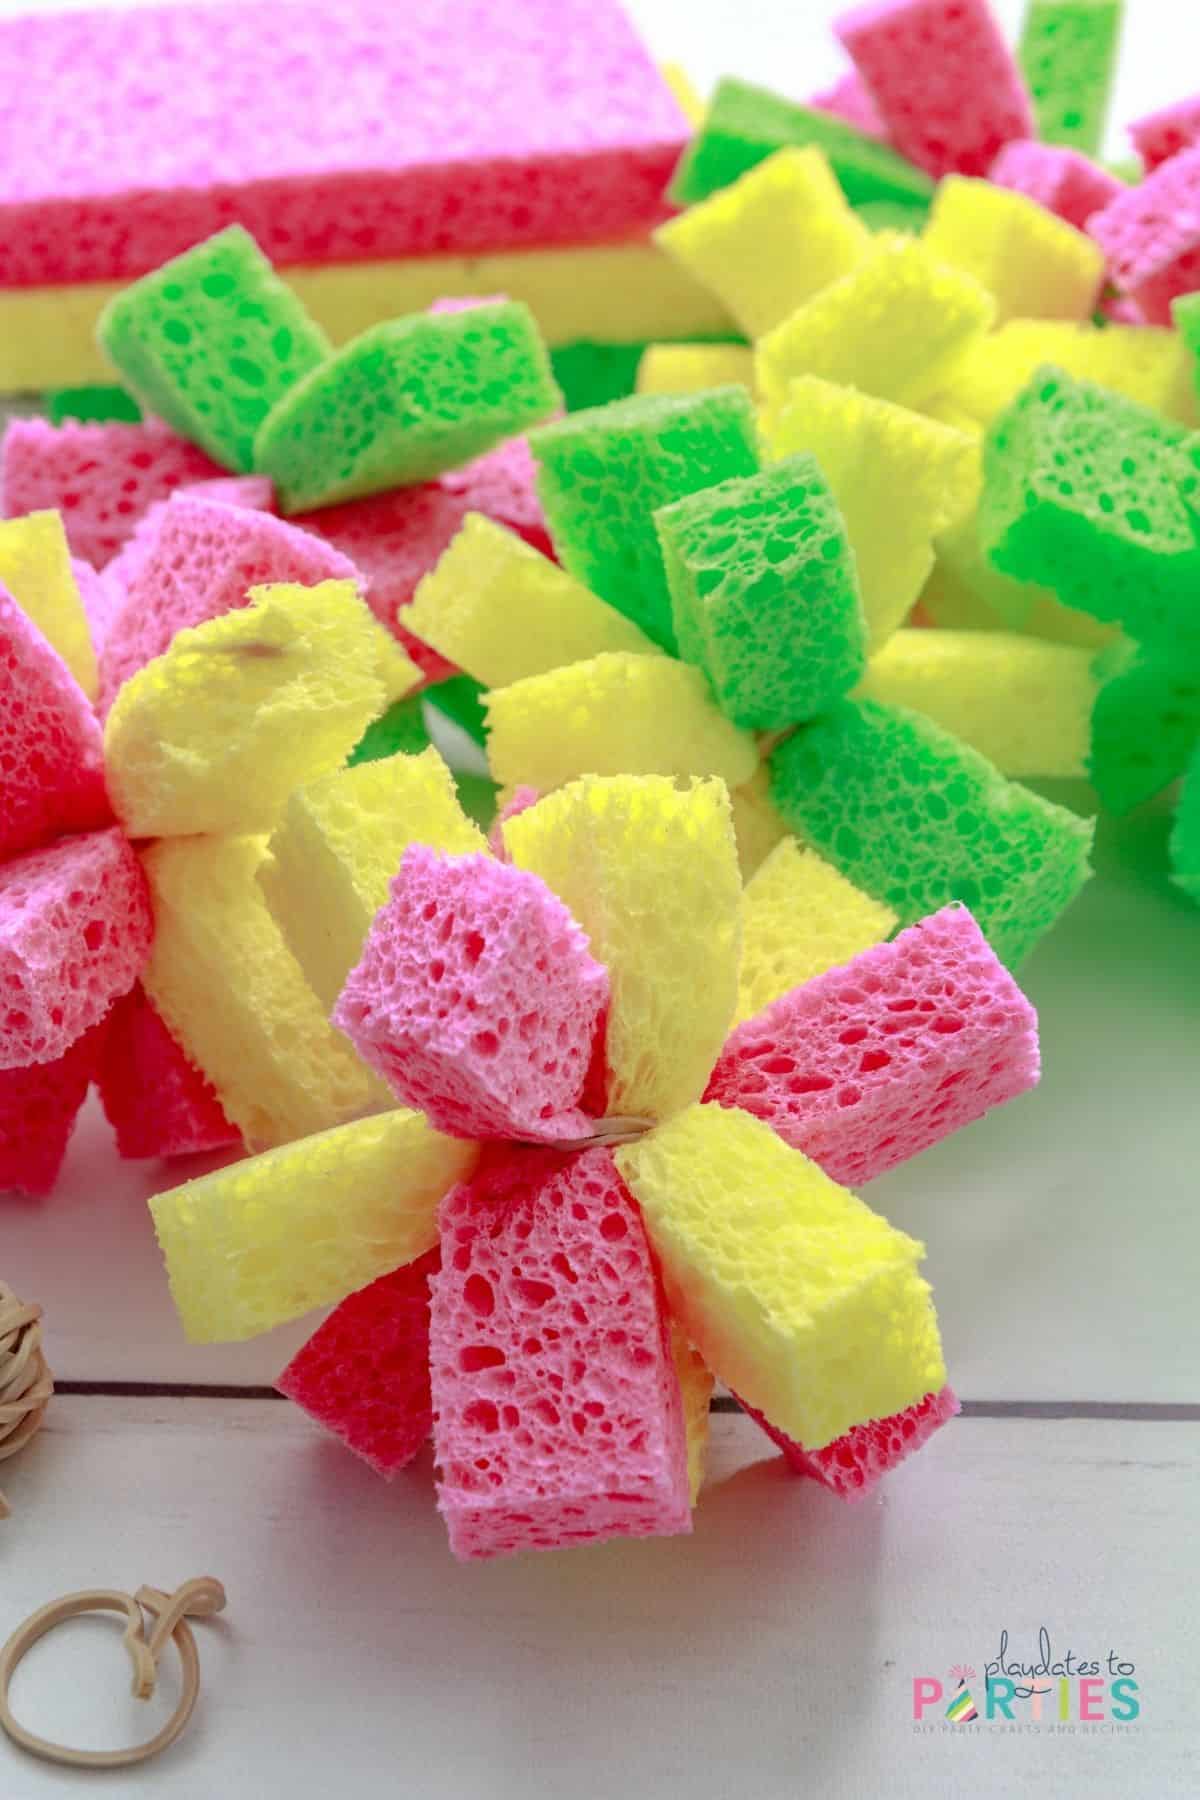
- Gather 6 sponge strips into one hand, and wrap them tightly with a rubber band.
- Fluff you sponge to create a ball shape.
- Repeat steps 2 and 3 with the remaining sponge strips.
Notes
- To get evenly sized strips, start by cutting the sponge in half, then cut each half into thirds
- The tighter you wrap up or tie your sponges, the longer they will last, so try to get the rubber band around as many times as possible.
 Want more party inspiration? Join me over at
Facebook, and Twitter,
for regular updates and fabulous finds from around the web.
Want more party inspiration? Join me over at
Facebook, and Twitter,
for regular updates and fabulous finds from around the web.


Anna says
Such a creative DIY! Will try and make these when the kids’ friends come over. Thanks for sharing!