Summer is here and it’s time to get ready for your Independence Day celebrations. There are a lot of fun ways to celebrate July 4th, but in this tutorial I want to share a project that will cast a magical glow on your evening: patriotic paper lanterns!
Paper lanterns have been used all over the world for centuries and they’re still popular today. Most of us are familiar with the popular paper lanterns from China and Japan, but they’re becoming more popular for weddings, graduations and other celebrations too.
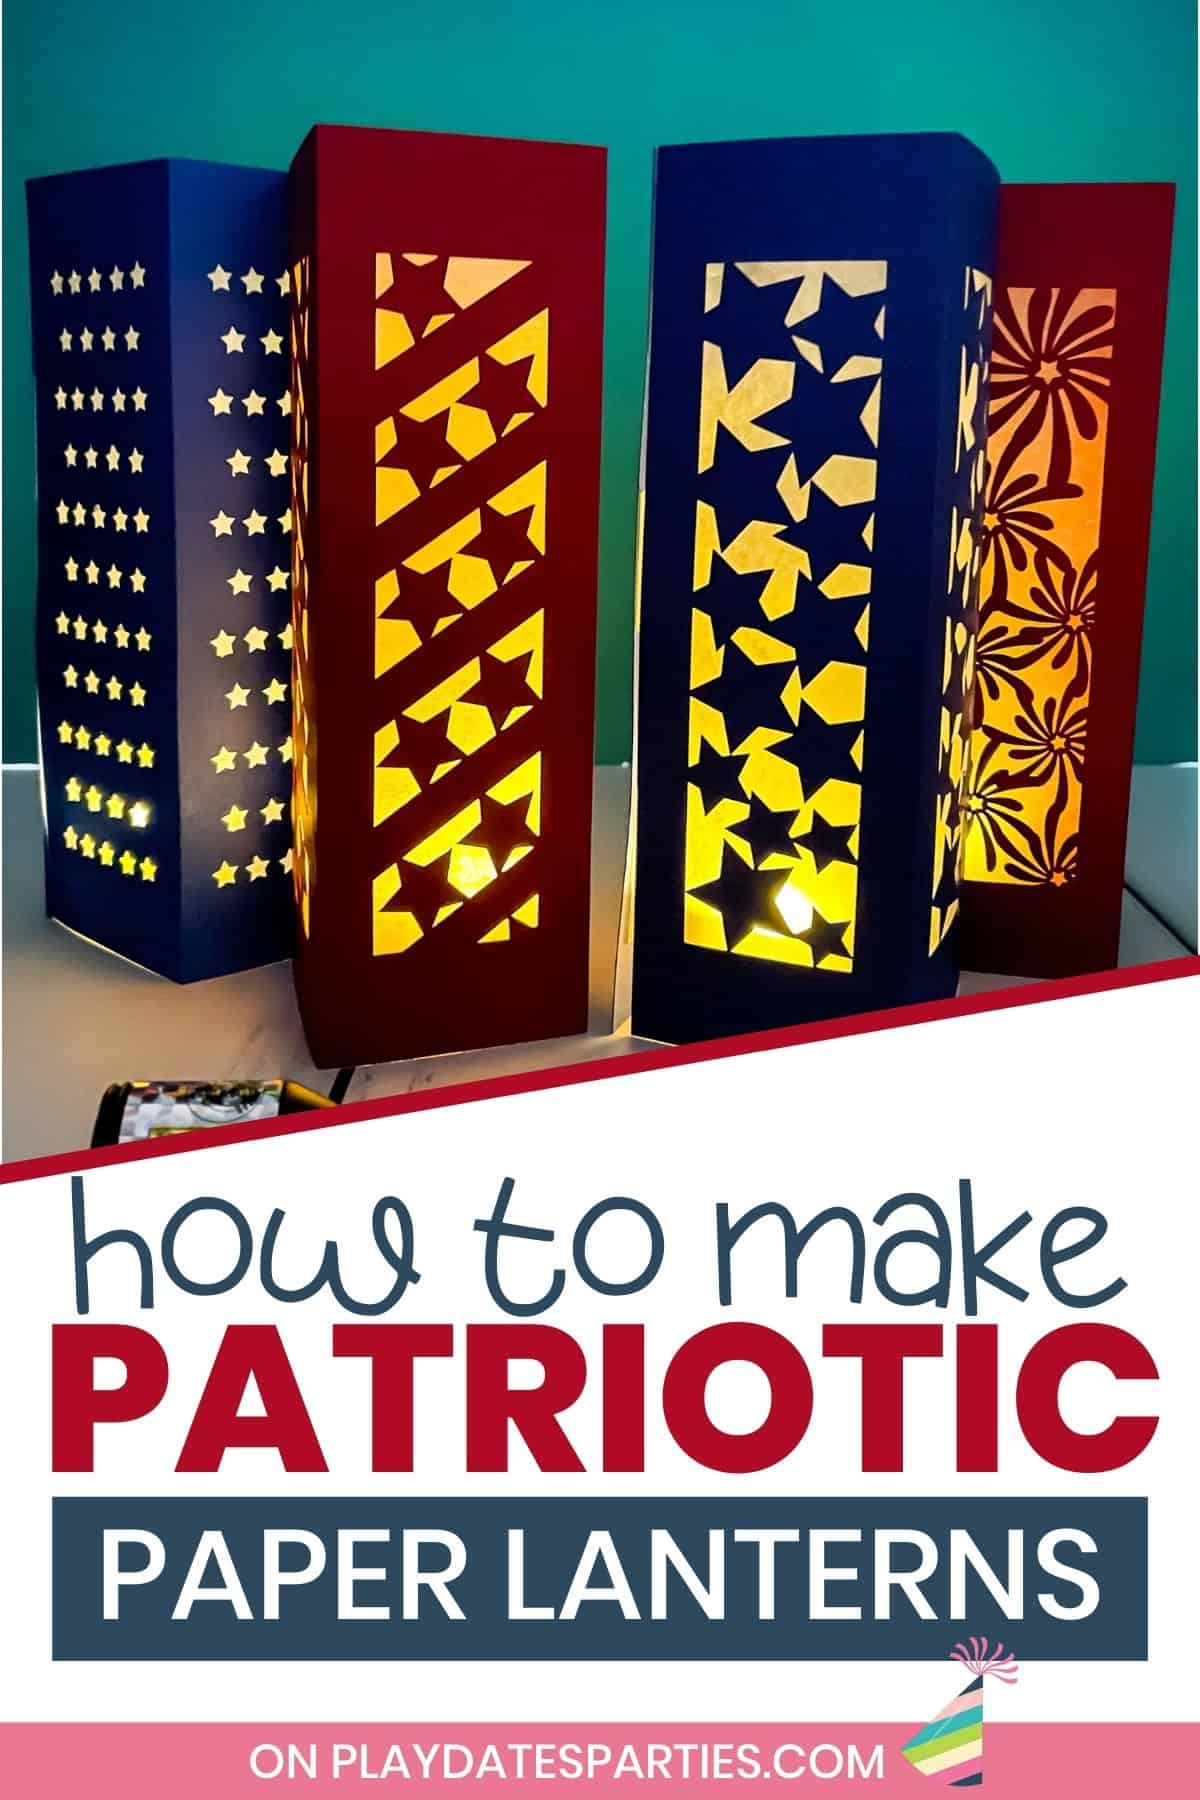
I love paper lanterns.
I think it’s fair to say that paper lanterns are popular all over the world for many reasons:
- they look great in pictures,
- there are a lot of different themes and styles you can make them with, and
- since they’re made from paper – it feels like anything goes!
Paper Lanterns might be one of the prettiest ways to decorate for nighttime gatherings. They make great favor gifts at your events, too. Because everyone loves getting something that was made by hand with love!
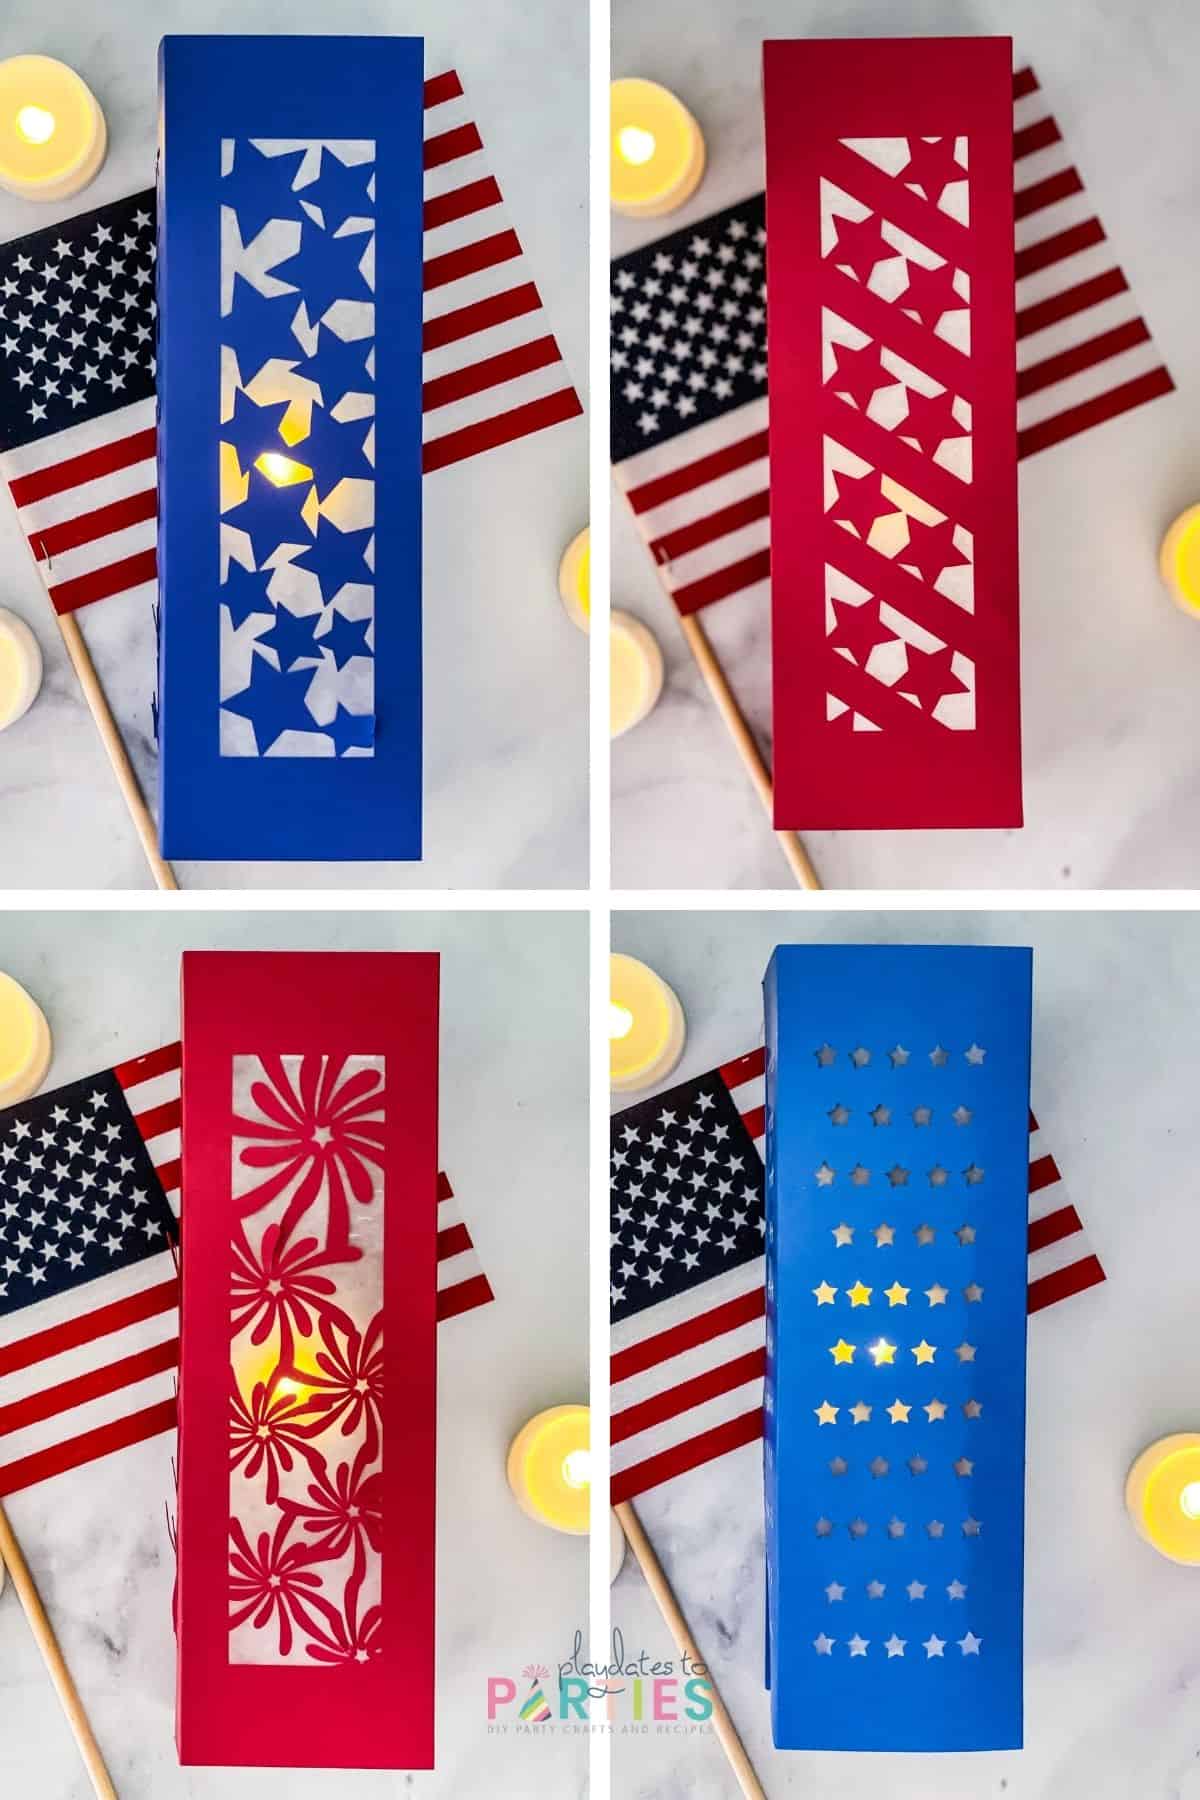
In this tutorial, you’ll learn how to make four paper lanterns with a “patriotic” theme. We’ll show you all the steps – from uploading the file to Cricut Design Space all the way to lighting them up. We’ve also shared plenty of tips and FAQs along with a video tutorial so that anyone can do it.
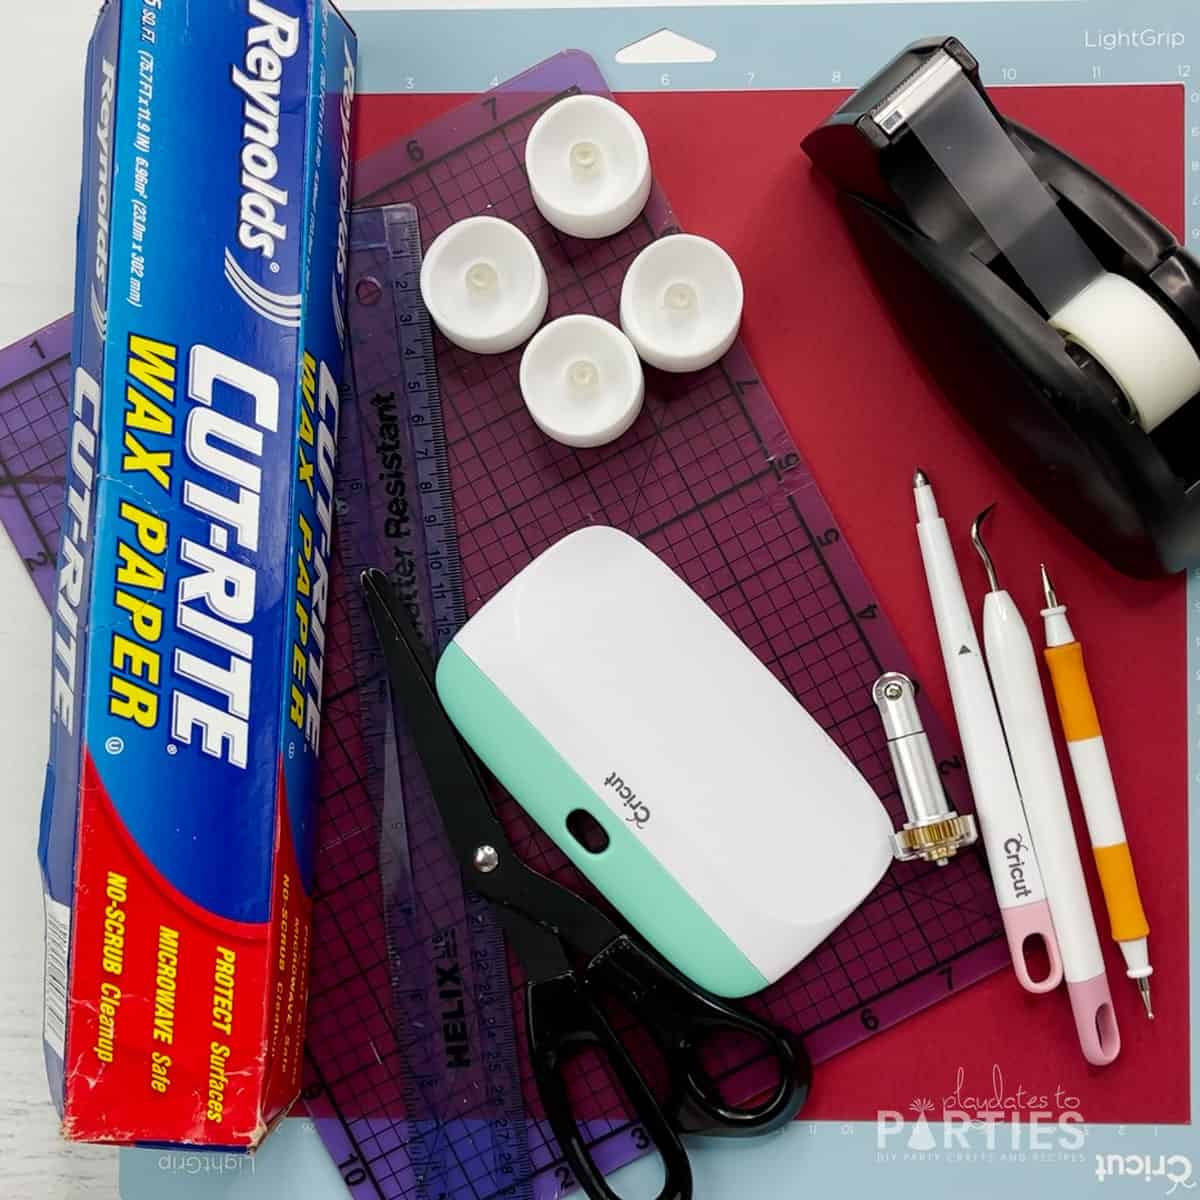
What You’ll Need:
Materials:
- This SVG file
- red and blue card stock (letter size or larger)
- Wax paper
- Clear tape (not double sided),
- Battery operated tea lights,
Supplies:
- Cricut Cutting machine
- light grip cutting mat
- Single scoring wheel or scoring stylus
- Fine point blade
- Scraper tool
- Mat with measurements to the half inch (I used a self healing mat)
- Weeding Tool
- Ruler
- Hand held scoring tool (I used an embossing stylus)*
- Scissors
*If you don’t have a scoring tool, these are some great options
A Few Notes about the supplies:
Scoring Wheel vs. Scoring Stylus: If you only have a scoring stylus, you can definitely use that. However, the scoring wheel will give a deeper crease, which will make it easier to fold the lanterns later.
Wax Paper: I choose wax paper because it looks gorgeous when lit up and it’s extremely affordable. However, if you don’t have any wax paper on hand, you can also use parchment paper or vellum. However, they may not be as easy to measure or cut.
Step-by-Step Directions:
To make things easy for you, I’ve got a printable step-by-step tutorial with photos at the bottom of this post. Don’t forget to leave a rating and print out your copy of the instructions, too.
You can also watch the full video tutorial in the video player on this page, or over here on YouTube.
Essential Tips:
Don’t skip these tips – read them before you start to avoid any potential mistakes.
Double Check the Height of Your File
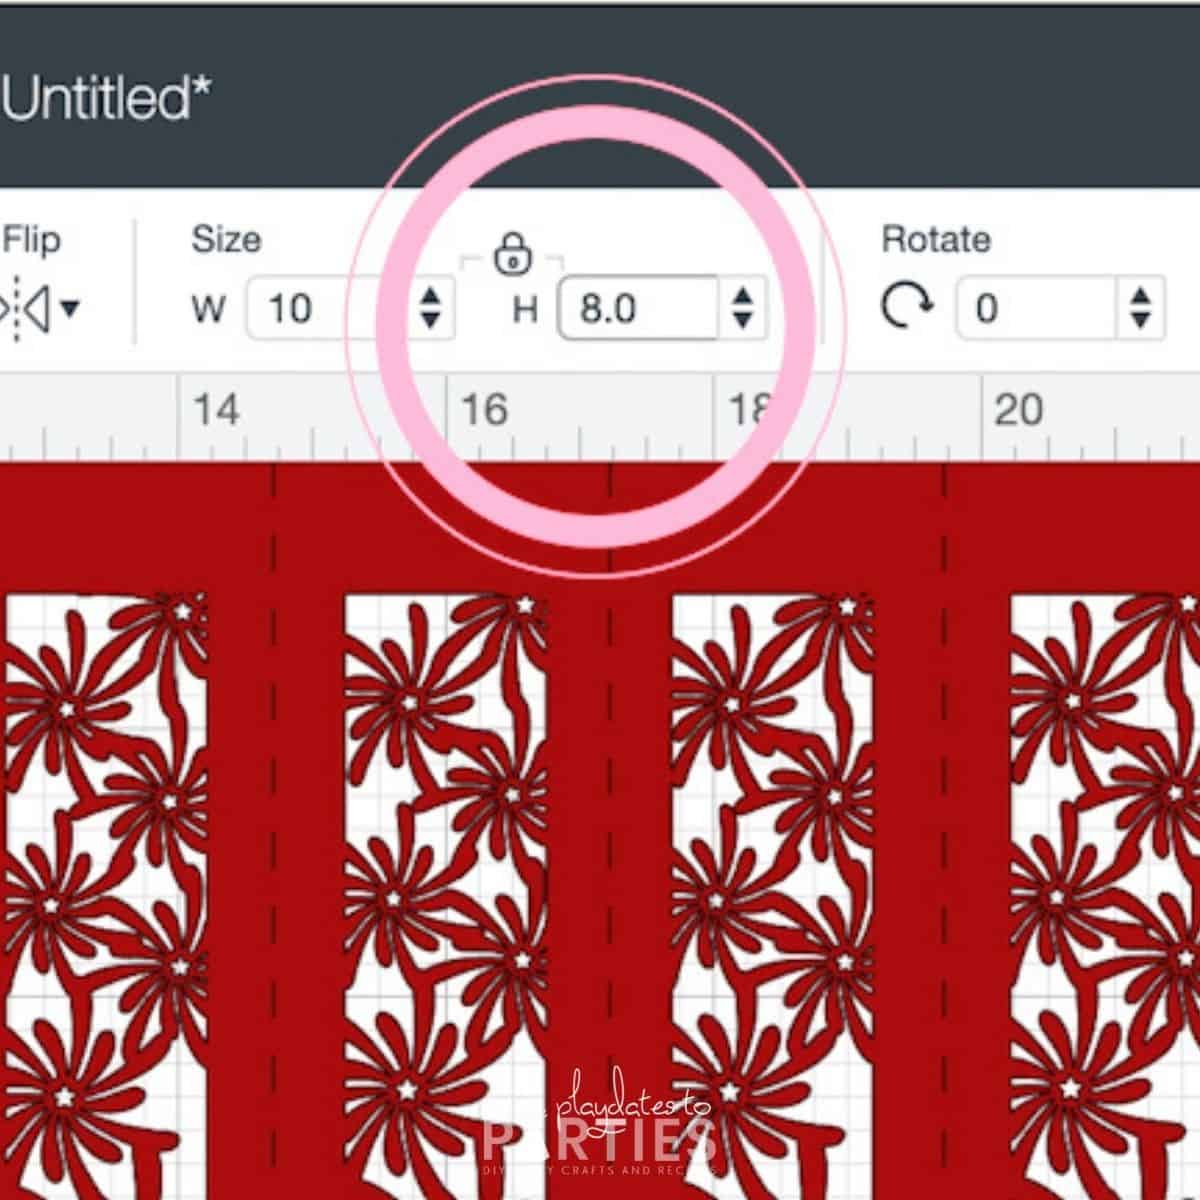
While testing this pattern file, I noticed that sometimes the same file would upload at an even 8 inches tall, and sometimes it would be ever so slightly taller than 8 inches – even when no changes were made to the file itself. 🤷♀️
If you’re cutting it out on 12×12 paper, this shouldn’t be a problem. But if you want to use letter size paper (to save $ and reduce scraps) then you need to double check that none of the designs are taller than 8 inches before clicking “Make it”.
Make sure you choose the correct pressure for your paper.
If you’re using a fresh mat and blade with lightweight cardstock, these designs can cut perfectly without extra pressure. However, if you are using medium weight or heavy weight cardstock, you will want to adjust the pressure or use the “Cardstock for intricate cuts” setting.
However, I always recommend doing a test cut for intricate designs to double check the pressure that your specific machine puts out.
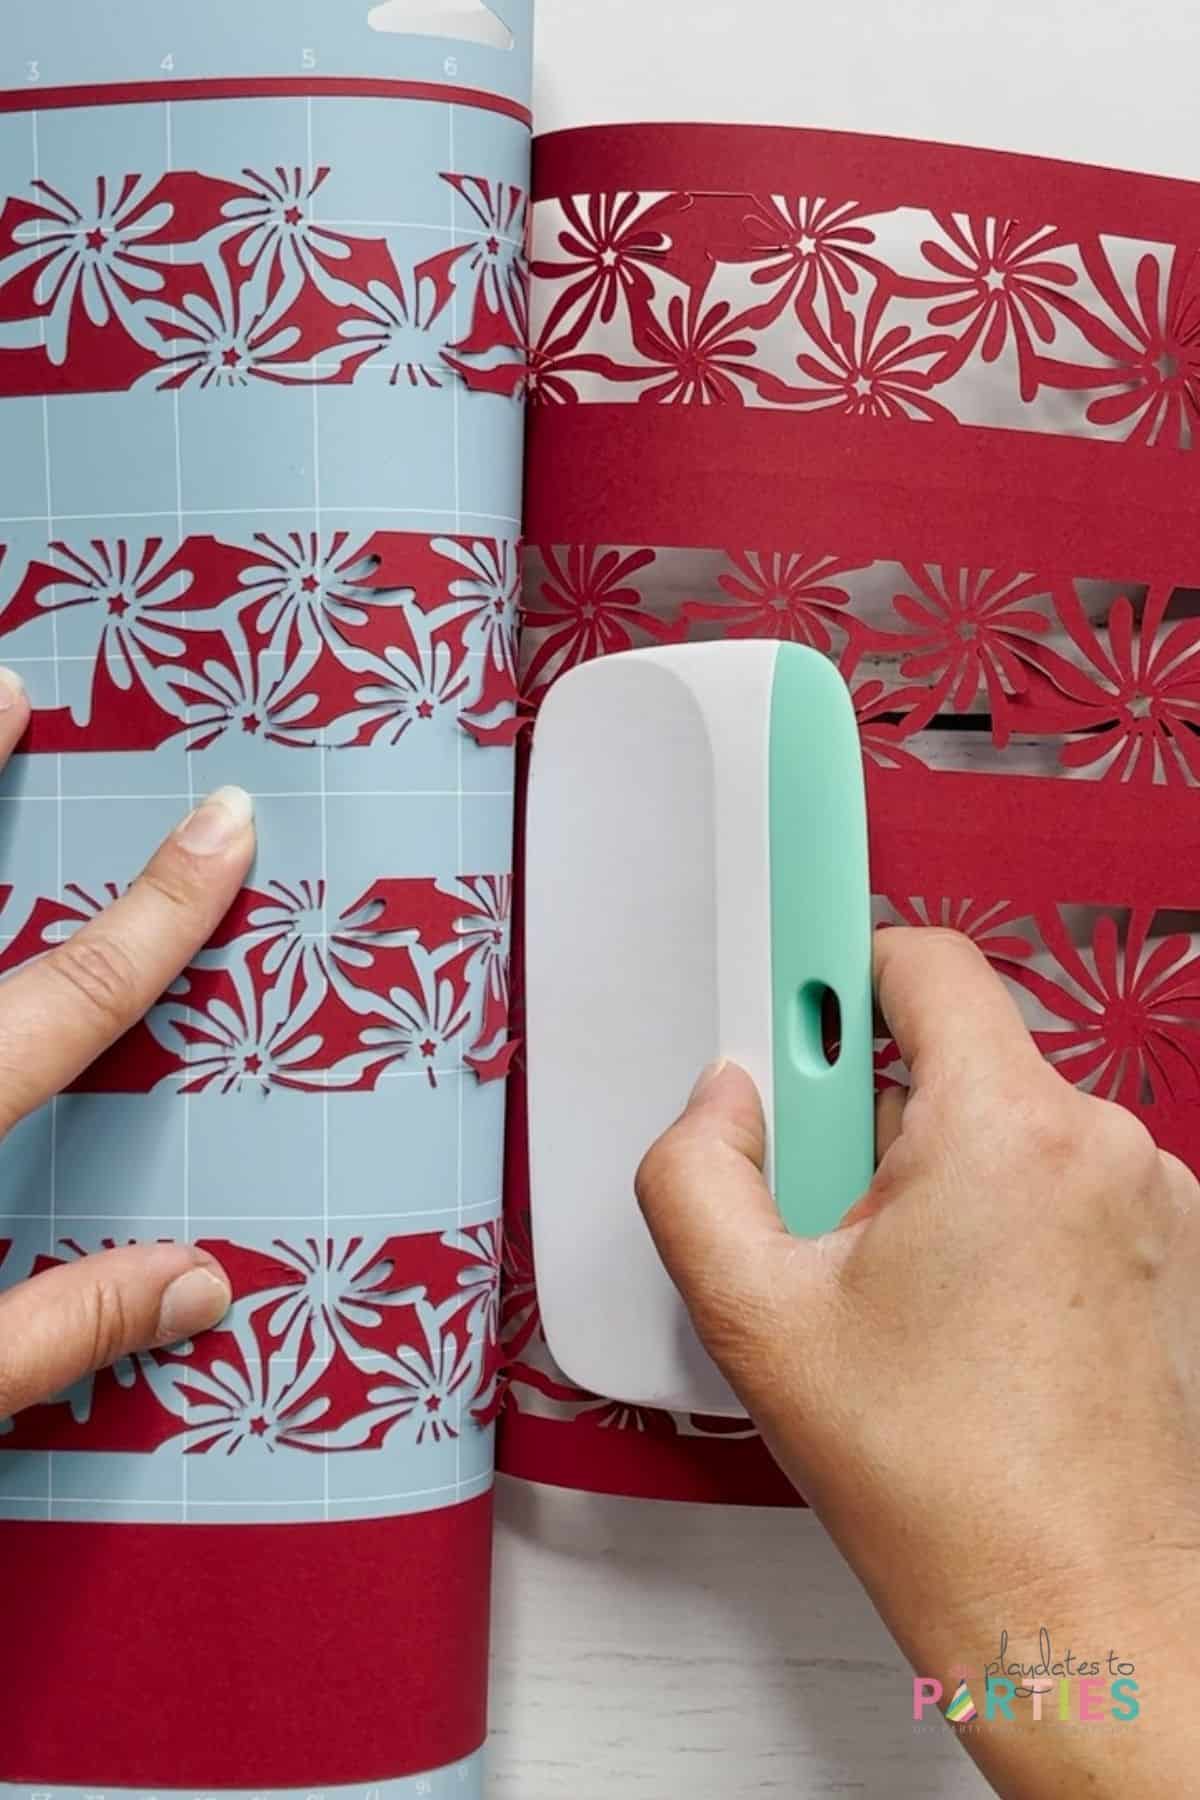
Use a Scraper Tool to Help Remove Delicate Pieces from Your Mat:
Even though I had at least two perfect cuts with this design before making my video…the one I filmed ended up losing one piece of the fireworks to the mat. 😢
If you find that your designs want to stick to your mat, then you can use a scraper tool to gently lift the pieces up off the mat while peeling it off of the paper. Just remember that sometimes these things happen. And with a project like this, you can get away with some imperfect cuts.
(Seriously, we had these out for weeks at our house, and no one noticed the missing piece to that lantern)
FAQs:
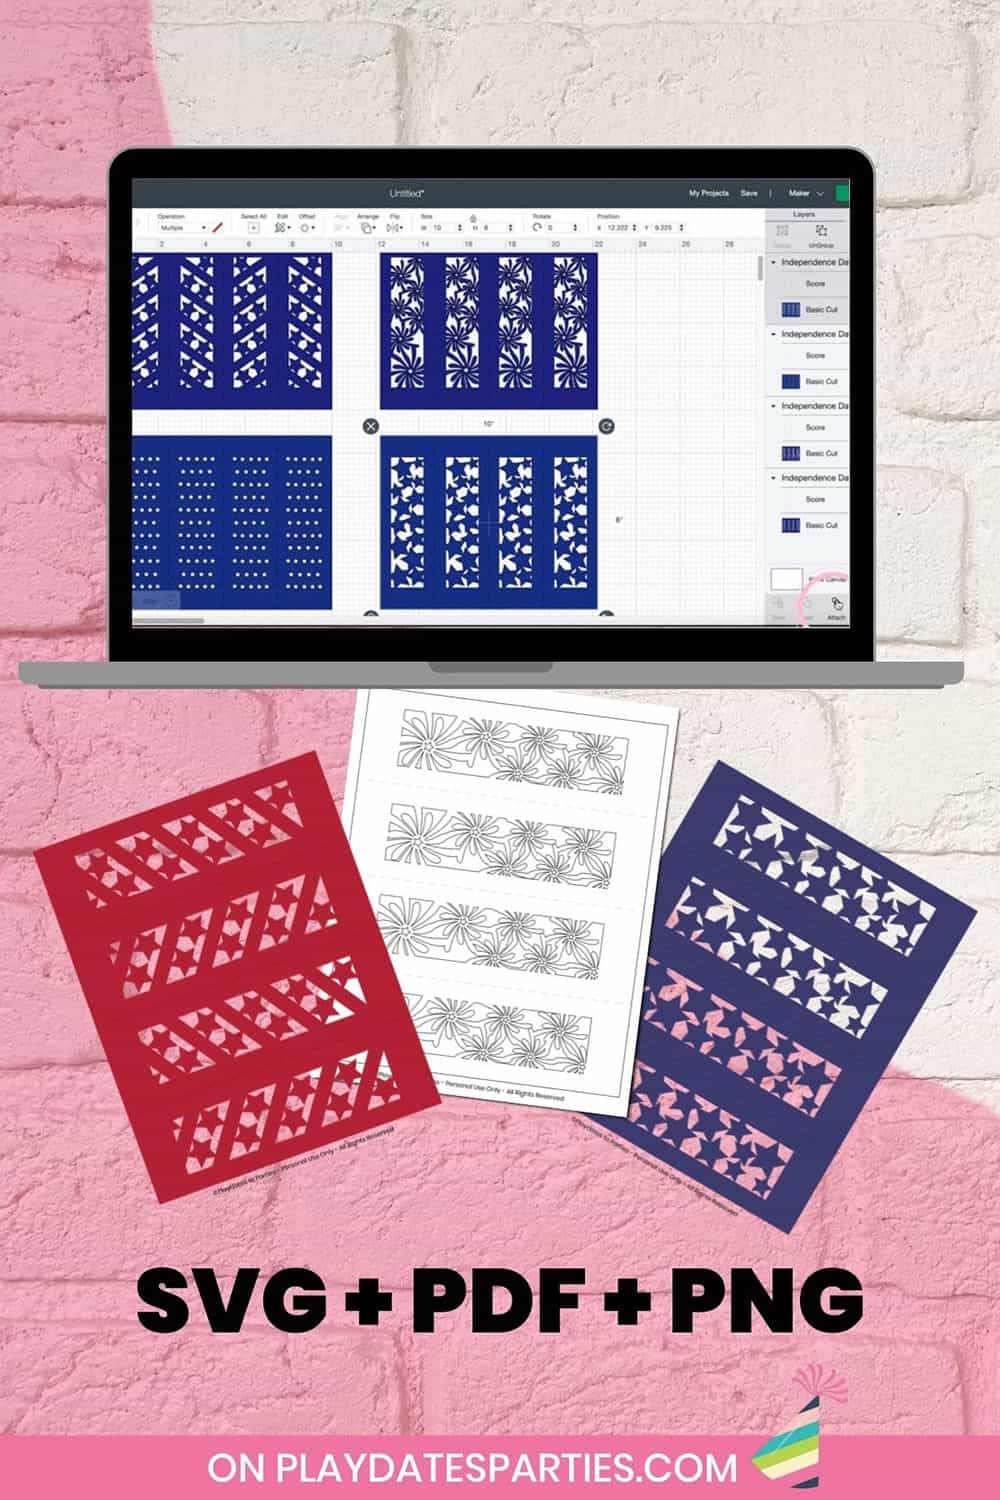
What comes with the download?
This file includes:
- SVG cut file wiith all four designs
- PNG files with all four designs in both blue and red (8 pages)*
- PDF file with all four designs in both blue and red (8 pages)
- PDF file in black and white that you can print onto cardstock and cut with a craft knife
Note: The PNG Files come with a transparent background and can be uploaded as Print then Cut in Cricut Design Space. If you choose to do so, you will need to:
- remove the copyright information from the file (see a sample of that in action here), and
- adjust the size in Cricut Design Space to no more than 9.25 inches wide. (Make sure to keep the lock closed when adjusting the width)
How Big are the Lanterns?
As designed, the finished lanterns are 8 inches tall by 2.5 inches wide.
Can I resize the lanterns?
You can definitely resize them in Cricut Design Space if you wish, but please remember the following:
- The maximum cutting width for 12”x12” paper is 11.5”
- You will need to measure out the new size for your window panes before cutting the wax paper,
- Intricate cuts will get more finicky if the lantern is made smaller. You may need to run a test cut to determine the right amount of pressure.
What if I don’t have a Cutting Machine?
PDF and PNG files are provided if you don’t have a cutting machine. You will need:
- Cardstock
- A craft knife,
- Self-healing mat (or a surface you don’t care about), and
- Plenty of time and patience.
I have a cutting machine, but it’s not a Cricut. Will these still work?
Unfortunately I have not been able to test this with other machines, so I can’t guarantee that the files will work with your machine. If that changes, I will definitely stop by and update this page.
We hope you enjoy these patriotic paper lanterns and would love to see your finished projects! If you give them a try, please share them with us on Instagram or Facebook.
If you’re looking for more patriotic inspiration, you’re going to love this DIY Star Shaped Cupcake Stand – it’s a stunning addition to any patriotic party theme. Or you can check out my other Cricut crafts right here.
How to Make Patriotic Paper Lanterns
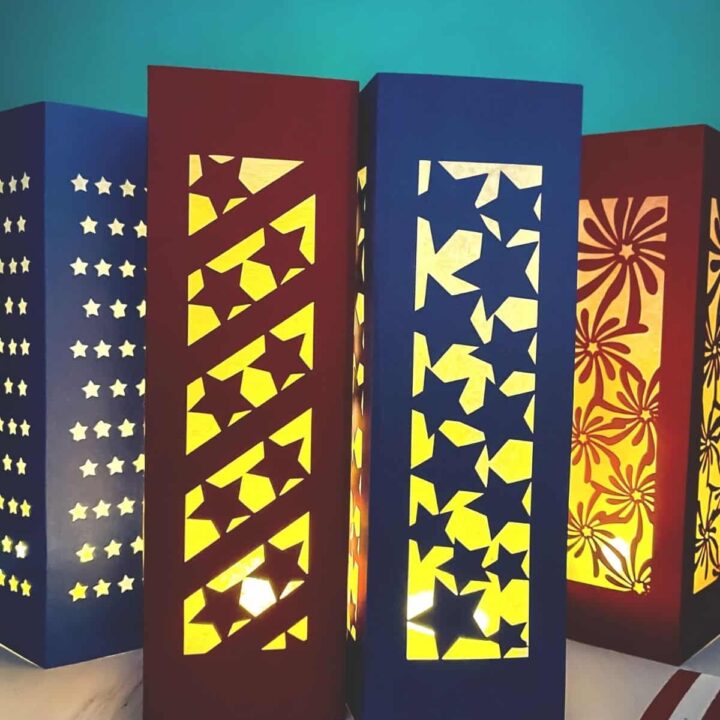
In this tutorial, you’ll learn how to make a 4 fun patriotic paper lanterns that will cast a magical glow for your holiday celebrations.
Materials
- This file
- red and blue card stock (letter size or larger)
- Wax paper
- Clear tape (not double sided)
- Battery operated tea lights
Tools
- Cricut cutting machine
- light grip cutting mat
- Single scoring wheel or scoring stylus
- Fine point blade
- Scraper tool
- Mat with measurements to the half inch (I used a self healing mat)
- Weeding Tool
- Ruler
- Hand held scoring tool (I used an embossing stylus)
- Scissors
Instructions
Upload the File to Cricut Design Space
- In a new project, click on upload, then upload image, then browse.
- You may need to navigate to wherever your file is located on your computer. Then choose the SVG file, and click Open
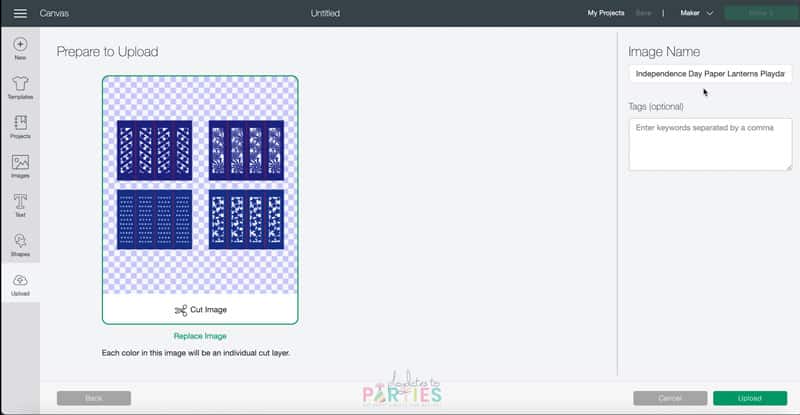
- Next you’ll see the preview screen, which should look like the image above. If you like, change the name or add tags to help you find them again later.
- Once the file is uploaded, select it on the Upload screen and click insert images.
Prepare and Cut the File
- When the file is inserted, you may need to zoom out to see all the lanterns.
- Select the design and ungroup it.
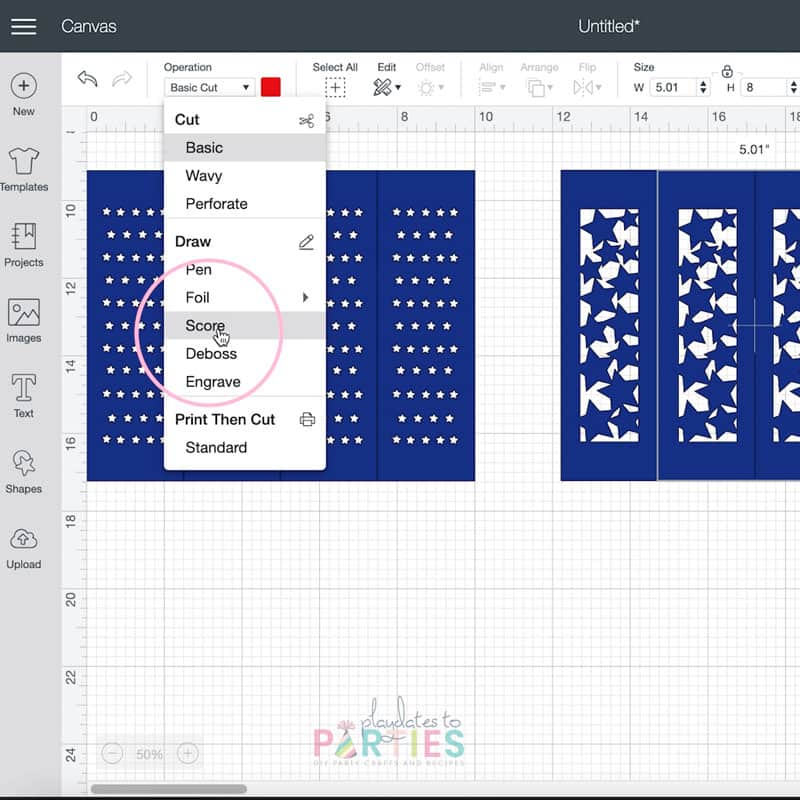
- After ungrouping, you’ll have four sets of cuts. The bottom layer of each set will be the lantern design. The layer just above that will be the score lines. You’ll know the score lines when you click on them and see that the material color is red. Next, you’ll need to take each of those red layers and convert them to score lines (under the Operation drop-down).
- Repeat for each of the other score lines.
- Next, select each lantern and its corresponding score lines, and click attach. Repeat for the other three lanterns.
- Finally, change the colors of the lanterns if you desire, and make sure that the height is no bigger than 8 inches.
- Click “Make It” and then follow the prompts to cut and print your design (See notes)
While the Machine Cuts, Prepare Your Window Panes
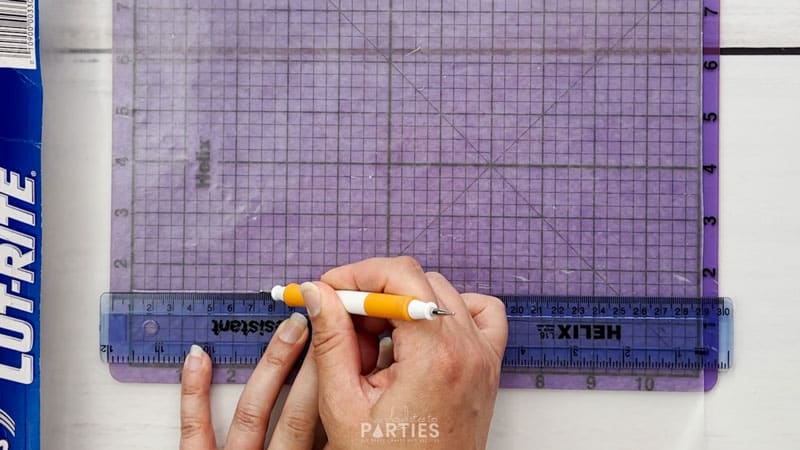
- Place a mat with a grid on a flat surface. Pull the wax paper out and place it over the mat. Line up the corner of the wax paper along the top and side corners. (If your wax paper has a rough edge, you may want to score and cut an extra line along the side to clean it up a bit)
- Measure six and a half inches down from the top corner of your wax paper, and place the ruler horizontally along that line. Use a scoring tool to score at least 8 inches along the ruler from the edge of the wax paper.
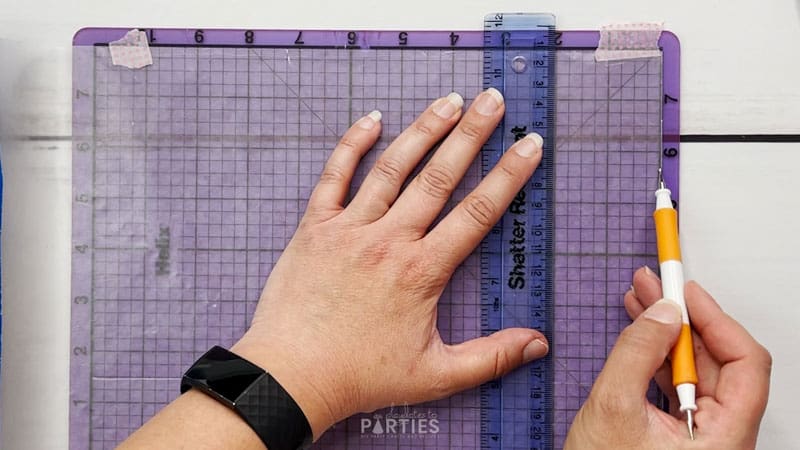
- Rotate your ruler 90 degrees and place it two inches from the side edge of the wax paper. Score along the ruler until you meet the horizontal score line you made in the last step. Repeat at 4 inches, 6 inches, and 8 inches from the side edge.
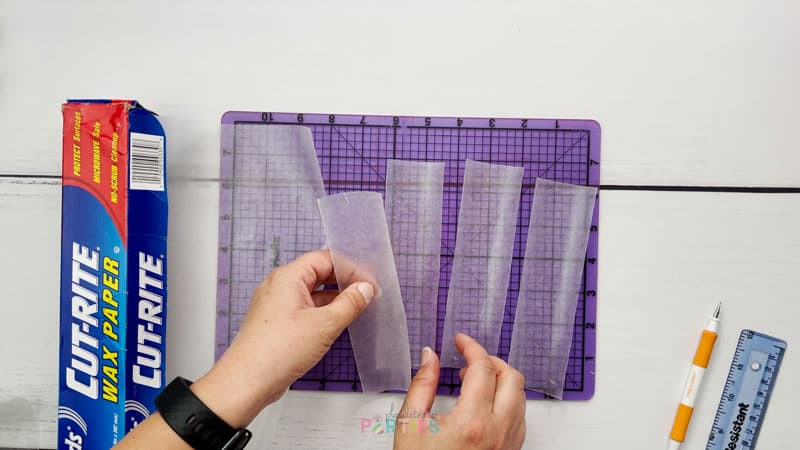
- Cut the wax paper along your score lines. You should have 4 window panes that are each 2 inches wide by 6.5 inches tall.
- Repeat for the remaining lanterns.
Assemble Your Lanterns
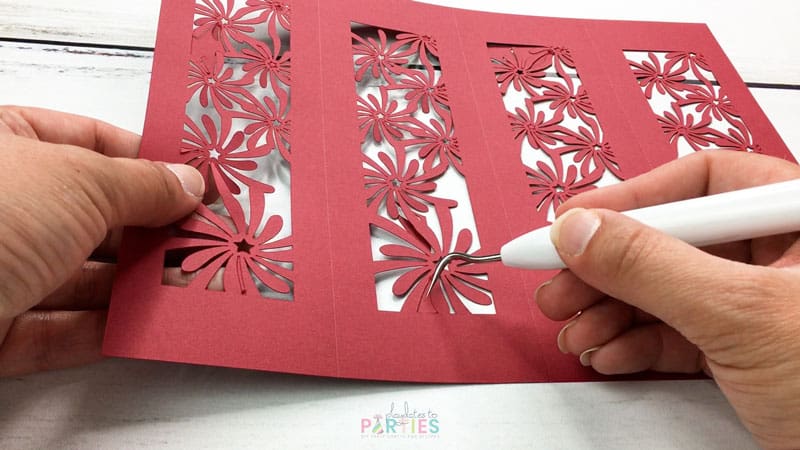
- Flip your mat over and very carefully remove the lantern. You may want to have a scraper tool available to help keep the delicate pieces attached to your card stock.
- If you still have pieces that are stuck in the design, use a weeding tool to gently press down and pop them out. (You can also use a straight pin if you don’t have a weeding tool)
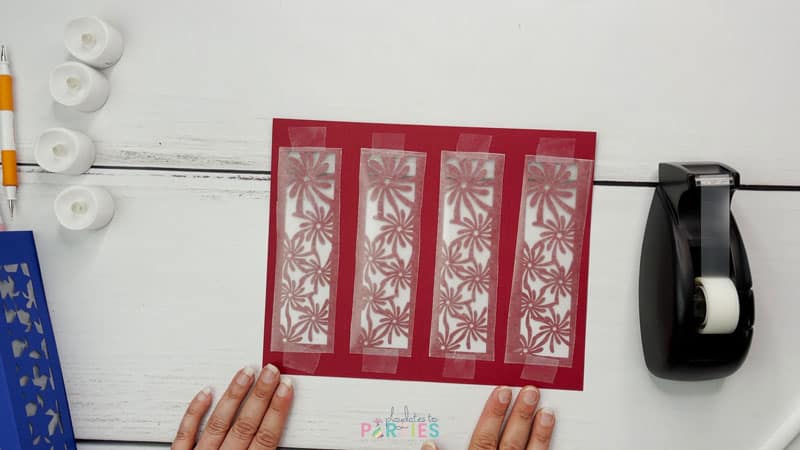
- Once all the pieces are removed, tape a wax paper sheet over each opening to the lantern. (I just tape the top and bottom of each sheet, but you can also tape the sides if you like)
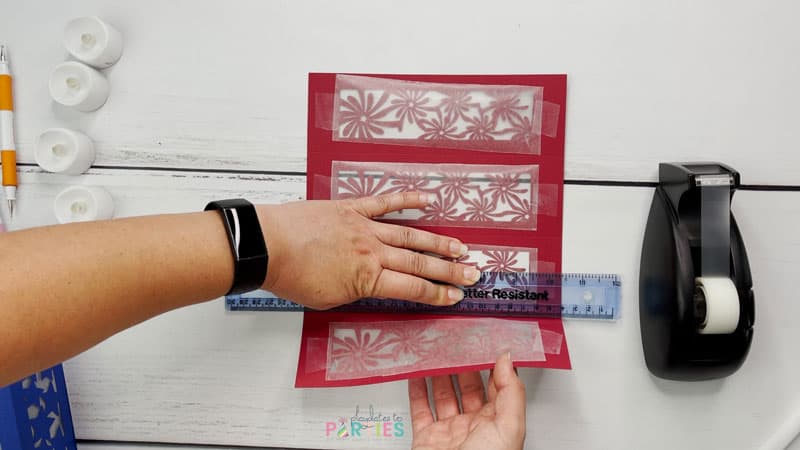
- Line up your ruler along one of the scoring lines and use it to stabilize the paper as you crease along the score line. Repeat with all the score lines. If you like, you can go ahead and fold each crease again to make it nice and crisp.
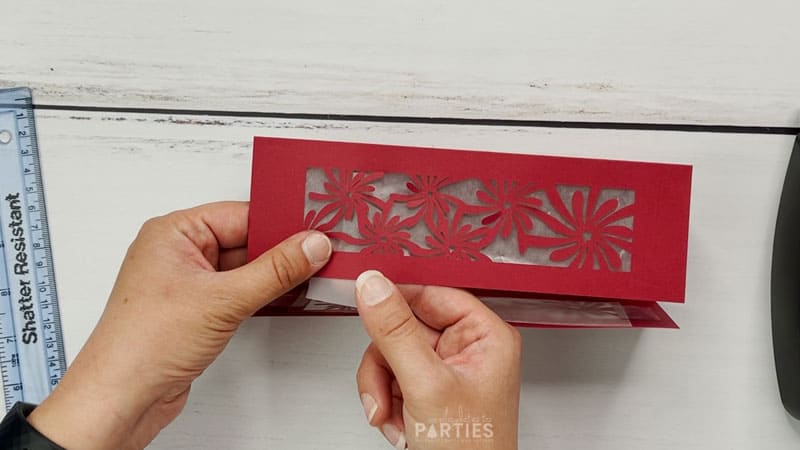
- Attach the sides of the lantern together with clear tape along the inside edge.
- Finally, place your lantern on top of a battery operated tea light, and enjoy your handiwork.
Notes
Don’t forget to check the blog post for more detailed tips and FAQs.
- Each lantern takes between 10 and 15 minutes to cut, depending on your machine
- Make sure you’re using the right pressure for your cardstock. It’s always a good idea to do a test cut to see how much pressure your specific machine puts out.







Leave a Reply