What’s more fun for a summer birthday party than getting to make and take home your very own ice cream? Learn how to set up your ice cream party activity for success, using items you already have in your kitchen.
“Summertime Is Just Memories Waiting To Happen”
unknown
All three of my kids were born smack in the middle of the summer heat.
In some ways that makes birthday parties easier. Set up a pool or water slide, and the kids can burn off their extra energy in the summer sun.
But that gets old fast.
So every now and then we like to add in a few other games and activities to keep kids happy, engaged, and to create unique memories. Activities like treasure hunts and cupcake decorating are definitely a hit.
But for my daughter’s ice cream birthday party last summer, I wanted to shake things up a bit.
You see, she decided she wants to be a “flavor maker” when she grows up. Honestly, I’m not sure whether she’s in love with the idea of creating new flavors or just naming them.
But it was a cute jumping off point for a hit of an ice cream party activity: Flavormaker Academy.
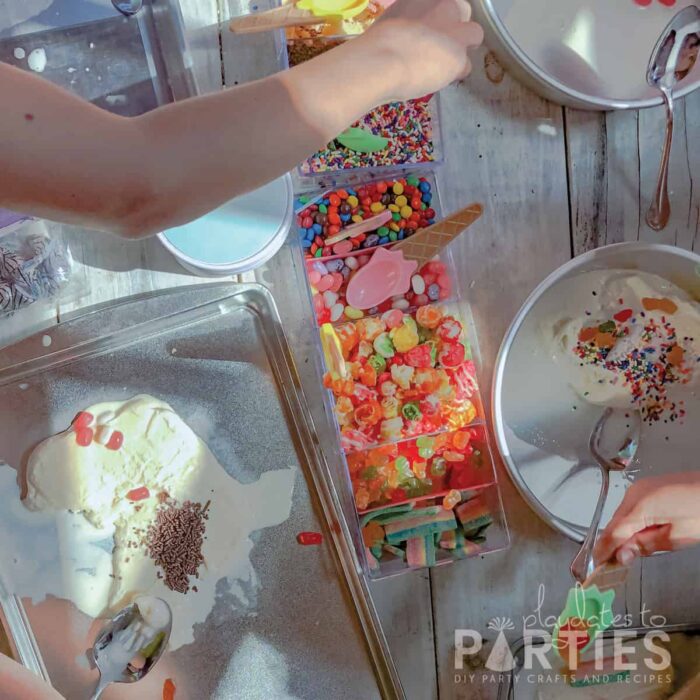
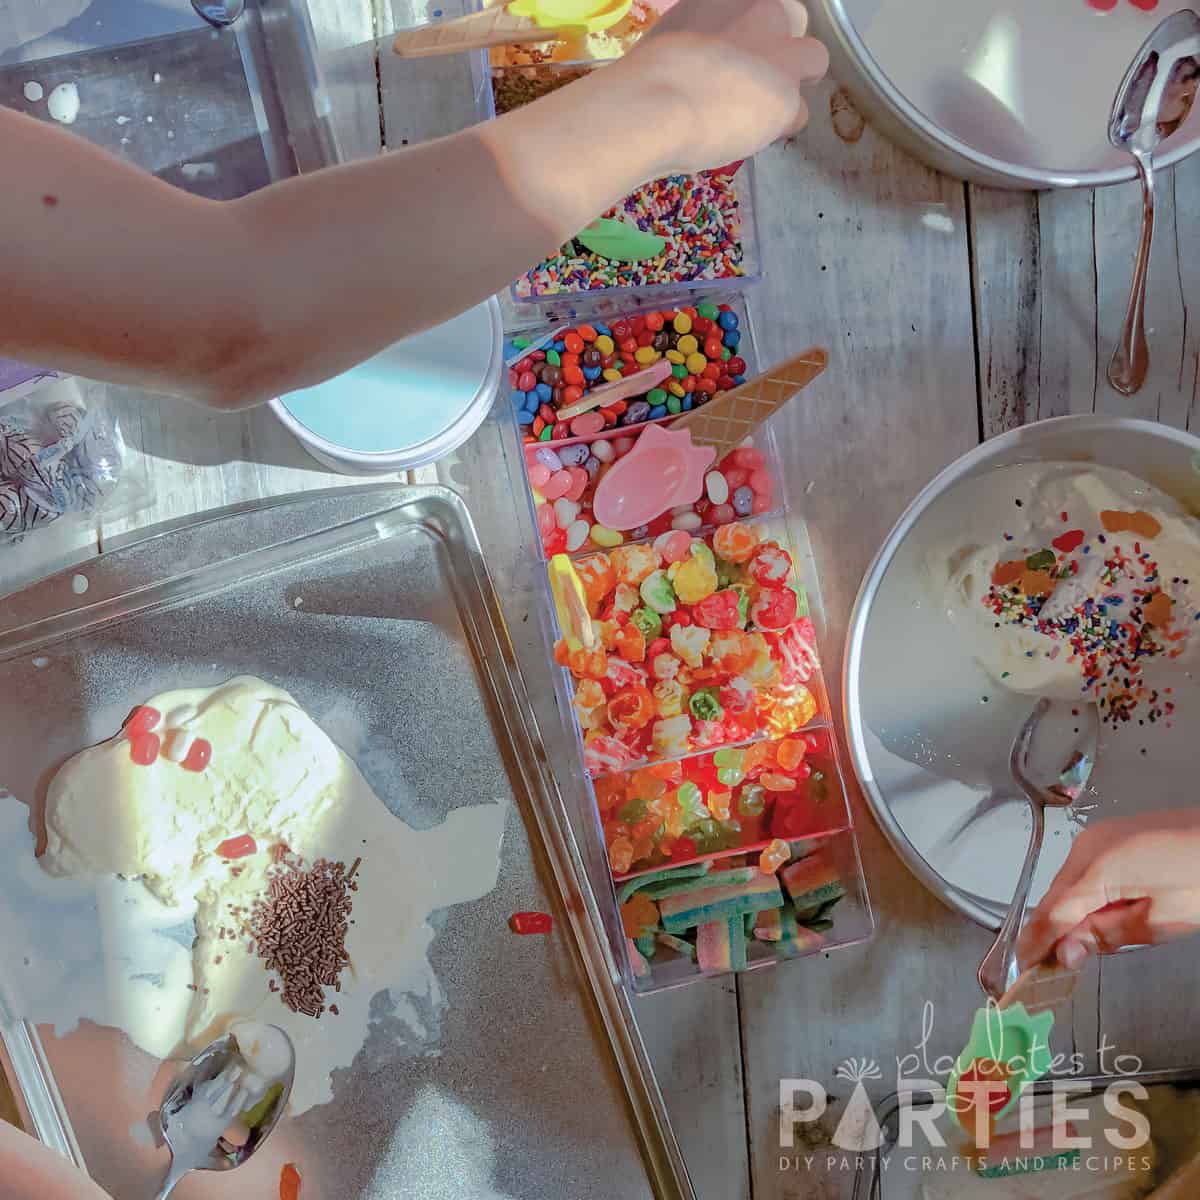
Basically, we gave all the kids some vanilla ice cream and a few mix ins, then let them all make their own crazy concoctions.
It didn’t really take any special equipment either. I used items from around our house to make it happen, and everyone had a blast.
What You’ll Need:
- 1 gallon tub of vanilla ice cream
- Ice cream scoop
- Mix-ins like sprinkles, candies, fresh fruit
- Plastic baggies (sandwich or quart size)
- A variety of metal baking pans (pie tins, cake pans, jelly roll pans…whatever you can find to contain the mess)
- Mixing spoons (for stirring)
- Ice cream containers
- Small bowls or divided tray for mix-ins
- Felt-tip Marker
- Optional: Ice cream container labels
Ice Cream Mix in Ideas
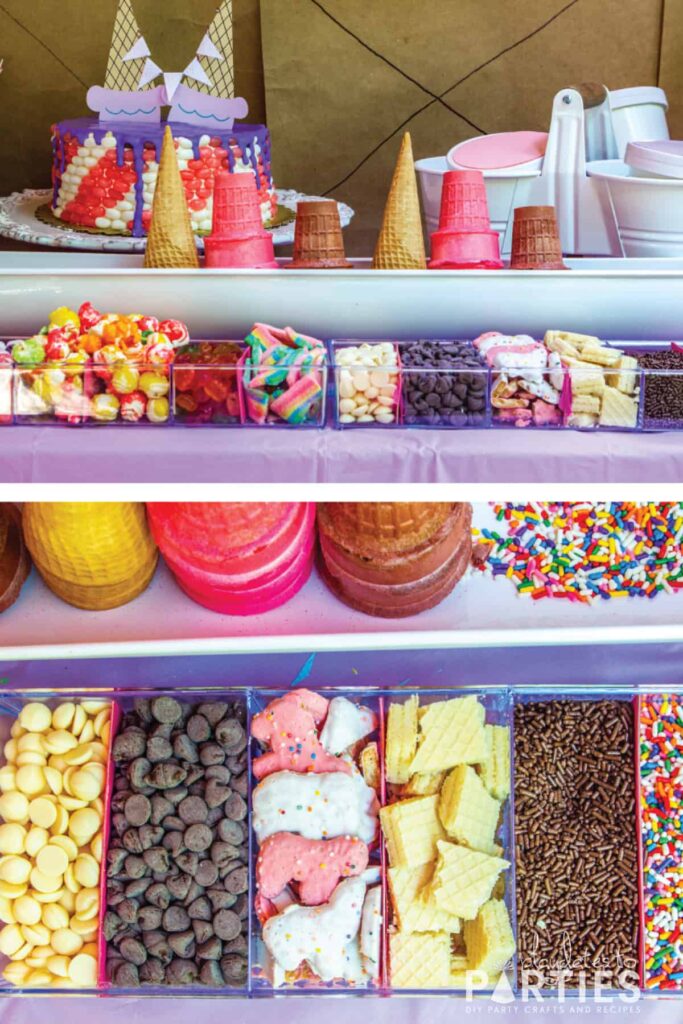
Here’s a few ideas you can make available for your ice cream mix-ins, but feel free to get creative with it, too!
- Cubed cake pieces (pound cake works very well)
- Chocolate chips
- Sprinkles
- Mini chocolate chips
- Gummy bears/worms
- Syrups (chocolate, strawberry, caramel, etc.)
- Wafer cookies
- Chocolate candies
- Cookie pieces
- Fresh berries
- Jams & jelly
- Cotton candy
How Long Does It Take?
Prep Time: 20-ish minutes.
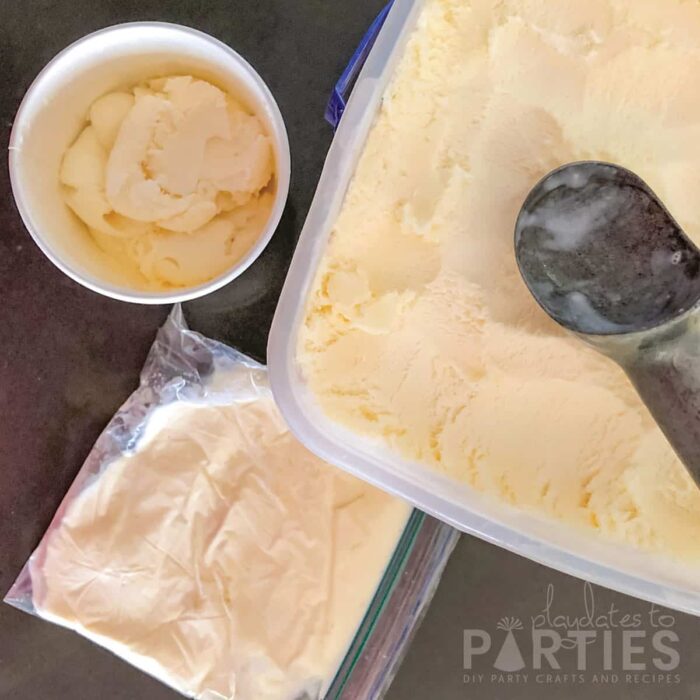
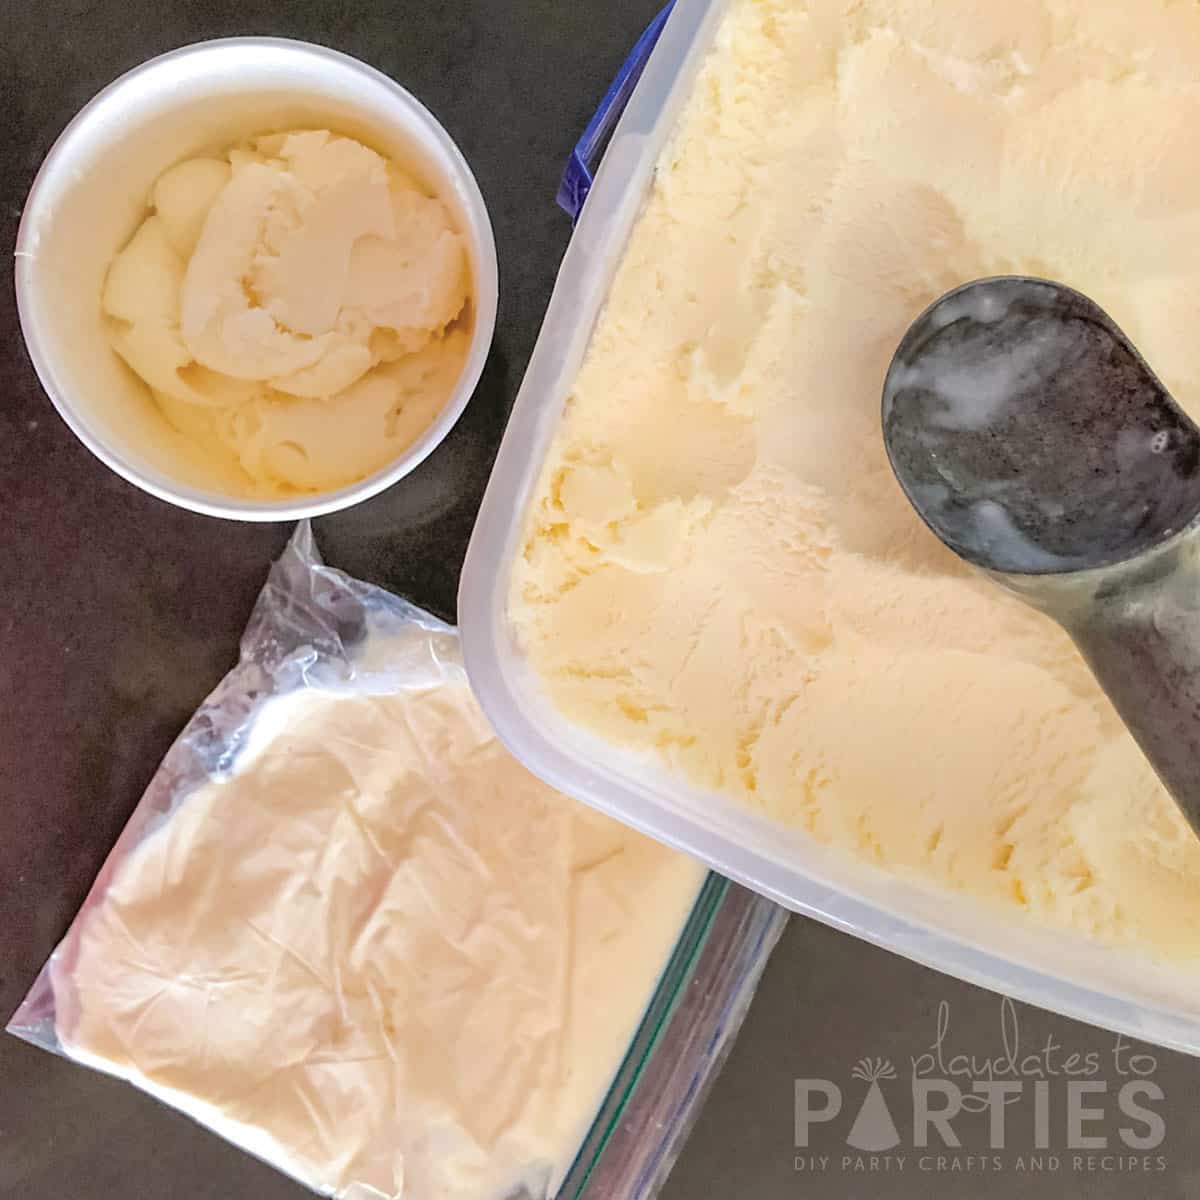
A day or two before the party, you’ll want to scoop your ice cream into smaller packs. This way you know everyone has the same amount before the party starts.
Let the ice cream soften for about 10 minutes while you hunt down enough mixing pans and zip top bags for each guest. Then measure out about 1.5 cups of vanilla ice cream into each bag.
Tip: Test the amount of ice cream you need by measuring it into one of the ice cream containers first. Make sure you leave enough room for the mix-ins.
Place all the pans and ice cream bags in your freezer until activity time.
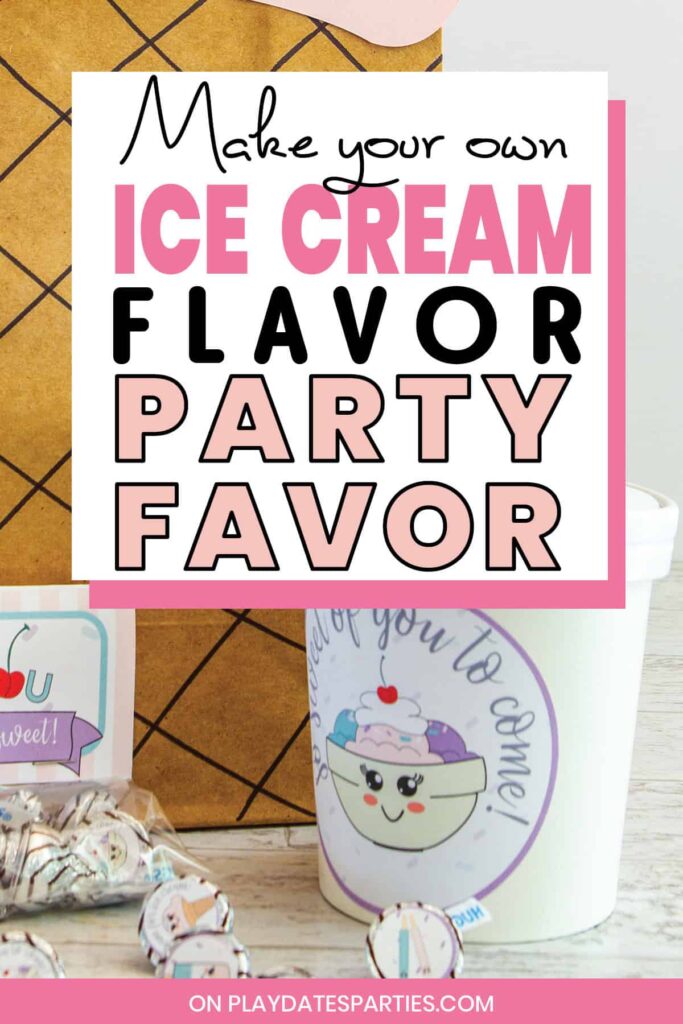
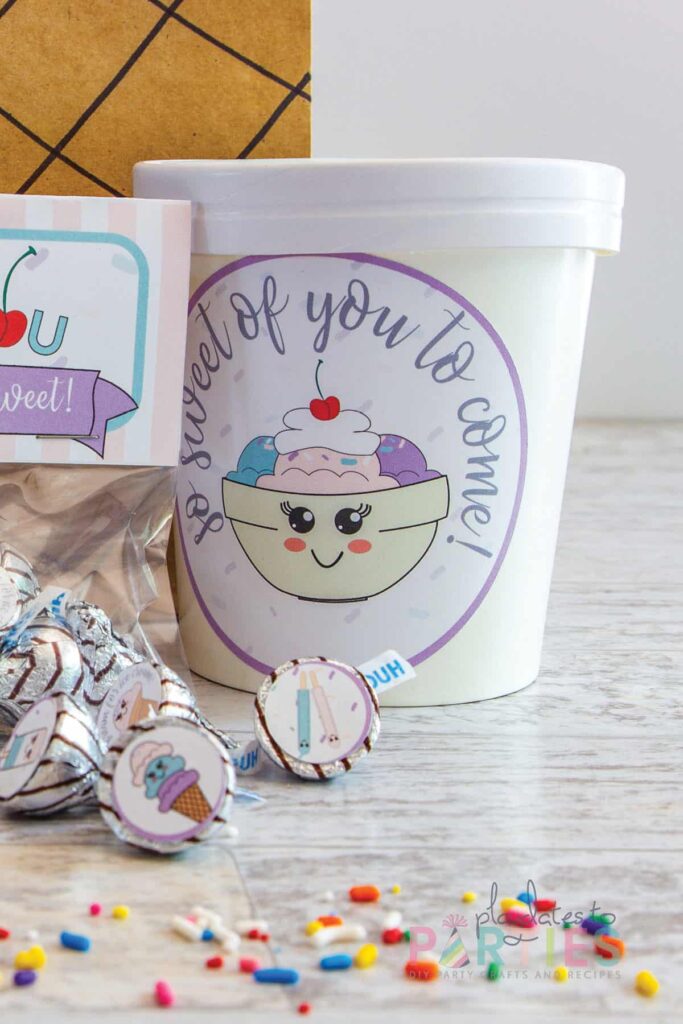
Make it Special: Add ice cream party printables to your quart size containers. Just print out a 4-inch label and use hot glue or double stick tape to attach it to the container.

Activity Time: 15-ish minutes
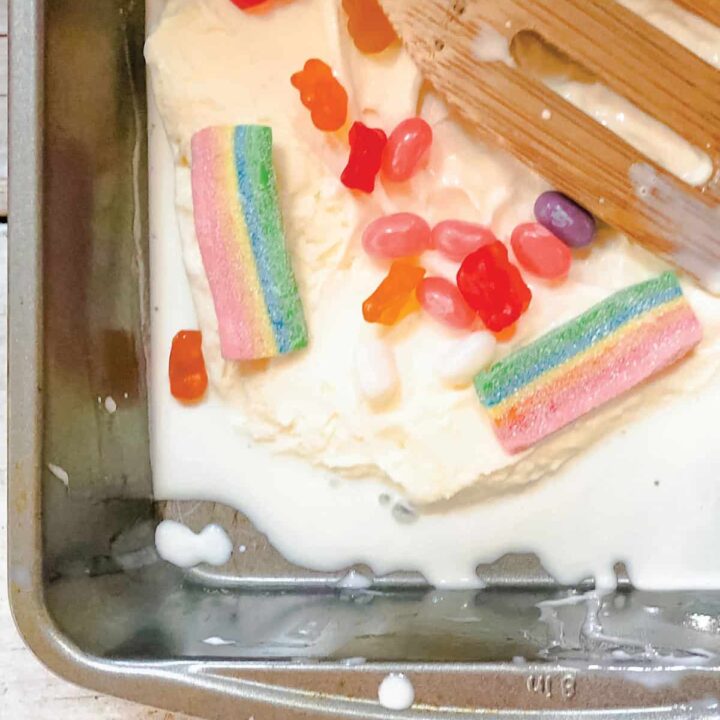
This will be very dependent on how warm it is. Since my daughter’s party was in late June, it was blazing hot. That meant the ice cream melted almost immediately. So the kids were able to start mixing
More Ice Cream Party Ideas:
- DIY Ice Cream Cake Topper (Cricut + Printable)
- How to Make a Candy Striped Jelly Bean Cake
- Ice cream party ideas for the sweetest kid on the block
See more kids party themes right here!
Make Your Own Ice Cream Party Activity
What’s more fun for a summer birthday party than getting to make and take home your very own ice cream? Print out these instructions so you'll be set up for success with a Make Your Own Ice cream party activity.
Materials
- 1 gallon tub of vanilla ice cream
- Ice cream scoop
- 6-7 Mix-ins (1/4 to 1/2 cup each)
- Plastic baggies (sandwich or quart size)
- A variety of metal baking pans (pie tins, cake pans, jelly roll pans...whatever you can find to contain the mess)
- Ice cream containers
- Small bowls or divided tray for mix-ins
- Felt-tip Marker
- Optional: Party circles for ice cream container labels
- Divided tray, or bowls for mix ins
Tools
- Ice cream scoop
- Soup spoon (for stirring)
Instructions
One or Two Days Before the Party:
- Let the ice cream soften for about 10 minutes. In the meantime, hunt down enough mixing pans and zip top bags for each guest.
- Next, measure out about 1.5 cups of vanilla ice cream into each zip top bag.
- Place all the pans and ice cream bags in your freezer until activity time.
Party Day:
- Prepare any mix-ins you might have and place them in bowls or a divided tray.
- When it’s time for the activity (see notes), remove the ice cream and trays from the freezer and let the kids make their own crazy creations.
- Place the ice cream concoctions into quart sized ice cream containers.
- Label each container with the corresponding child’s name and place in the freezer until time to leave.
Notes
Great Mix-In Ideas:
For smaller crowds, stick to no more than 6 or 7 mix-ins. (about 1/4 to 1/2 cup for each mix-in). For crowds greater than 10-15, add more mix-ins or increase the quantity of each.
- Cubed cake pieces (pound cake works very well)
- Sprinkles
- Mini chocolate chips
- Gummy bears/worms
- Syrups (chocolate, strawberry, caramel, etc.)
- Chocolate candies
- Cookie pieces
- Fresh berries
- Jams & jelly
- Cotton candy
Tips:
- If it is very hot outside, you’ll want to leave the ice cream in the freezer right up to party time.
- If the weather is cooler, or you’re inside: Remove the ice cream bags from your freezer about 5 minutes before the activity to let it soften.
- Is your freezer too far away? You can also keep the supplies in a cooler right by the party. Check out RTic for affordable (but awesome) coolers. Ours kept things ice cold in the summer heat for over 5 days.






Marielle says
I saw your link on the Happy Now link up. This is such a fun yet simple idea for a party. Thank you for sharing!