Whether you’re making Hot Chocolate Gifts for party favors, or planning a super sweet party, chocolate dipped spoons are a special touch that is sure to impress.
I’ll share with you today how to decorate and dip wooden spoons to make these delightful additions to your party table. No doubt, your guests are sure to love the results.

When To Use Chocolate Dipped Spoons
- Add them on to Hot Cocoa party favors
- Make a bunch for an Ice Cream party
- Offer them as a special addition to your holiday hot chocolate bar or coffee bar
- Serve one to mom with her hot coffee in bed on Mother’s Day.
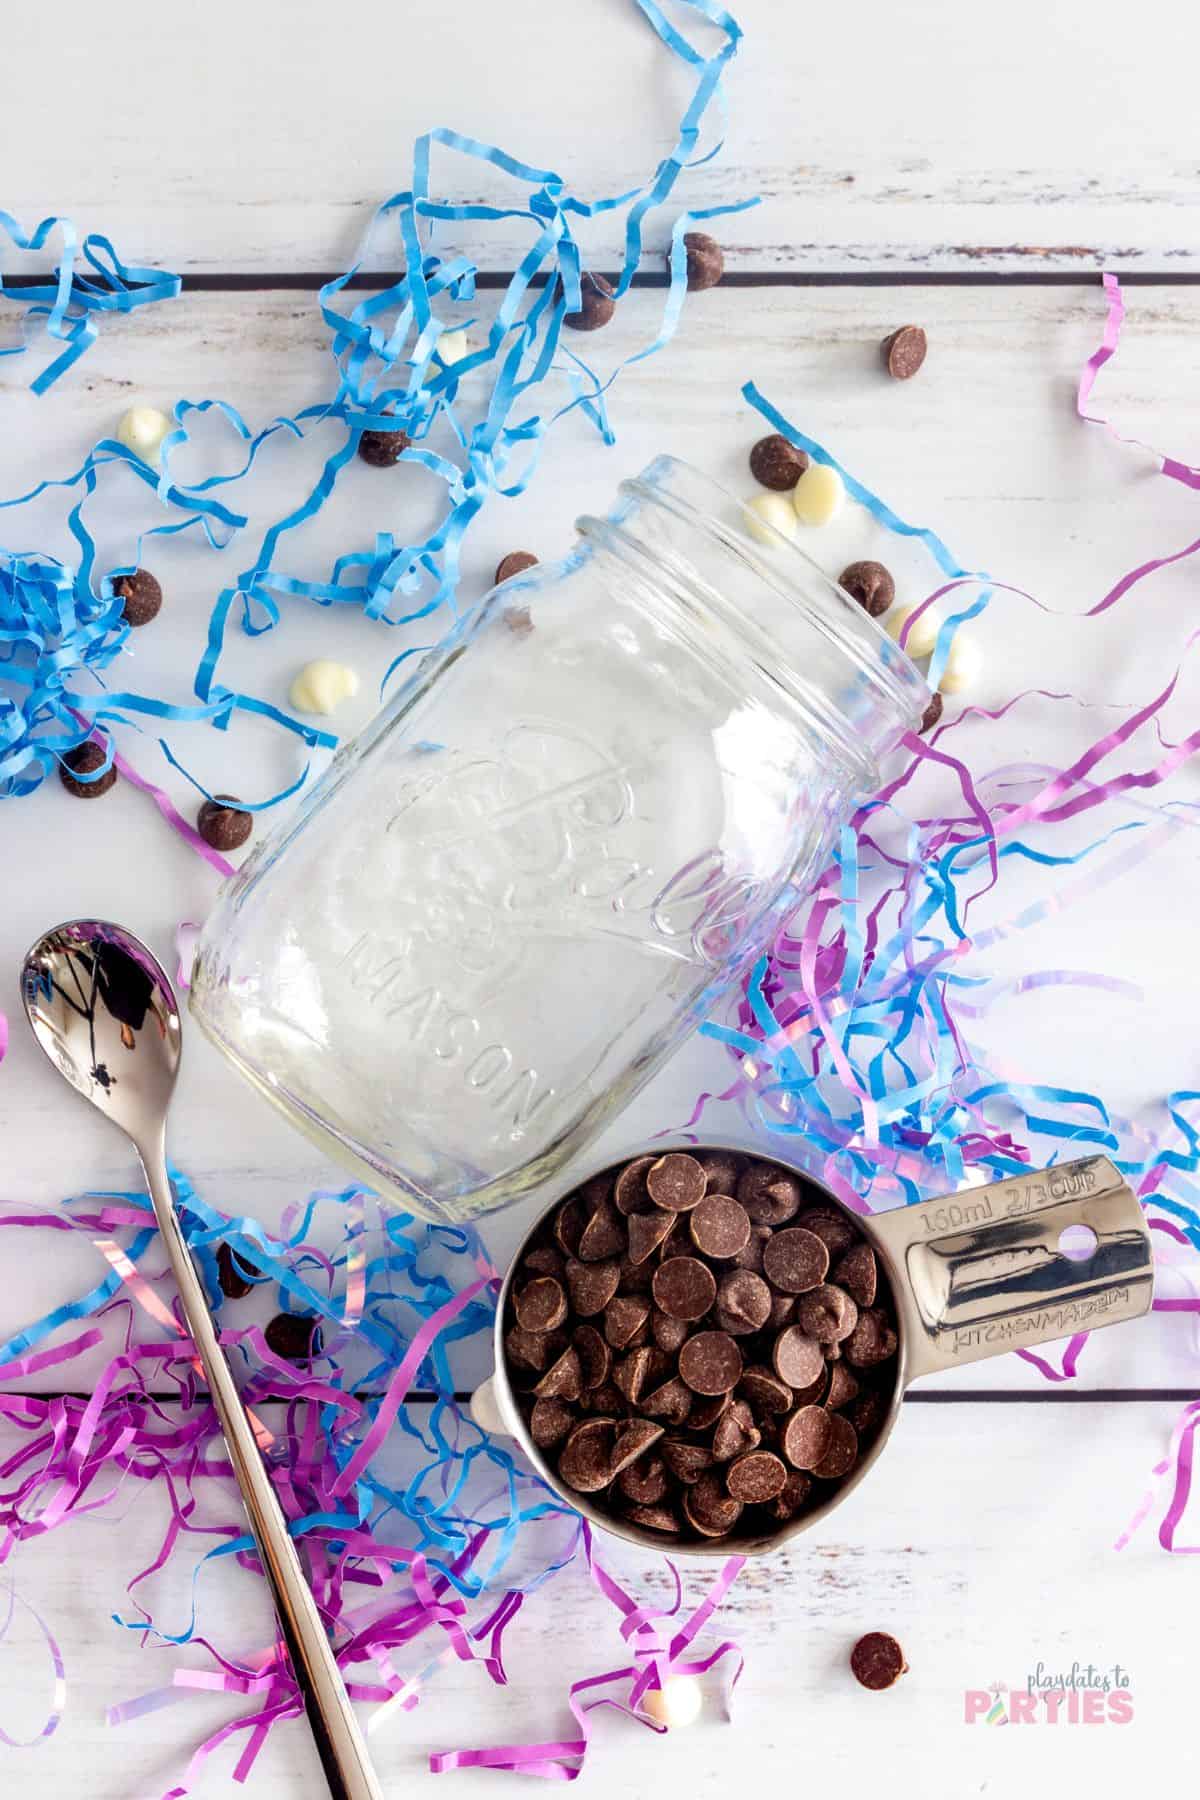
What You’ll Need:
- Disposable Spoons (we used wooden spoons)
- Sharpie Markers (optional)
- 2/3 cup chocolate chips
- Tall, narrow jar (I used a wide mouth canning jar)
- Long handled spoon for stirring
- Microwave
- Parchment paper or wax paper
Step-by-Step Directions:
To make things even easier for you, I created a simple photo guide below. For all measurements and a more detailed guide, check out the recipe card at the bottom of this page.
Step 1 – Pour semi sweet chocolate chips into a tall microwave-safe jar.
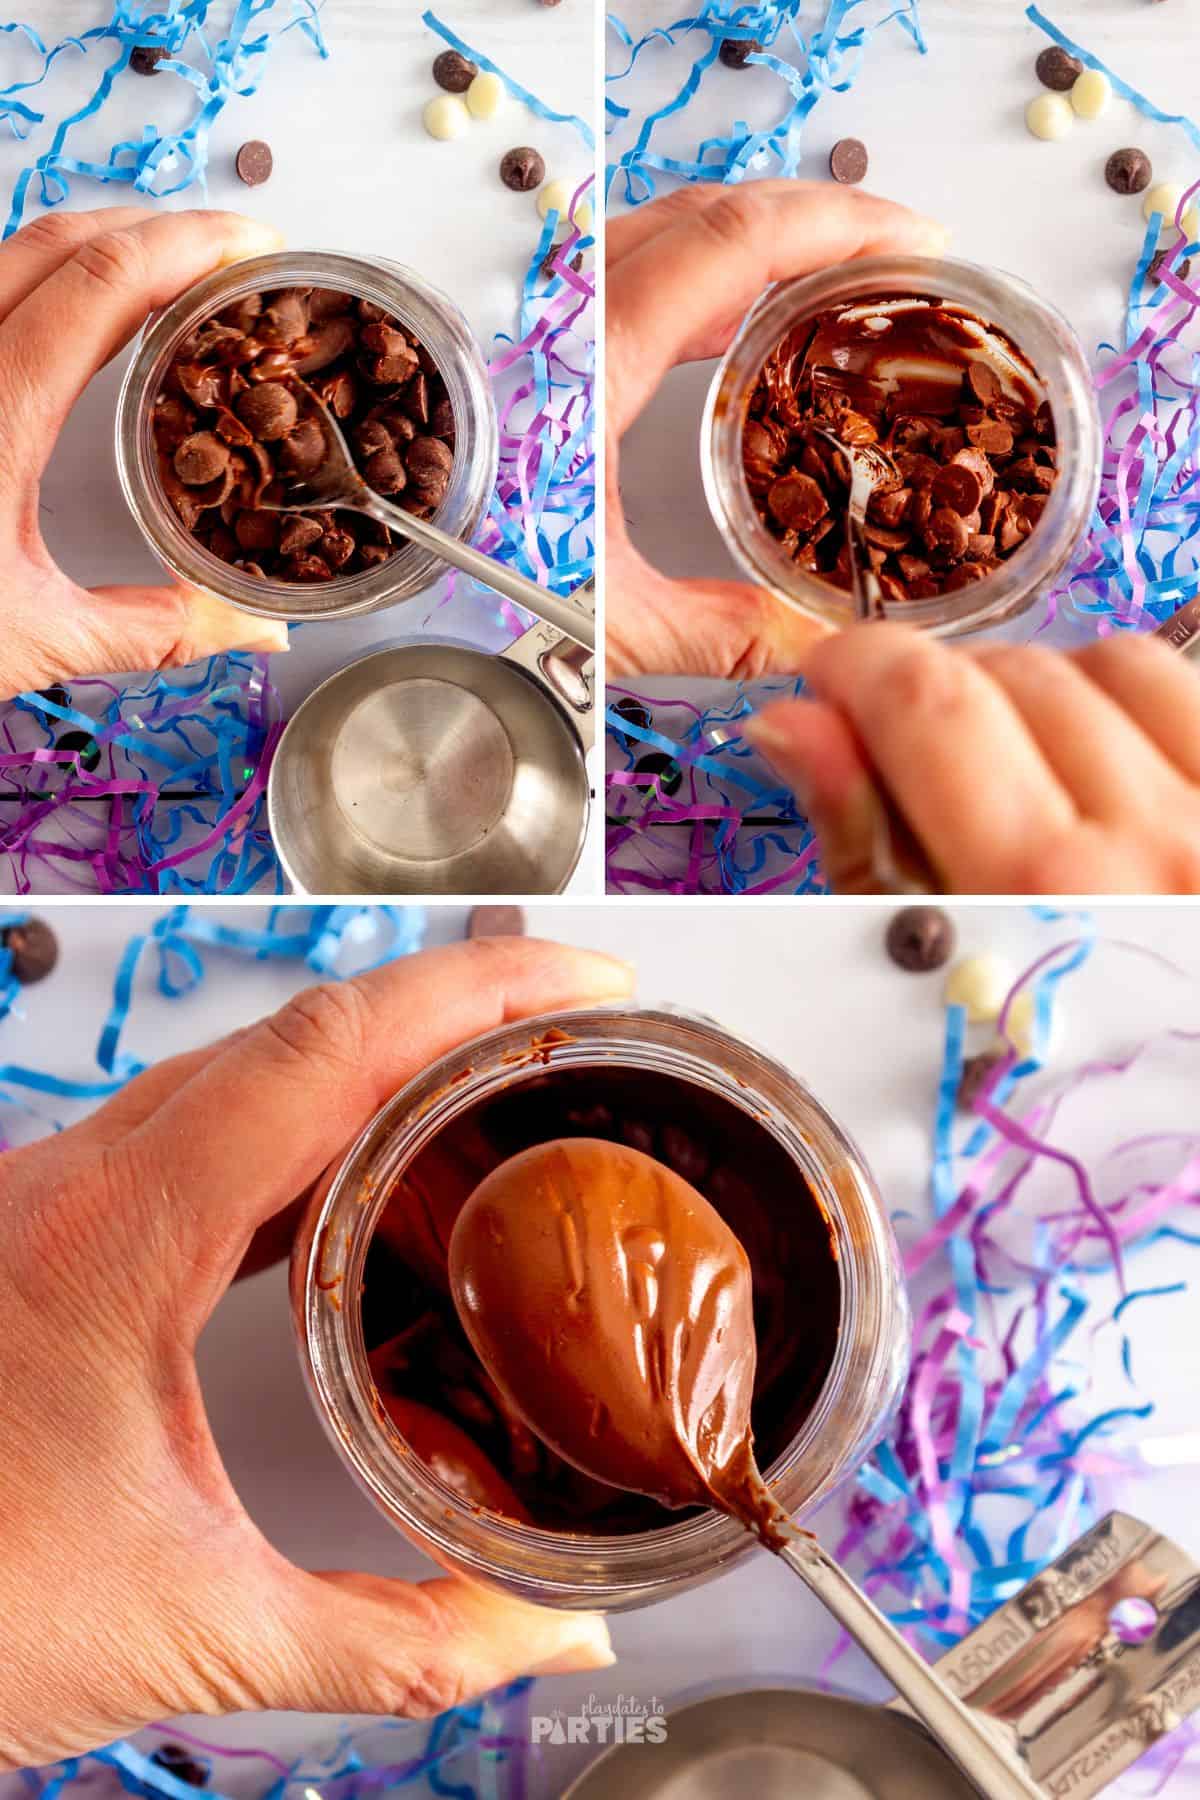
Step 2- Heat the chocolate chips in the microwave on high for 30 seconds. Stir the chocolate chips with a long handled spoon. (The chocolate chips will not yet be melted. )
Step 3 – Microwave on high again at 15 second intervals, stirring between until the chocolate is mostly melted, but there are still very small bits of chocolate chips visible
Step 4 – Stir the chocolate until it is smooth and all the chips are melted.
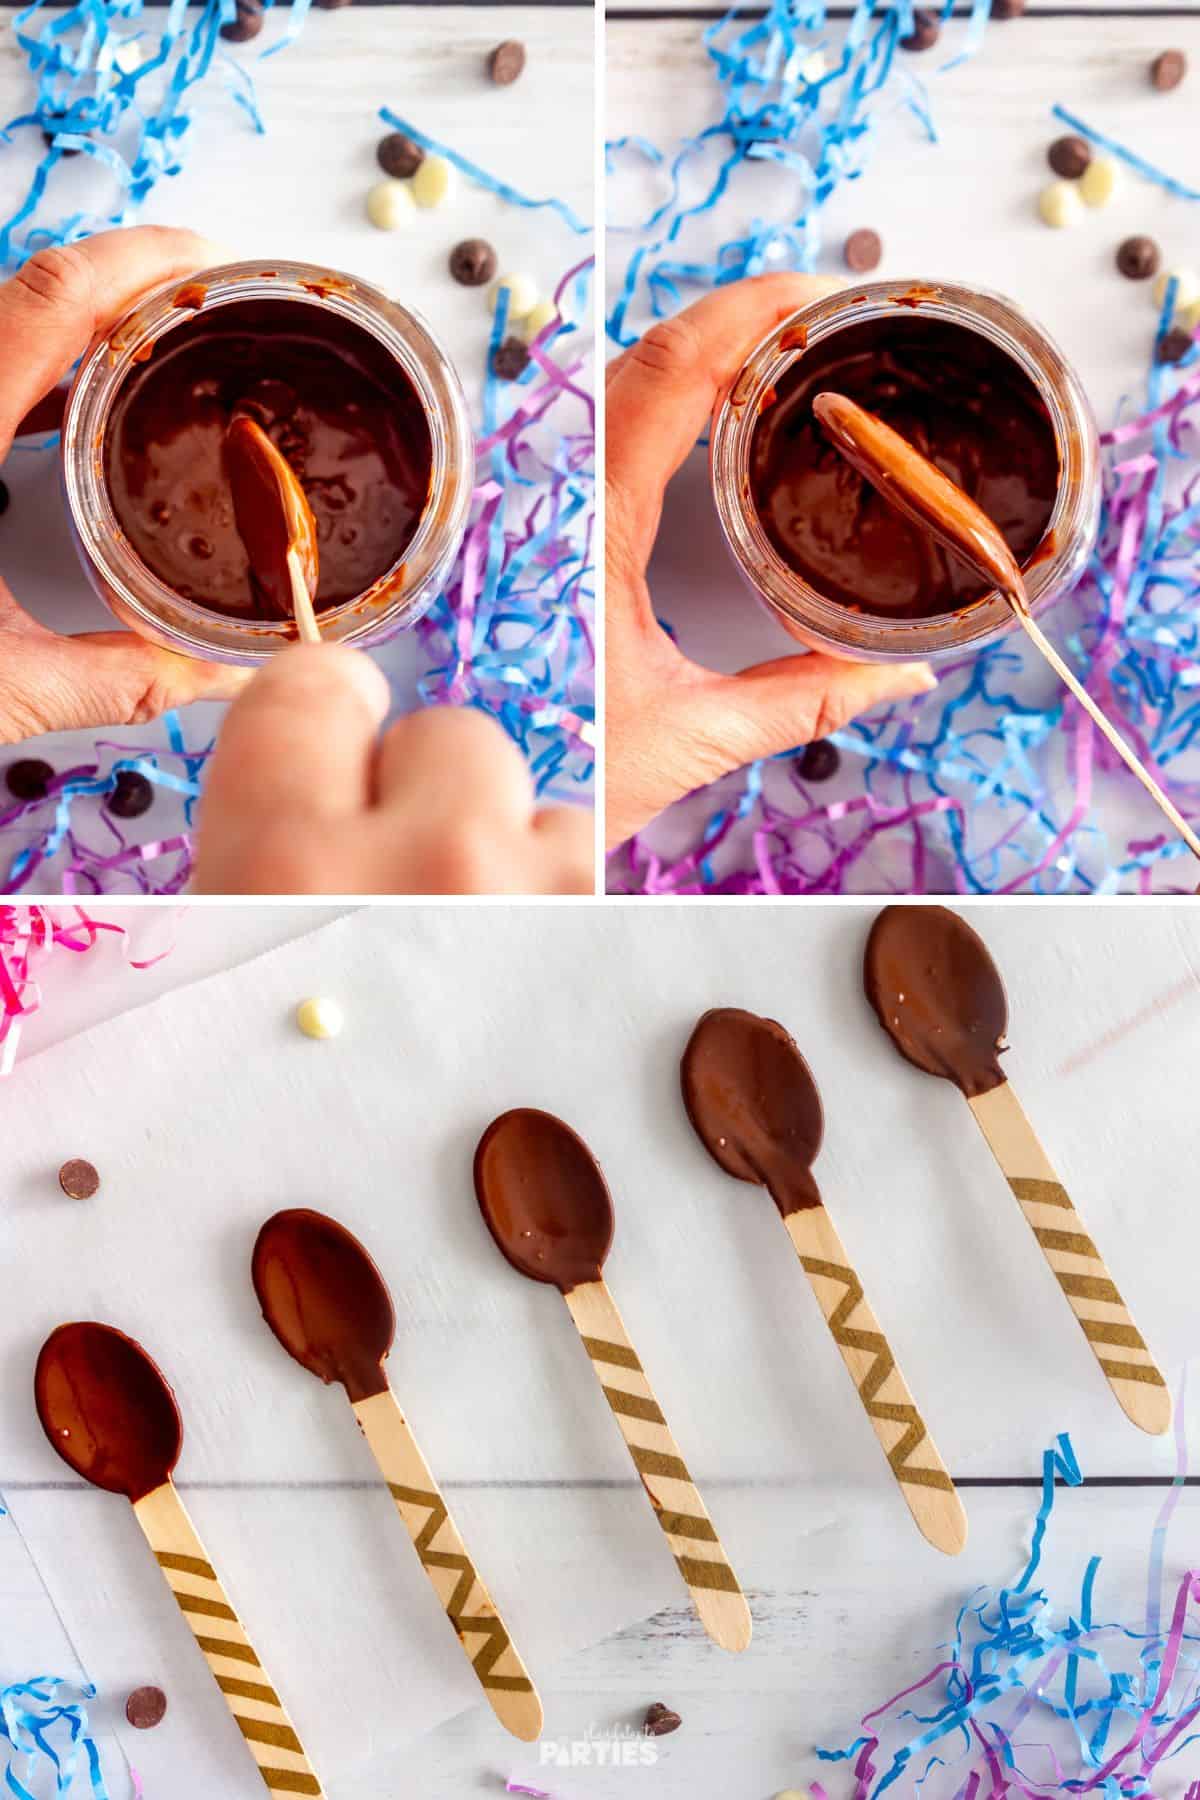
Step 5- Dip the bowl of a wooden spoon into the melted chocolate, just to the point it is covered. You may want to press the spoon against the side of the jar to make sure you have even coverage.
Step 6 – Tap the wooden spoon on the top of the jar to remove excess chocolate.
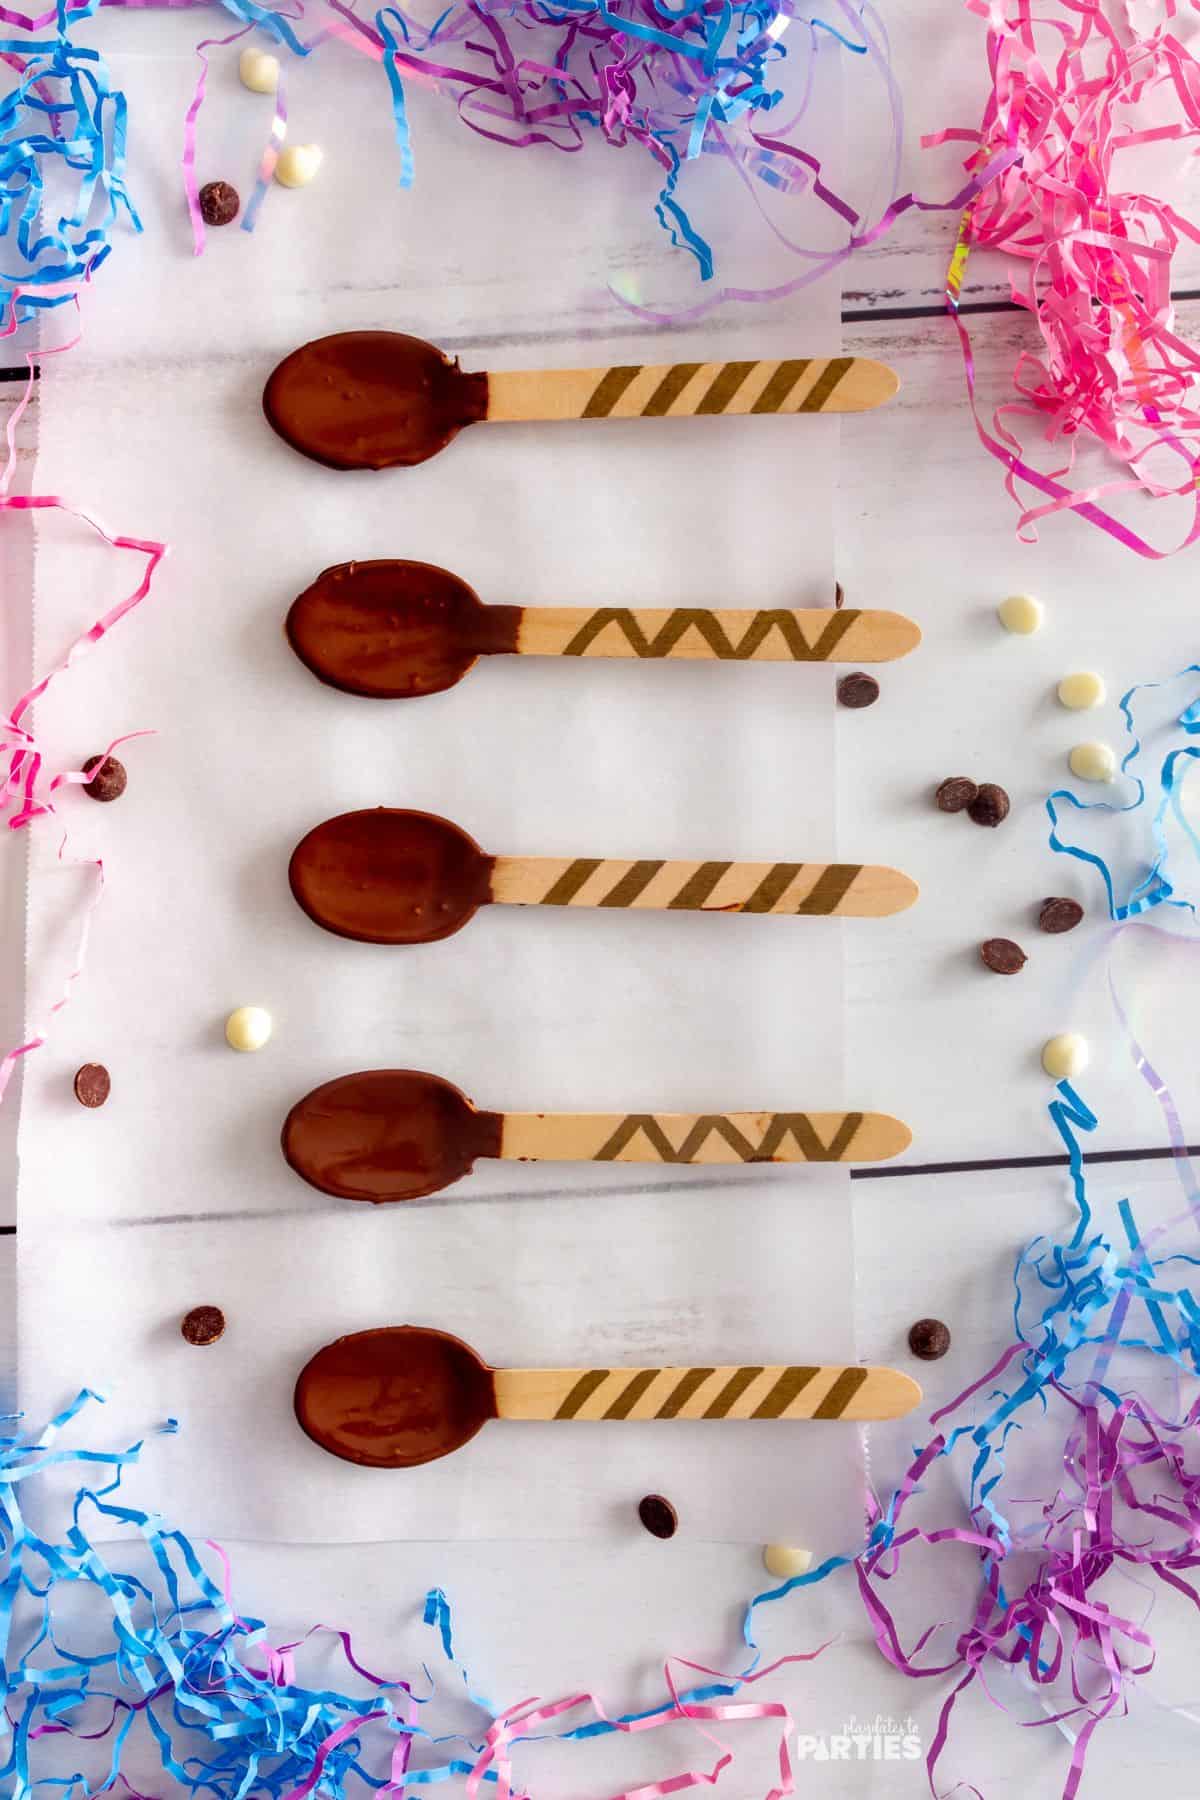
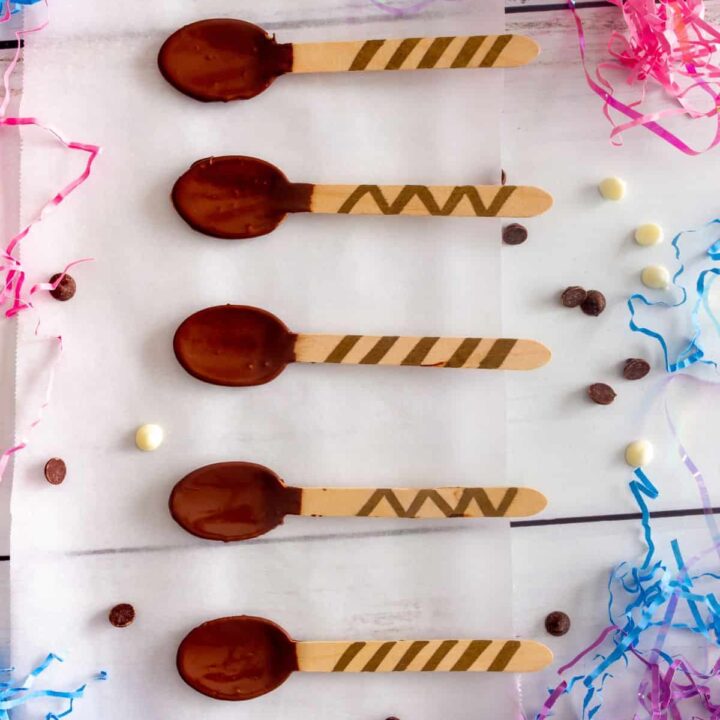
Step 7 – Place the wooden spoon on a piece of parchment paper or wax paper. Allow to set at room temperature (about 30-45 minutes)

Essential Tips and FAQ:
Don’t skip these tips – read them before starting to avoid any potential mistakes.
Try other types of chocolate, too
We used semisweet chocolate chips, but you could also use white chocolate or colored candy melts to match your party theme.
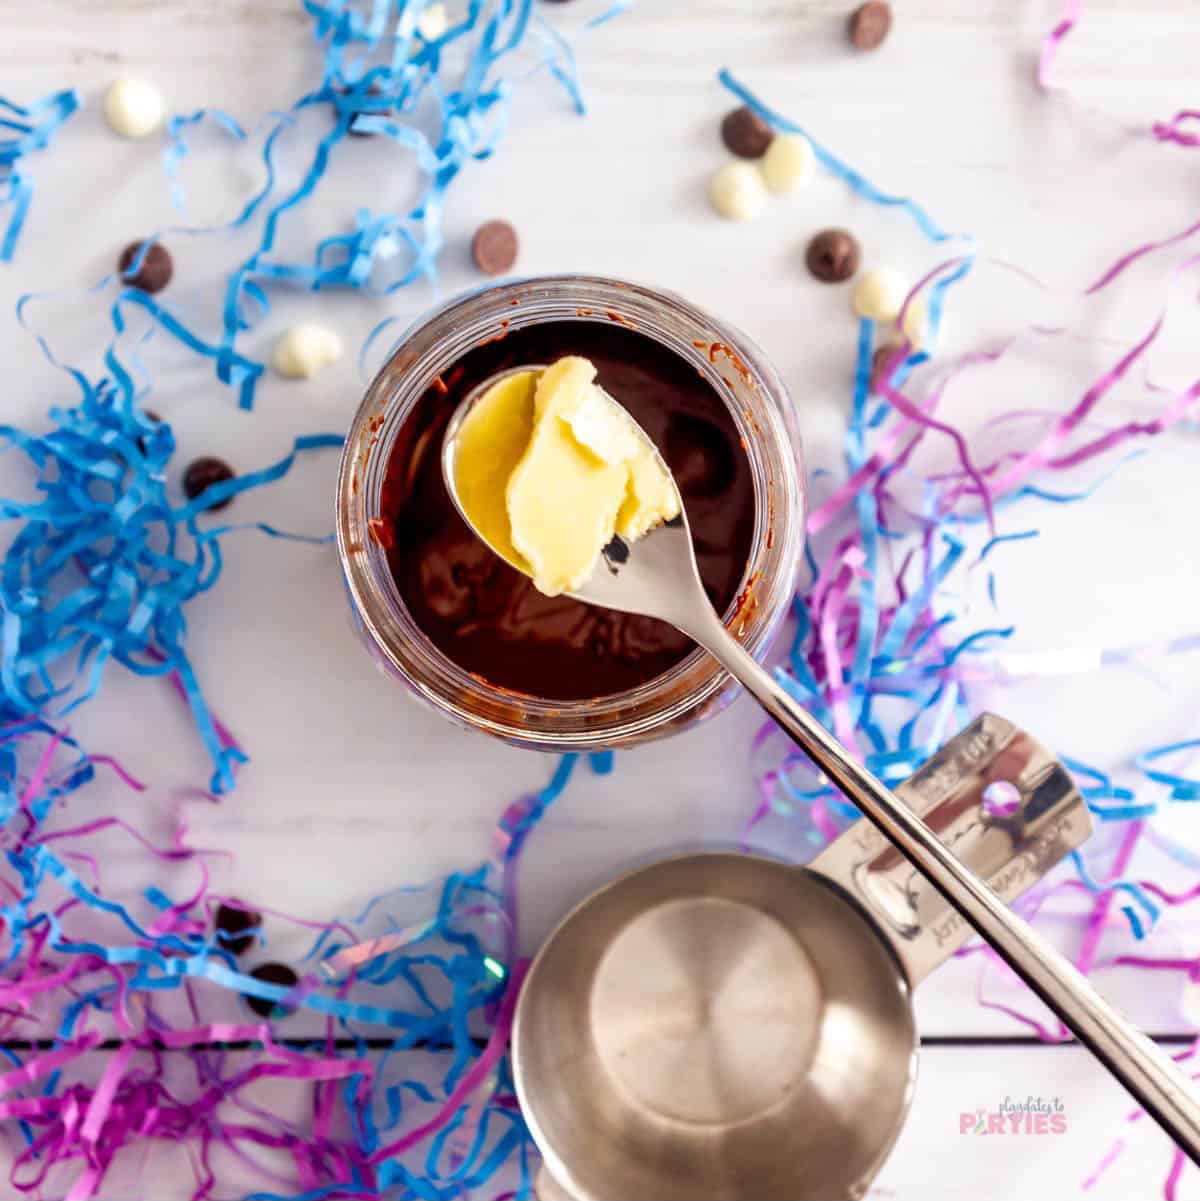
If your chocolate is too thick…
Add a small spoonful of shortening (about 1 teaspoon) to the chocolate to help thin it out. You may want to also heat the chocolate for a few more seconds in the microwave.
There’s no need to refrigerate:
It’s tempting to pop these in the fridge or freezer to help the chocolate cool faster, but I don’t recommend it.
Refrigerating and freezing chocolate increases the chances that it will ‘bloom’, which is that grainy, chalky texture that ruins the look of smooth chocolate.
Add some toppings:
Here are a few fun ways to change things up:
- Sprinkles to match your party theme
- Chopped nuts
- Crushed peppermint for the holidays
- Add a small dollop of white chocolate to the spoon and swirl it into the darker chocolate
- Mini marshmallows and graham crackers for a s’mores effect
- Chopped toffee bits
- Small pieces of edible gold leaf
- Drizzle caramel or white chocolate on top after the chocolate has hardened.
- Add some M&Ms before the chocolate hardens,
- Sprinkle on crushed bits of candy (Kit Kats and Butterfinger would be amazing!)
Storage:
Store your chocolate dipped spoons in a sealed container at room temperature for up to 2 weeks.
How to Decorate the Handles of the Spoons
I used a gold Sharpie marker to add stripes to the handles of our spoons. It was simple enough, even my 5-year-old joined in. (Though we won’t be using the spoons he colored to eat with – for the reasons discussed below.)
Here are a few other options for decorating your spoon handles:
- Use a small stamp with non-toxic ink
- Add washi tape
- Dip the ends in paint
- Add a bit of glitter (just make sure it’s well sealed)
If you choose to decorate the spoons:
Warning: I don’t recommend decorating the handles of the spoons as far down as I did here. Instead, I recommend you stick to just decorating the end of the handles – much higher up than shown.
While Sharpies are technically non-toxic, you still want to avoid decorating the handles too close to where the food will come in contact with the ink.
I thought I was leaving enough room on the spoons, but truthfully should have kept the ink at least another inch or two further up the handle.

If you liked these chocolate dipped spoons, you’ll also love these hot cocoa party favors. So much simpler than hot chocolate bombs, with a sinfully delicious recipe to go with it.
Or you can check out all my party crafts right here.
How to Make Chocolate Dipped Spoons
These chocolate dipped spoons are the perfect addition to any party! They're easy to make and can be personalized with your favorite colors and designs.
Ingredients
- 2/3 cup semi sweet chocolate chips
- 8-10 Wooden spoons
- Parchment paper or wax paper
- Optional: 1 teaspoon shortening
Instructions
- Pour 2/3 cup semi sweet chocolate chips into a tall microwave-safe jar.
- Heat the chocolate chips in the microwave on high for 30 seconds. Stir the chocolate chips with a long handled spoon. (The chocolate chips will not yet be melted.)
- Microwave on high again at 15 second intervals, stirring between until the chocolate is mostly melted, but there are still very small bits of chocolate chips visible
- Stir the chocolate until it is smooth and all the chips are melted.
- Dip the bowl of a wooden spoon into the melted chocolate, just to the point it is covered. You may want to press the spoon against the side of the jar to make sure you have even coverage.
- Tap the wooden spoon on the top of the jar to remove excess chocolate.
- Place the wooden spoon on a piece of parchment paper or wax paper. Allow to set at room temperature (about 30-45 minutes)
Notes
Remember, Tips and FAQ in the tutorial post are there to help you if you feel stuck at any point.
- Allow your spoons to solidify at room temperature for best results. Cold temperatures in refrigerators or freezers can make your chocolate turn grainy or chalky.
- Add a small spoonful of shortening (about 1 teaspoon) to the chocolate to help thin it out. You may want to also heat the chocolate for a few more seconds in the microwave.
- Store your chocolate dipped spoons in a sealed container at room temperature for up to 1 month.
- Don't forget to check out the many creative ways to adapt this tutorial in the blog post.
Recommended Products
As an Amazon Associate and member of other affiliate programs, I earn from qualifying purchases.


Leave a Reply