I’ve received several emails requesting information on how to make the rocketship pizza tray that I used for the Toy Story party. When I was making it I took several pictures of the different steps, but I left out so many steps that they were pretty much useless. So please accept my apologies for what is my best attempt at an after-the-fact tutorial!
My original inspiration for the rocket ship tray was the whole idea of recreating Pizza Planet and Buzz Lightyear’s space ship. Over Christmas, I’d seen Bird Craft’s tutorial for her DIY cupcake stand, and used a similar method for the centers of the rocket ship.
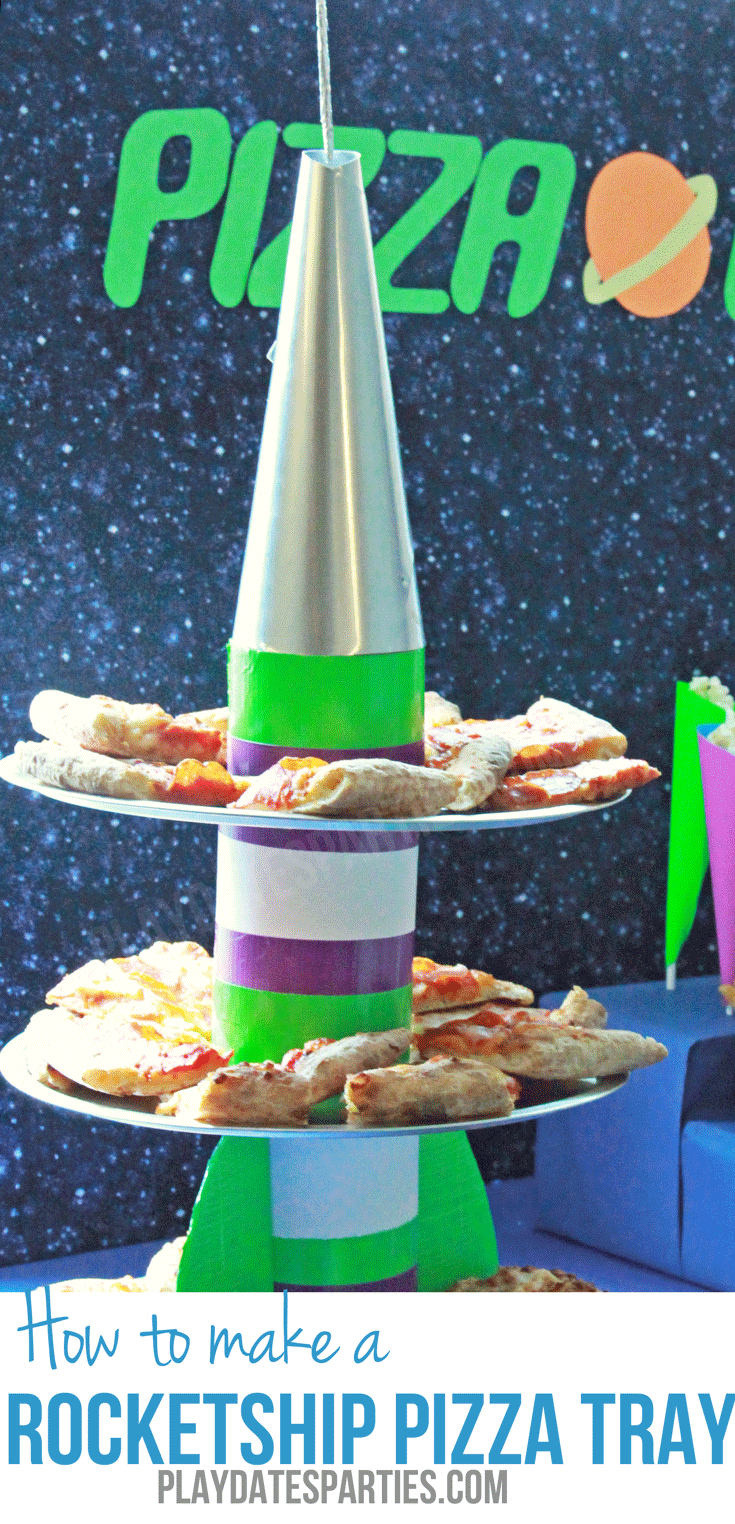
How to Make a Rocketship Pizza Tray
Materials:
- 3 Frito’s Cans from The Dollar Store/Tree (empty)
- 3 Pizza Pans from the Dollar Store/Tree
- White scrapbook paper or wrapping paper (warning 8.5 x 11 paper isn’t big enough!)
- Duck tape in your choice of colors
- Small metal tin filled for weight
- Styrofoam cone (I wish I could tell you the exact size, but I accidentally left the cone on site, just make sure it’s big enough to approximately match the width of the Frito’s Cans)
- Aluminum Flashing or other metal sheeting (I purchased a roll at Lowe’s for $11 and have tons left over!)
- Snips for cutting flashing
- Silver finishing nails
- Aluminum foil
- wooden skewer
- leftover cardboard box
Directions:
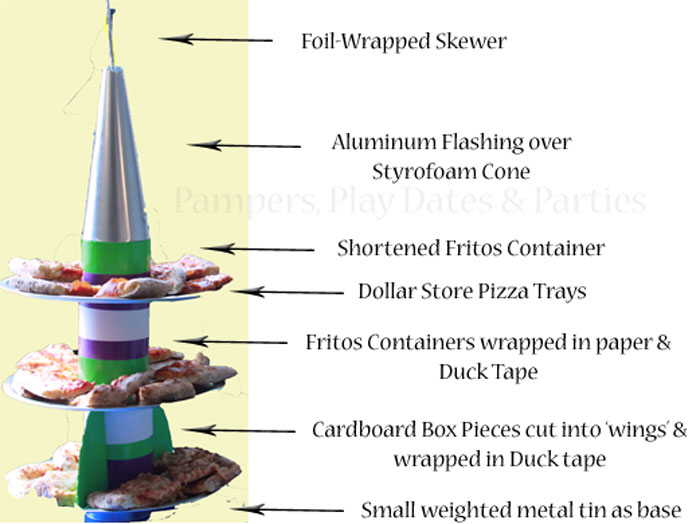
- Cut one of the Frito’s cans to half the original height. Cover all cans with white scrapbook paper or wrapping paper. Decorate the cans with stripes of color using Duck tape. Feel free to layer and overlap as you like. There’s no perfect arrangement.
- Find and mark the centers of the top and bottoms of each of the pizza pans. Glue the filled metal tin to the bottom of one tray as the base. Alternate sandwiching the Fritos cans between the base tray and the remaining trays, saving the short can for the top of the highest tray. **Notes: It’s a pain to glue the filled tin, but the added weight is very helpful to ensure that the tray doesn’t tip over too easily. Also be very careful to make the tins line up as closely as possible, so it really does look like the ship just flew into the pizza trays.**
- Cut the cardboard box (I used the flaps of a Pampers box) into two wings, using a pre-cut side as the side that will go against the Fritos cans. Go ahead and cut them a little wide and high to start and just trim them down until they perfectly fit between the Fritos cans and the lip of the pizza tray. Glue the wings in place between the lowest and middle pizza trays.
- Using snips or another metal cutting tool, cut the flashing down to a sheet that will fit over the styrofoam cone. With help from someone else, carefully wrap the sheeting around the cone and hammer into place with small finishing nails. Trim off any extra flashing from the bottom of the cone, and glue onto the top of the tray. **Notes: This seriously took me desperately holding everything in place while my husband hammered. You will likely also still have several sharp edges, so make sure that all kids are supervised around the cone**
- Wrap the wooden skewer with aluminum foil and place into the opening at the top of the styrofoam cone. Now you have your very own rocket ship pizza tray!
I hope that this is understandable. Please let me know if you decide to make one of your own rocketship pizza tray and share some pictures!

Subscribe via
Bloglovin, Facebook, and Twitter
to get more updates!
Don’t forget to check out these awesome posts:


JC's Loft says
WOW I would have never guessed that's how you made it! Clever!
Paula
staci @ lizard n ladybug says
LOVE!
Such a clever use of regular items – GREAT JOB!
staci @ lizard n ladybug says
just shared on my Facebook page 🙂
Pam @ PartyStart.Me says
This is AWESOME! Love it!
PunkRizz says
So clever!
Amanda says
I featured you today! Woot Woot! 🙂 Graat job!
Amanda
http://www.todaystoptwenty.blogspot.com