A few weeks ago I participated in the #MommyReality Buried Alive challenge, where I lamented the massive quantities of kids artwork that comes home to us every day. Seriously, it’s been covering our refrigerator, our island, an art board in the playroom and at least one banker’s box in the office. It’s simply too much.
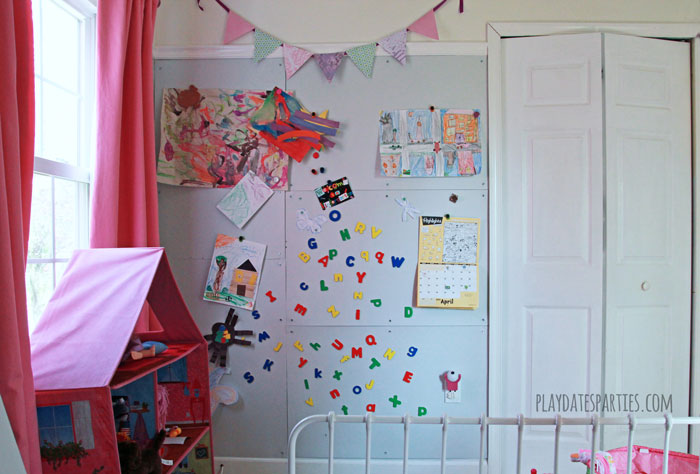
A few months before that post, I’d had enough of the mess, and decided to put the artwork exactly where it belongs: with the kids. Their new shared room has a portion of wall opposite the beds and between the closet. I figured it was the perfect place to display bits of artwork and other mementos.
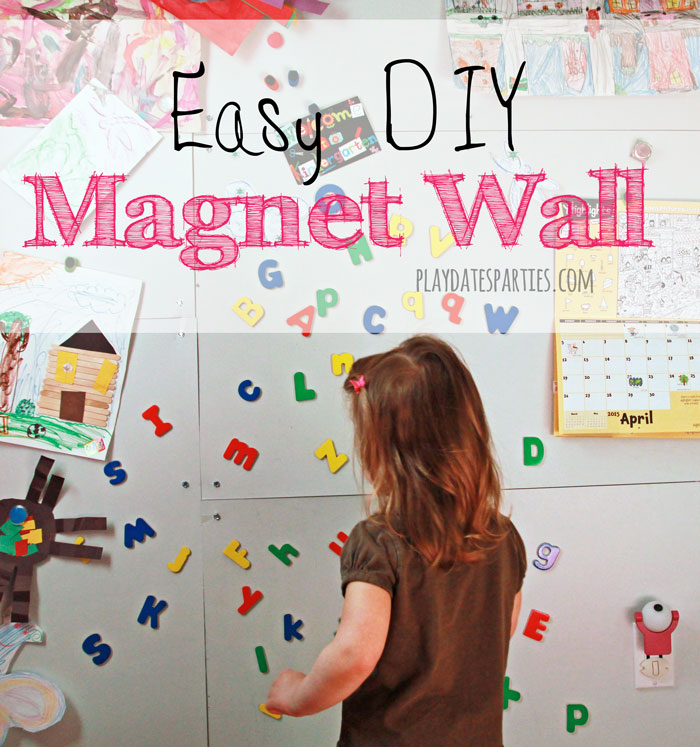
My original inspiration was to turn the whole wall into a corkboard so we could just pin everything up, but then I priced out cork that was thick enough to prevent a million and one tiny holes in the wall behind, and it was way too expensive. Plus, I realized that little fingers and little toes with curious toddlers are not a good mix with push pins.
Glad I came to my senses on that one.
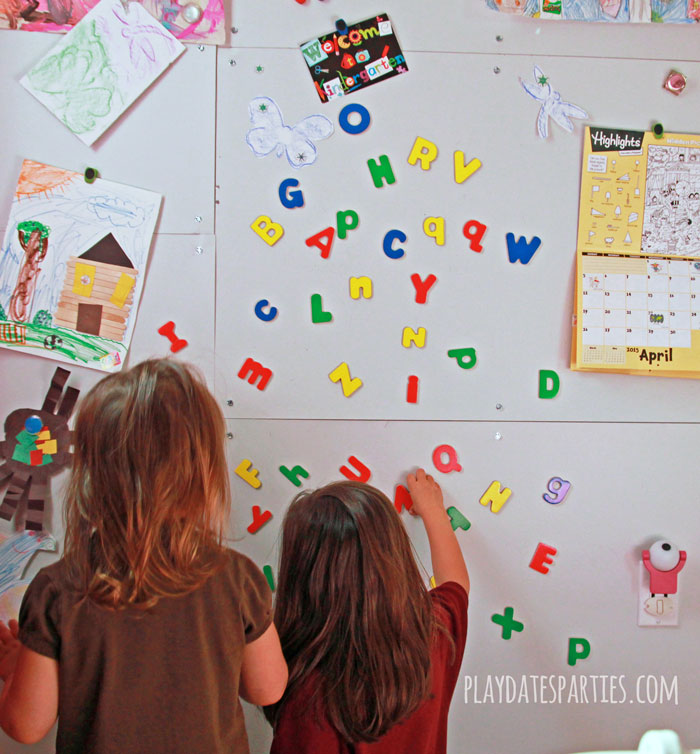
After some extra searching, I came across some ideas for an entire magnet wall…and I was sold. The kids artwork could stay up in their room and they could enjoy playing with their magnetic letters (not to mention all the Disney character magnets they have). Talk about a win-win situation.
Make Your Own Magnet Wall
Tools
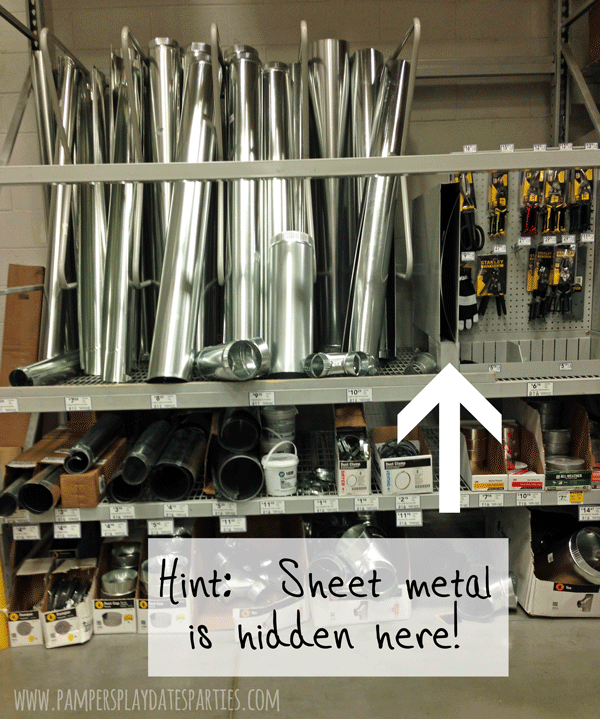
- Sheet metal cut to the size of your wall from an HVAC supplier OR
- Enough 24 x 36 sheets of sheet metal from the hardware store to cover your space
(it just so happened those sheets worked out perfectly for our space)
- Awl and/or screwdriver
- Hammer
- Screws or nails (we used hex screws to add some visual texture to the wall)
- Pencil
- Tin snips
- Corrugated cardboard
Tips & Tricks
Before I get to the details on how to make your own magnet wall, there are a few things that need to be cleared up. First, I made this a lot harder on myself than was necessary. I started off by painting the sheet metal with a couple coats of leftover wall paint from the room. I like the cohesive look, but should have waited until the metal was up to do the painting. There are little chips in the paint from moving the sheets around and making the holes to mount it to the wall. Thankfully they’re pretty well covered by artwork.
Second, using the hex screws looks pretty interesting up close, but was a huge pain. Our walls are all crooked, so I couldn’t trust measurements to make them line up between the different sheets of metal. I had to start with one sheet, mount it, and then hold the next sheet up against it to mark the hole placement for the next sheet. And so on.
Third, the hex screws also required gigantic holes that were a pain to make. I wouldn’t suggest trying to get all cool and industrial with those things. Just use finishing nails. You’ll need to make more holes, but they’ll be easier to make and won’t warp the back of the metal as much.
How-To Make a Magnet Wall
**Note: These instructions are a combination of what I did and how I would do it if I knew then what I know now.
1. If you’re using sheet metal cut to size from a specialty shop, you’re in for an easy installation! If not, double and triple check your measurements to ensure that the sheet metal you have will fit your wall. I don’t recommend cutting down the sides of the metal to fit unless you have the proper tools to straighten and smooth the edges.
2. Place an old piece of corrugated cardboard underneath your sheet metal with the metal facing up. With the pointed end of the awl against the metal, hit the handle of the awl with a hammer until the awl goes straight through the sheet metal and into the cardboard. Repeat until all your nail holes are finished.
4. If you’re using screws to hang the metal, you will need to repeat step 2 with a screwdriver until you have a hole big enough to fit the screw through the metal. (I also found that using an extra screw worked well for this process, except that it was a little short and made me nervous about hitting my thumbs.)
5. For outlet holes: Mark the back side of the sheet metal with the location of the outlet. I did this by turning off the power, putting some Vaseline on the top and bottom of the old outlet cover and then pressing the sheet against the wall. You might be able to use wet paint on the outside of the opening, but please be sure to clean up any wet areas before turning the power back on. The last thing anyone needs is to get shocked by a wet outlet! Use the method in step 2 to get an opening started, and use tin snips to create the remaining hole. Keep the hole slightly smaller than the outlet opening so sharp edges are covered by the outlet cover.
6. Hang the metal to the wall with your nails or screws.
7. If you want to paint the sheet metal, do so at this point. Let the paint cure for a week or two before putting up magnets.
Tips for Making a Magnet Wall
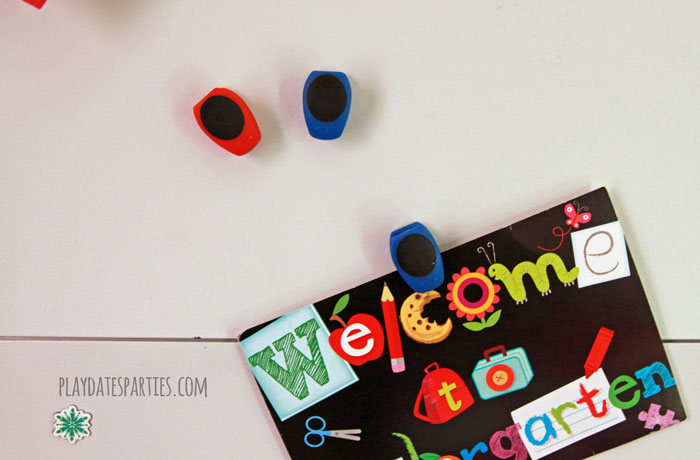
If your kids are anything like mine, one measly magnet won’t hold half of the heavily painted and decorated construction paper that comes back. Or you just want a single magnet that can hold LOTS of pages of artwork. We’ve found that clip magnets are the absolute best in this area. I got a bunch of these colorful magnets from Amazon, and even though they’re small, they hold a LOT of weight. I highly recommend them.
Would you choose cork or magnets?
What would you put on a magnet wall?

Subscribe via
Bloglovin, Facebook, and Twitter
to get more updates!






Roseann Hampton says
I bet your kids love having this wall! What a great idea!
Mother of 3 says
What a cute idea! We always had one spot for each child to display their work in the kitchen and then they each had a bulletin board in their room. We also bought them an art portfolio each to keep their old artwork in.
Leslie says
That sounds like a great way to balance out the need to display vs keep kids’ artwork.
Lisa Ehrman says
What a wonderful idea! I wouldn’t have thought of this, but it’s world’s better than push pins. Thanks for sharing at Together on Tuesdays 🙂
Leslie says
I can only imagine how many push pins would be on the floor if we’d gone that route. What was I thinking?! Thanks so much for stopping by!
Jess says
This is so much fun!
I would love for you to share this with my Facebook Group for recipes, crafts, tips, and tricks: https://www.facebook.com/groups/pluckyrecipescraftstips/
Thanks for joining Cooking and Crafting with J & J!
Laurie says
Great idea for a child’s room! Who doesn’t love to play with magnets or hang their works of art for all to see? Pinning to share. Thanks for stopping in at Snickerdoodle and sharing your posts with us this week!
~Laurie
Marie says
Your method for marking the outlet covers is genius! That would work for so many wall coverings! I totally want to put a magnetic wall in the kids’ play room now. Thanks for the awesome idea!
Marie says
Just had to stop by again to tell you how fabulous this is! Thanks for sharing it with us at Merry Monday this week!