Teetering on the edge of a bathtub in heels is really no fun. But when you don’t have a useful full-length mirror to look at, what else are you going to do?
I can’t tell you how many times I stood on bathtub ledges or beds to see my whole outfit. So when the husband and I bought our first house, a good quality full-length mirror was a priority.
Fast forward 9 and a half years, and I just completed a total transformation of our master bedroom. The work was completed in only 6 short weeks. But planning started months in advance and mostly focused on the design of our nearly wall-to-wall storage installation.
Not long before beginning the renovation, I realized that the planned layout only left one spot for our very large, very heavy full-length mirror: directly opposite the bed.
Look, I’m not going to judge anybody, but let’s just say I’m not into that!
Planning for the Sliding Mirror
So, I took another look at the design plan and realized that there was another option for our very nice full-length mirror: create a sliding mirror to tuck into the open space next to the storage wall.
It was the perfect solution, really. We already planned to incorporate an opening to the side of our storage wall because it’s our only interior access to pipes for a spigot on the front of the house. We decided early on that it’s too risky to cover the access point with the Ikea Pax cabinets. Living in a nearly 5-year-old house means we’ve already had our fair share of pipes freezing and bursting. Covering the space up just presents too many risks.
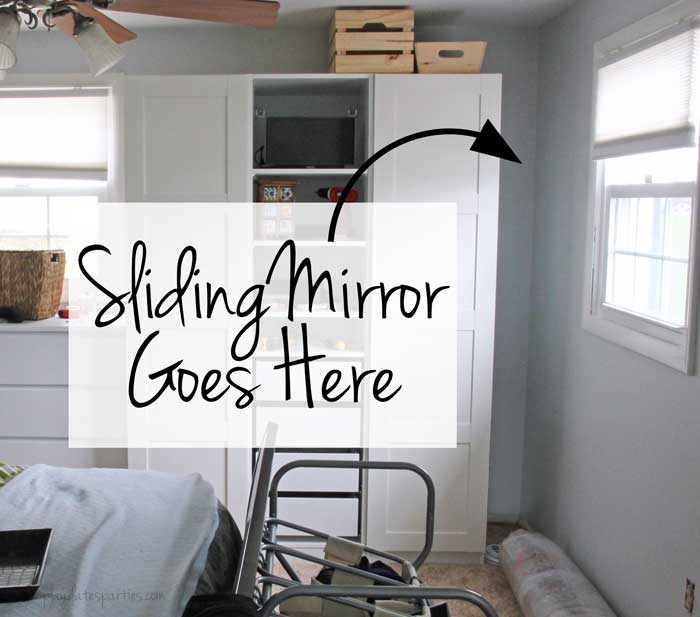
But, that space introduces other challenges. The sliding mirror will slide in front of one of our bedroom windows; which is a challenge on its own. Additionally, we needed to plan for the sliding mirror hardware and curtain rods to share the same 8-inch space above the window.
When you’re renovating a room in only 6 weeks, you have to act fast. So I ran with my first instinct and bought an inexpensive barn door hardware kit off of Amazon.
Second-Guessing the Plan
While waiting for the barn door hardware to arrive, I committed our fatal mistake: I did more research. I did lots of research. Thinking of the obstacles with vertical space and finding the right studs made me nervous that I had made the wrong choice.
Overwhelmed, I second guessed my decision to use the barn door hardware and attempted to use galvanized steel pipe hardware to create the necessary sliding rod.
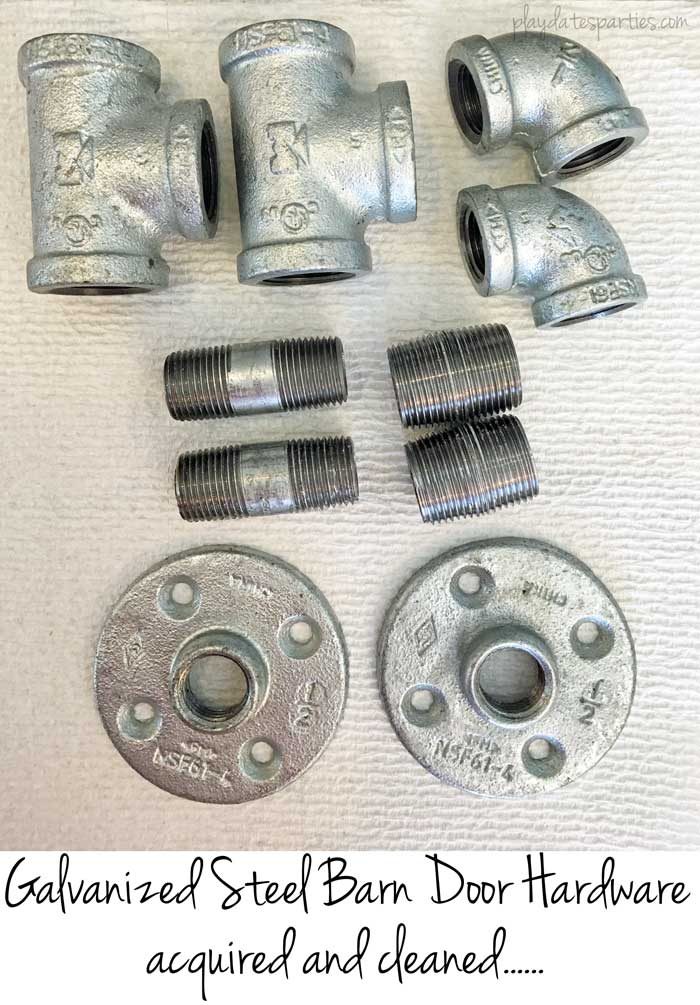
Attempting to follow the tutorial from Addicted 2 Decorating, I measured everything several times and adjusted the materials to accommodate a piece of plywood instead of an actual door.
Putting Everything Together
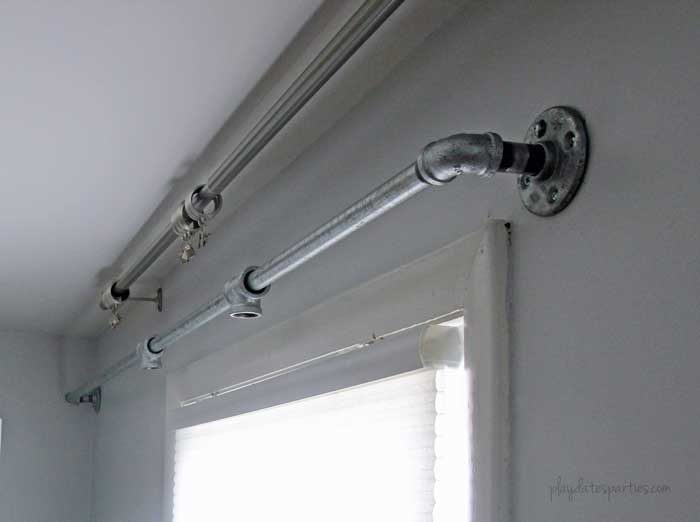
The pipe rod went up just fine, and it looked like we were going to be in business.
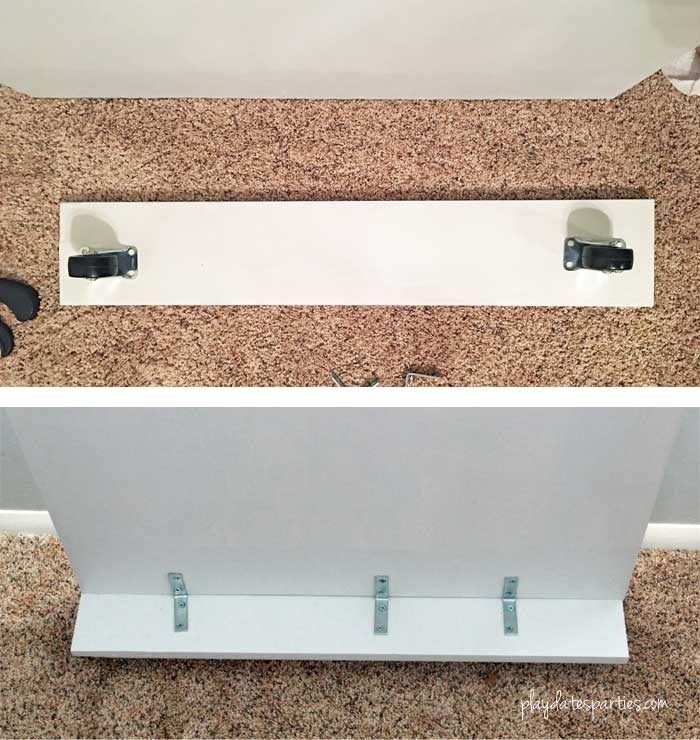
I assembled my ‘door’ for the mirror, which is basically a narrow plywood platform with fixed casters underneath which is then attached to a tall piece of plywood for the mirror to lean against. L brackets on both sides of the bottom of the platform provide stability and strength to support the heavy mirror.
I can’t explain how excited I was to finally get the sliding mirror in place. But the pieces were too heavy for me to install on my own. So when the Husband finally had a night to help install all the pieces together, we put the kids to bed and went to our bedroom to get started.
Everything Goes Wrong
But my vertical measurements were wrong! Despite carefully measuring and calculating, the ‘door’ was too tall.
Determined and desperate, I came up with a plan including a cork from a wine bottle and lots of hot glue. Despite us both believing that it was a crazy idea, it actually seemed to work! The plywood slid back and forth very easily. It was noisy, but we could live with that. All we had to do next was add the mirror.
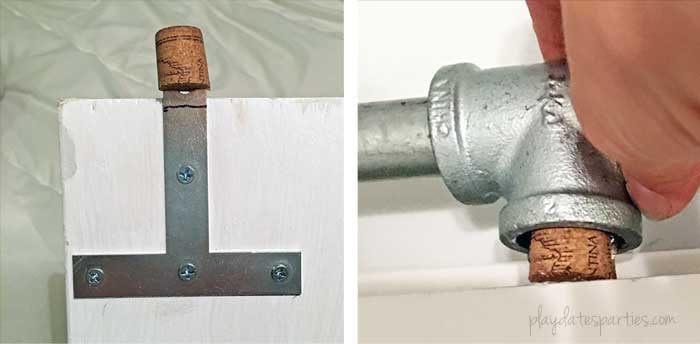
As soon as the mirror was on, my desperate attempt to connect the T-brackets to the galvanized steel pipe failed. The cork and T-brackets pulled right out of the steel pipe Tees.
We forgot to account for the weight of the mirror, and that it would pull the frame down. Even that millimeter or two of downward force was enough to make it come apart.
It was time for tears…and more wine.
Giving in
Afer a few more blunders involving more galvanized steel pipe, plenty of curse words, and lots more wine, we decided to just use the barn door hardware that I originally ordered. This time, we took care to make sure the height was correct and accounted for the weight of the mirror.
At about 1 a.m. on a Tuesday morning, we finally finished installing a perfectly functional sliding mirror.
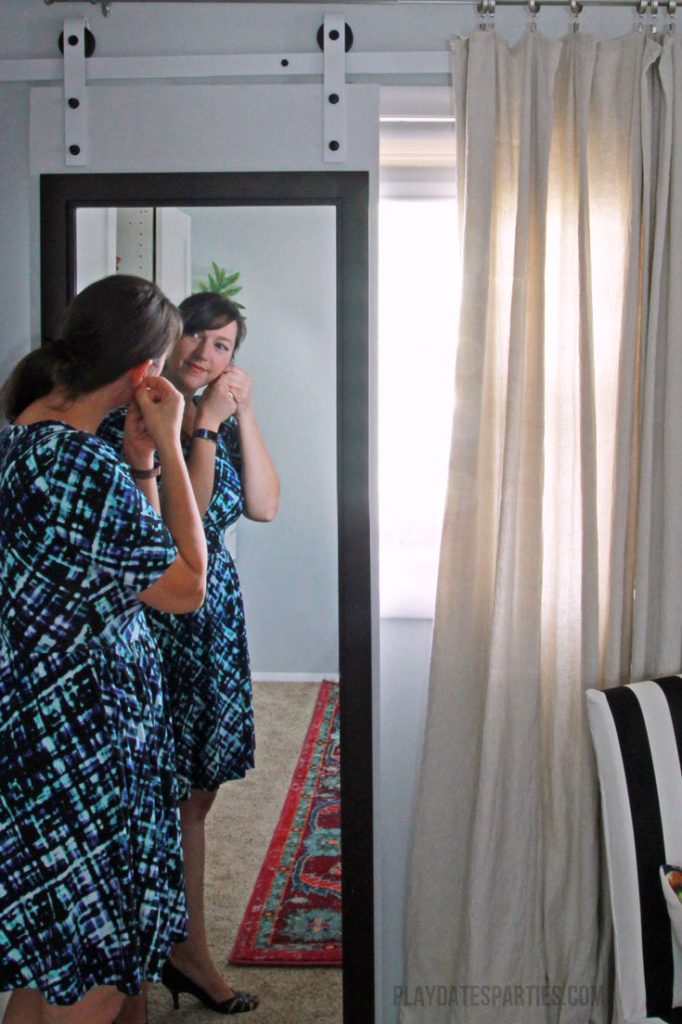
Just don’t look too hard or you’ll see that the bar is crooked. So crooked that…
When we realized that, we had to choose whether to laugh or to cry. We chose to laugh. And to leave it alone.
Look, it’s nowhere near perfect, but it works, and it made room for what is now my favorite spot in the whole house. And a self-sliding mirror is still better than seeing my reflection from the bed…or teetering on the edge of the bathtub.
Have you ever given in on a DIY project gone bad?
What’s the most frustrating project you’ve ever made?
Subscribe via
Bloglovin, Facebook, and Twitter
to get more updates!
Keep Up with all the Renovation Goodness, Right Here:
[pt_view id=”38c69d9v1p”]