Conserve water and grow healthy vegetables with a DIY self watering planter system. With easy-to-find materials and one afternoon you can be on your way!
Do you struggle with home-grown vegetables?
I hate to admit it, but we do.
For the last few years, we’ve tried planting various herbs and vegetables around our backyard and deck, but most times our plants die a miserable death.
Well, there was that one year we had a gigantic cucumber plant, thanks to DIY drip irrigation, but what about those years when you just don’t have the time to install something of that magnitude?
That’s why I was intrigued when I saw the idea of a DIY self watering planter.
How Does a DIY Self Watering Planter Work?
The general idea is that you have a pot with a built-in water reservoir for your plant. A single pot of soil (the wicking pot) sits down in this water reservoir to help suck water up (or wick water) for the plants in the soil above.
The planter is created to fill up with rain water in addition to hose water through a pipe system. Talk about water efficient!
This way, you don’t have to worry about watering your plant every single day.
How long does it take to make a DIY Self Watering Planter
I did lots of research before committing to the process. And I’m so glad I did.
Plus, I figured out a way to use my craft supplies to make the process go a bit faster…yay!
Even with taking phone calls from the husband, and stopping to take photos, each planter took about an hour and a half to make.
How to Make a DIY Self Watering Planter
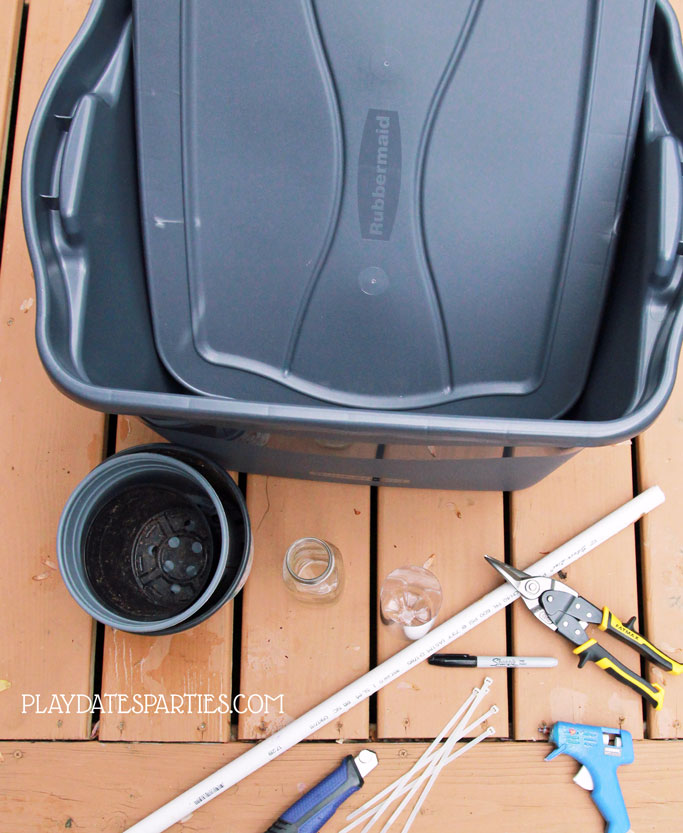
Materials/Supplies
- Rubbermaid Roughneck Tote with lid (I used 18 gallon tubs)
- Box cutter with a sharp blade*
- Hot glue gun
- 3/4-inch diameter PVC Pipe cut about 12 inches taller than the tote
- An old plant pot
- 4-6 Supports equal in height to the plant pot**
- Sharpie marker
- Tin snips
- zip ties (optional)
*It’s important that your blade be sharp. My first attempt at making these was with an old blade, and it not only took forever, but left a fairly mangled cut. Cutting the tote with a fresh blade was far easier.
**Make sure your supports are sturdy enough to hold up the weight of the soil and the plants when they are wet from a rain storm. Some people use PVC cuts, you could also use old water bottles (make sure they’re thick enough to be sturdy. I found that Frappuccino sized bottles and pickle jars are quite sturdy!
Directions
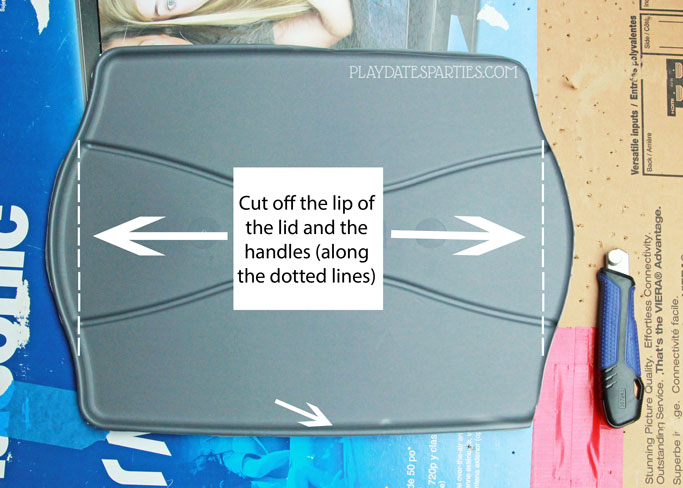
Cut the Lid to Fit inside the tote.
- Prepare your work surface with a piece of cardboard box or something you don’t mind getting cut.
- Following the inner lip on the lid, use the box cutter to cut the edge off the lid.
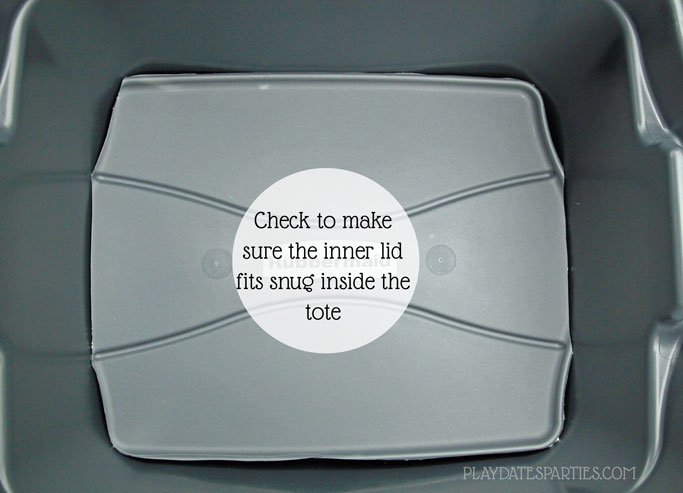
- Place the plant pot inside the tub and put the lid on top to see if the inner cut of the lid is snug, but not too tight.
- Repeat if necessary.
Tip: For the tubs I used, the inner lip was curved along the handles, but I ended up needing to make straight cuts on the sides.
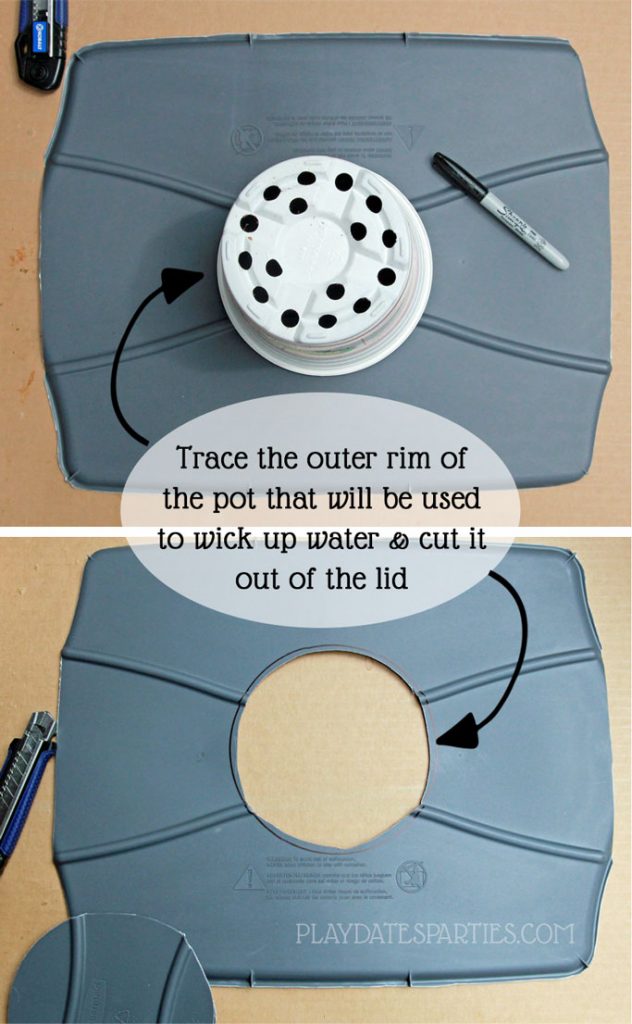
Create a Moisture Wick
In order for the plant to stay hydrated, they will need to have a portion of soil that sits in the water reservoir. From there the water is wicked up to the plant as needed.
- Take an empty plant pot (the disposable ones that plants come in from the store), and trace the outline of the pot in the center of the inner lid.
- Use a box cutter to cut a circle that is a quarter to a half inch inside the line you drew. (This ensures that the pot can also be used as a support)
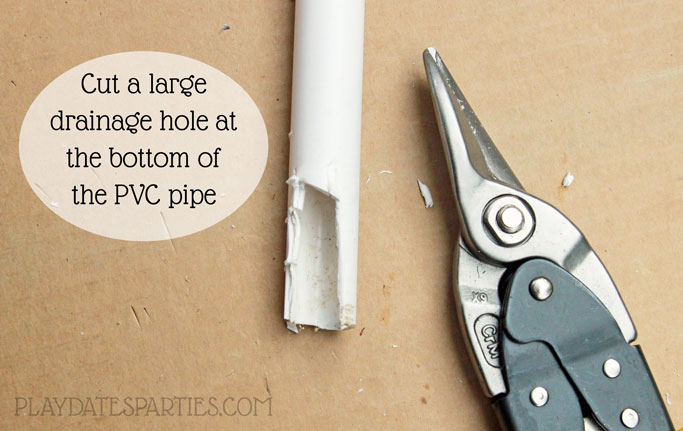
Make the Watering Spout
- Cut a hole in the corner of the inner lid that is about the same size as the PVC pipe.
- Using tin snips, cut a large opening in the bottom of the PVC pipe for water to drain out as you fill it from the top. Make your opening at least half the diameter of the PVC pipe and about two inches tall.
Note: this tutorial shows two PVC pipe spouts. I didn’t make the bottom hole big enough for my first tub, and was worried that it was due to the diameter of the PVC. With the wide bottom, I don’t need that second spout at all.

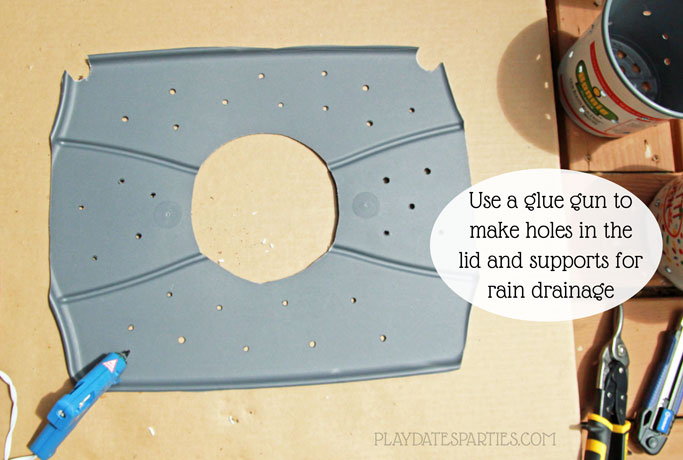
Create Drainage for Rain
If you live in an area that gets a decent amount of rain, then you’ll need to make sure that the soil can drain excess water into the reservoir. Most tutorials I read/watched mentioned that this was the longest and most tedious part of the process. It was made simple for me with my ancient glue gun! Here’s how:
- Remove any glue that is in the plunger of your glue gun and heat the glue gun as high as you can get it.
- Using the hot tip of the glue gun, create holes all around the lid of the tote to allow rainwater to drain into the tub’s reservoir.
- Repeat the process with the wicking pot and any plastic supports you have for the inner lid.
- Occasionally and carefully remove any plastic build-up from the tip of the glue gun.
Note: If you are using glass items like leftover pickle or Frappuccino jars, place them upside down so rainwater doesn’t get trapped inside them.
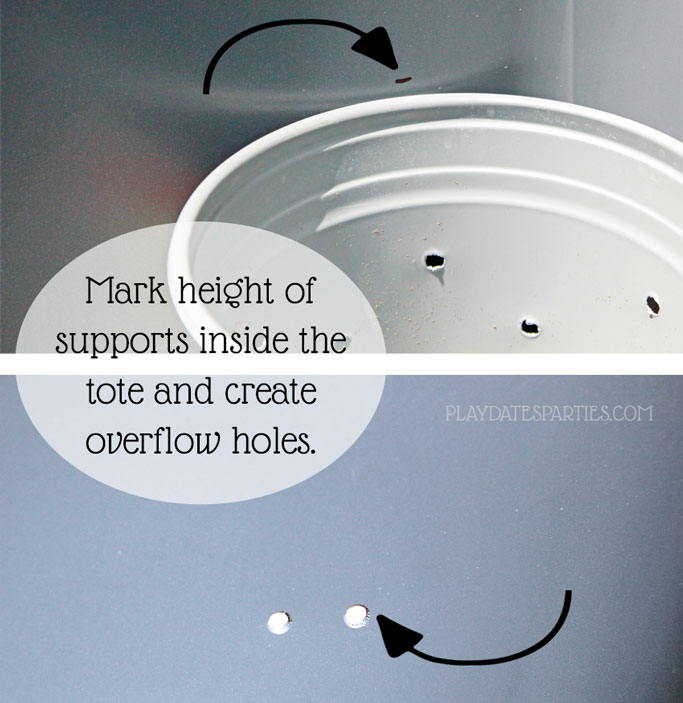
Create OverFlow Holes
In order to make sure you can see when your water reservoir is filled, you will want overflow holes that for extra water to come out.
- Use your supports/wicking pot to mark the inside of the tub where the lid will be resting.f
- Using a hot glue gun, make one or two holes about a half inch below the marked line on the side of the tub.
Now, when you fill the reservoir through the PVC pipe, watch for water coming out of the overflow. Similarly, if you think that the reservoir is too full, you can tip the tub and use the overflow holes to empty it out a bit.
Assemble the Box
Time to pull it all together!
- Using your hot glue gun, create holes in the corner(s) of the tote to thread the tips ties around the PVC watering tube.
- Place the wicking pot in the center of the tub.
- Put the supports around the tub to help hold the weight of the plant and soil (recommend at least 4-6 supports, depending on how wide they are.)
- Place the lid on top of the pot and supports, adjusting the wicking pot to make sure it is centered in the hold you previously cut out of the lid.
- Insert the PVC pipe(s) into the prepared corner(s) and secure with zip ties.

Fill the Planter and Get Started!
- Starting inside the wicking pot, add soil and place your plant.
- Add up to two plants per planter and fill with water using the watering spout.
Our Plants in Action
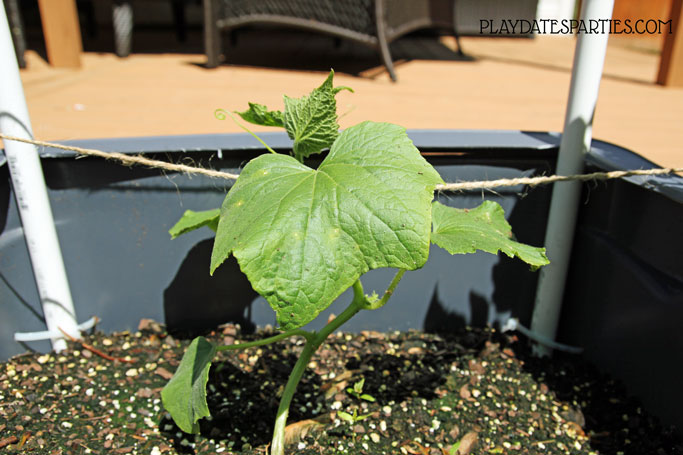
The cucumber plant (above) was pretty pathetic when it was first placed in the planter, two weeks prior to the photos being taken. It looks so much healthier now and I love seeing the new growth!
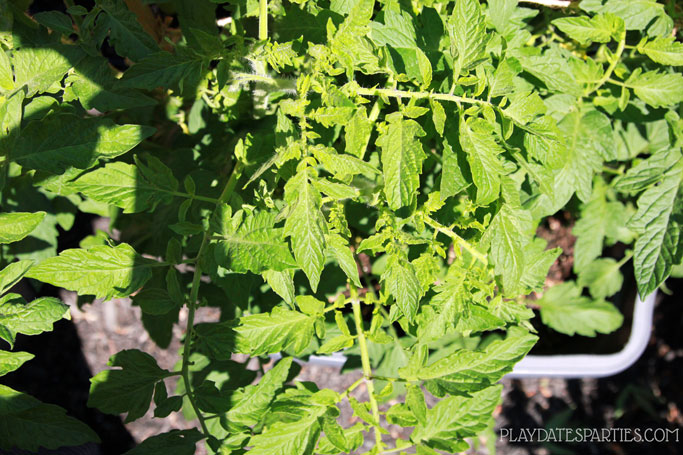
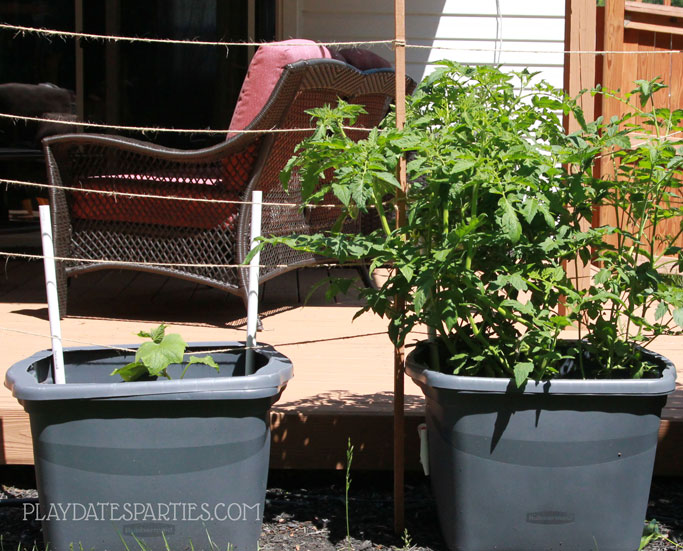
These are our tomato plants. Like the cucumber, they were pretty ratty when we first planted them about a month ago. But they’re thriving now…so much so that you can hardly see the watering pipe through the leaves…but it’s there!
Since we’ve had a fairly wet spring, I’ve only had to fill each of these planters once. They both hold several gallons of water, and I love the fact that they’re nearly maintenance free.
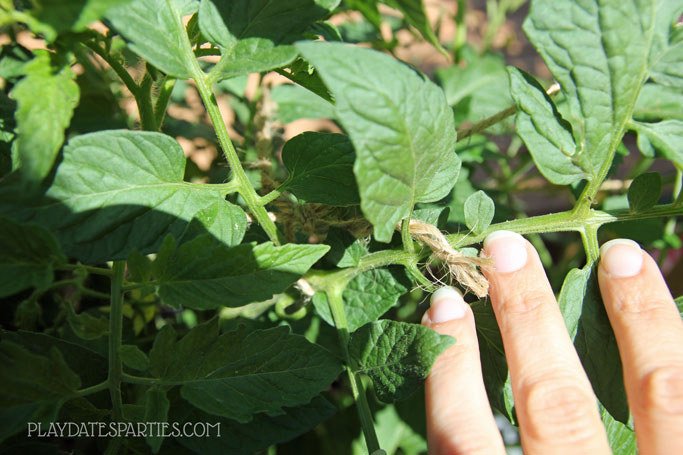
Bonus Tip: An Easy Trellis
Obviously, we can’t use traditional tomato cages with these planters, but our plants won’t continue to thrive without some sort of support.
We solved this by creating a simple string trellis!
All you will need are three 4-ft tall wooden stakes, and plenty of natural jute twine.
Bury your stakes in the ground next to your planter so they are nice and sturdy. Then string rows of twine about 6-inches apart up to the top of the stakes.
As your plants grow, tie the branches loosely to the twine rows to help support the branches and fruit.
Update: 3 Years Later
We used (and abused) our DIY self watering planter for two summers, and they were fantastic both years.
Unfortunately, due to our lack of care (ie. leaving them empty outside during winter), they cracked and broke last year. I know the DIY self watering planter would have lasted much longer had we properly emptied them each fall and stored them in our garage.
The husband still prefers drip irrigation, but I think that the self watering planters are the perfect option for growing vegetables on a porch or patio, or if you just want to stick to container gardening altogether.
Seriously, I plan on making new ones as soon as I can!
Now, It’s Your Turn
Stop struggling to keep your vegetable garden alive this year. Grab your printable instructions, and make yourself a DIY self watering planter or two this weekend!
What plants will you put in a DIY self watering planter?
Do you have any other tips for keeping vegetable plants healthy?
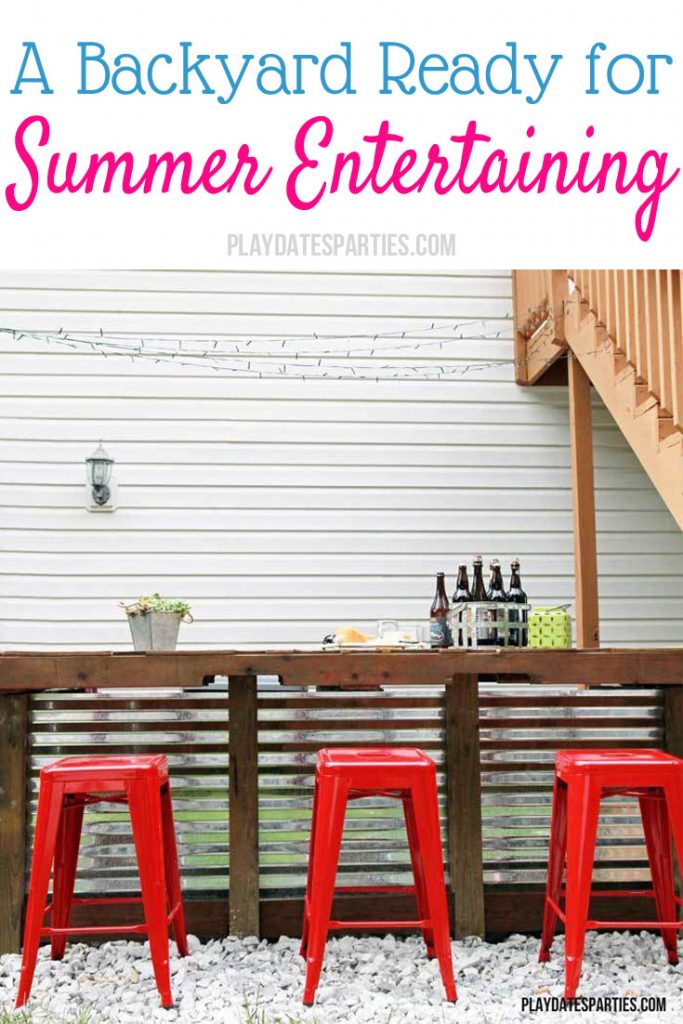
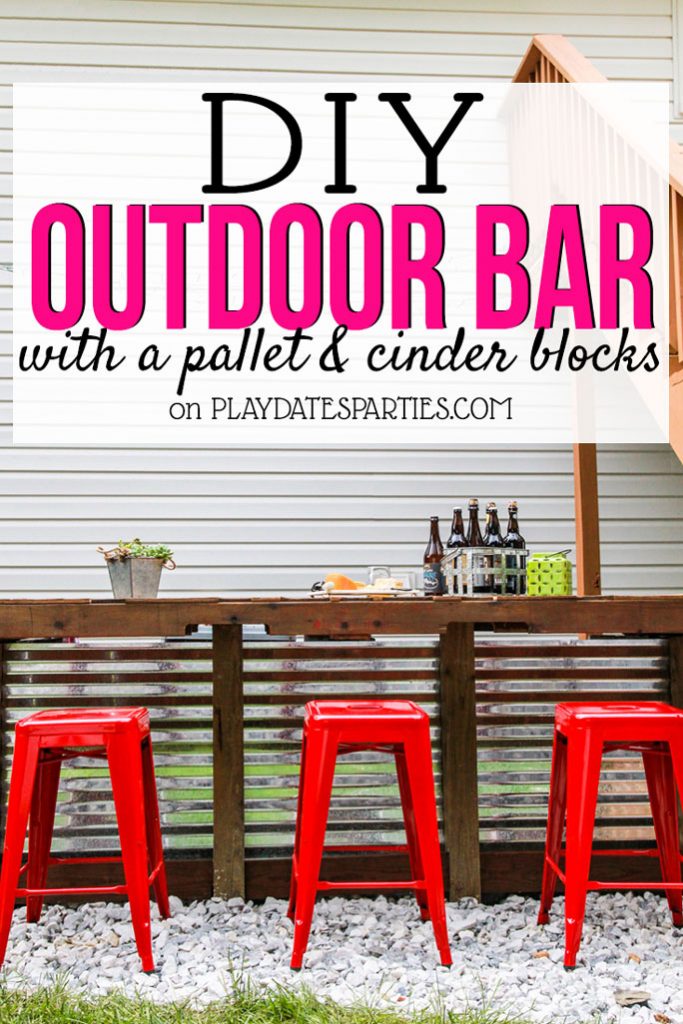
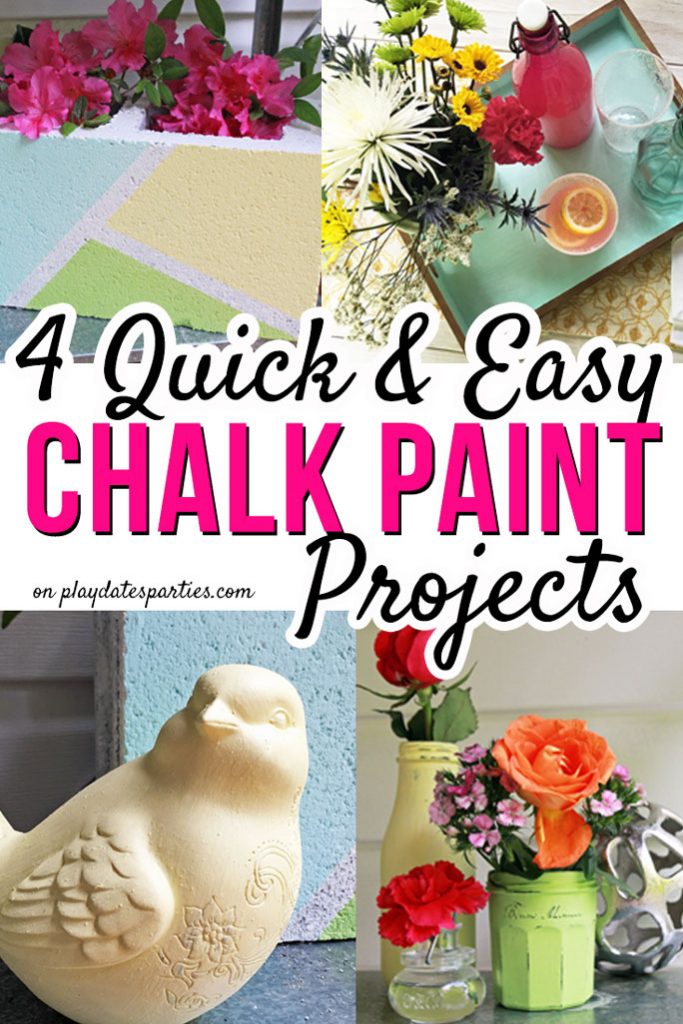
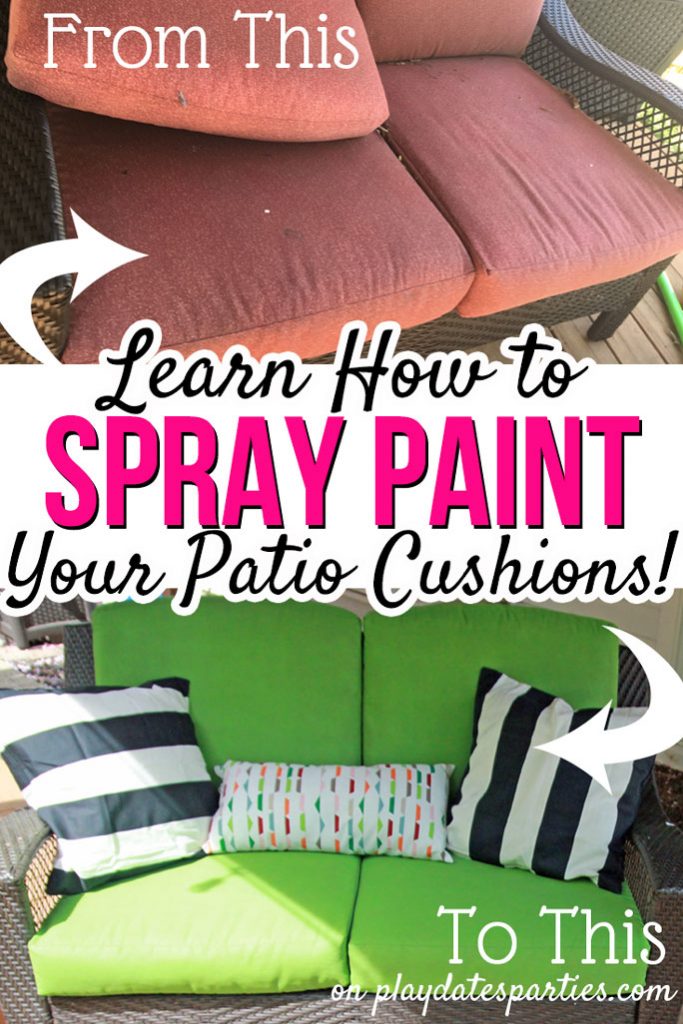
See the Entire Renovation:

Backyard for Entertaining: Reveal How to Build an Outdoor Bar with a Pallet & Cinder Blocks 4 Quick & Easy Chalk Paint Projects How to Spray Paint Your Patio Cushions Our Extreme Outdoor Toy Organization System How to Make a Privacy Screen with Ikea Sultan Lade Easy DIY Plant Benches How to Paint Rusty Outdoor Furniture How to DIY a Self-Watering Planter Box

I want to extend many thanks to the readers who have enjoyed renovation and home DIY posts over the years. Unfortunately, in January 2018 I was diagnosed with Stage II breast cancer and had to stop doing home renovation posts due to treatment.
Since that time, my focus has been on making this website an amazing resource for the everyday mom’s parties. Due to their popularity, the DIY posts and tutorials will remain on the website, but comments are now closed. Thank you again and I wish you the best in your DIY endeavors!


Amy Ellis says
Great tutorial, easy to follow and not too hard to make. I think one of the most discouraging things about our garden is when we skip a few days of watering and all that hard work has been for nothing. We’re going to try some container gardens this year and this would be ideal to try.
Leslie says
It’s so discouraging when plants start to fade due to forgotten watering. I hope this helps!
Megan says
Now that is so clever! I love having a garden, but I have a black thumb, so my mom does most of my gardening. Thanks for sharing the cool hack at Merry Monday!
Leslie says
Oh, I definitely have a black thumb! That’s one of the reasons I really wanted to try this…it’s hard to forget to water it!
Jess says
OH this is fantastic! I need o make some of these!
I would love for you to share this with my Recipes, Crafts, Tips and Tricks Facebook group: https://www.facebook.com/groups/pluckyrecipescraftstips/
Thanks for joining Cooking and Crafting with J & J!
Leslie says
Let me know if you do make one!
Beverly says
What a great idea and you’ve given such clear instructions, too! Thanks for sharing at Snickerdoodle Sunday. Pinned and Tweeted.
Leslie says
Thanks so much for sharing!
Vineta @ The Handyman's Daughter says
We have one self watering pot that I bought and it saves me from killing my plants by the front door. This one would be great for our tomatoes and strawberries!
Leslie says
Our tomato plants did pretty well in it last year. The system also seemed to be great for preventing tomato plants from getting too big, which meant we actually got lots of tomatoes!
Ashley ~ 3 Little Greenwoods says
You are so stinkin’ smart! I would have never thought about making one of these to water our plants.
Thanks so much for sharing your creativity at the The DIY Collective this week! Hope to see you again tomorrow. The party begins at 6:00am EST.
Have an awesome day!
~ Ashley
Megan @ Adventure & Home says
That is so neat! It might even prevent a black thumb like me from killing all my plants. I’d love to grow vegetables and herbs, so this looks like a good place to start!
Leslie says
I’m right there with you on the black thumb. It’s the only way we’ve been able to grow vegetables for two years now!
jiselle jones says
interesting I will definitely have to try this esp useful for the scorching months like now.
Leslie says
Yes! Hot summer months were always our downfall. Not so much with these tubs, though.
Ellen says
I so need this! I’m the queen of forgetting to water plants. Your tutorial is really helpful. Pinned this and also sharing with my husband so he can make me one before summer rolls around. Thanks!
Leslie says
I hope you do make some! And I strongly recommend the downloadable instructions. The images and instructions are side-by-side, which makes it so much easier to follow along.
Ana says
Okay.. this is awesome! I’ve gotten really into plants lately and finally got brave enough to plant some outdoors but I’m afraid I’ll mess them up somehow so I haven’t even attempted growing veggies or anything. I’m going to have to try this out because it seems foolproof!
Leslie says
They are pretty awesome. Just make sure to check the water reservoir if you have very hot weeks without much rain. Even then, it shouldn’t need refilling more than a couple times per week.
Jen Maks says
This is so cute and creative! I can’t wait to try this out!
Leslie says
Let me know if you do!
Kelsie Sabers says
Oh I love this!! I can’t wait until it’s warmer in Wisconsin to start planting!!
Patricia @ Grab a Plate says
This is really cool – glad to have found it. It’s really difficult in Phoenix in the summers to keep plants going, and forget it if you have to leave town and don’t have a drip system! Thanks for sharing!
Tracy Albiero says
I do not have a green thumb so this may help me! Super easy instructions to follow so that helps! Wish me luck! #happynow
Katy says
I totally want to do this and think I can! Wish me luck!
#brownthumb
#happynowlinkup
Jaye Shields says
This is perfect for someone like me who’s a flight attendant, because my plants always die when I’m out of town! Thanks for sharing!
Autumn says
This is a great step by step tutorial. I don’t have a green thumb, but my sister does and she would love this. Sending this post to her now! Thank you.
Marisa says
This is such a great idea. Living in Texas this is exactly what we need, Because I usually forget to water my plants or its so hot during the day they need alot of attention. I’m going to try this out!
Cathy says
That is so clever! What a great idea! I just may need to try this this spring. 🙂
Rachel says
What a cool idea! Maybe I’ll give this a shot in lieu of a traditional garden this year!
Alissa Apel says
This is handy. I’m sending it to my husband, and I’m pinning it. Thanks!
Teresa says
This is a great idea! i tend to kill most plants because after a few days I just forget to water them. The only ones that survive on my balconies are the ones who can fend for themselves and survive just on rainwater, so something like this would be perfect for me.
Thank you for sharing at The Really Crafty Link Party. Pinned.
April J Harris says
We travel a lot so this is a great solution for us! Thank you for sharing this excellent tutorial with us at the Hearth and Soul Link party, Leslie. Pinning and sharing.
Jennifer Wise says
This is amazing! I love how detailed your instructions are, too. I am the WORST at remembering to water my pots, so this would be SO helpful! 🙂 #embracingchangelinky
Linda Feray says
What a clever idea! I live in Queensland and we have hot summers so this is ideal.
Jann Olson says
I plant lots of pots. It’s my daily ritual to walk around and water them. I really enjoy it, but when we go out of town I hate asking someone to have to do it. Thanks for sharing this great idea with SYC.
hugs,
Jann
Michelle Leslie says
Thanks so much for this Leslie. We’re experiencing a horrible drought here in South Africa and our poor veggie garden is suffering terribly since we’re not allowed to water plants anymore. Pinned, I’ll definitely be trying this
bonbon says
Thanks for sharing at Inspire Me Monday link party. I waned to let you know that you are one of my featured links this week. Come check it out at https://www.farmhouse40.com/inspire-me-monday-174
Marilyn Lesniak says
Congratulations! Your post was my feature pick at #WWBlogHop this week. Visit me at https://www.marilynstreats.com on Tuesday evening to see your feature! All hosts choose their own features from the comments left on their blog so be sure to stop by and see your feaure. I invite you to leave more links to be shared and commented upon. Please be sure to leave your link number or post title so we can be sure to visit!